Огромная благодарность Автору artzcool за Мастер-класс
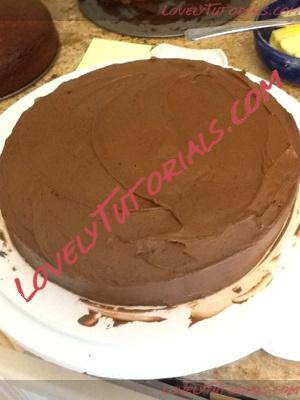
I treated myself to some new cake pans yesterday, so I baked the cakes last night. I mixed all the fondant colours yesterday too, so I am all set to go. Except the fact that I forgot to buy vanilla icing, and just don’t have enough time to make it from scratch, so I used chocolate icing instead. let’s hope it doesn’t show through the white fondant!
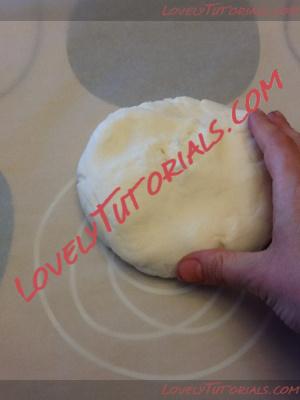
Then I started with the white fondant…
Rolled it flat, so that it was big enough to cover the cake…
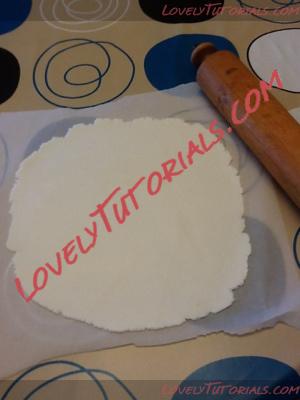
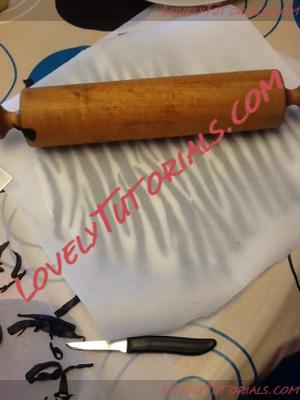
Btw, notice that I rolled the fondant on a sheet of waxed paper…very important! If you don’t use waxed paper, your fondant has a good chance of being connected to your tabletop! It also makes it so much easier to lift, as you will see…
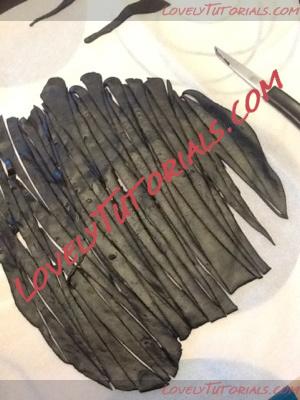
Then I rolled out a piece of black fondant as thin as I could roll it.

I used a paring knife to slice the black fondant into strips. I tried to cut the strips so at least one end was pointed.
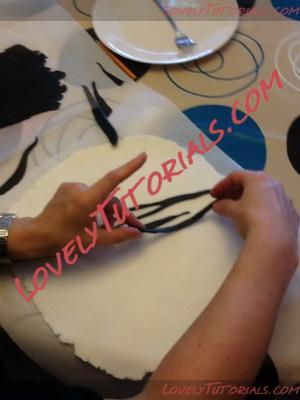
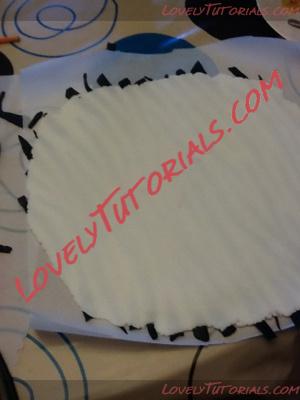
Then I picked up the strips and placed them onto the white fondant…
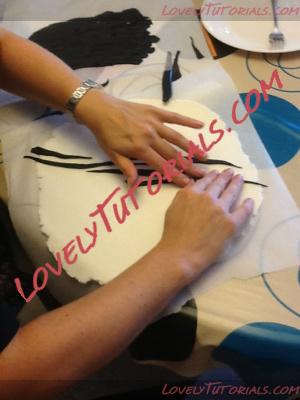
I continued until the entire circle of white fondant was covered.
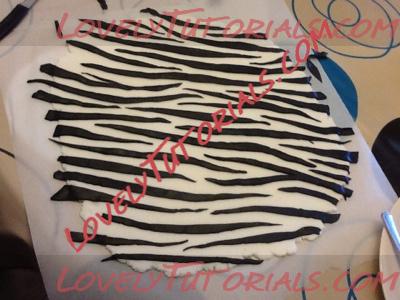
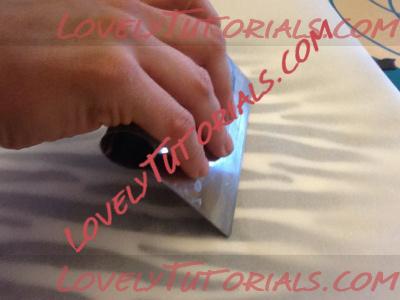
Then I put a sheet of waxed paper on top and rolled the two layers together.
This pastry tool worked really well to smooth it out…
To put it on the cake, I flipped it over using the waxed paper on the top and bottom.
Then I rolled the fondant onto the cake…

Smoothed it out…
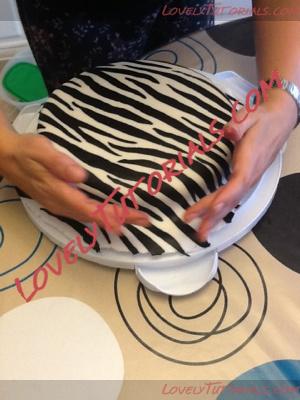
And trimmed the edges…
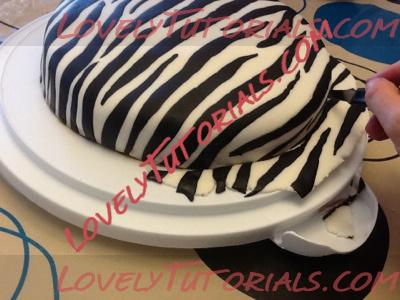
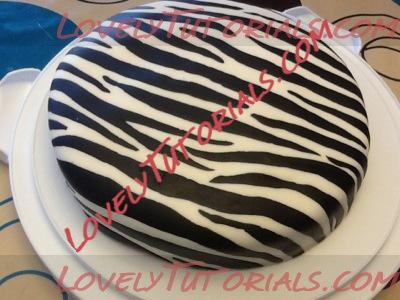
Ta-da! Bottom layer of cake zebrafied! Now all I have to do is make the animals, rainbow, trees, and background.