1 ąæąĖčüą║ą▓ąĖčéąĮčŗą╣ čéčÄą╗čīą┐ą░ąĮ, ą┐ąŠą║čĆčŗčéčŗą╣ ąČąĄą╗čéčŗą╝ čłąŠą║ąŠą╗ą░ą┤ąŠą╝

2

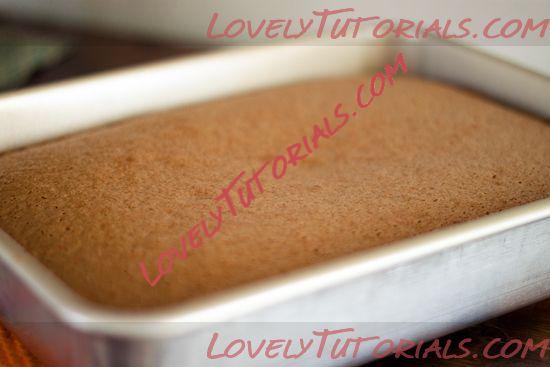
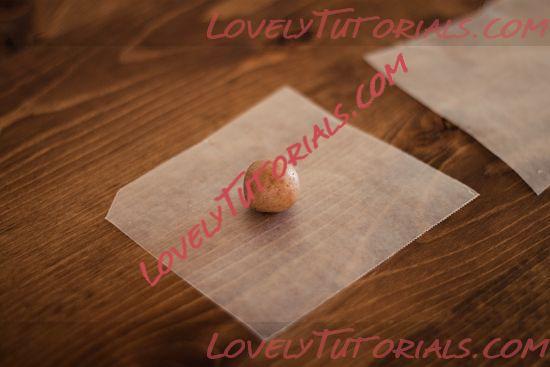
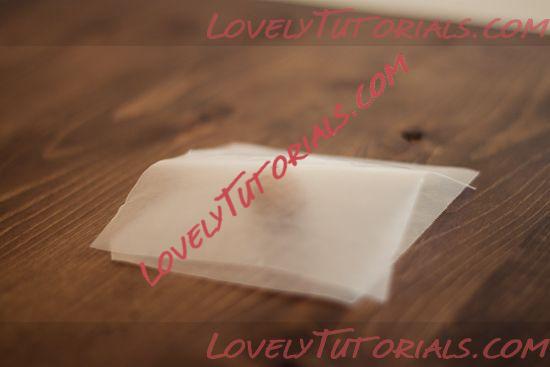
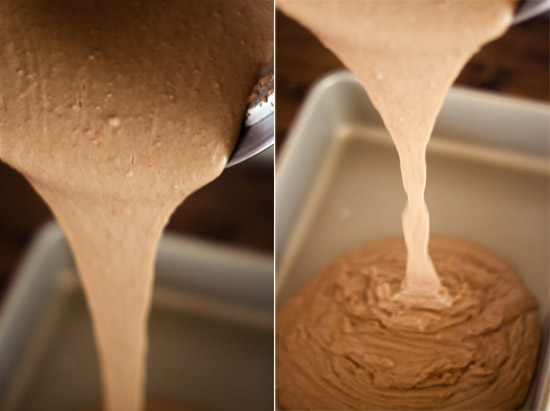
3ąöą╗čÅ ą┤ą░ąĮąĮąŠą│ąŠ ą┐čĆąĖą╝ąĄčĆą░ ąĖčüą┐ąŠą╗čīąĘčāąĄčéčüčÅ ą╝ąŠčĆą║ąŠą▓ąĮčŗą╣ ą┐ąĖčĆąŠą│
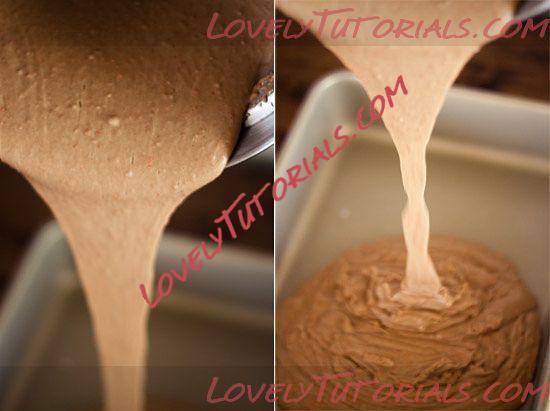
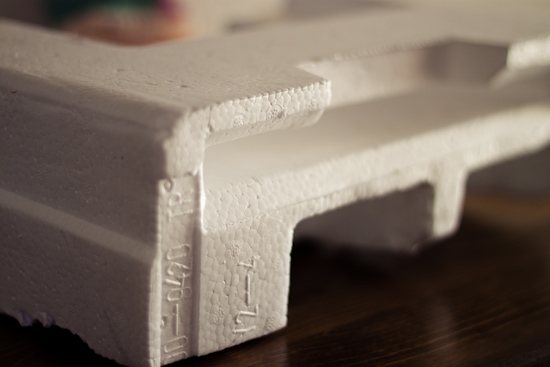
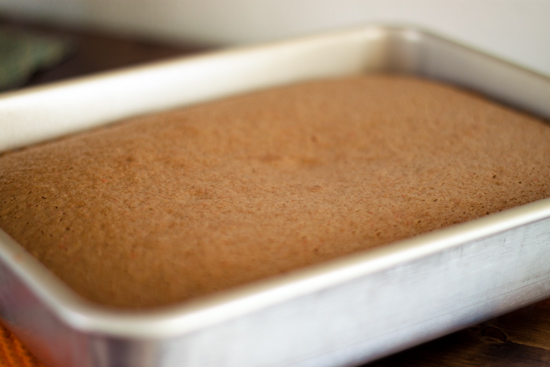
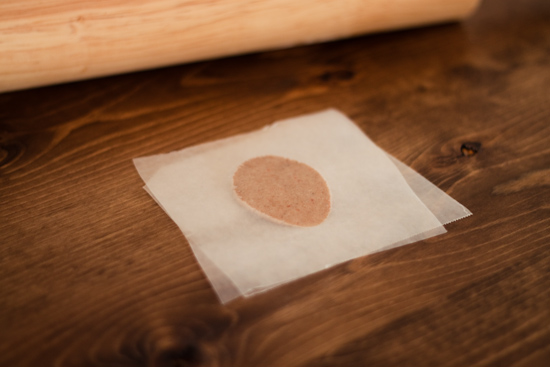
4ąśčüą┐ąĄą║ąĖč鹥 ą╝ąŠčĆą║ąŠą▓ąĮčŗą╣ ą┐ąĖčĆąŠą│, čĆą░ą╝ąĄčĆąŠą╝ 9 ąĮą░ 13 ąĖ ą┐ąŠčüčéą░ą▓čīč鹥 ąĄą│ąŠ ąŠčģą╗ą░ąČą┤ą░čéčīčüčÅ
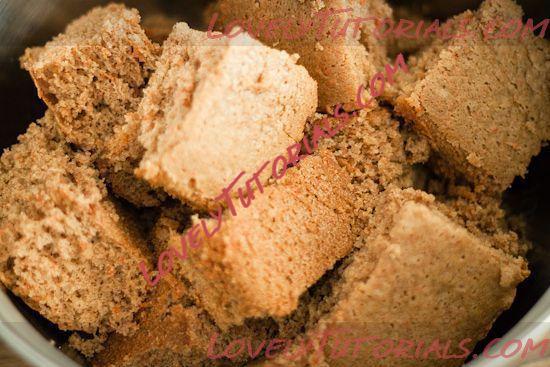
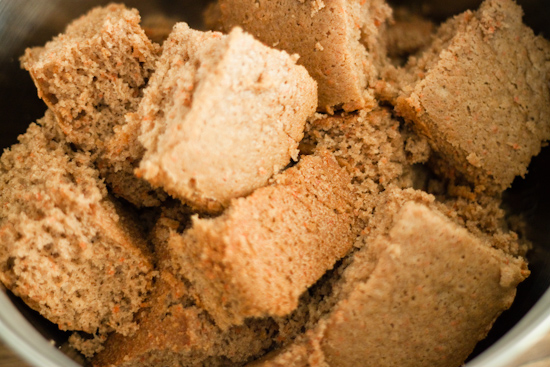
5ąśčüą┐ąŠą╗čīąĘčāčÅ ąĮąŠąČ ąĖą╗ąĖ čüą┐ą░čéčāą╗čā ą┐ąŠčĆąĄąČčīč鹥 ąĮą░ ą╝ąĄą╗ą║ąĖąĄ ą║čāčüąŠčćą║ąĖ ą▓ ą▒ąŠą╗čīčłąŠą╣ čćą░čłą║ąĄ
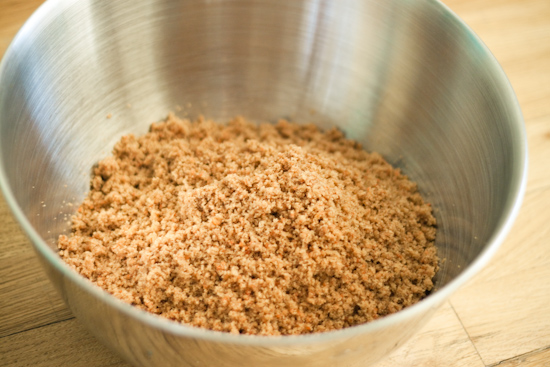
6ąśčüą┐ąŠą╗čīąĘčāčÅ ą┐čĆąŠčåąĄčüčüąŠčĆ čĆą░ąĘą╝ąĄą╗čīčćąĖč鹥 (ą▓ąŠąĘą╝ąŠąČąĮąŠ ą┐čĆąĖą┤ąĄčéčüčÅ čĆą░ą▒ąŠčéą░čéčī ą┐ąŠ čćą░čüčéčÅą╝)
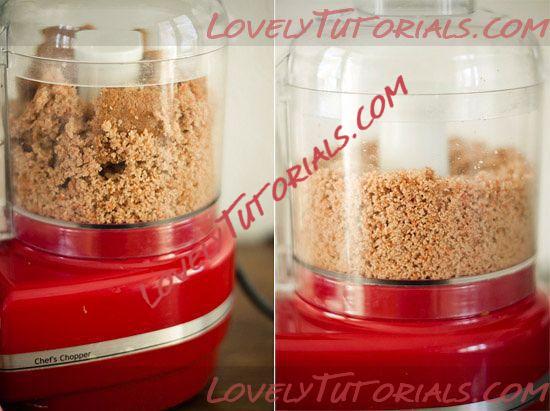
7čéą░ą║ ą▓čŗą│ą╗čÅą┤ąĖčé ąĖąĘą╝ąĄą╗čīč湥ąĮąĮčŗą╣ ą▓ ą┐čĆąŠčåąĄčüčüąŠčĆąĄ ą▒ąĖčüą║ą▓ąĖčé
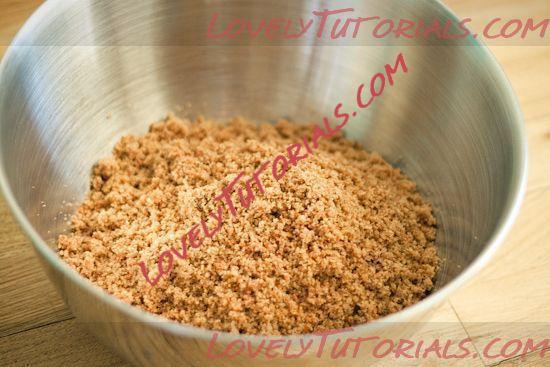
8ąÜčĆąĄą╝-čćąĖąĘ
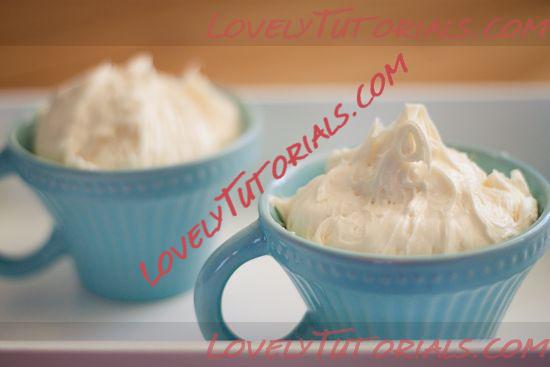
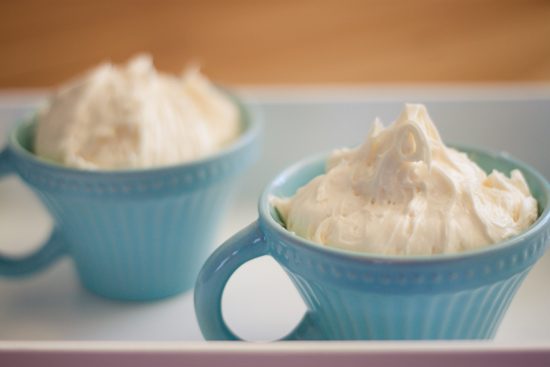
9ąöąŠą▒ą░ą▓čīč鹥 1+3/4 ą║čĆčāąČą║ąĖ ą║čĆąĄą╝-čćąĖąĘą░
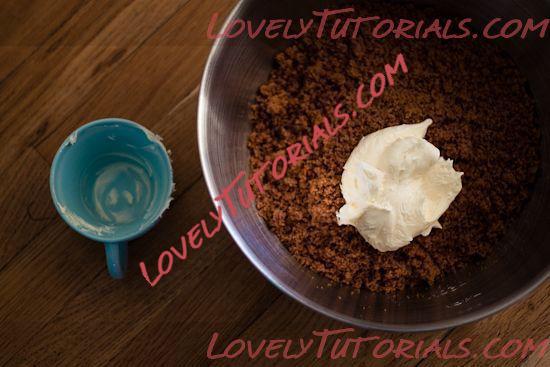
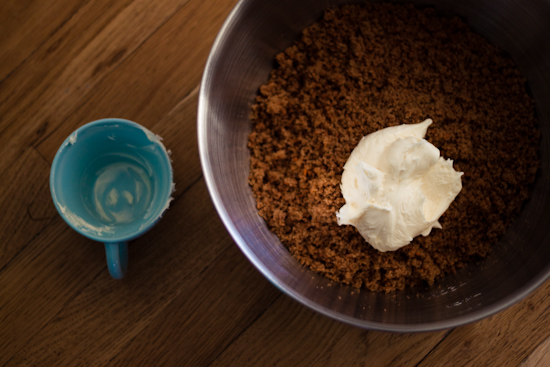
10ąźąŠčĆąŠčłąŠ čĆą░ąĘą╝ąĄčłą░ą╣č鹥 ą║čĆąŠčłą║ąĖ ąĖ ą║čĆąĄą╝-čćąĖąĘ ąĖ ą╝ąŠąČąĄč鹥 ąĮą░ ąĮąĄą╝ąĮąŠą│ąŠ ą┐ąŠčüčéą░ą▓ąĖčéčī ą▓ čģąŠą╗ąŠą┤ąĖą╗čīąĮąĖą║
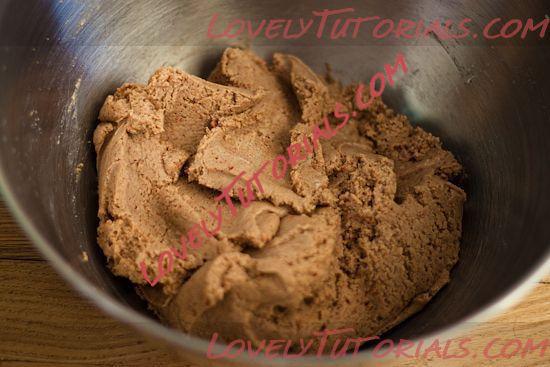
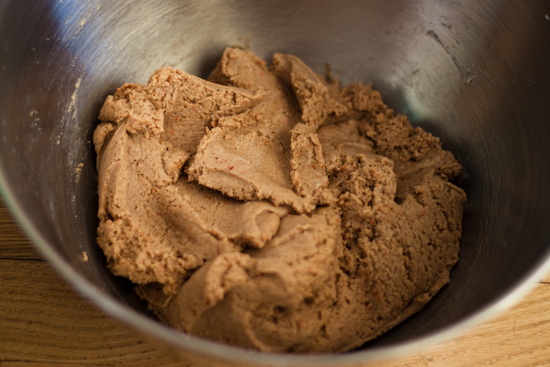
11ąĖčüą┐ąŠą╗čīąĘčāčÅ ą┐čĆąĖą▒ą╗ąĖąĘąĖč鹥ą╗čīąĮąŠ 1 čćą░ą╣ąĮčāčÄ ą╗ąŠąČą║čā , ą┐čĆąĖą┤ą░ą╣č鹥 č鹥čüčéčā ą║ą░ą┐ą╗ąĄą▓ąĖą┤ąĮčāčÄ č乊čĆą╝čā. ąĖ ą┐ąŠą╗ąŠąČąĖč鹥 ąĮą░ čćą░čü ą▓ ą╝ąŠčĆąŠąĘąĖą╗ą║čā
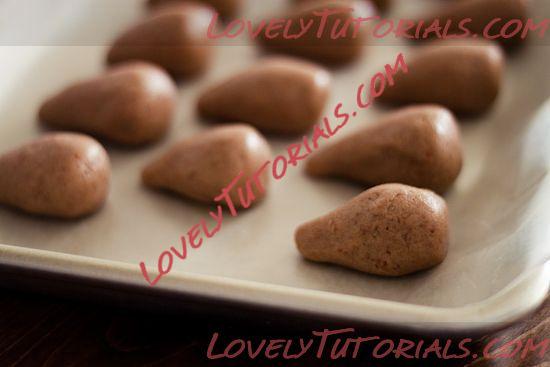
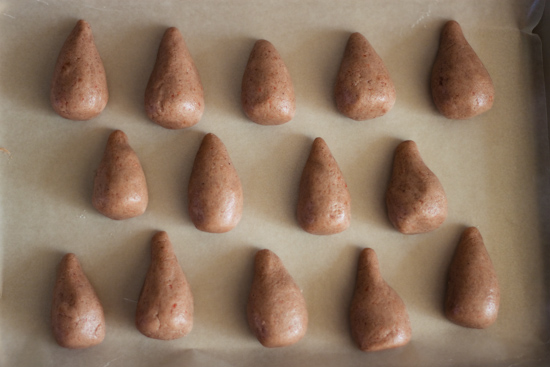
12ąśąĘ 1/3 č鹥čüčéą░ čüą┤ąĄą╗ą░ą╣č鹥 čéą░ą║ąĖąĄ ąĘą░ą│ąŠč鹊ą▓ą║ąĖ, ą░ ąĖąĘ ąŠčüčéą░ą╗čīąĮąŠą╣ ą╝ą░čüčüčŗ - ą╗ąĄą┐ąĄčüčéą║ąĖ
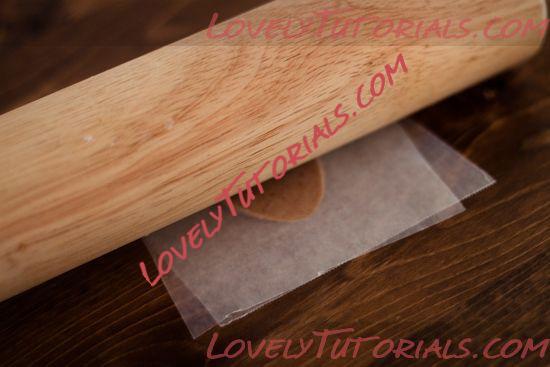
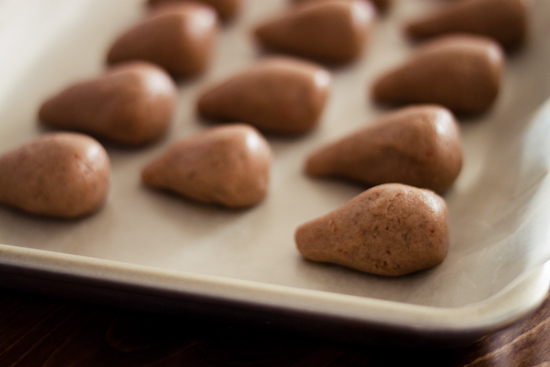
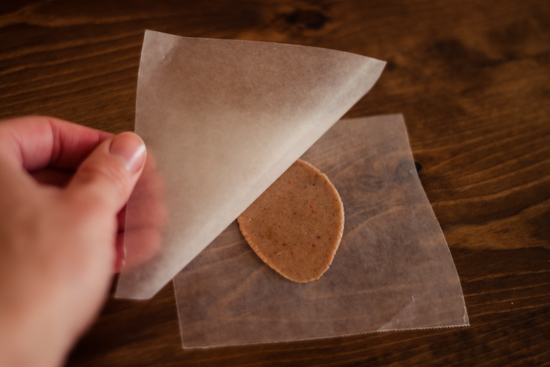
13ą¤ąŠą╗ąŠą▓ąĖąĮą░ čćą░ą╣ąĮąŠą╣ ą╗ąŠąČą║ąĖ č鹥čüčéą░
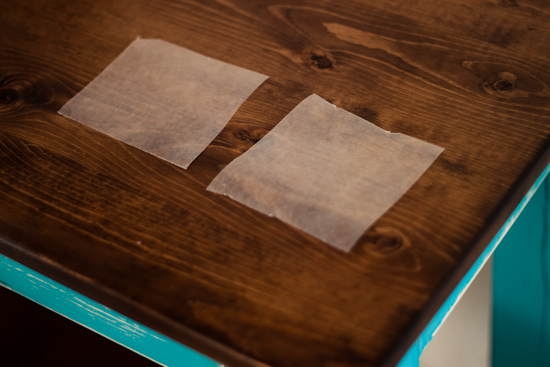
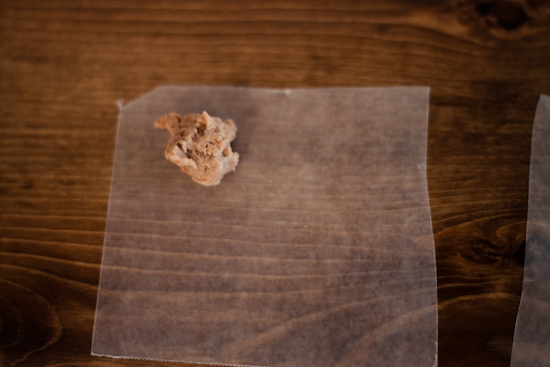
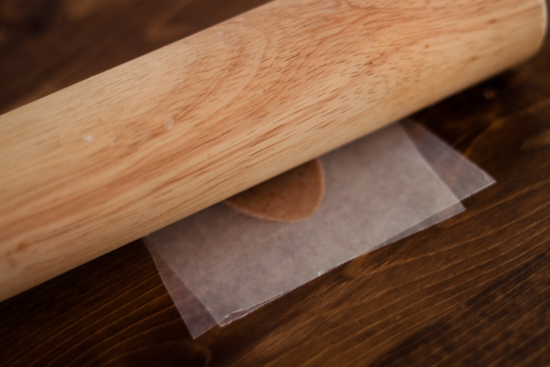
14ą¤ąŠą╗ąŠąČąĖč鹥 ą┐ąŠą╗ąŠą▓ąĖąĮčā čćą░ą╣ąĮąŠą╣ ą╗ąŠąČą║ąĖ č鹥čüč鹊 ą╝ąĄąČą┤čā ą┤ą▓čāą╝čÅ ą▒čāą╝ą░ąČą║ą░ą╝ąĖ ąĖ čĆą░čüą║ą░čéą░ą╣č鹥
15
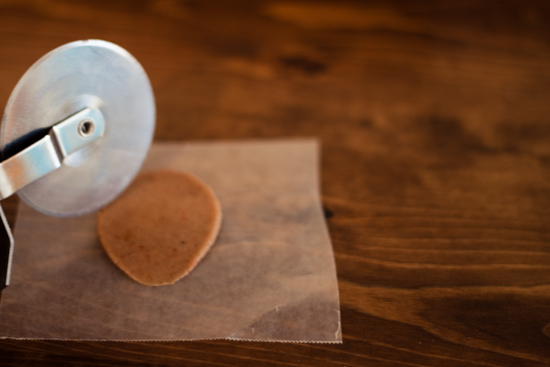
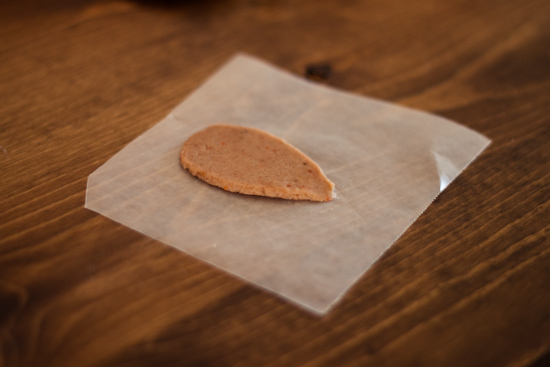
16ąøąĄą┐ąĄčüčéą║ąĖ ą┤ą╗čÅ čåą▓ąĄčéą║ą░
17
18ą¤čĆąĖą┤ą░ą╣č鹥 ąČąĄą╗ą░ąĄą╝čāčÄ č乊čĆą╝čā

19
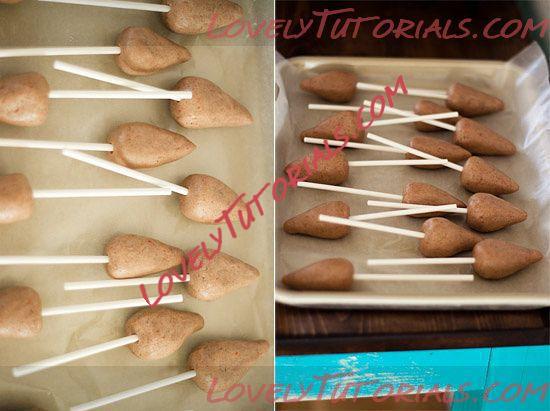
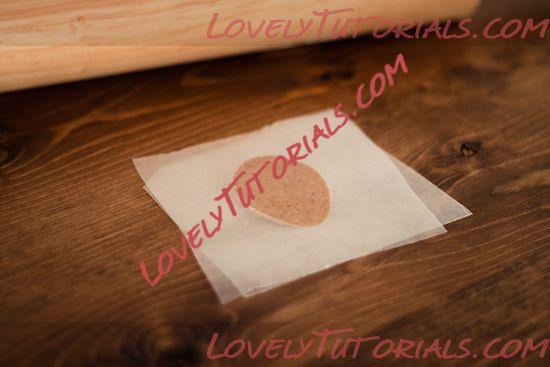
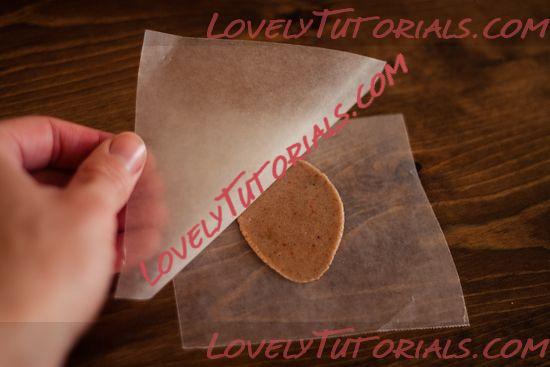
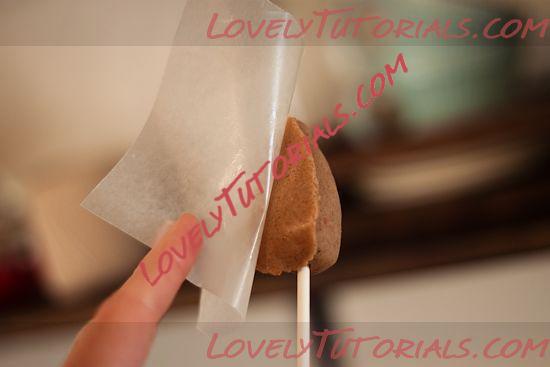
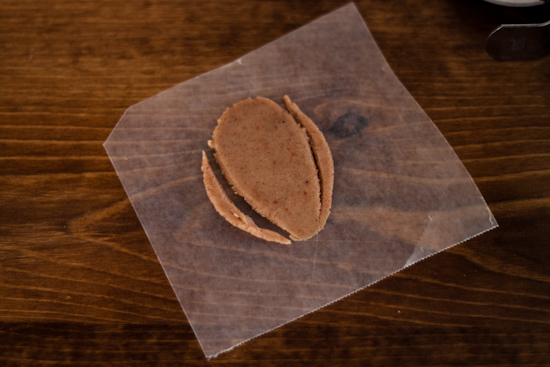
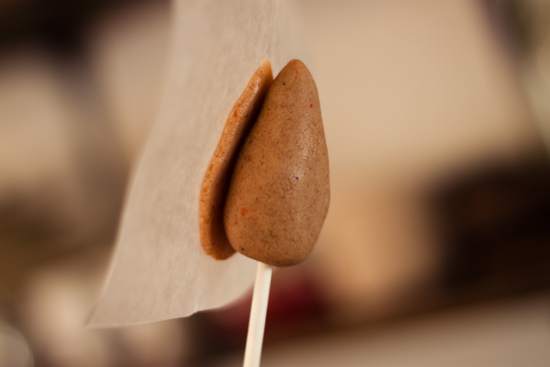
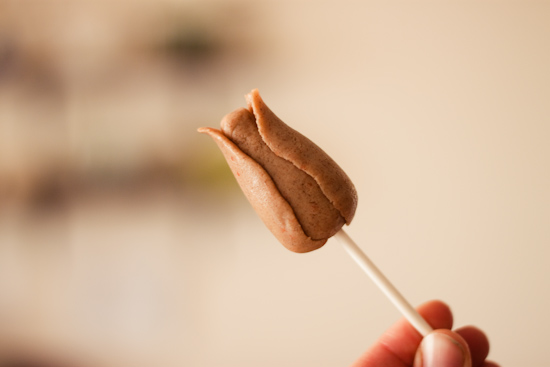
20ąÆąŠąĘą╝ąĖč鹥 1 ąĘą░ą│ąŠč鹊ą▓ą║čā čåą▓ąĄčéą║ą░ ąĖąĘ čģąŠą╗ąŠą┤ąĖą╗čīąĮąĖą║ą░, čüą╗ąĄą│ą║ą░ ą┐čĆąĖąČą╝ąĖč鹥 ą╗ąĄą┐ąĄčüč鹊ą║ ą┐čĆčÅą╝ąŠ čü ą▒čāą╝ą░ą│ąŠą╣, ą┐ąŠč鹊ą╝ čāą┤ą░ą╗ąĖč鹥 ą▒čāą╝ą░ą│čā ąĖ ą▓ąĄčĆąĮąĖč鹥 ąĘą░ą│ąŠč鹊ą▓ą║čā ą▓ čģąŠą╗ąŠą┤ąĖą╗čīąĮąĖą║ ąĖ ą▓ąŠąĘčīą╝ąĖč鹥 čüą╗ąĄą┤čāčÄčēčÄčÄ ąĘą░ą│ąŠč鹊ą▓ą║čā. ą┐ąŠą▓č鹊čĆčÅą╣č鹥, ą┐ąŠą║ą░ ąĮąĄ čüą┤ąĄą╗ą░ąĄč鹥 ą┐ąŠ ą┤ąŠąĮąŠą╝čā ą╗ąĄą┐ąĄčüčéą║čā ąĮą░ ą▓čüąĄ ąĘą░ą│ąŠč鹊ą▓ą║ąĖ.
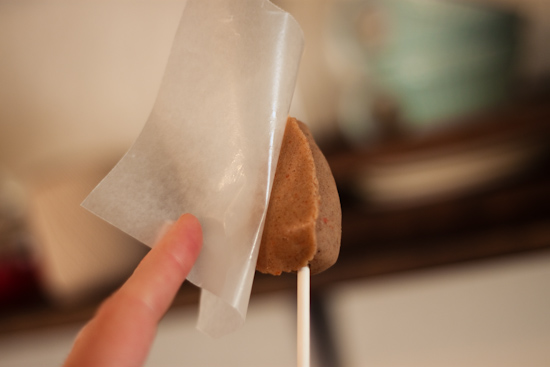
21ą¤ąŠą╝ąĮąĖč鹥, ą▓čüąĄ ąĘą░ą│ąŠč鹊ą▓ą║ąĖ ą┤ąŠą╗ąČąĮčŗ ą╗ąĄąČą░čéčī ą▓ čģąŠą╗ąŠą┤ąĖą╗čīąĮąĖą║ąĄ. ą¤ąŠą▓č鹊čĆąĖč鹥 ą┐čĆąŠčåąĄą┤čāčĆčā čüąŠ ą▓č鹊čĆčŗą╝ ą╗ąĖčüčéą║ąŠą╝.
22
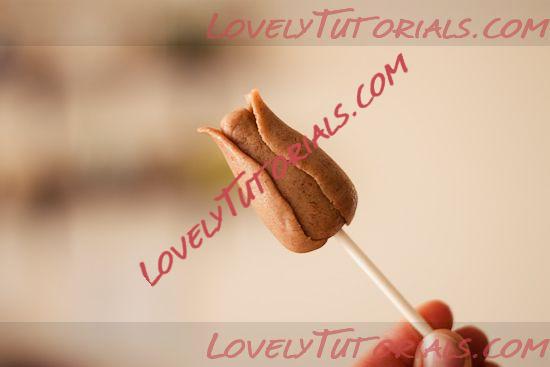
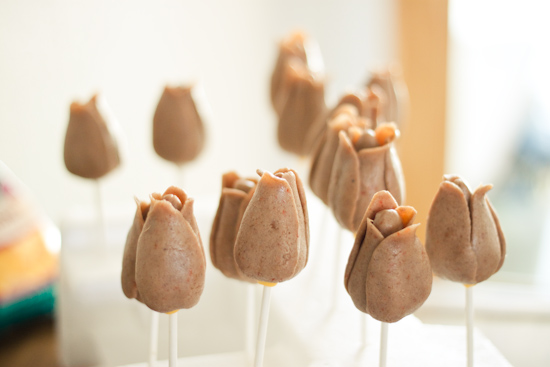
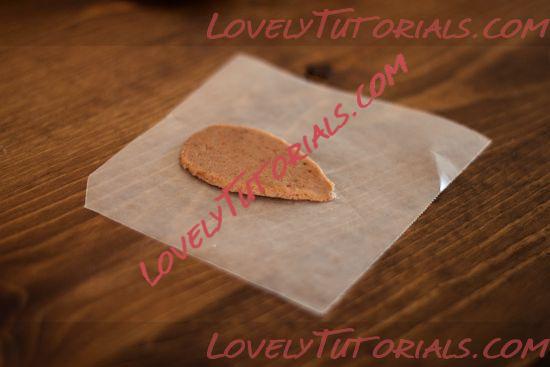
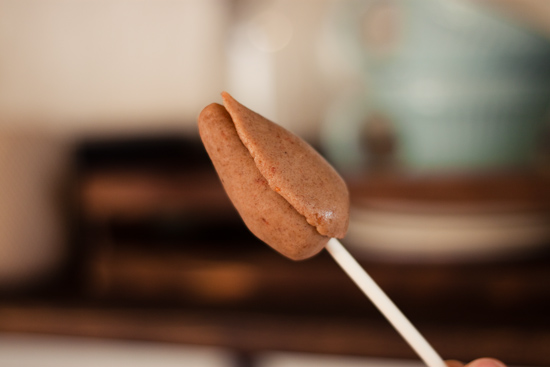
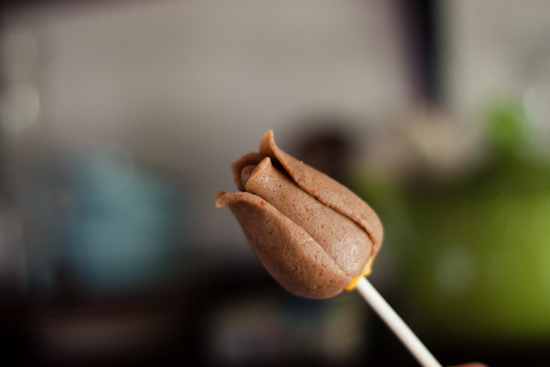
23ąØą░ čåą▓ąĄčéą║ąĄ ą┤ąŠą╗ąČąĮąŠ ą▒čŗčéčī 4 ą╗ąĄą┐ąĄčüčéą║ą░. čĆą░ą▒ąŠčéą░ą╣č鹥 ą░ą║ą║čāčĆą░čéąĮąŠ. ą¤ąŠčüą╗ąĄ ąŠą┐čāčüą║ą░ąĮąĖčÅ ą▓ čłąŠą║ąŠą╗ą░ą┤, čåą▓ąĄčéą║ąĖ ą┐ąŠč鹥čĆčÅčÄčé ąŠčüčéčĆąŠčéčā ą┤ąĄčéą░ą╗ąĄą╣.

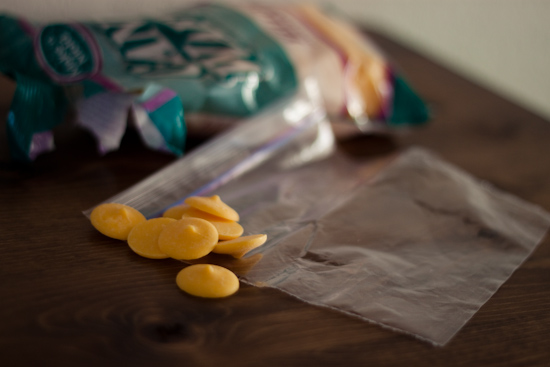
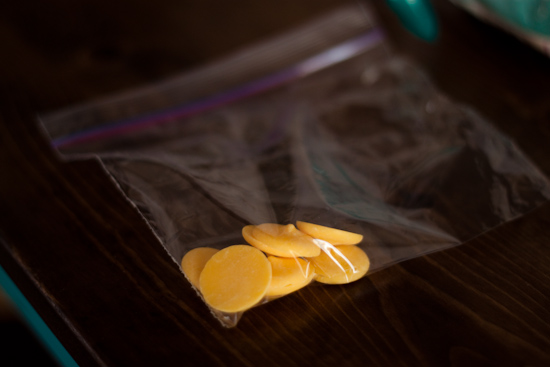
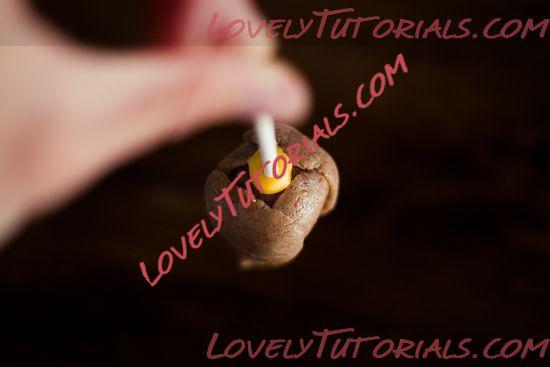
24ą¤ąŠą╗ąŠąČąĖč鹥 ąĮąĄčüą║ąŠą╗čīą║ąŠ ą║čāčüąŠčćą║ąŠą▓ čłąŠą║ąŠą╗ą░ą┤ą░ ą▓ ą┐ą░ą║ąĄčéąĖą║ ąĖ ą┐ąŠą╗ąŠąČąĖč鹥 ąĮą░ 30 čüąĄą║ ą▓ ą╝ąĖą║čĆąŠą▓ąŠą╗ąĮąŠą▓ą║čā ąĖą╗ąĖ ą┤ąŠ č鹥čģ ą┐ąŠčĆ, ą┐ąŠą║ą░ ąĮą░ čĆą░čüą┐ą╗ą░ą▓ąĖčéčüčÅ.
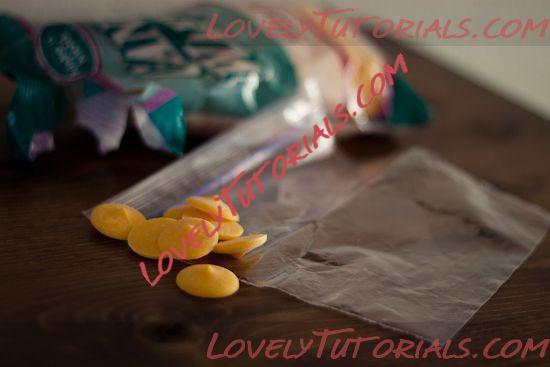
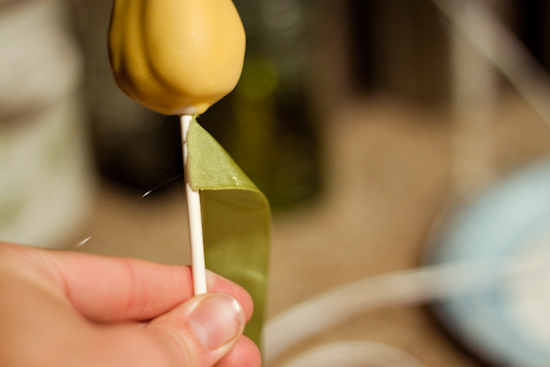
25ą×čéčĆąĄąČčīč鹥 ą╝ą░ą╗ąĄąĮčīą║ąĖą╣ ą║čāčüąŠč湥ą║ čāą│ąŠą╗ą║ą░ ą┐ą░ą║ąĄčéąĖą║ą░, čćč鹊ą▒čŗ ą╝ąŠąČąĮąŠ ą▒čŗą╗ąŠ ą░ą║ą║čāčĆą░čéąĮąŠ ą▓čŗą┤ą░ą▓ąĖčéčī čłąŠą║ąŠą╗ą░ą┤
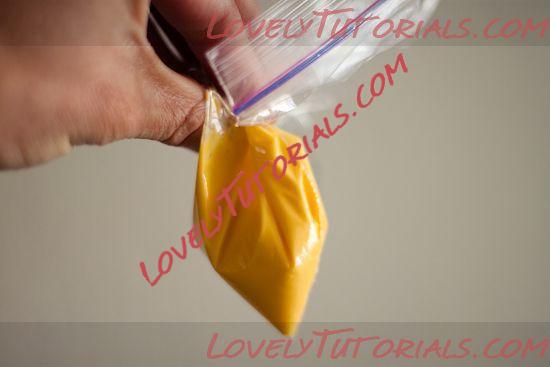
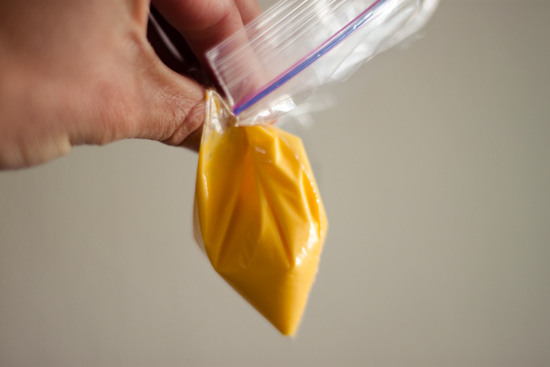
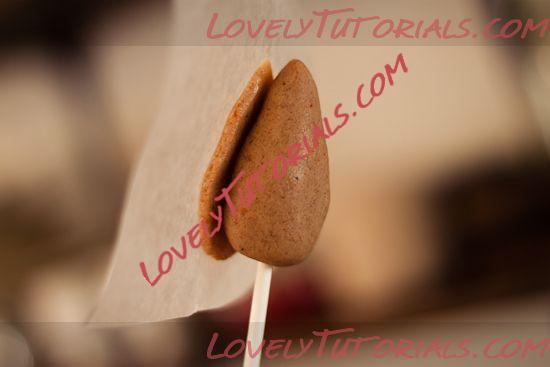
26ąÜą░ą┐ąĮąĖč鹥 ąĮąĄą╝ąĮąŠą│ąŠ čłąŠą║ąŠą╗ą░ą┤ą░ ą▓ ąŠčüąĮąŠą▓ą░ąĮąĖąĄ čåą▓ąĄčéą║ą░. ąŁč鹊 čģąŠčĆąŠčłąŠ ąĘą░ą║čĆąĄą┐ąĖčé ą┐ą░ą╗ąŠčćą║čā ąĖ čåą▓ąĄč鹊ą║ ąĮąĄ čāą┐ą░ą┤ąĄčé ąĖ ą┐ąŠčüčéą░ą▓čīč鹥 ą▓ čģąŠą╗ąŠą┤ąĖą╗čīąĮąĖą║
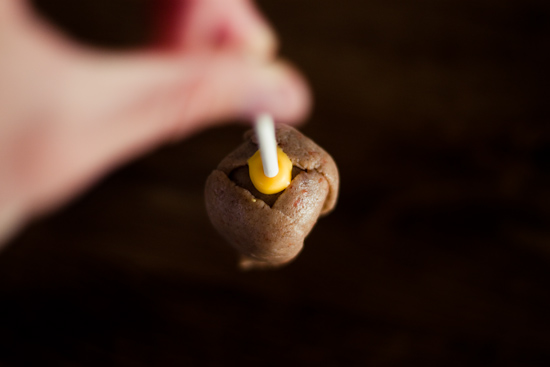
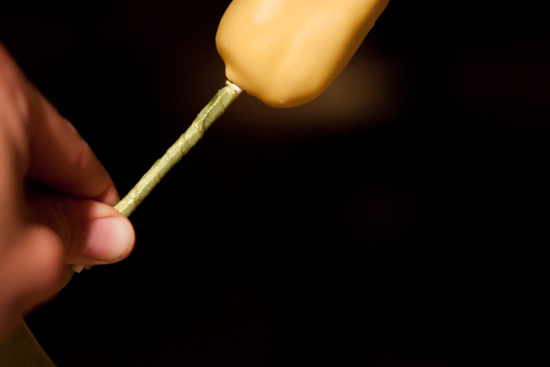
27ąÆąĮąĖąĘčā čåą▓ąĄčéą║ąŠą▓, čā ąŠčüąĮąŠą▓ą░ąĮąĖčÅ ą┐ą░ą╗ąŠčćą║ąĖ, ą▓ąĖą┤ąĮčŗ ąČąĄą╗čéčŗąĄ ą║čāčüąŠčćą║ąĖ čłąŠą║ąŠą╗ą░ą┤ą░
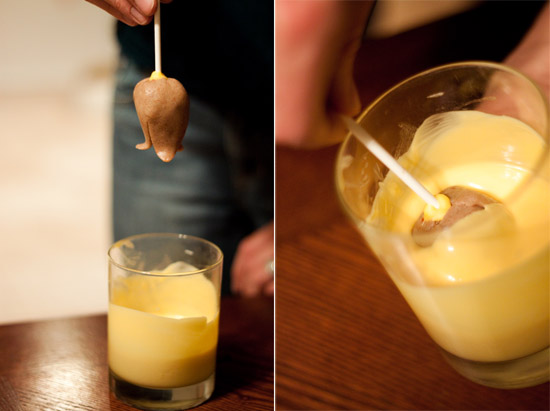
28ąĀą░ą┐ą╗ą░ą▓čīč鹥 ąŠčüąĮąŠą▓ąĮąŠą╣ čłąŠą║ąŠą╗ą░ą┤ ą▓ ą╝ąĖą║čĆąŠą▓ąŠą╗čīąĮąŠą▓ą║ąĄ, ą┐ąĄčĆąĖąŠą┤ąĖč湥čüą║ąĖ ą┐ąŠą╝ąĄčłąĖą▓ą░čÅ ąĄą│ąŠ. ąöąŠčüčéą░ąĮčīč鹥 čåą▓ąĄč鹊ą║ ąĖąĘ čģąŠą╗ąŠą┤ąĖą╗čīąĮąĖą║ą░ ąĖ ą╝ą░ą║ąĮąĖč鹥 ąĄą│ąŠ ą▓ čłąŠą║ąŠą╗ą░ą┤. ą£ąŠąČąĄč鹥 ą░ą║ą║čāčĆą░čéąĮąŠ čüą┤ąĄą╗ą░čéčī 2-3 čĆą░ąĘą░.

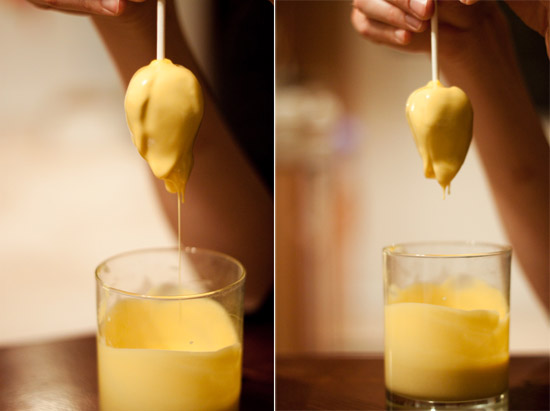
29ą¤ąŠą┤ąĄčƹȹĖč鹥 ąĮąĄą╝ąĮąŠą│ąŠ čåą▓ąĄč鹊ą║ ąĮą░ą┤ čüčéą░ą║ą░ąĮąŠą╝, ą┐ąŠą║ą░ ąĮąĄ ą┐ąĄčĆąĄčüčéą░ąĮąĄčé ą║ą░ą┐ą░čéčī čłąŠą║ąŠą╗ą░ą┤. ąś ą┐ąŠčüčéą░ą▓čīč鹥 ąĄą│ąŠ ąŠą┐čÅčéčī ą▓ čģąŠą╗ąŠą┤ąĖą╗čīąĮąĖą║.

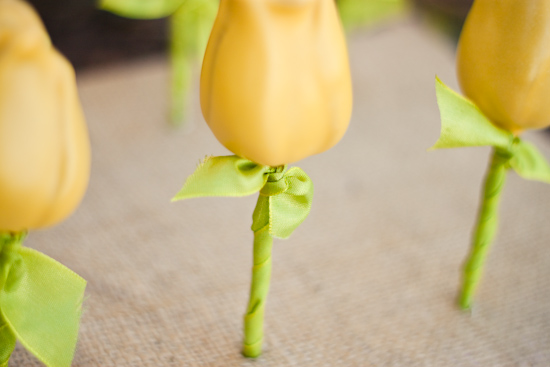
30ą£ąŠąČąĄč鹥 ą┤ąŠą▒ą░ą▓ąĖčéčī ąĮąĄą╝ąĮąŠą│ąŠ ą║ą╗ąĄčÅ ąĮą░ ą║ąŠąĮčćąĖą║ ą┐ą░ą╗ąŠčćą║ąĖ, čćč鹊ą▒čŗ ąĘą░ą║čĆąĄą┐ąĖčéčī ą╗ąĄąĮčéčā ąĖ ąŠą▒ą╝ąŠčéą░ą╣č鹥 ą┐ą░ą╗ąŠčćą║čā.ąĖ ą┐ąŠčüčéą░ą▓čīč鹥 ąŠą┐čÅčéčī ą║ą░ą┐ąĄą╗čīą║čā ą║ą╗ąĄčÅ, ą┤ą╗čÅ ąĘą░ą║čĆąĄą┐ą╗ąĄąĮąĖčÅ ą╗ąĄąĮčéčŗ.
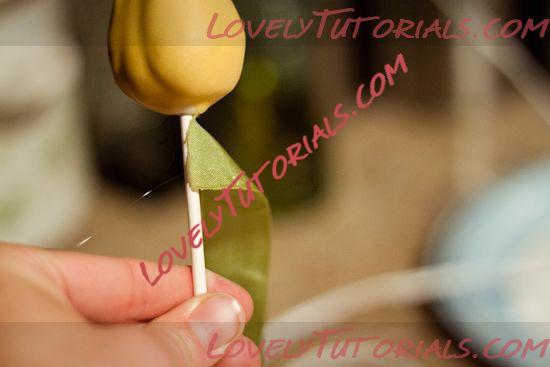
31ąĪą┤ąĄą╗ą░ą╣č鹥 ą╝ą░ą╗ąĄąĮčīą║ąĖą╣ ą▒ą░ąĮčéąĖą║ ąĖąĘ ąŠčüčéą░čéą║ąŠą▓ ą╗ąĄąĮčéčŗ.
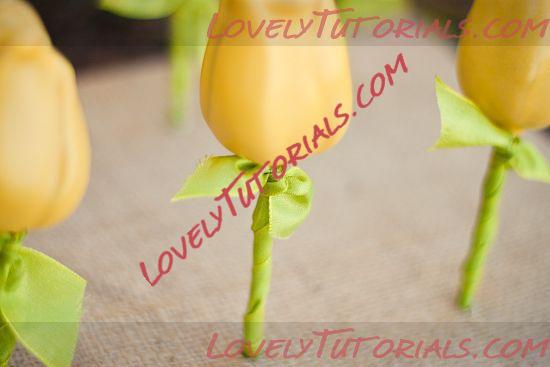
ąĖčüč鹊čćąĮąĖą║ ą┐ąĄčĆąĄą▓ąŠą┤ą░ čĆąĄčåąĄą┐čéą░
ąĘą┤ąĄčüčī


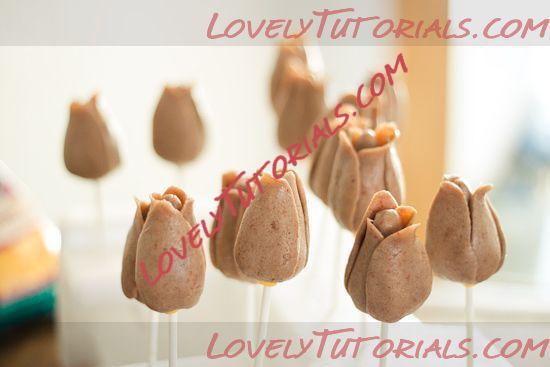
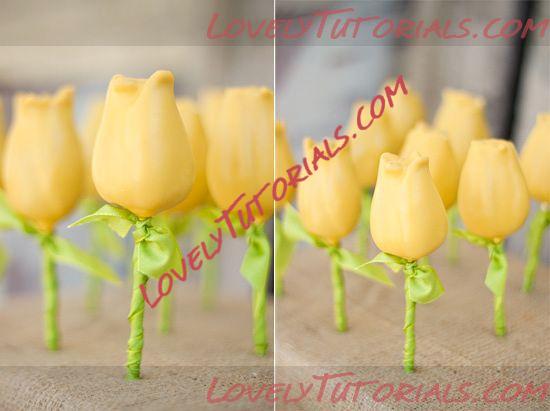
 When finished you can now place your flowers right side up by sticking the lolly pop ends into a block of foam.