спасибо огромное Sharon Zambito за МК

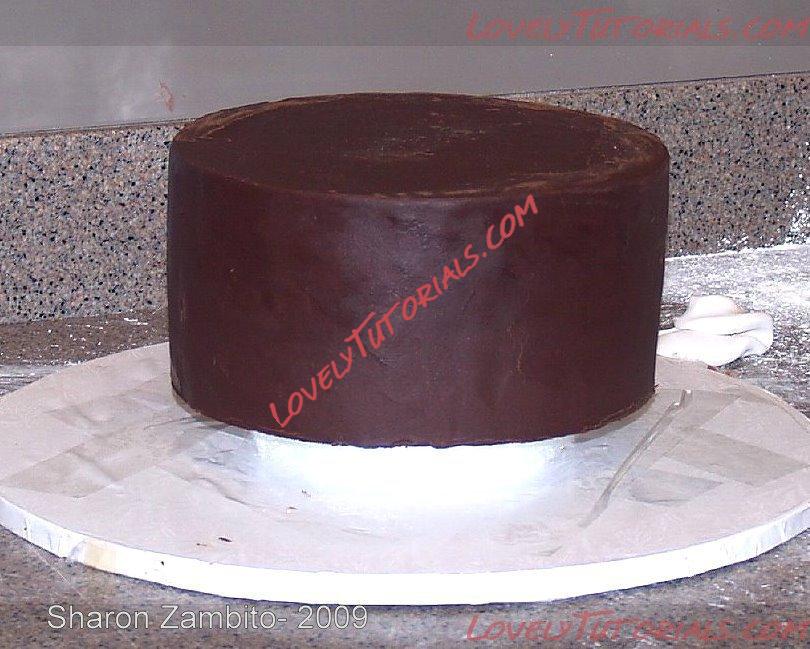
Here are some photos of the construction. Please forgive the terrible quality of these photos. I was very pressed for time as my power had gone out for quite a while and put me behind schedule. On top of that, I was working with a heavily bandaged finger after slicing it it open cutting the Styrofoam wedges with a very long, very sharp knife. I think I needed a stitch or two, but no time for that!
I put the ganached tiers atop a Styrofoam lift, so I would be able to tuck the fondant under the cake and foamcore board under it for a clean bottom look.
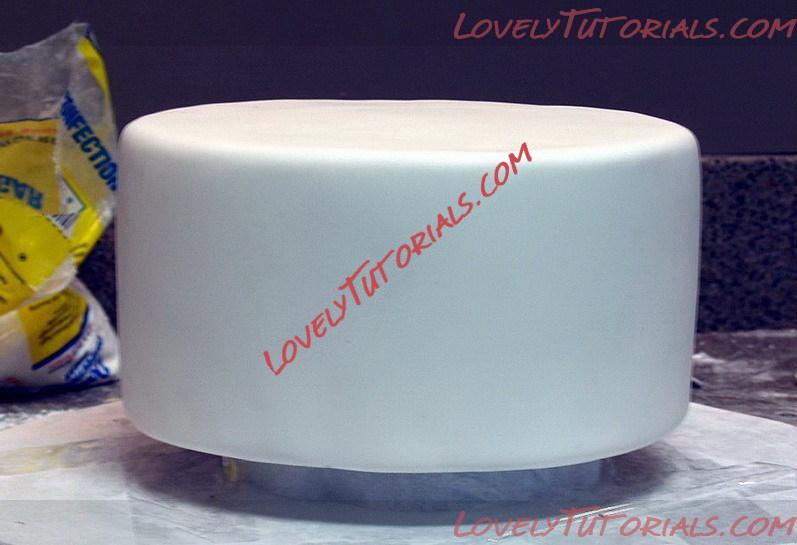
Here is one tier after it was covered.
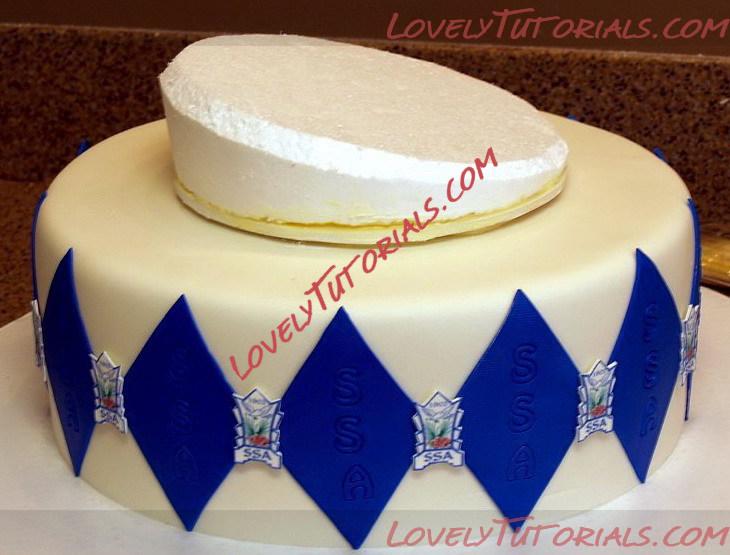
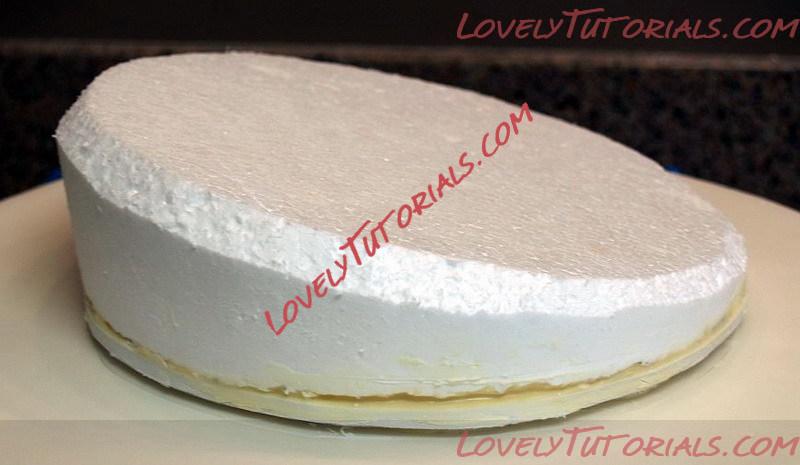
I had topsy turvy dummies laying around, which worked out great, because the top slant was already cut for me. I just had to trim them down to the height I wanted. (Note: to be considered food safe, you need to cover your wedge and board with something appropriate.)
I attached a piece of thin foamcore to the bottom of each styro wedge with white chocolate. This would prevent the supports from going into the styro under the weight of the cakes. I doweled the bottom cake as usual under the wedge support.
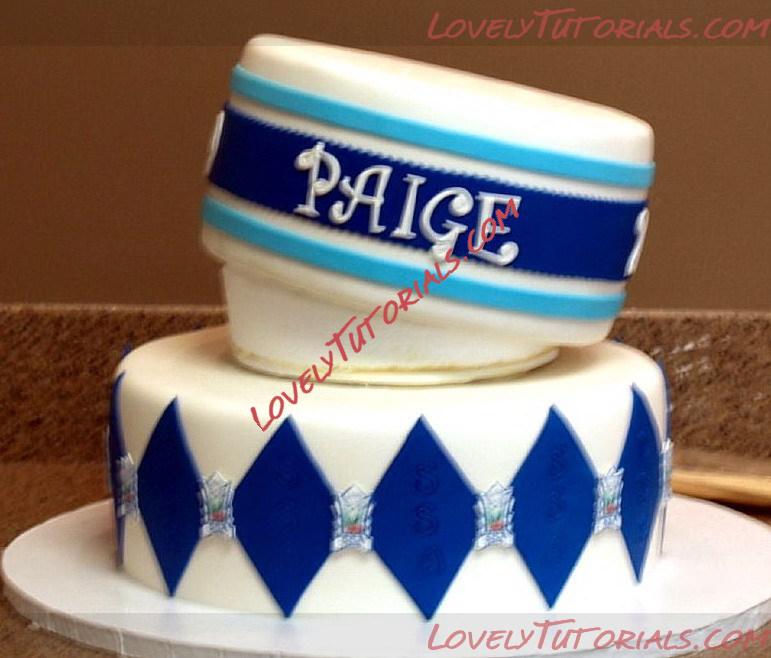
I used melted chocolate to attach the wedge to the lower tier, and more melted chocolate on top of the wedge, then placed the middle tier in place and held it there until the chocolate firmed up. Then I drove 2 wooden dowels down through both tiers.
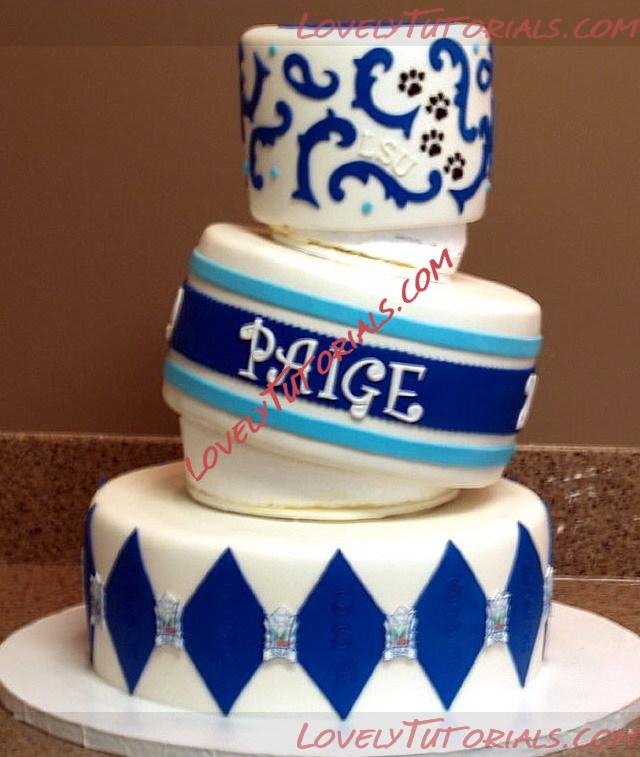
I repeated the same process to apply the top tier. I wanted the top tier to have more of a tilt to the opposite side, but I miscalculated my slant, so it basically came out straight. Oh well, live and learn. (Dagnabbit!) After the top tier was in place, I drove one large wooden dowel down the middle of all 3 tiers.
That cake was very stable and did not budge. Cutting and serving it proved to be a little bit messy, as the melted chocolate between the tiers did tear off some of the fondant when I disassembled it. But I guess that is the price you have to pay to get this look and have it be super stable. I guess you could try to do it without the melted chocolate, but I felt better having it there as glue.