|
|
Изготовление подставки для торта -handmade cakeboards
|

04.08.2011, 14:00
|
|
Администратор
|
|
Регистрация: 07.09.2010
Сообщений: 7,669
|
|
 Изготовление подставки для торта -handmade cakeboards
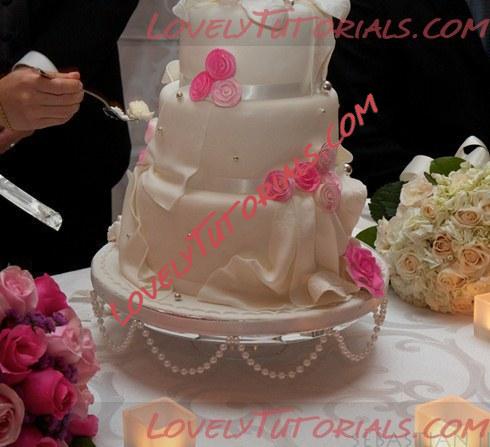
Огромная благодарность автору Алексей за Мастер-класс
Изготовление подставки для торта из пенополистирола.
13:49, 25 июня 2011 г.
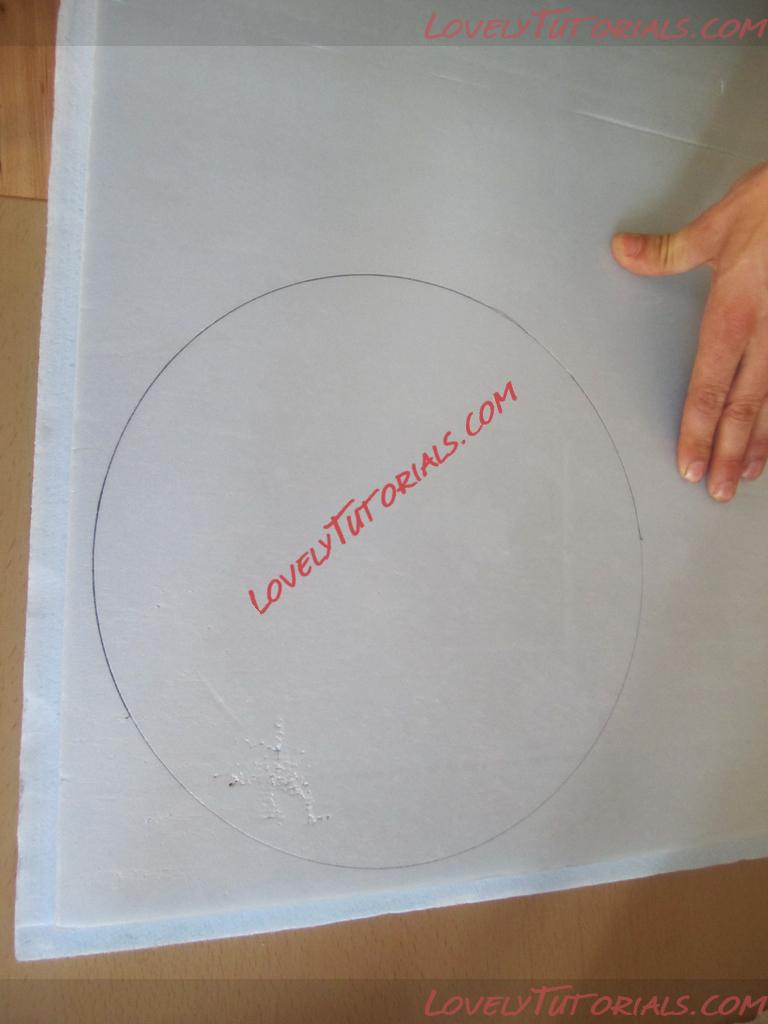
Иногда, когда моей супруге хочется чего-то особенного, она делает красивую подставку под торт. Ну как "она делает"))), это я делаю конечно, а она ходит рядом и раздает ценные указания)).
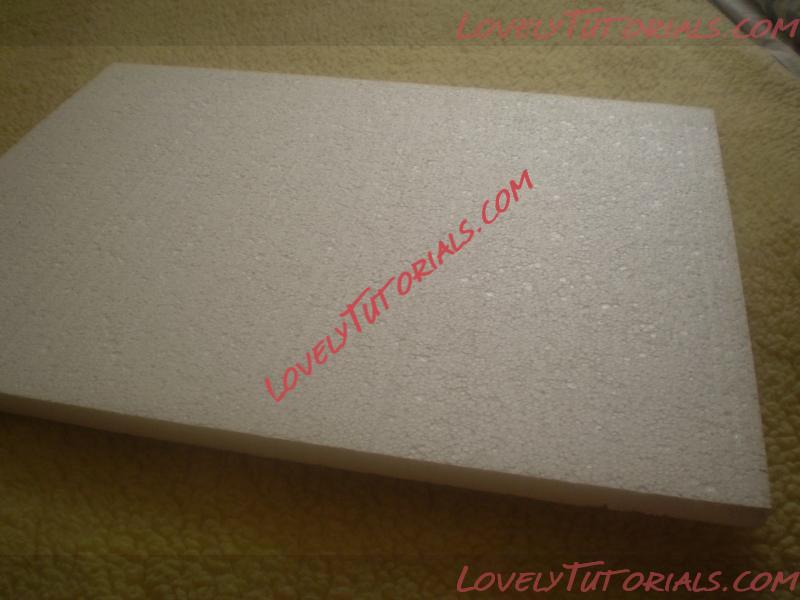
Перед изготовлением этой подставки желательно заглянуть на ближайший стороительный рынок и спросить там "экструдированный пенополистирол". Применяется он вообще-то для утепления помещений. Бывает разной толщины, 30 мм, 50 мм, или как у меня в МК 20 мм. Стоимость большого листа около 90 рублей.
Ну и приступим к изготовлению.
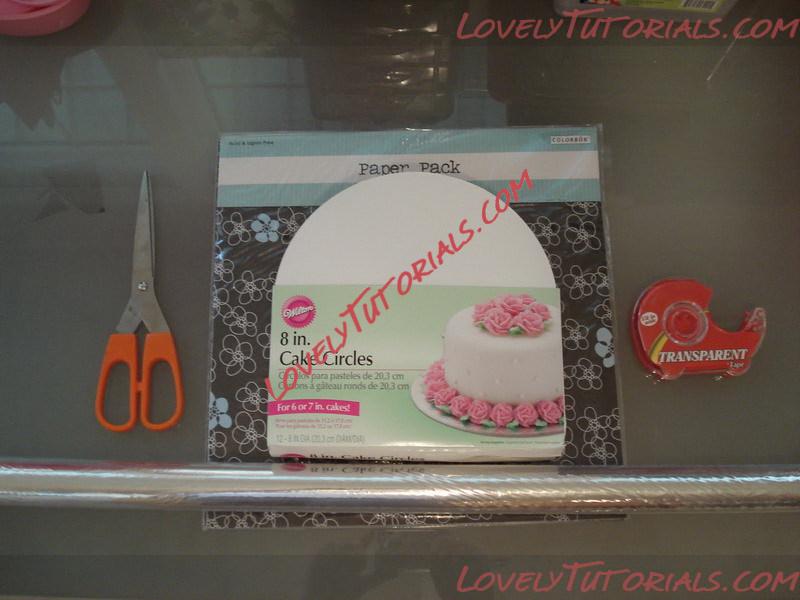
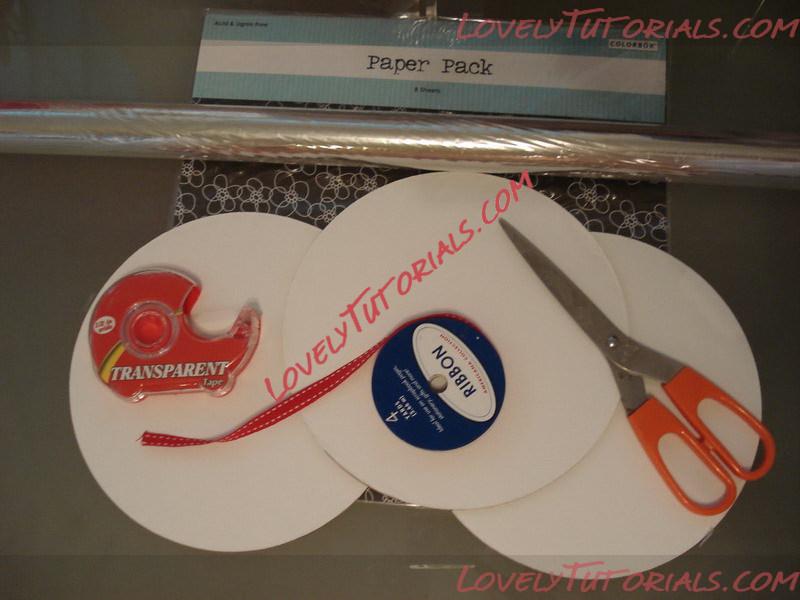
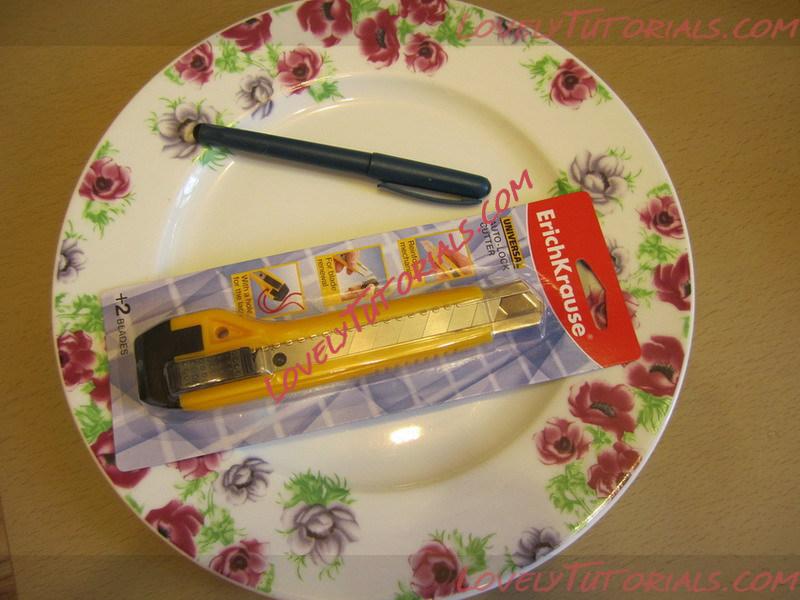
Вам понадобится:
1 - Лист экструдированого пенополистирола
2 - Маркер
3 - Макетный нож с выдвижным лезвием
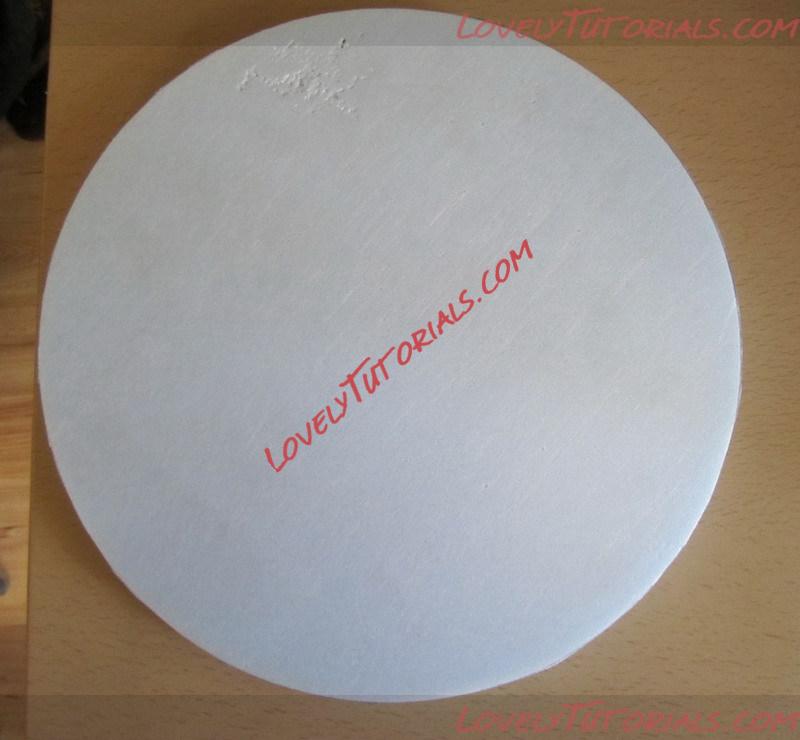
4 - Шаблон (у меня тарелка).
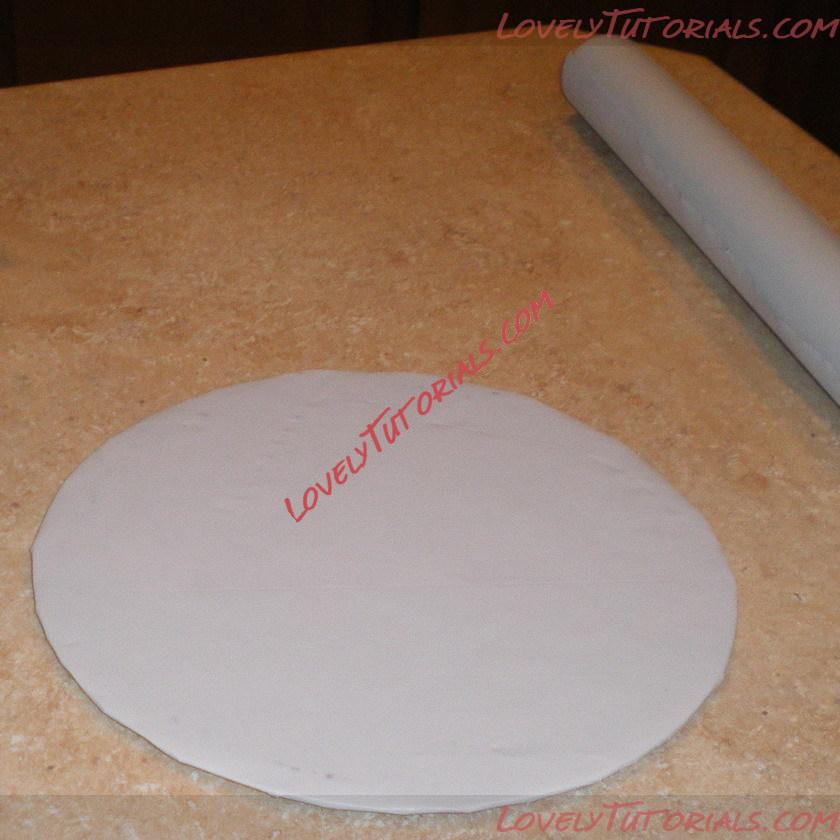
Размечаем

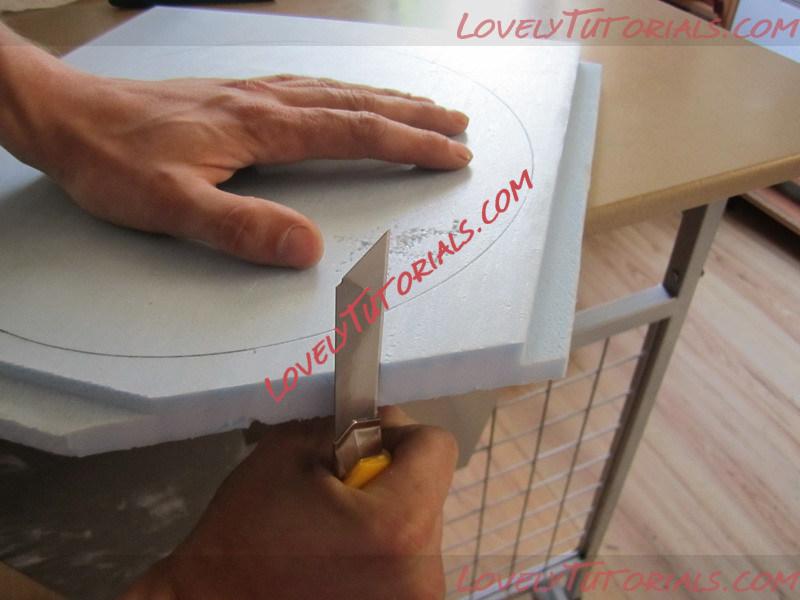
Делаем черновую обрезку.
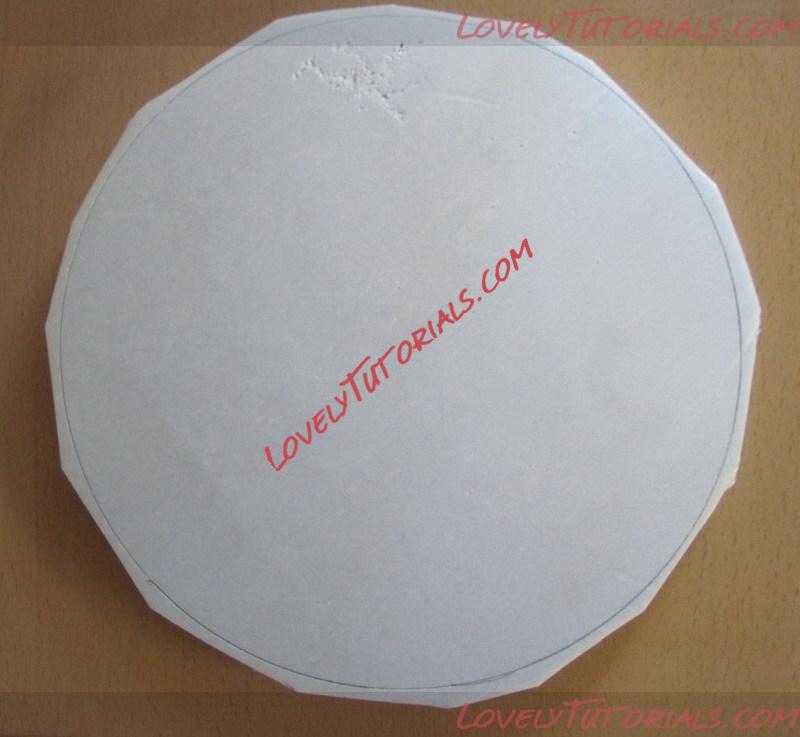
Получается примерно это
Выдвигаем лезвие на возможный максимум, и вырезаем вчистую.
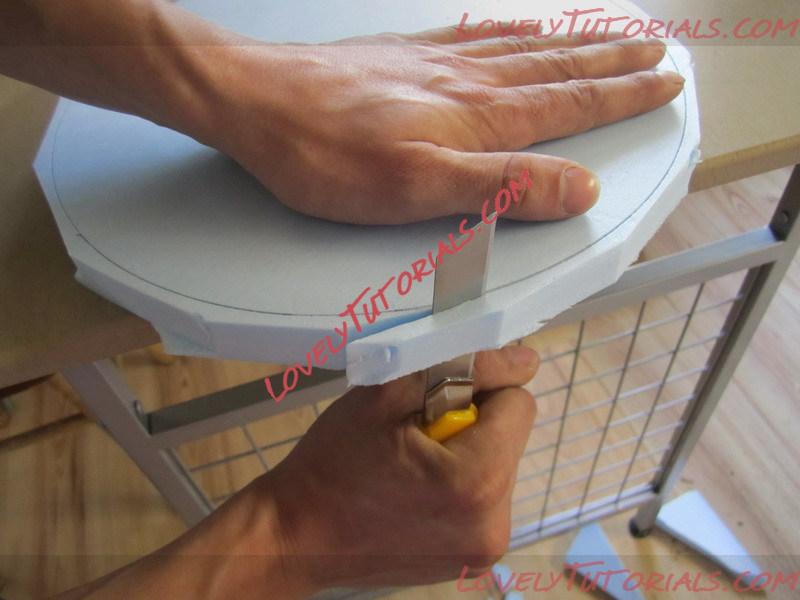
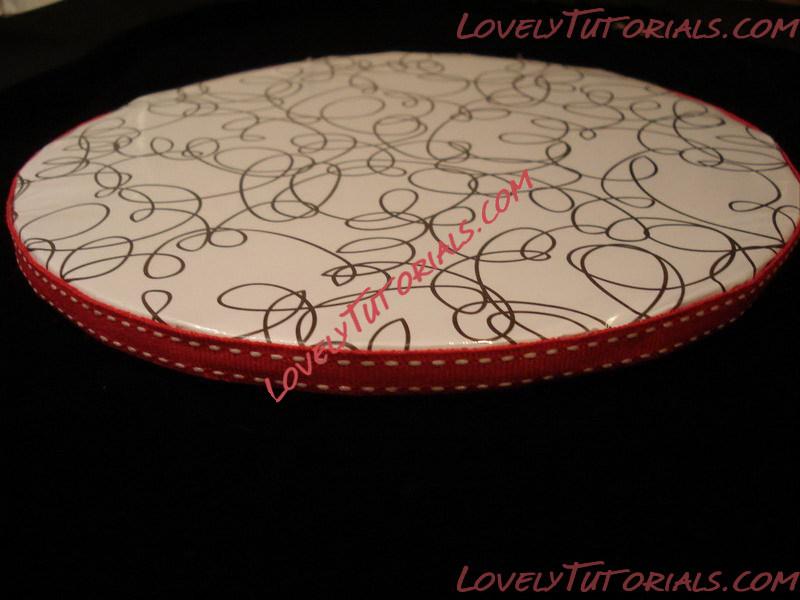
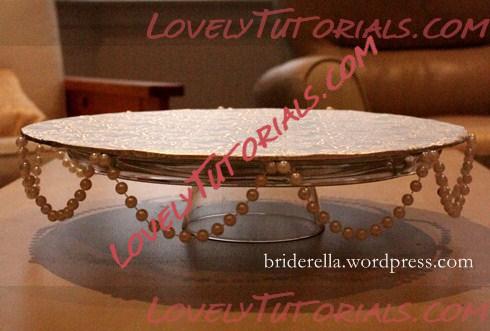
Ну вот в принципе и все. Получилась болванка. Осталось помыть, просушить, обтянуть мастикой.
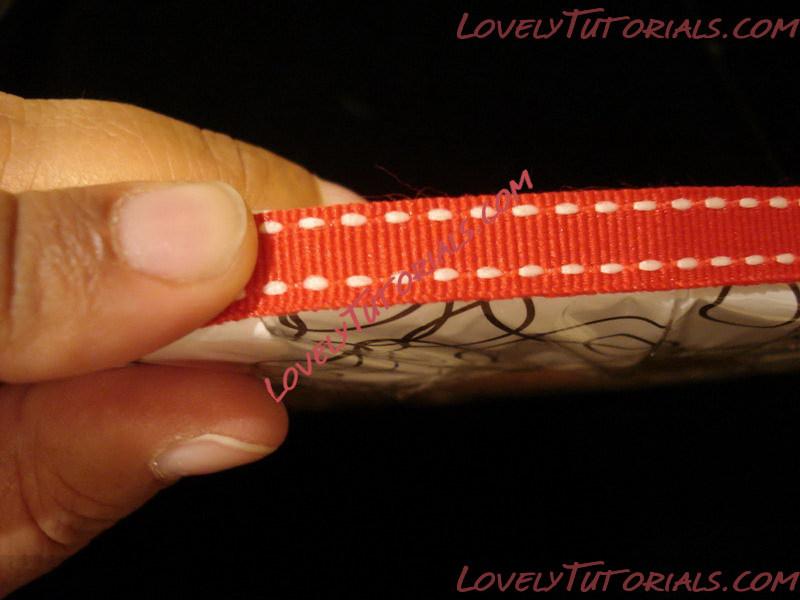
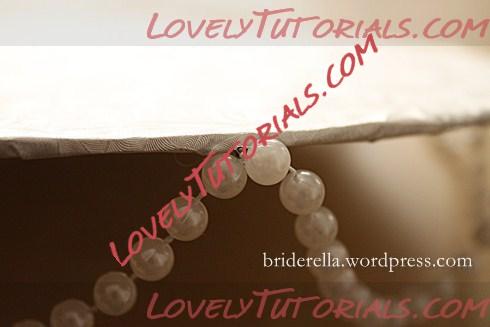
На торец, после покрытия мастикой хорошо было бы положить ленту, которая крепится булавками.
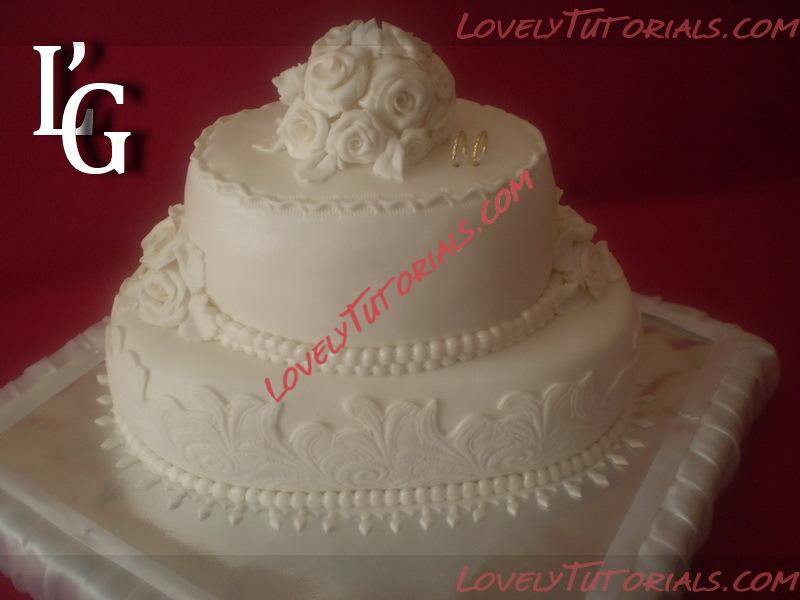
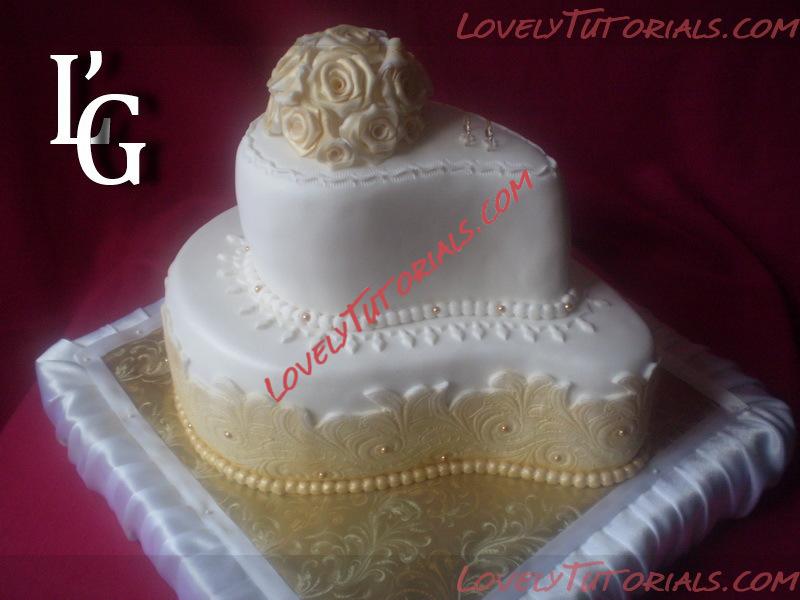
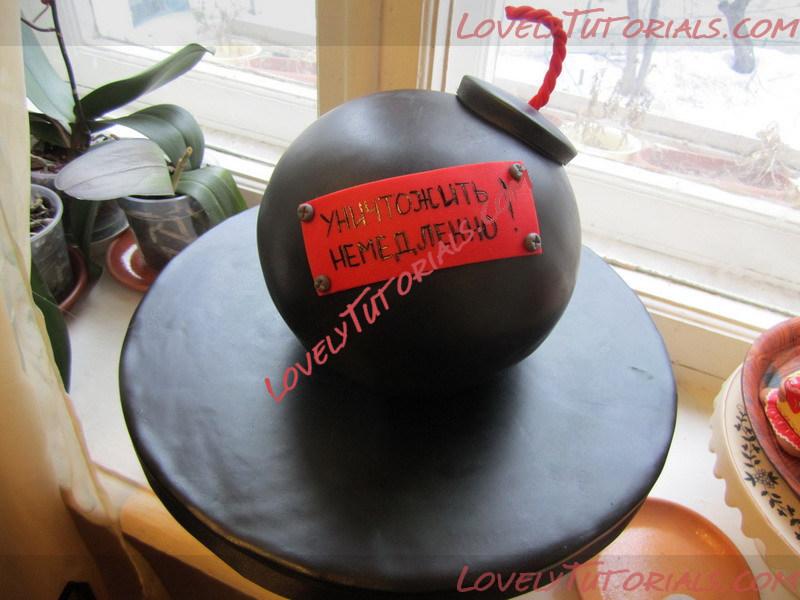
Подставка готова!
И посмотрим на результат
|
09.09.2011, 15:57
|
|
Администратор
|
|
Регистрация: 07.09.2010
Сообщений: 7,669
|
|
|
08.10.2011, 09:14
|
|
Администратор
|
|
Регистрация: 07.09.2010
Сообщений: 7,669
|
|
самодельная подставка под торт -handmade cake boards
|
08.10.2011, 09:57
|
|
Администратор
|
|
Регистрация: 07.09.2010
Сообщений: 7,669
|
|
Огромная благодарность Автору за Мастер-класс
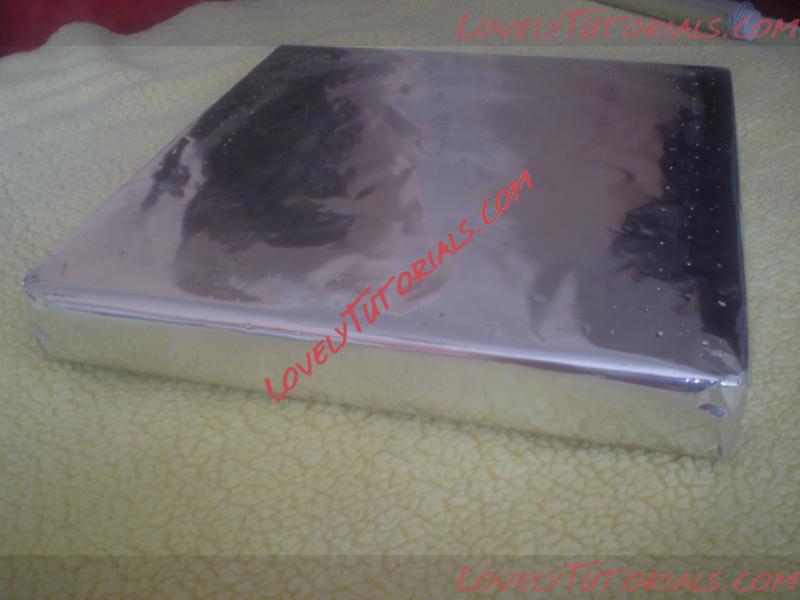
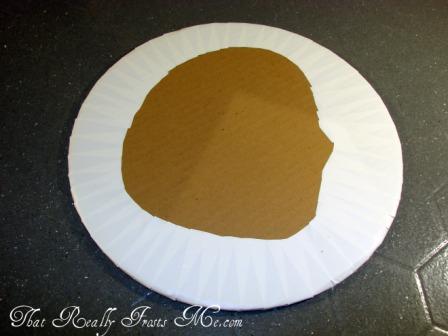
 I love to decorate cakes. It’s just fun and so special to be able to share in special occasions that way. I usually cover the cardboard cake board in foil or butcher paper. It always seems so generic when you put your heart into the cake. Well, I came up with this because I was out of both.
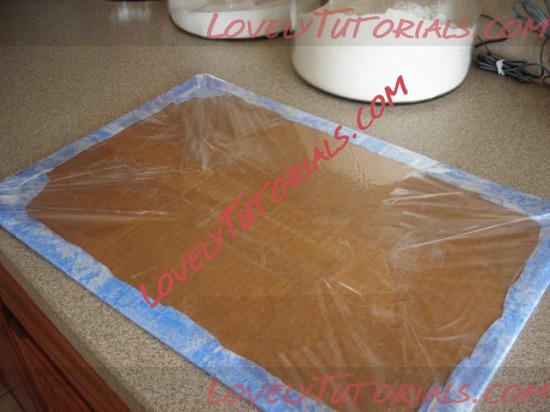
 Pick a fabric to suit the occasion. You’ll also need a hot glue gun, food safe cellophane, scissors, and strong tape.
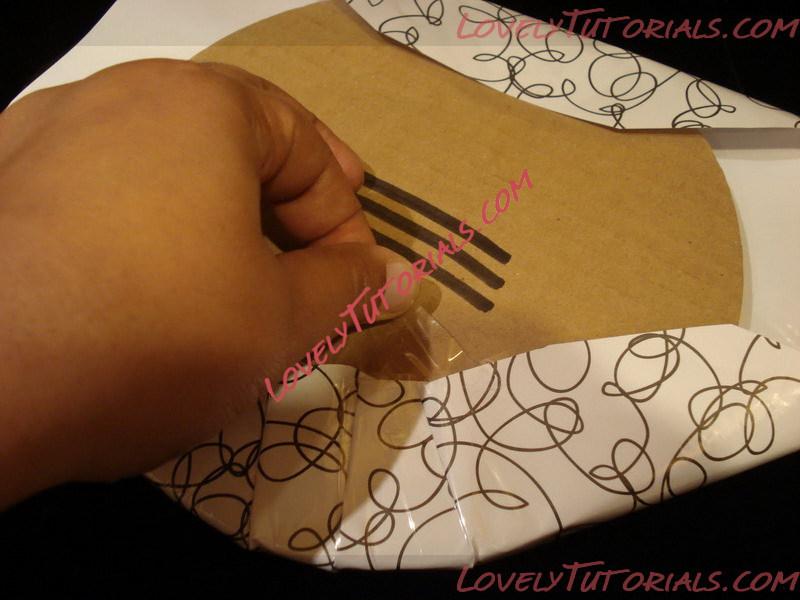
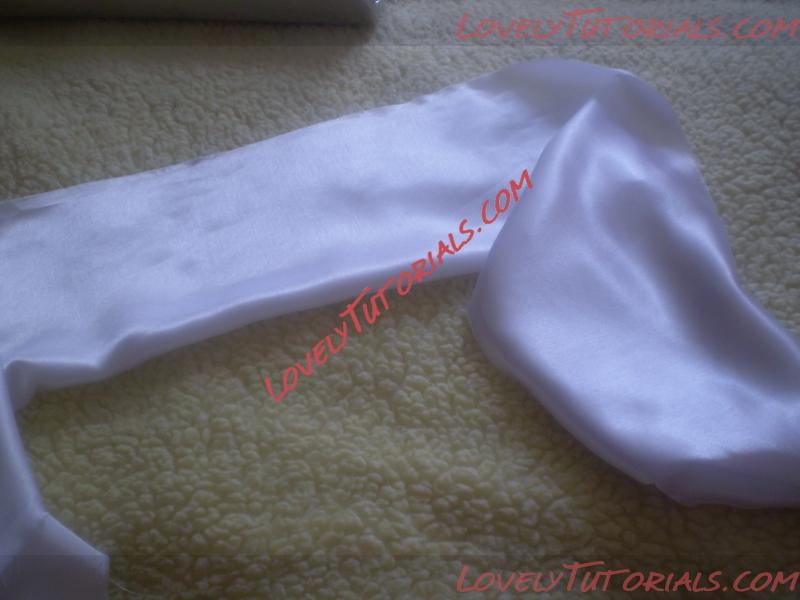
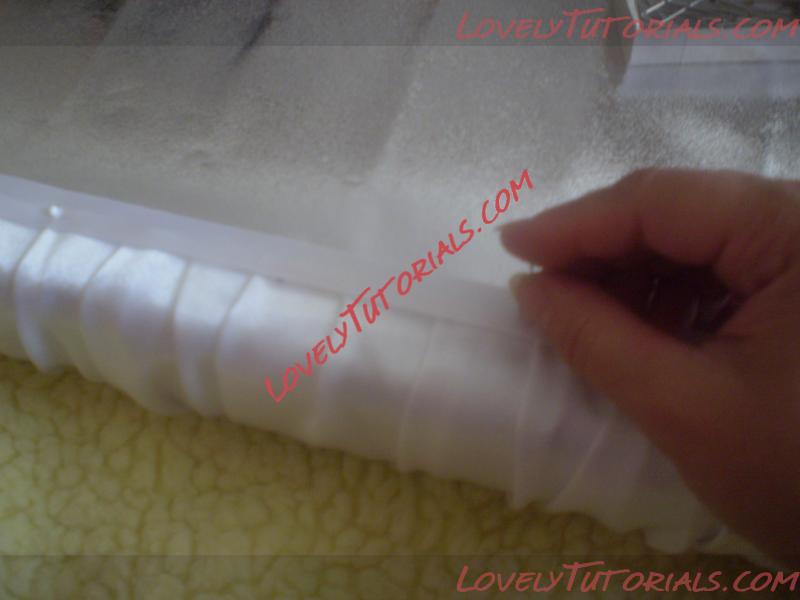
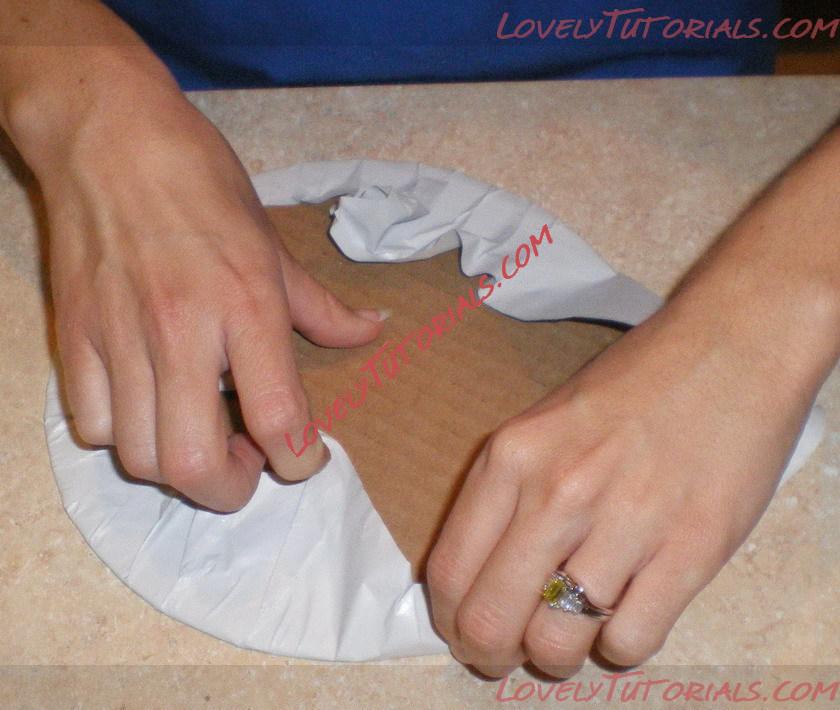
Be sure to press your fabric and get all of those wrinkles out! Lay the cardboard face down on the wrong side of the fabric. Trim the excess fabric down to about 5 inches all around.
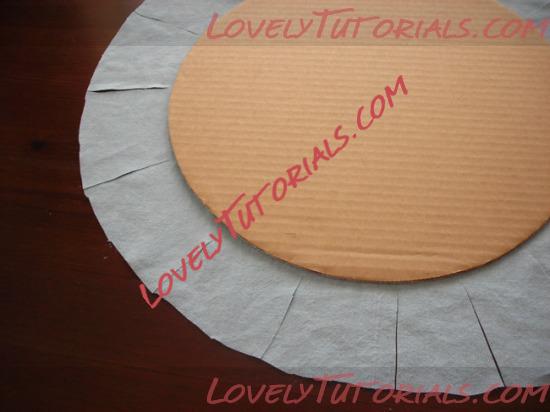
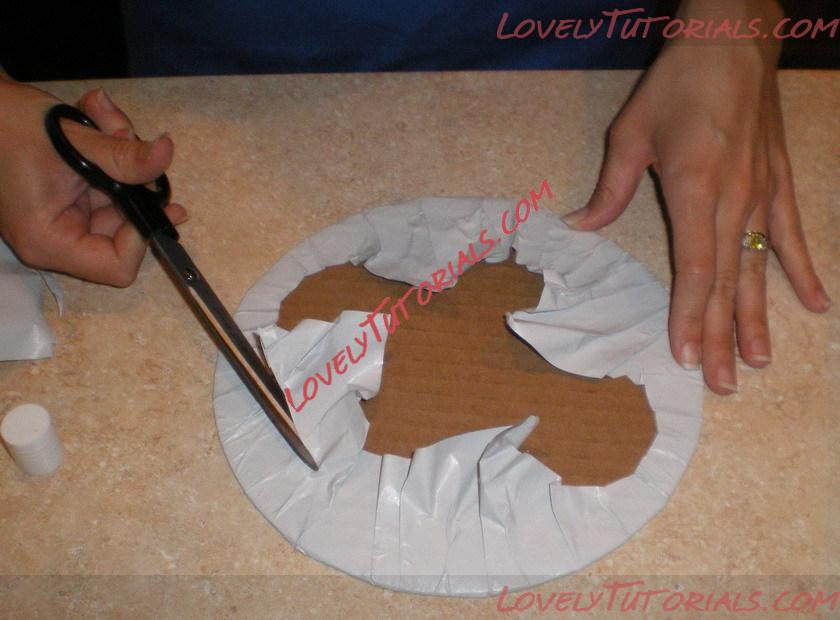
Clip the curves by cutting perpendicular to the cardboard about every 3 inches.
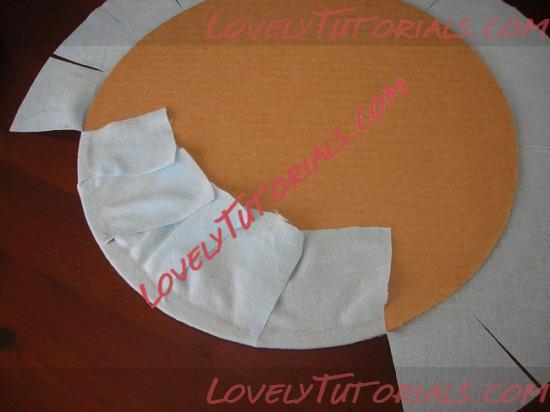
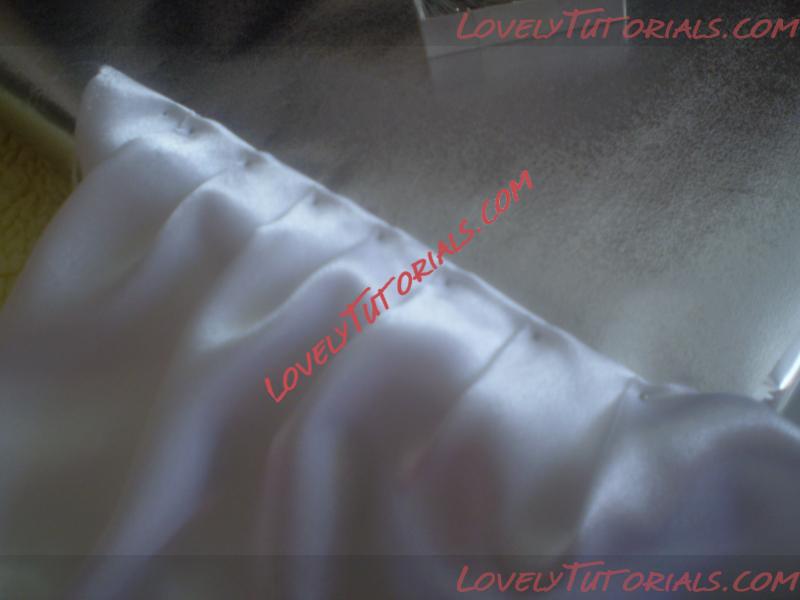
Use hot glue to attach the fabric to the cardboard. You want to pull the fabric tightly, but be careful not to tear the fabric. Do this all the way around.
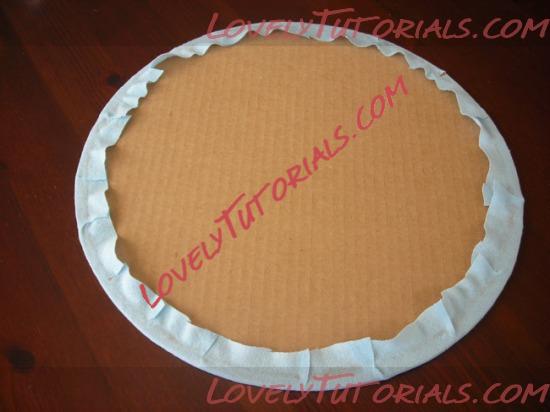
Trim the excess fabric.

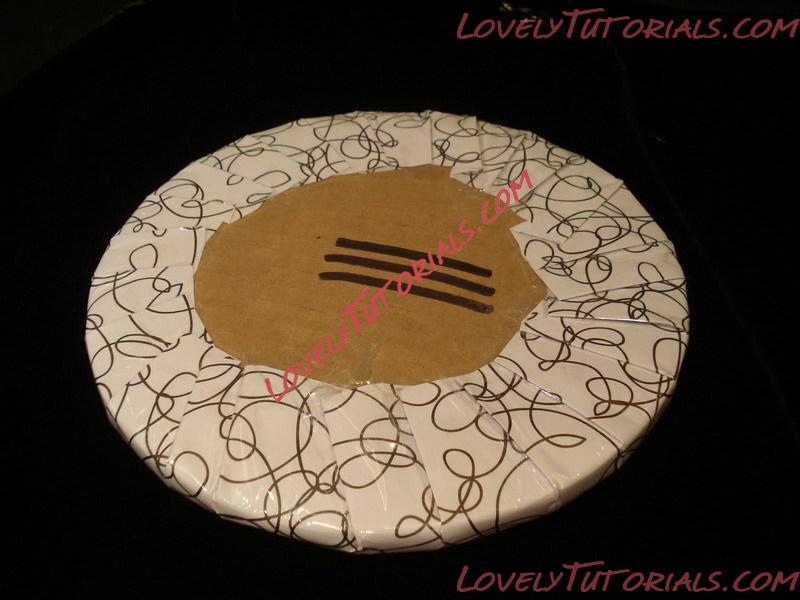
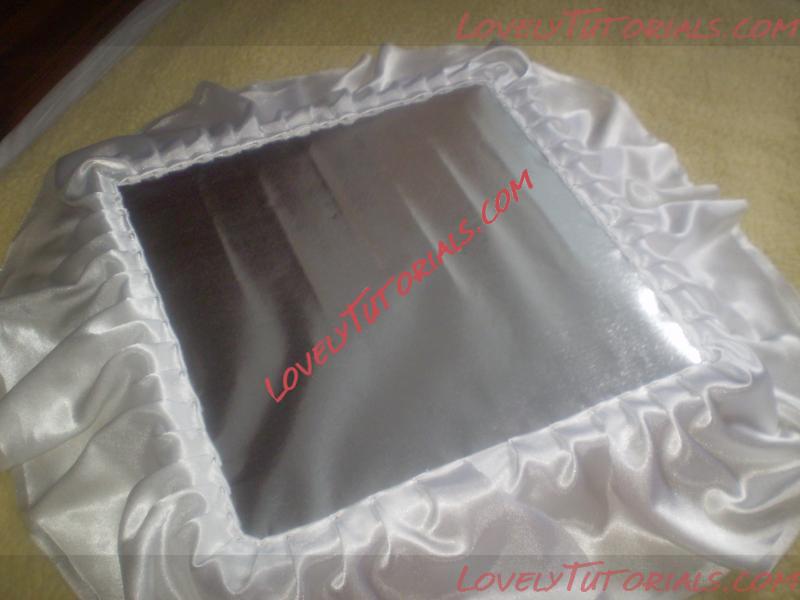
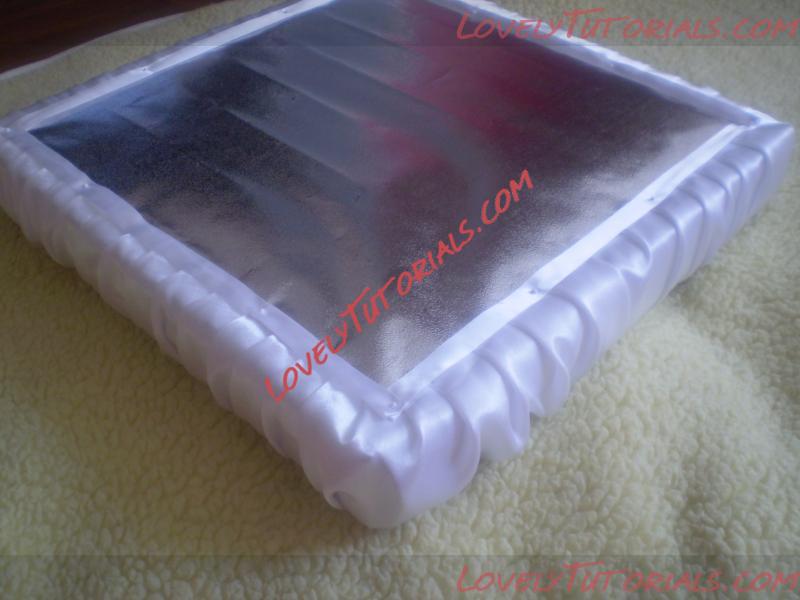
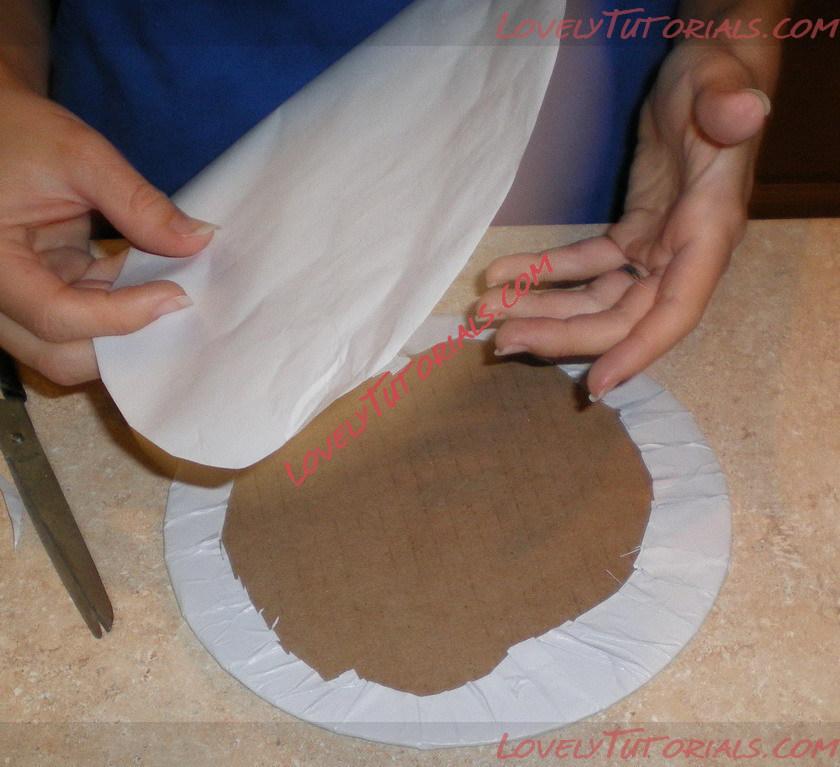
Go through the same steps with the cellophane.
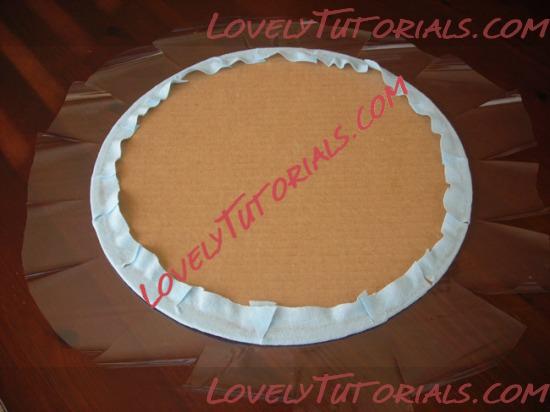
Clip the curves.
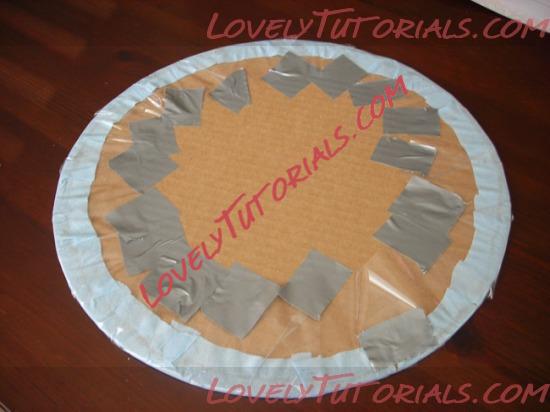
And instead of hot glue, attach the cellophane to the cardboard with tape. If you are planning on using it more than once, I recommend covering the entire back with tape.
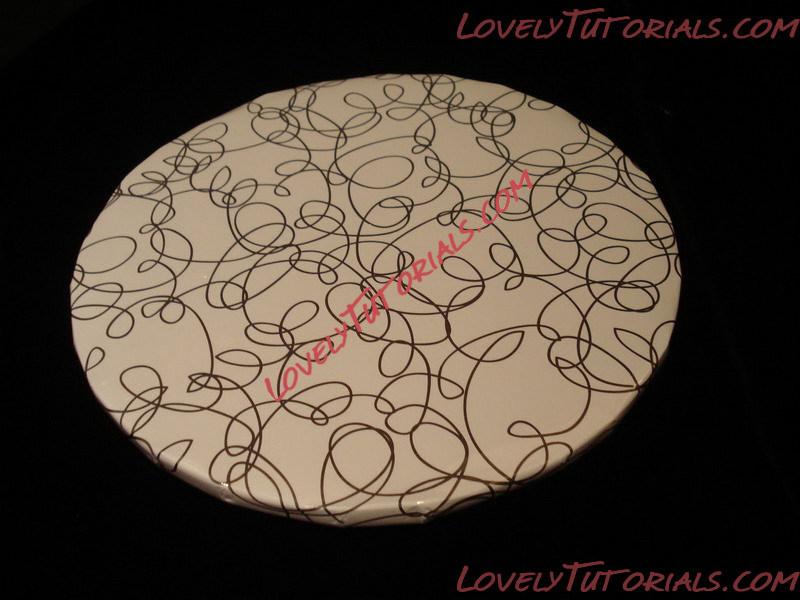
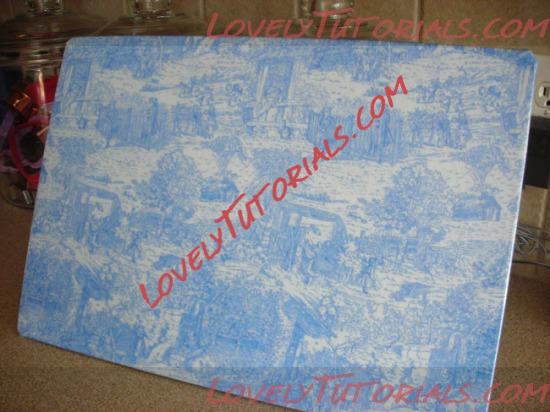
This is the finished board with light blue linen.
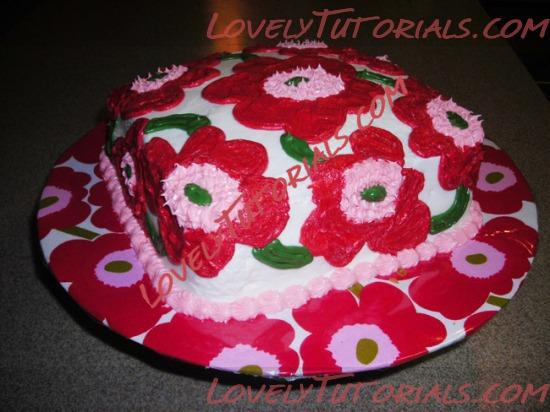
The sea urchin cake. These can be used for more than just cake. Cheeses, cookies, whatever. These can be reused if you are careful not to slice thru the cellophane and gently wash the surface after use.
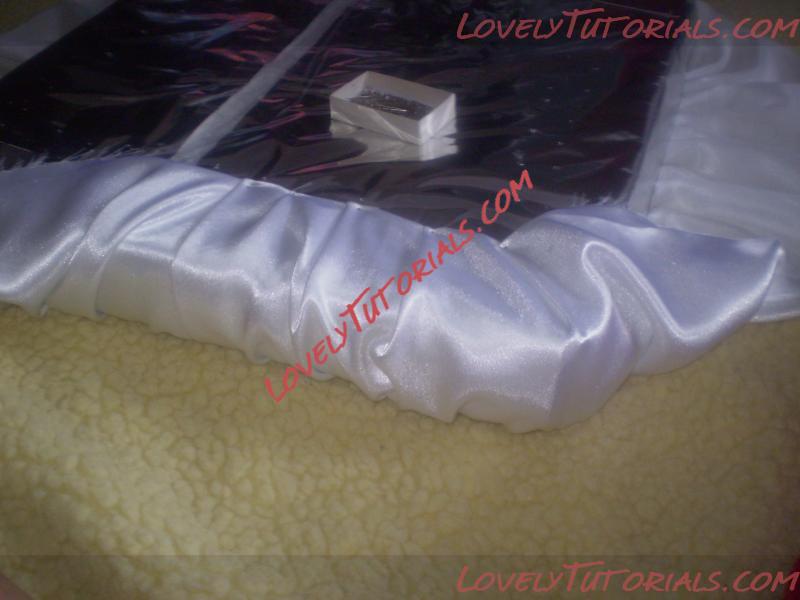
Don’t be limited to circles.
No need to clip the curves. Neat corners are very important.
|
08.10.2011, 10:18
|
|
Администратор
|
|
Регистрация: 07.09.2010
Сообщений: 7,669
|
|
cake board construction
Огромная благодарность Frostine за Мастер-класс
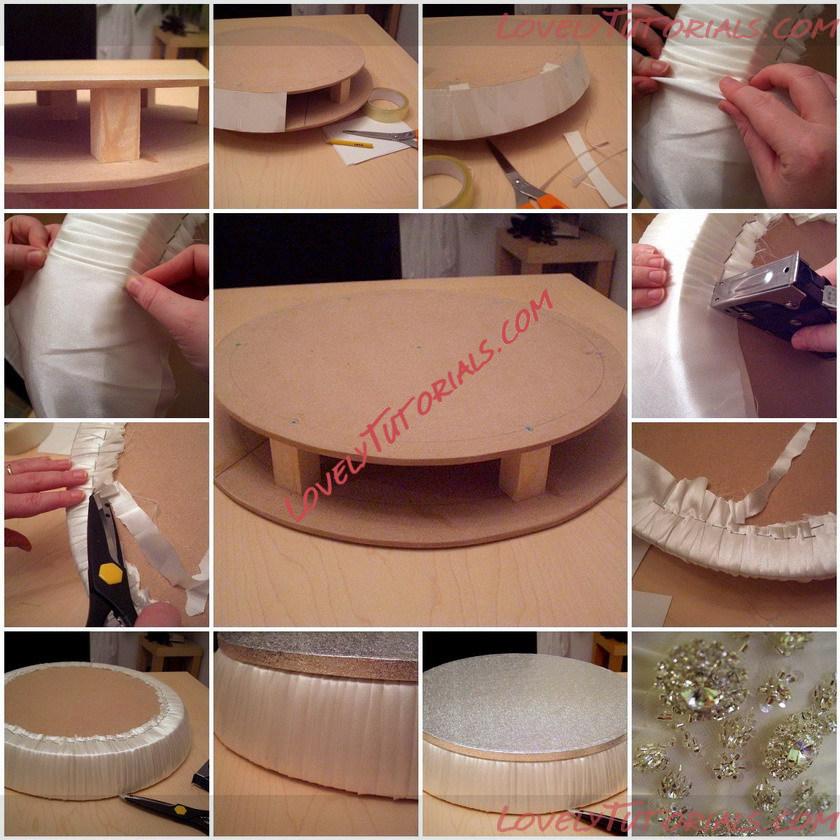
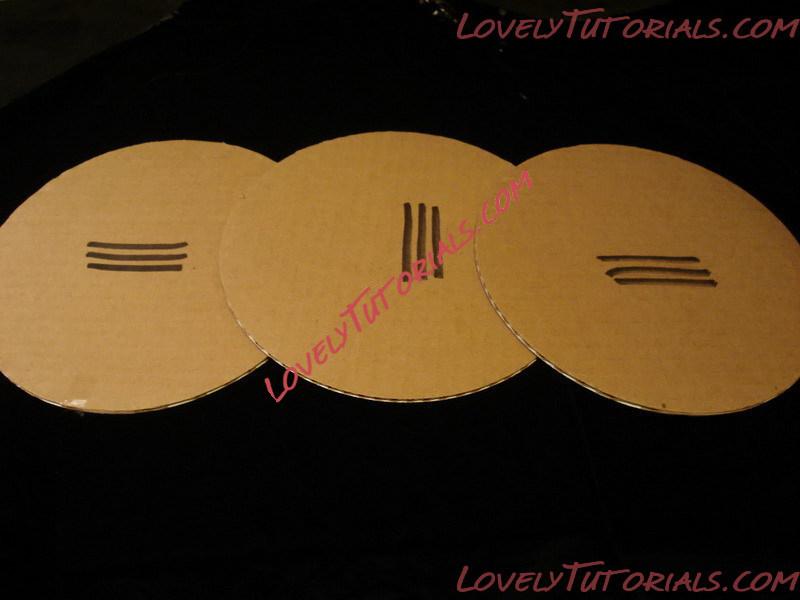
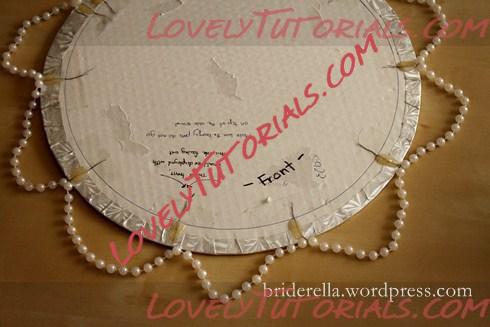
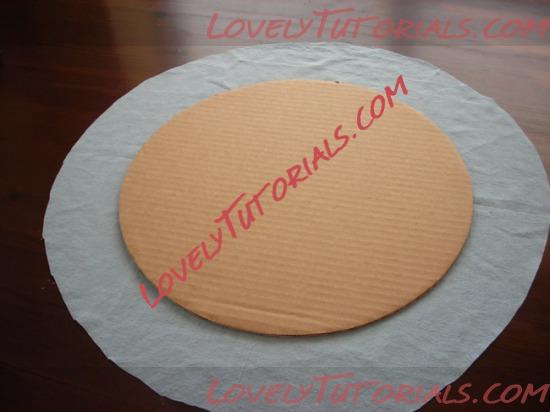
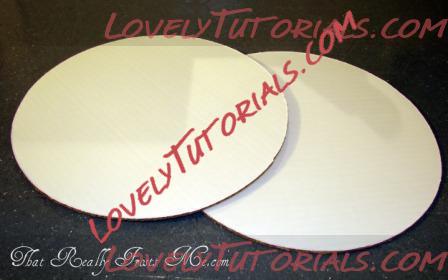 First you need some corrugated cardboard. In this case I start with some pre-cut 12" rounds. These can be purchased in several different sizes of rounds as well as rectangles and squares. For the bottom cake board
that will carry the entire weight of the cake I use at least two layers. For a three tiered cake I would use 3-4 depending on the size of the tiers. My rule of thumb is that it is better to overkill on the stability than to have the cake crash.
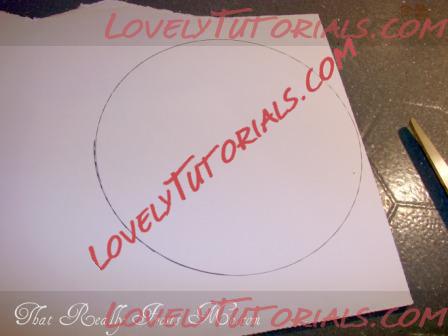
(Sorry about this picture. I don't know what happened to my light.) If you don't have the desired pre-cut size or shape, just trace your pan on a larger piece of cardboard and cut it out with some heavy-duty scissors. This is my 6" round for my top tier. For any tier other than the very bottom I use a single layer of cardboard.
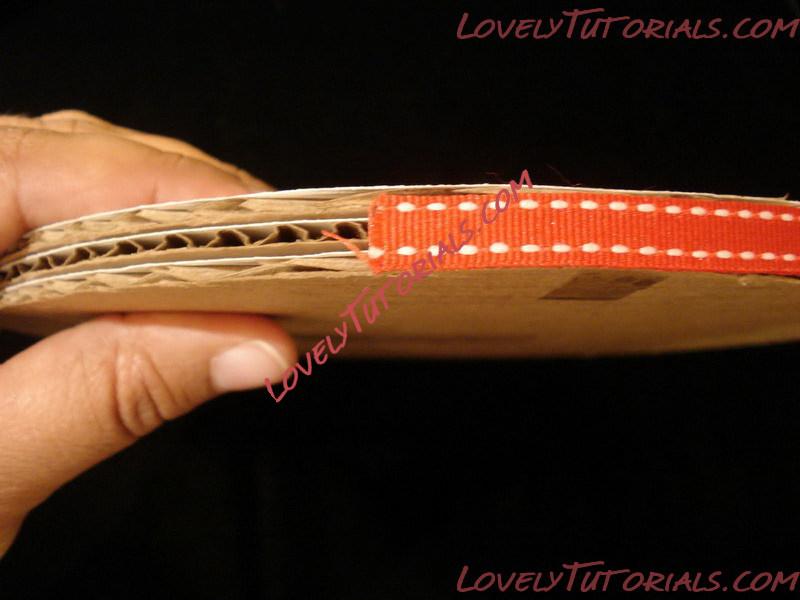
Once you have the correct size and shape of cardboard pieces, get some elmer's glue or something similar. Put the glue between the layers on your multi-layer bottom cake board. I have used tape to hold the boards together but it showed through the contact paper in the next step.
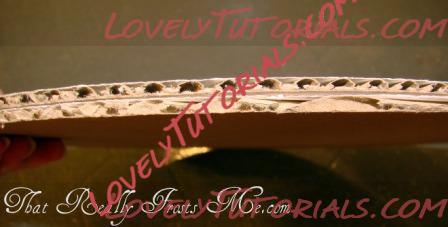 Make sure that you align the corrugation in different directions when you stack up the layers. This will make the board much stronger.
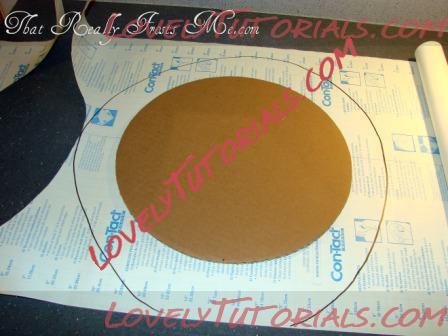
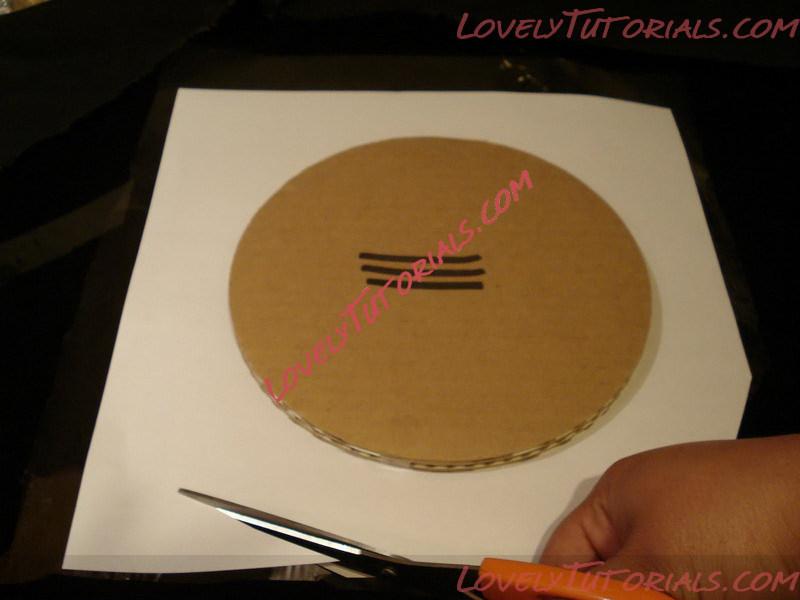
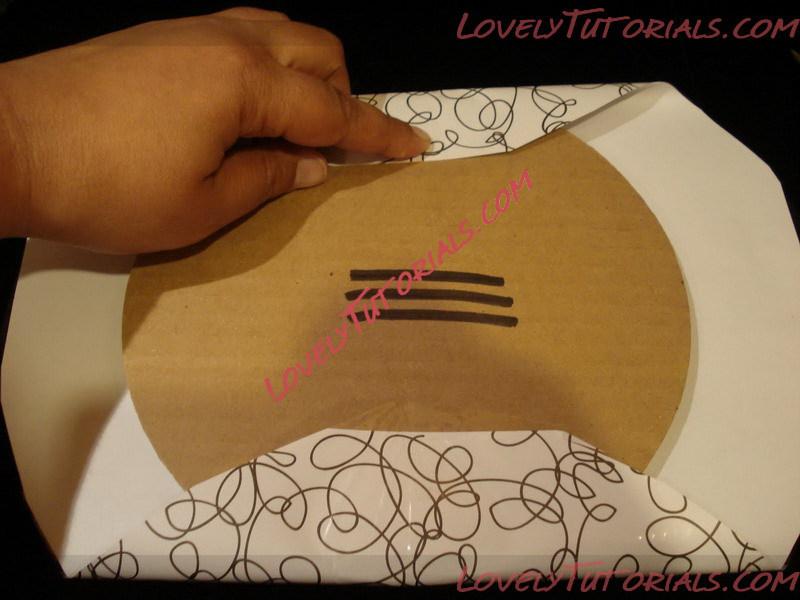
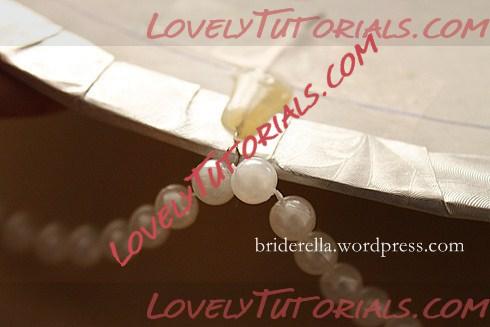
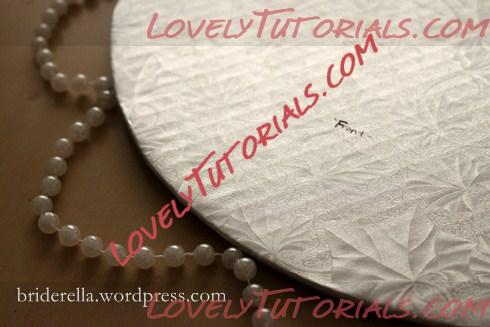
I like to cover all my cake boards in white contact paper. It makes them look clean and prevents the moisture of the cake from compromising the strength of the cardboard. You could certainly use a patterned or colored contact paper if you are going for a particular look. You could even cover your cardboard with a decorative paper and then use clear contact paper over that. Either way, you trace a large circle 2-3 inches larger than the cardboard. I just eyeball it. It doesn't have to be perfectly round. Cut this out and carefully remove the protective paper. Stick this (centered) to the white side of the cardboard. If your cardboard is not white just stick it to the best looking side.
Next, cut slits around the contact paper that extends past the cardboard. It will look like thick fringe.
Work your way around the board folding the fringe onto the back of the cardboard.
Tada! One finished cake board...for the bottom. For the boards that go between the tiers there is one more step.
I stick one more piece of contact paper on the back to completely seal in the cardboard. This step is crucial to the stability of your cake. You don't want the moisture from the lower tier to seep into the cardboard and make it floppy. That would be a recipe for disaster.
There you have it, the somewhat mundane, but important step of cake board construction.
|
08.10.2011, 11:38
|
|
Администратор
|
|
Регистрация: 07.09.2010
Сообщений: 7,669
|
|
|
08.10.2011, 12:13
|
|
Администратор
|
|
Регистрация: 07.09.2010
Сообщений: 7,669
|
|
|
 |
|
|
Метки
|
addım-addım təlimat, adım, adım adım yönergeler, artesanatos passo a passo, bemutató, bolando bolos, cake, cake board construction, cake decorating, cake decorating techniques, como preparar la base para montar un bizcocho, confeitando bolos, construction, covered boards, decoracion de pasteles, decoración de tortas, decorada en fondant, decorare le torte, decorazioni, deko fondant, dekorace na dort, dekoracija, dekoracije, dekorasyon, dekorácie, diy wedding cake stand, fender, fimo, fotopostup, hand-made, handmade, handmade cake boards, how to, how to make a cake stand, how to make decorative cake boards, how-to's, instrucţiuni, instrukcijas, instrukcje, jak na, kage dekoration, kagedekoration, kakebaking, korak, korak za korakom navodila, korak-po-korak upute, koristeet ja koristelu, krok, krok po kroku, krok za krokem, krok-za-krokem, las instrucciones, las técnicas, le tecniche, les techniques, making cake boards, master-class, master-klasse, master-klasy, meistras klasės, metodikas, mistr třídy, motivtorten, návod, opplæringen, pamoka, pap, pas, pas-cu-pas, paso, paso a paso, passo, passo a passo, passo-a-passo, passo-passo le istruzioni, podnos po domácky, polystyrén, postup na podnos, postupak za ukrasavanje, schritt für schritt anleitung, schritt-für-schritt, schritt-für-schritt-anleitungen, stap, stap-voor-stap, stap-voor-stap instructies, steg for steg, steg-för-steg-instruktion, step, step by step, step-by-lépésre, step-by-step, step-by-step instructions, support, technieken, techniken, techniki, techniky, technikák, techniques, tecnicas de decoracion, tecniche, tehnici, tehnike, teknikker, teknikler, torte, torte decorate, torten dekorieren, torti, trin, trin for trin, trin-for-trin, trin-for-trin instruktioner, trinn, trinn for trinn, trinn-for-trinn-instruksjoner, tutorial, tutoriale, tutorias, tutorias/ideas para decorar los bizcochos, tutoriel, tutorijal, técnicas, ukrašavanje torti, uputstvo za dekoraciju, सजा केक, ट्यूटोरियल मास्टर वर्ग, कदम, कदम दर कदम निर्देश, तकनीक, étape, étape par étape les instructions, öğretici, žingsnis, žingsnis po žingsnio, 宗師級教程,一步,一步一步的指示� � �技術,udžbenik, 裝飾蛋糕, βήμα, βήμα προς βήμα οδηγίες, οδηγίες βήμα βήμα, παντεσπάνι art, τεχνικές, φροντιστήριο, инструкция, изготовление подставки для торта из пенополистирола, как сделать, крок за кроком, крок за крокам, подставка, покроково, пошагово, пошаговые фотки, пакрокава, миниатюра, мк, майстор-класа урок, майстар-клас, майстер-клас, майстер-класи, мастика, мастер-класс, ручной работы, ручная работа, украшение, украшение тортов, самодельная подставка для торта, самодельная подставка под торт, уроки прикрашання, стъпка, стъпка по стъпка инструкции, торт, техники, техника, техніка, туториал, туторіал, тэхніка, шаг за шагом, інструкцыя, інструкція  |
|