Огромная благодарность Cakes by Beth за Мастер-класс
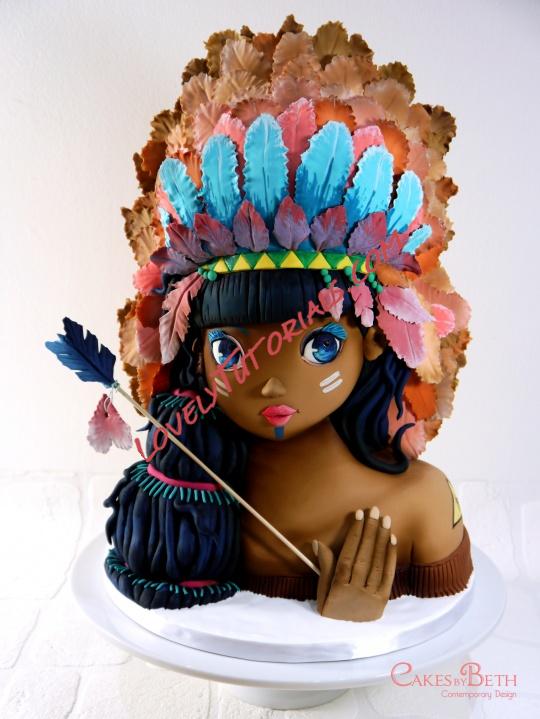
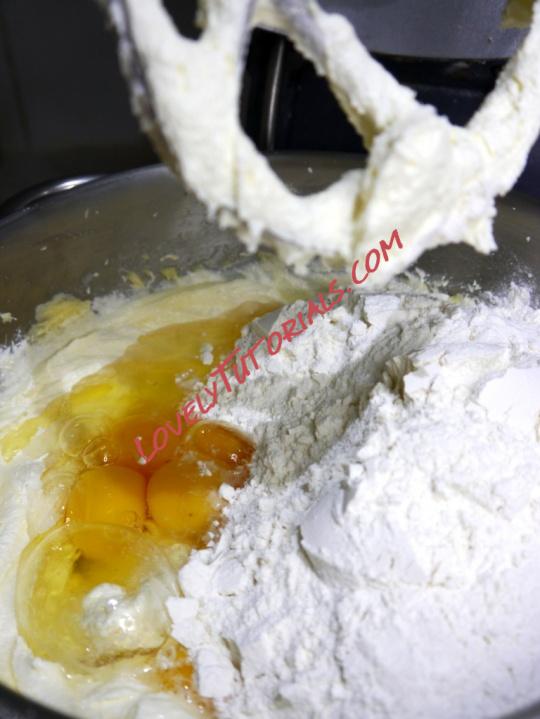
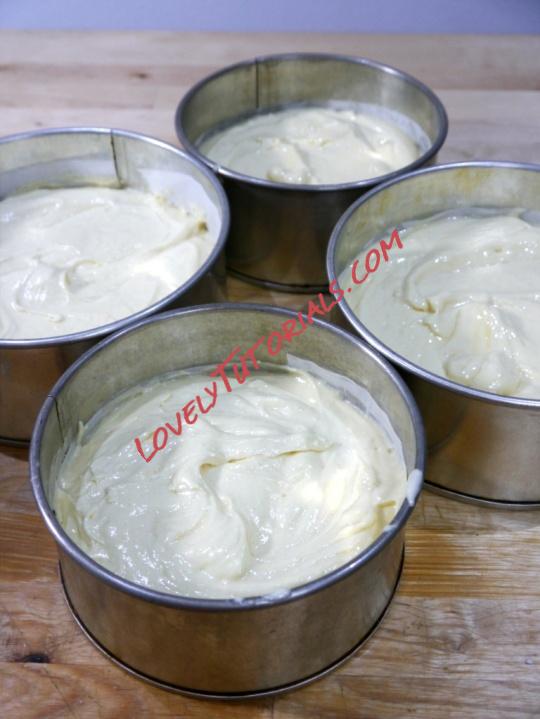
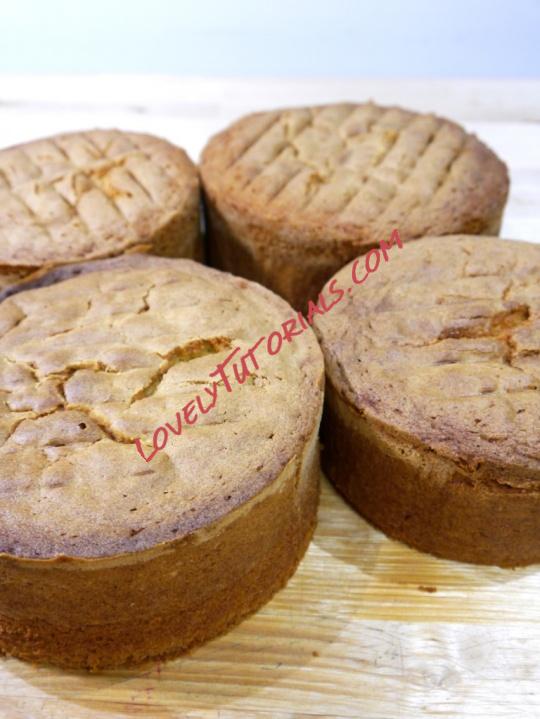
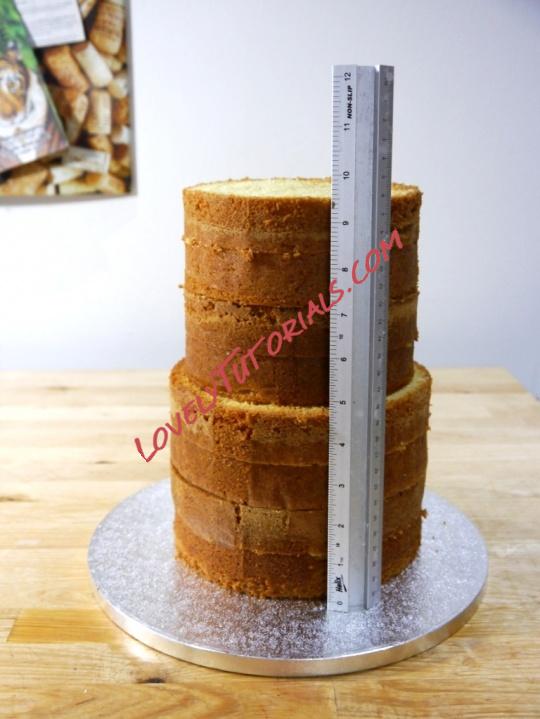
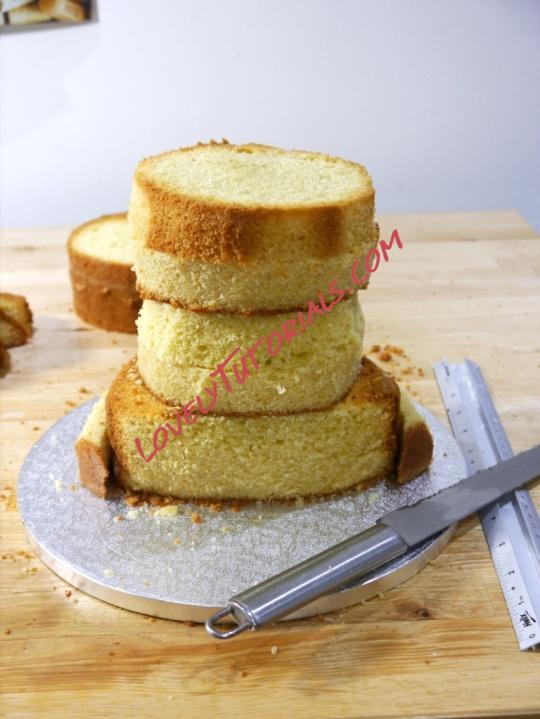
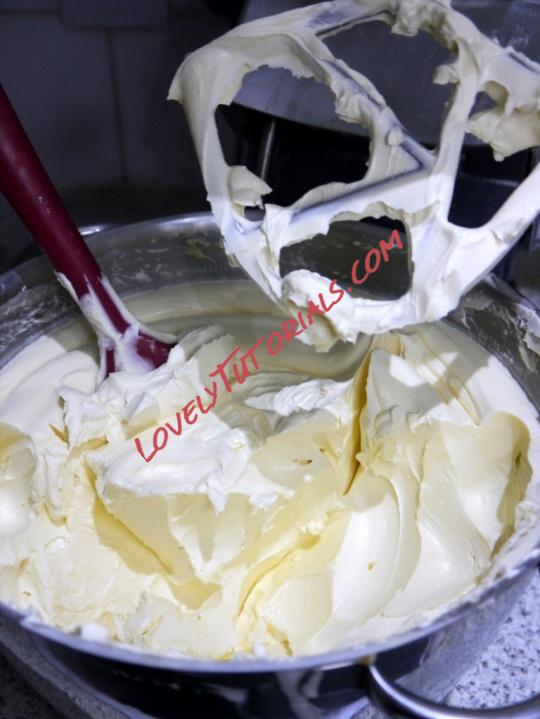
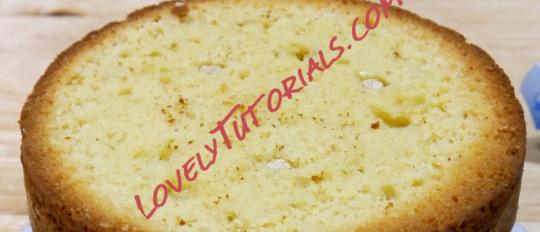
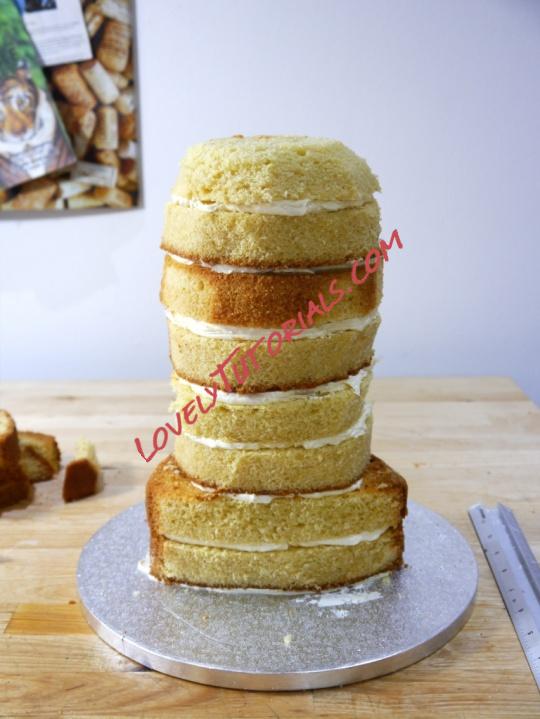
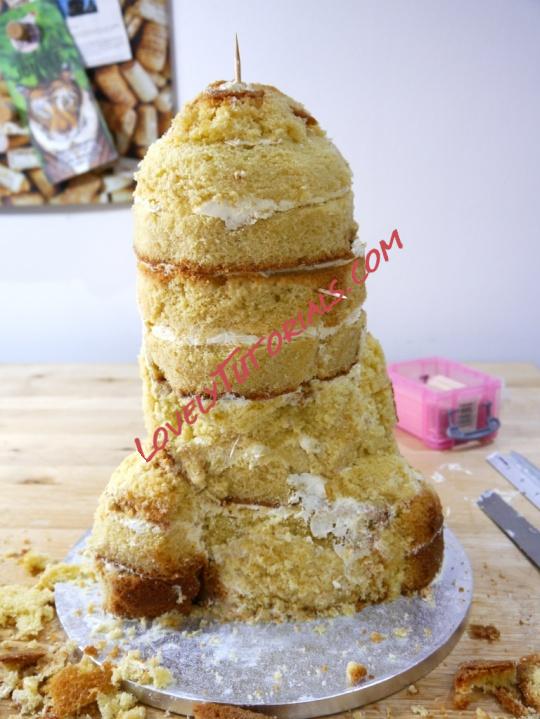
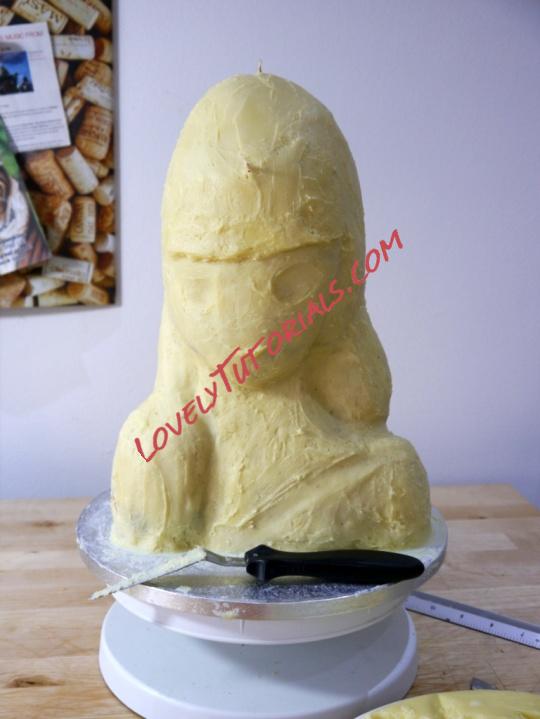
The cake is vanilla sponge filled with a light salted caramel buttercream. As the cake is tall and carved, I didn't want to add jam that can fight against you, but I wanted the cake to have a nice flavour. After measuring the design proportions, I decided that a stack of 6 and 7 inch cakes would be the right size. After baking and torting the cakes, I did a practise stack and initial light carve to kick start the overall shape, then filled with buttercream and stacked properly. I wanted maximum cake, minimum structure so I used a simple tripod of dowels and cake board system, opposing the positioning of the dowels in each section so that the cake was thoroughly supported all round. I then carved an approximate face, hair and shoulder shape, filled in gaps and padded out the structure with cake offcuts, and covered everything with white chocolate ganache (my personal favourite to work with). I used cocktail sticks as markers to help with the different parts of the structure.
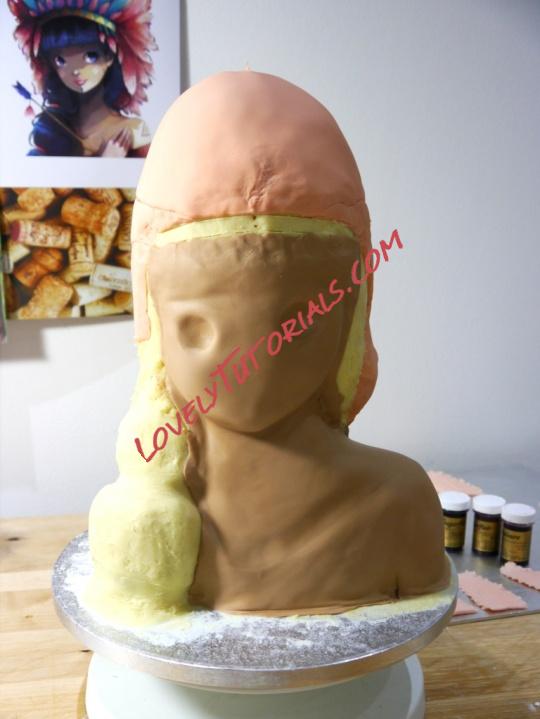
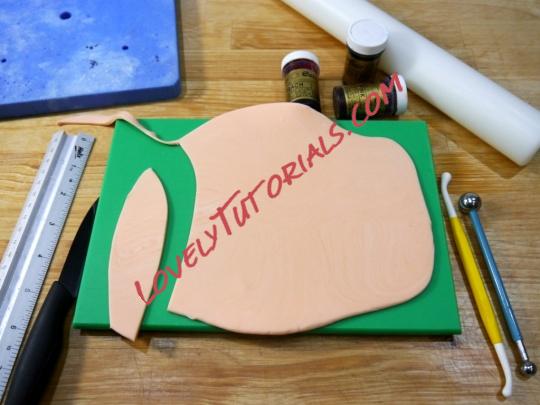
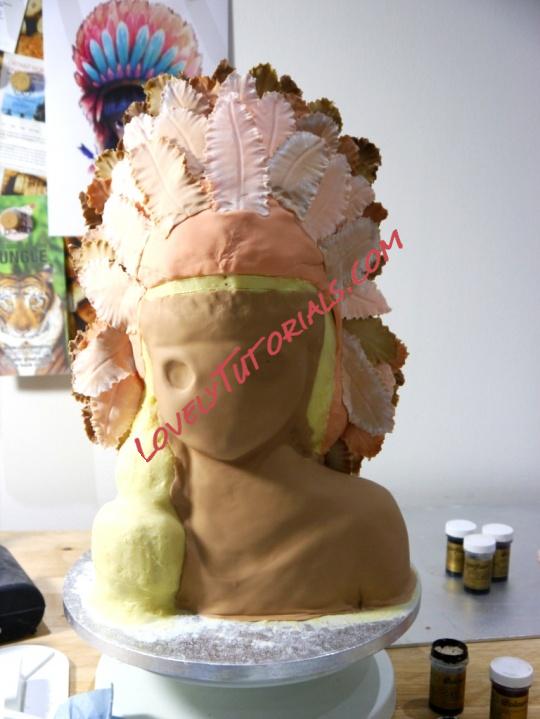
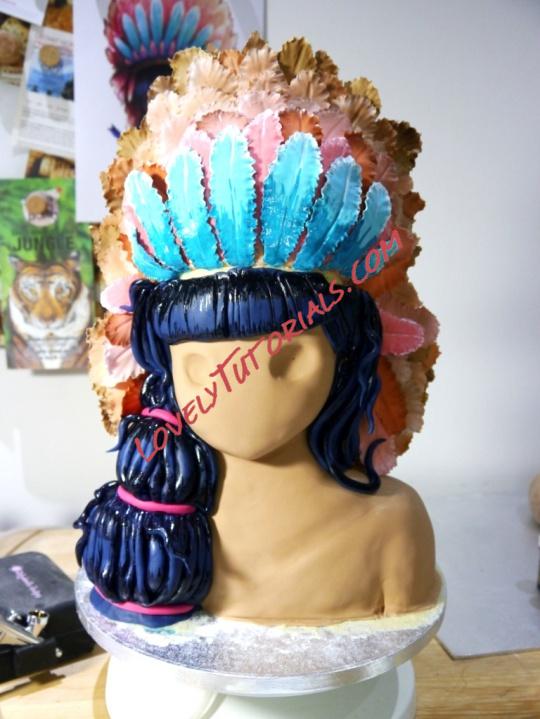
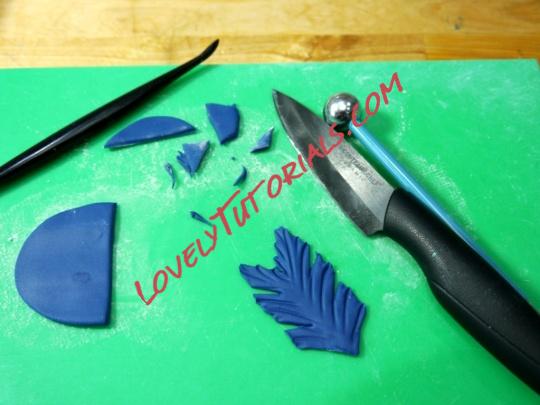
After ganaching, I did loads and loads of tweaking of the shapes before I started to ice. I added a peachy base to the headdress area so that the feathers would attach more easily. I made the feathers by hand cutting rough feather shapes from flower paste, ruffling the edges and adding in central vein details with a boning tool, then letting them dry a little. I mixed a range of colours from brown to pale peach, through to darker pinks, and added tones and shading by airbrushing with brown and dusting and painting with white.
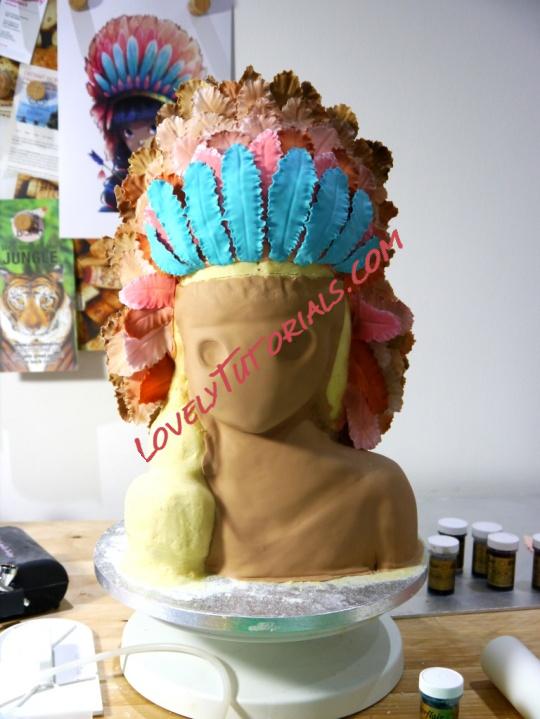
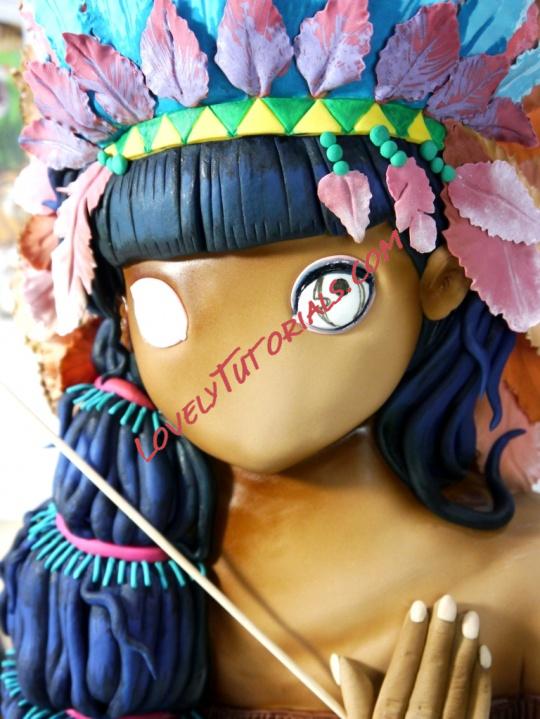
Tiger Lily has a dark brown halo of feathers at the very back of her headdress so I replicated this by cutting out triple-feather shapes and forming a frame. These were supported with cocktail sticks at the back until they dried. I then layered up mixtures of different shades and tones of feathers until I reached the turquoise main feathers at the front. A lot of her hair is actually blue so I used this as the base colour and painted black shadows and lowlights. I also airbrushed shadows onto her skin.
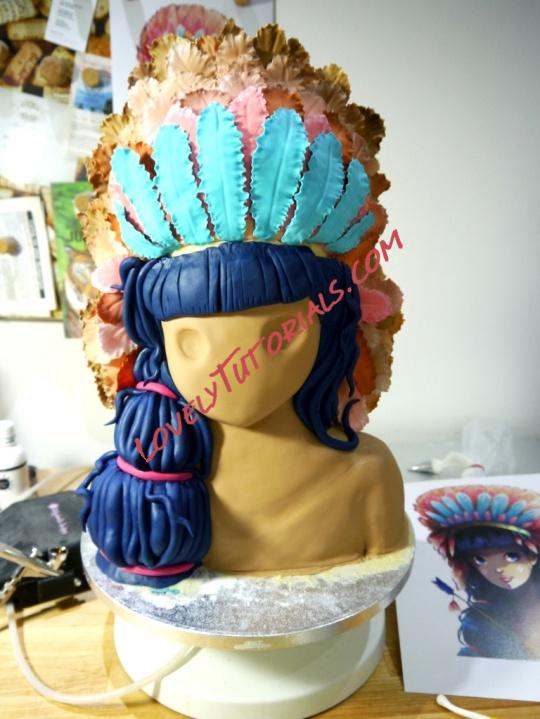
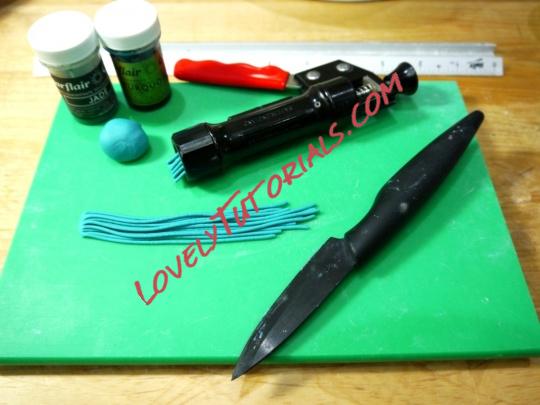
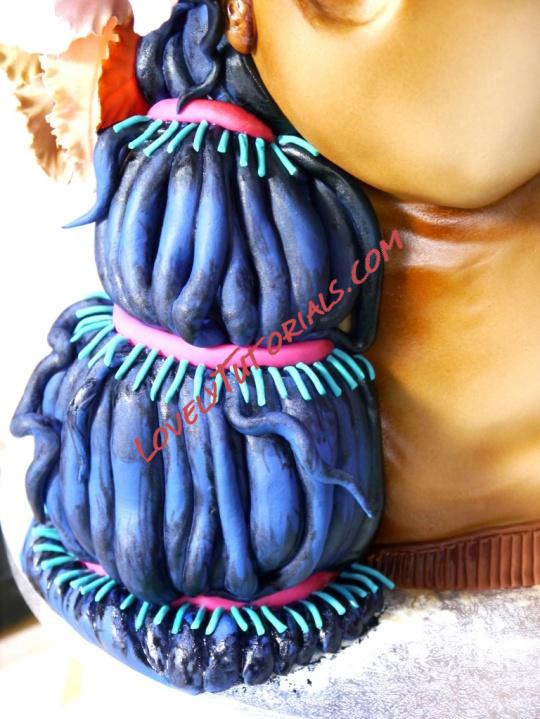
One of the most painstaking details, aside from the feathers, were the the turquoise/jade tassels in her hair. I extruded thin lines of the colour, separated each line out and cut into short sections before placing on the cake. The strands of her hair didn't like me to tell them where I wanted the tassels to stick so that took a long time to get to look anything like!
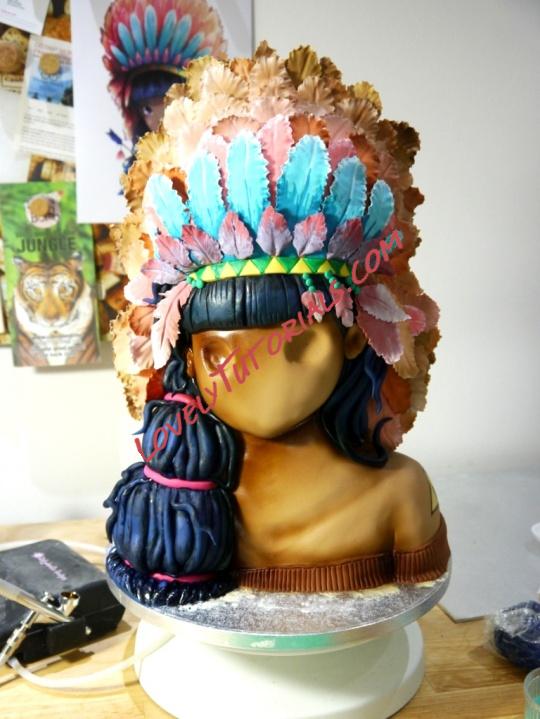
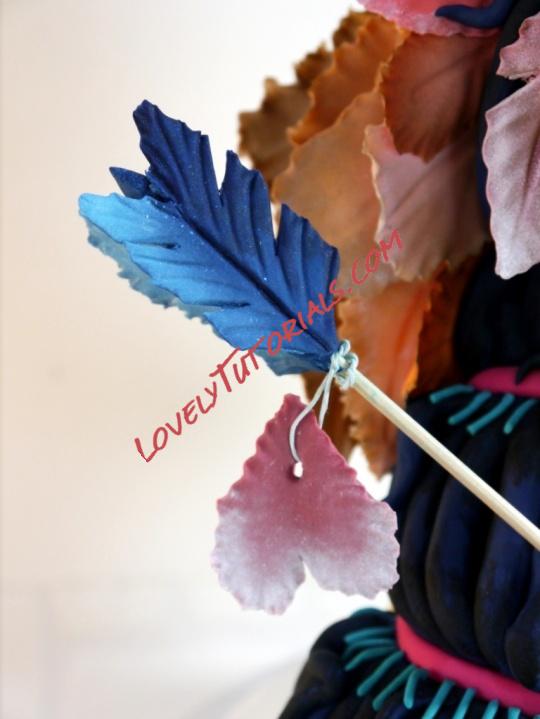
For the face feathers and the arrow feather, I cut out feather shapes, ruffled and then cut out notches, before dusting and shading. The arrow has three feathers so I used the third one at the back as a support to help them all to stick.
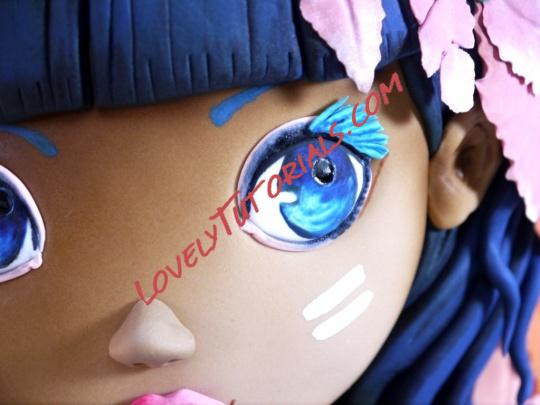
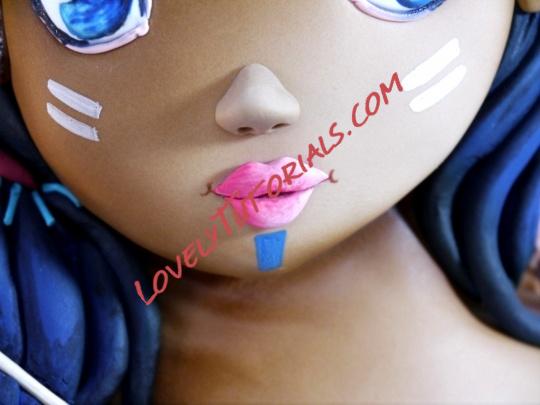
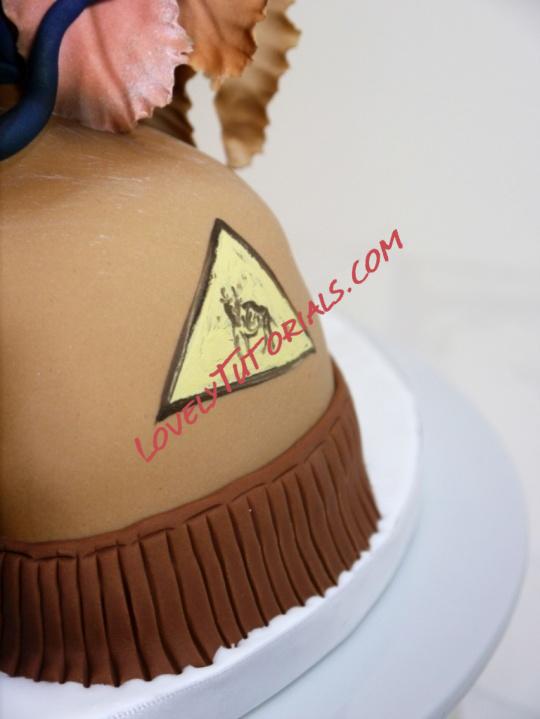
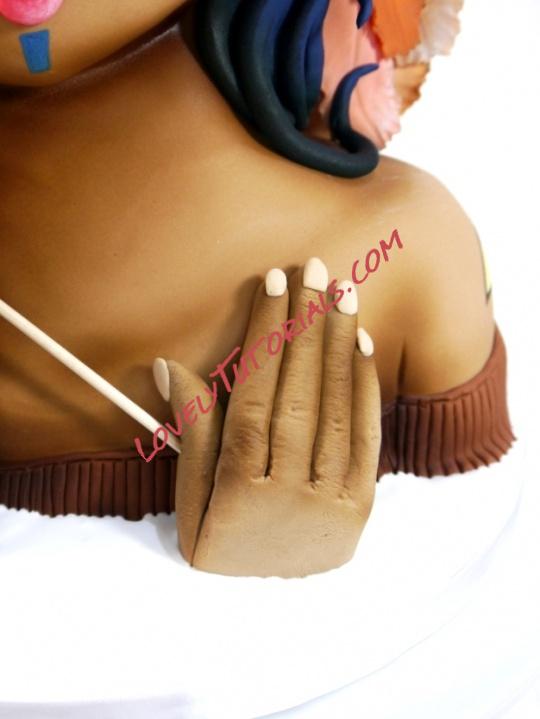
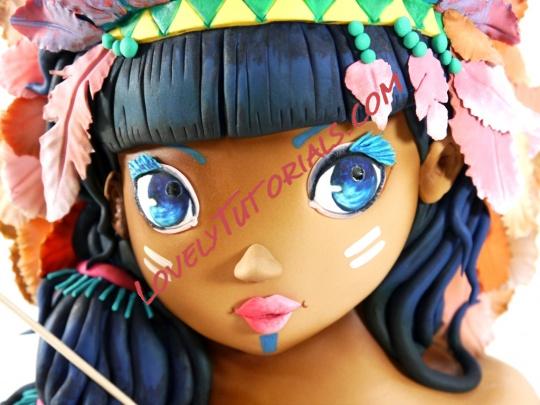
For the eyes, I had created hollows quite near the beginning where these should go. I then filled the hollows with white flower paste trimmed with palest pink modelling paste to create the lids. After letting this dry a little, I over-painted the eyes with grey and then black liner, then drew the iris with an edible black pen. This gave me an outline that I could easily change if needed (I needed it, as you can see!), before painting with a watercolour effect in two shades of blue. I edged the pupils with a tiny bit of pale blue to help it stand out. The nose and hand are modelled from the same fondant I used for the face and neck, and the lips are two strips of modelling paste coloured a dark peachy pink, then painted with highlights and lowlights. I couldn't tell what the detail was on her arm, aside from a triangle, so I added a little buffalo symbol.
One of the scariest parts was painting the eyebrows. Such a little detail but if you get it wrong, it really stands out and there's no going back!!
I kept the background and board plain, bright white to match with the original design. The shapes on the board were quite complex so I covered the board with a layer of white royal icing to fill in all the little crevices.
The only inedible parts of the cake were the six little dowels and two 4 inch boards for support (you can see one of these in the slicing photos), the kebab skewer for the arrow and the little bit of wire to hang the heart-shaped feather. Everything else was cake, icing and ganache. I was very sad to see her get sliced up but it was a lot of fun at the same time. I served her with extra salted caramel for extra tastiness.