Огромная благодарность Lyndsay Sung за Мастер-класс
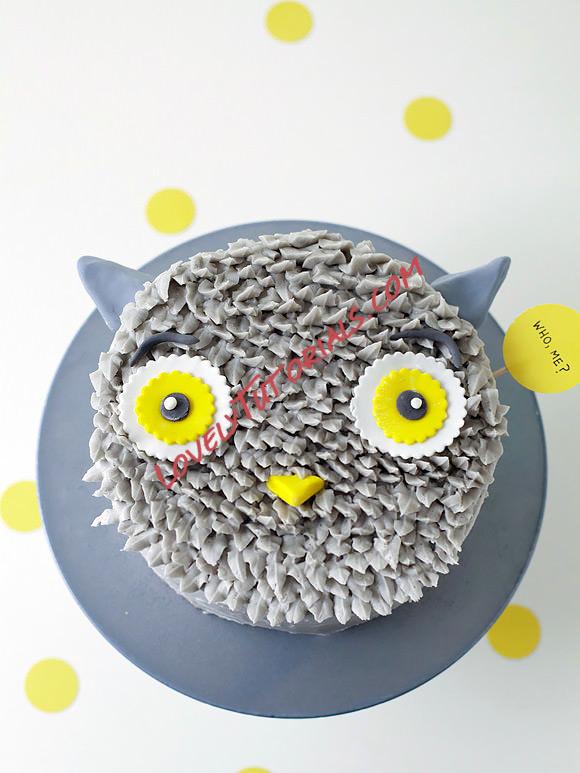
This Owl Cake can be created with any color combination. He’ll be a surefire hit for a woodland-themed or owl-themed kid’s birthday party.
 What You Need
- A two layer, round chocolate cake of your choice—baked from a recipe or from the box. I chose chocolate because I liked the idea of contrast between the light colored buttercream and the dark inside. You can do any cake flavor, of course!
- 4 cups of vanilla but*ter*cream or 2 cans of frosting
- Black gel food coloring, yellow food coloring
- An off*set spat*ula or but*ter knife
- A cake bench scraper
- A pip*ing bag fit*ted with a leaf tip—I used a #352 leaf tip, but you could use a larger one such as #366 for larger “feathers.”
- A 6-inch ball of fon*dant (white with some tinted gray for the ears, yellow for the owl beak and eye irises, and black for the pupils)
- Parch*ment paper
- Corn*starch for work*ing with fondant
- Rolling pin
- Large circle cutters for the owl eyes—I used round cookie cutters that have a scalloped edge
- A long wooden BBQ skewer, cut into two equal-length sticks
Step 1
Bake your cakes accord*ing to the recipe instruc*tions. Let cakes cool com*pletely on wire racks in their pans.
Step 2
Make your but*ter*cream accord*ing to the recipe instruc*tions. Add a small amount of black gel food coloring (about a toothpick’s tip) to tint it gray.
Step 3
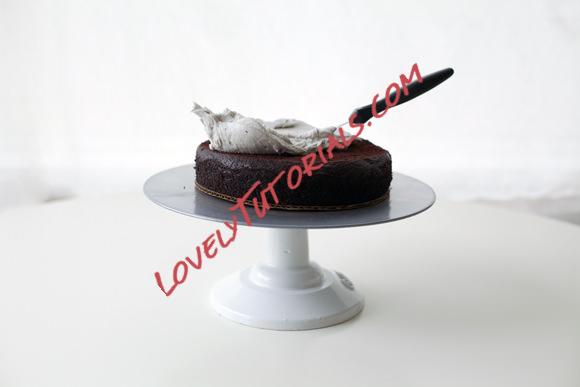
Place a dab of but*ter*cream on a cake plate or card*board cake board.
Step 4
Care*fully remove your first cake layer from your cake pan. Use a ser*rated knife to level your cake so the top is flat.
Step 5
Place a dab of buttercream on the plate and then place the cake cut side up on the dab of but*ter*cream to adhere.
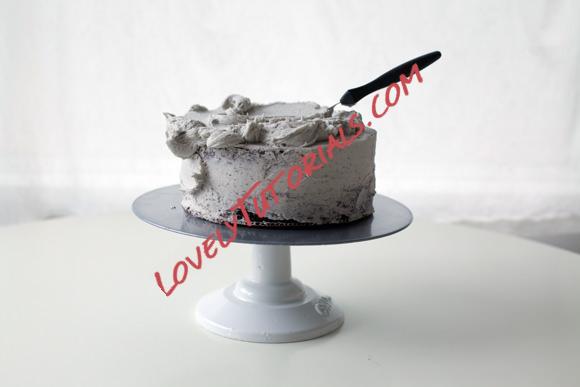
 Step 6
Using an off*set spat*ula or but*ter knife, spread a layer of but*ter*cream on top.
 Step 7
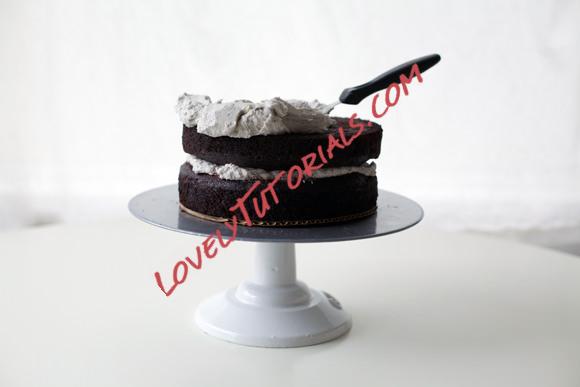
Remove your sec*ond layer from your cake pan, lev*el*ing it as you did with the first layer. Place the sec*ond layer cut side down onto the first frosted layer. Start frosting the top!
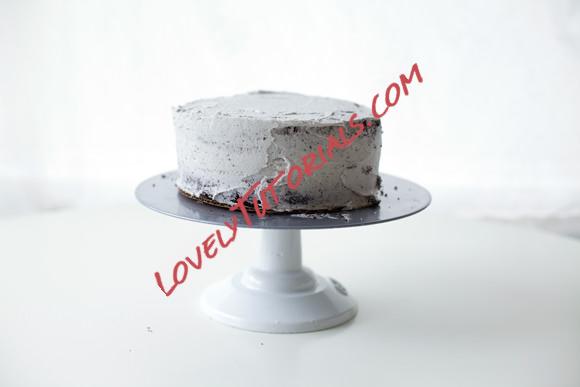 Step 8
Frost the entire exte*rior of the cake.
 Step 9
Using your bench scraper, smooth the exterior of the cake. Place cake in the freezer for 10 minutes to set the crumbs.
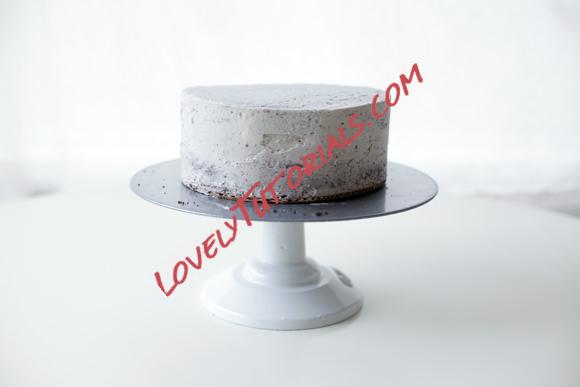
 Step 10
Add another layer of buttercream, then smooth with the bench scraper.
Now, your cake is ready to get “feathered!”
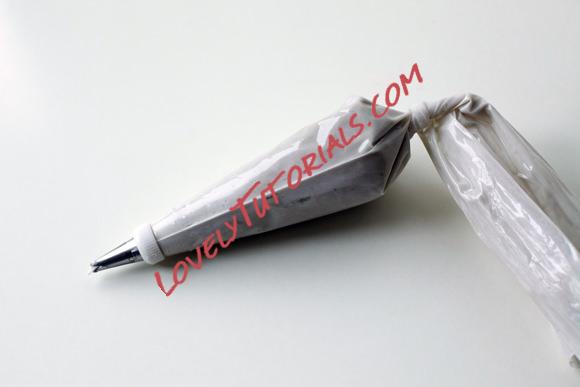
Get your piping bag ready—I used a disposable piping bag (although I reuse them!) fitted with a coupler and ring, and of course my leaf tip #352.
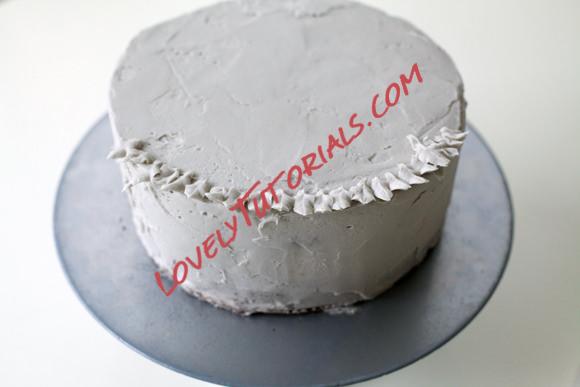 Step 11
Pretend your cake is now a face. Start at the bottom of the face, holding your piping bag so that the two prongs of the leaf tip look like a little snake tongue. Now turn it 90 degrees—you want to pipe with the two prongs on top of each other. Practice on a piece of parchment paper first to create something that looks like a leaf, or in this case, an owl feather. Pipe and pull away to create a triangular finish. Once you’ve got the hang of it, pipe your first row, as shown above.
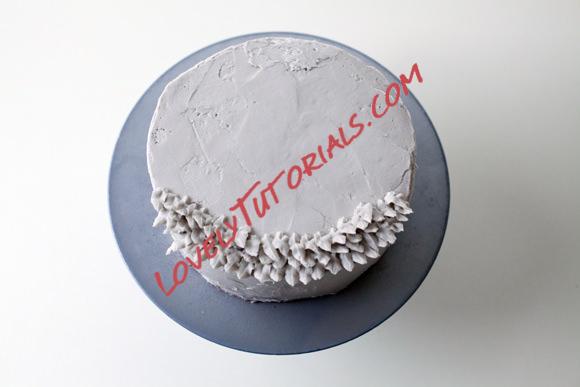 Step 12
Pipe another layer of feathers on top of the first layer, and continue to pipe more layers, working your way up the “face.”
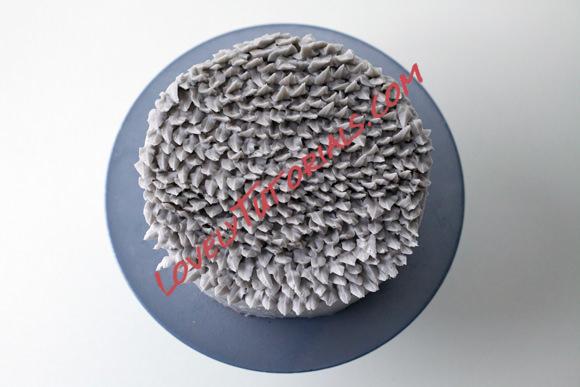 Step 13
Keep on piping until you have a beautiful face of gray, pointy, nonperfect buttercream feathers! You see where this is going, right?
 Step 14
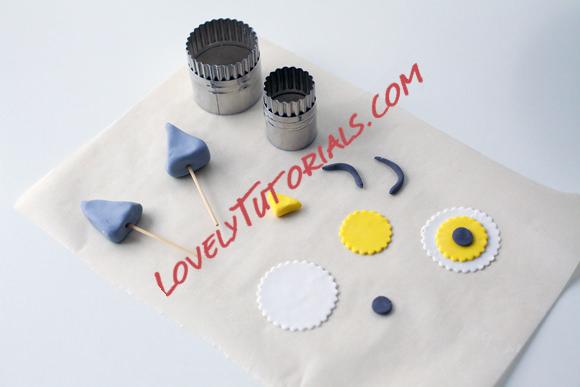
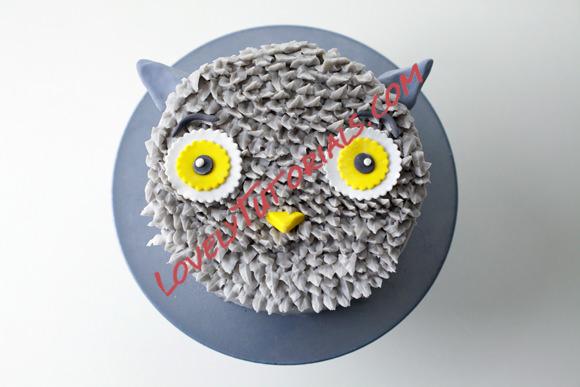
Make your fondant accent pieces. Color a 1-inch ball of fondant with black gel food coloring. Make small circles for pupils and roll some between your hands to create “eyebrows.” Color a 3-inch ball of fondant gray using a dab of black gel coloring. Shape into triangle ears and adhere to wooden sticks. Color a 1-inch ball of fondant yellow using a dab of yellow gel coloring. Use part of it to shape a triangle beak. Roll out the remaining yellow fondant flat, and cut out two small scalloped circles. Roll out the white fondant and cut out two large scalloped circles. Adhere the yellow circles to the white circles and the black circles to the yellow circles to make the eyes.
Step 15
Place your gray triangles into the top sides of your cake as ears. Place your fondant pieces right on top of the gray piped feathers—and hellooo, Mr. Gray Owl, You’ve come to life, my feathered friend!
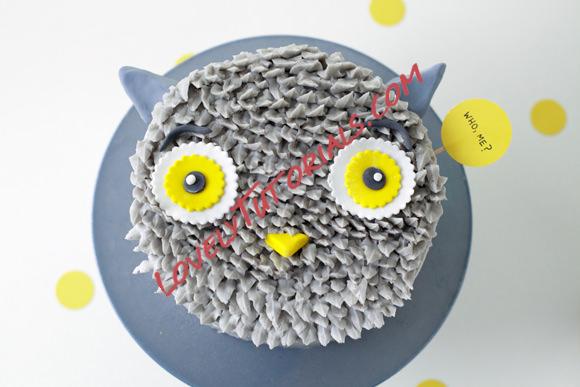
I added a little party flag for extra cuteness. Write your best owl pun on the flag if you like.


