Огромная благодарность Автору MyCakeFairyDotCom за Мастер-класс

I have several homemade face molds from my daughter’s dolls. I thought this Lemon Meringue one was around the right size and shape.
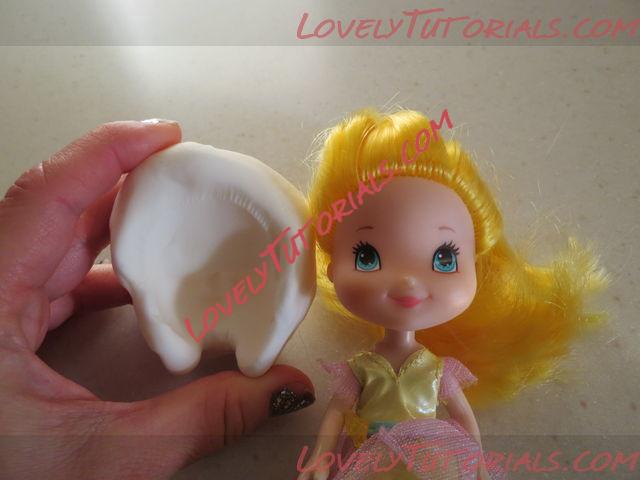
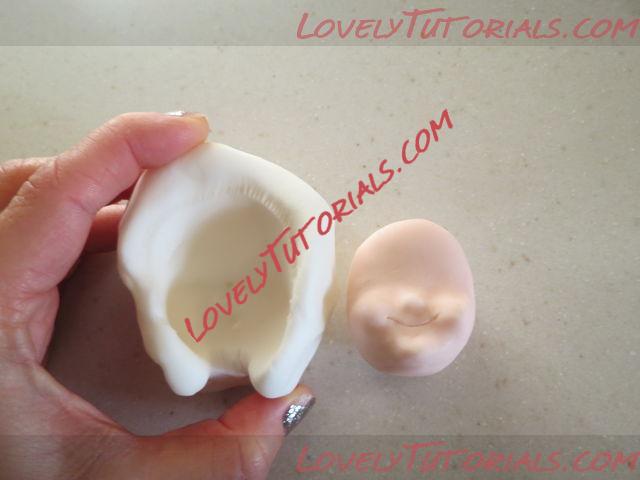
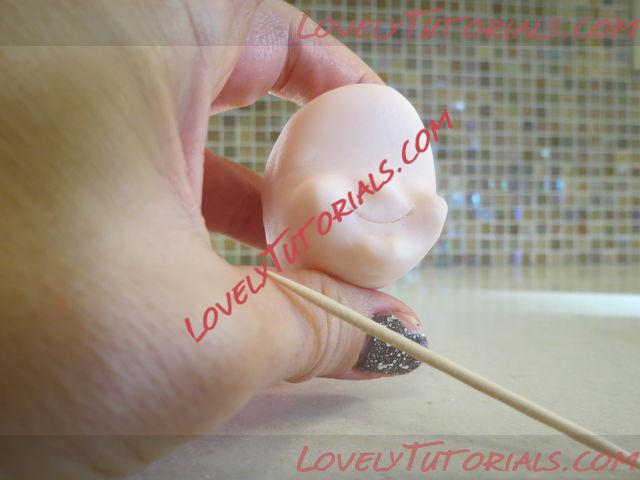
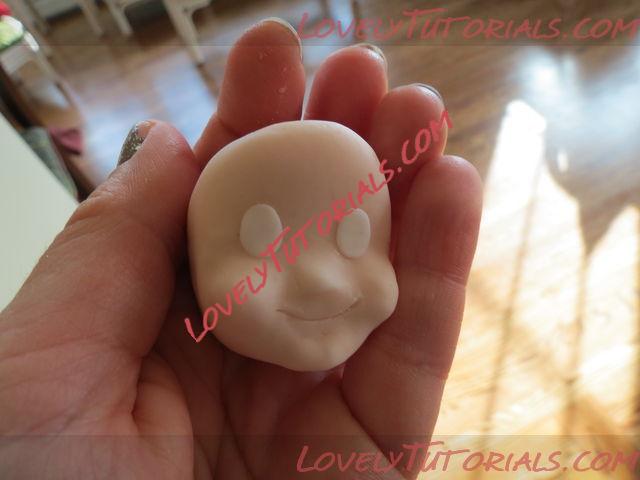
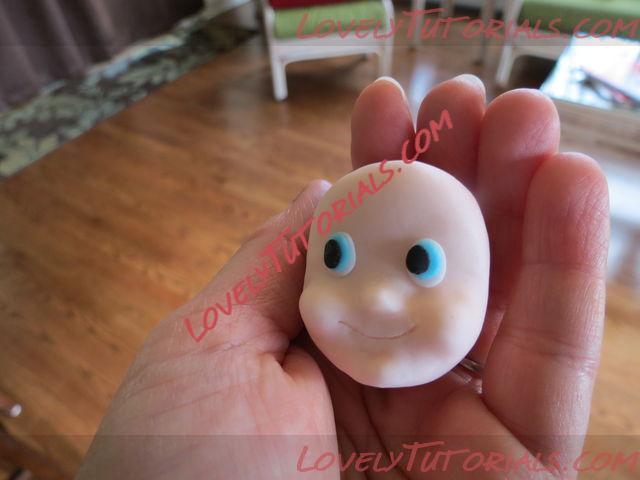
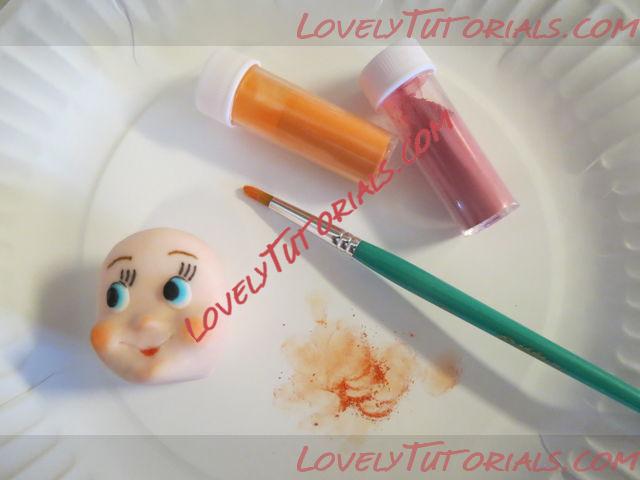
You simply make the face mold by impressing the doll face in gumpaste and allowing it to dry hard. You can then use it as a mold. Here I’ve pressed a flesh tone ball of fondant/gumpaste mix into the mold.
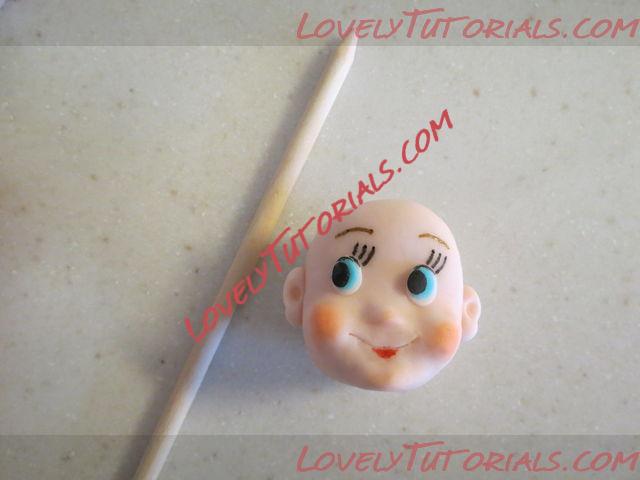
I teased out the bulbous shapes of the cheeks, nose and chin with a small ball tool.
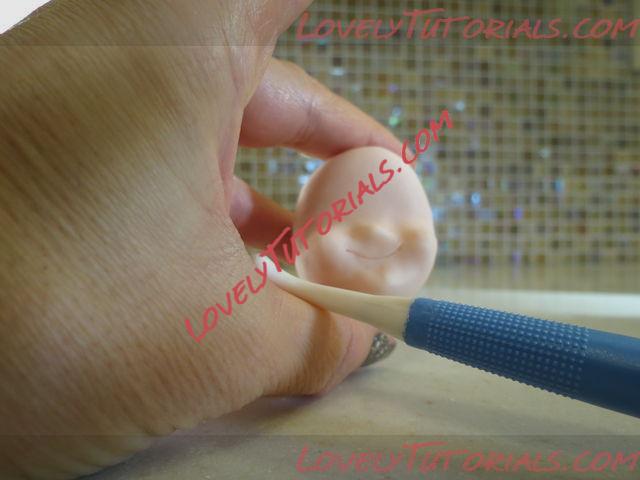
I indented the mouth with a toothpick.
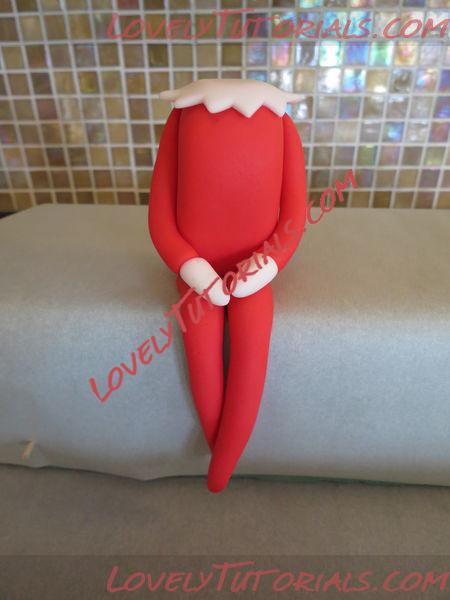
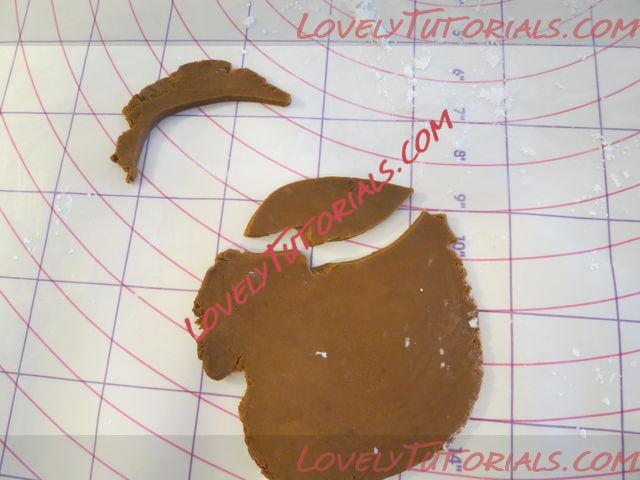
Now let’s make the torso. Start with a ball of red fondant a bit larger than the head.
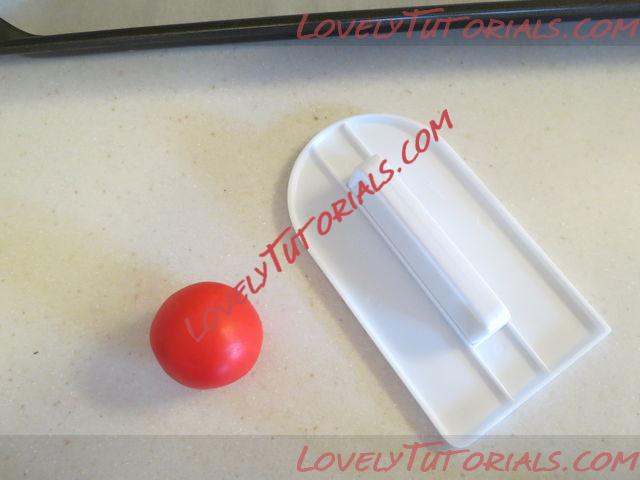
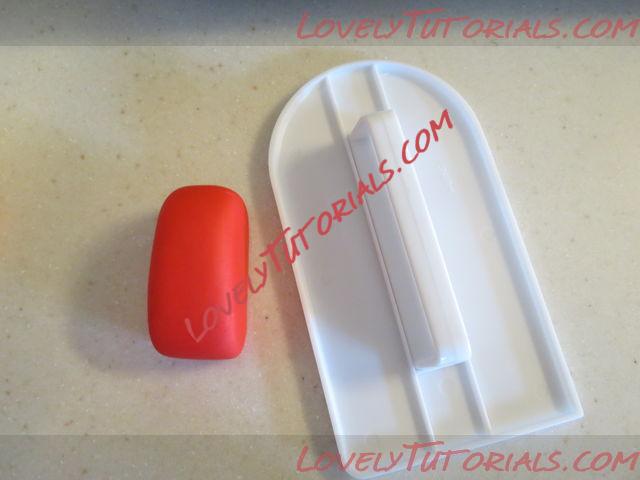
I shaped mine with my fondant smoother until I got the shape I wanted.
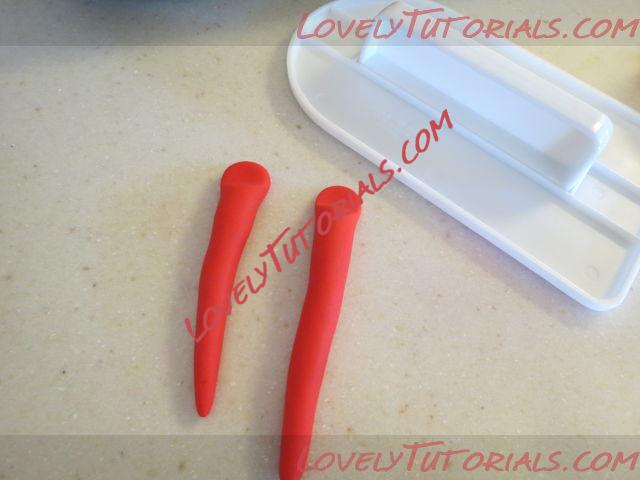
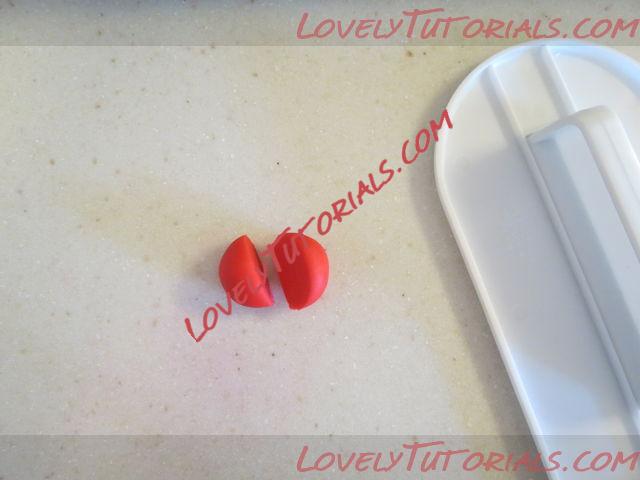
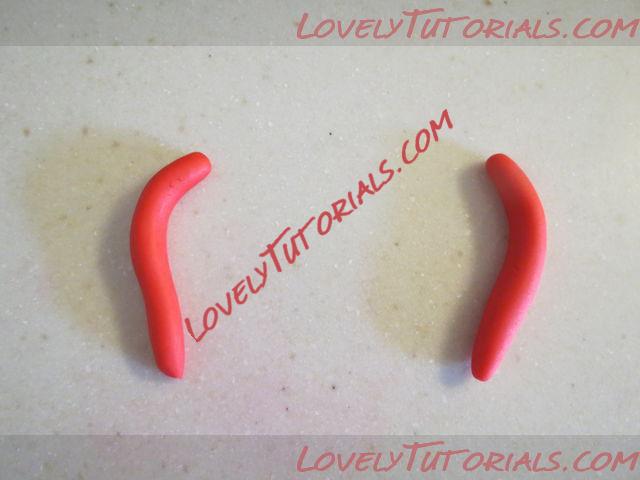
Then for the legs, I formed a smaller ball and cut it into halves.

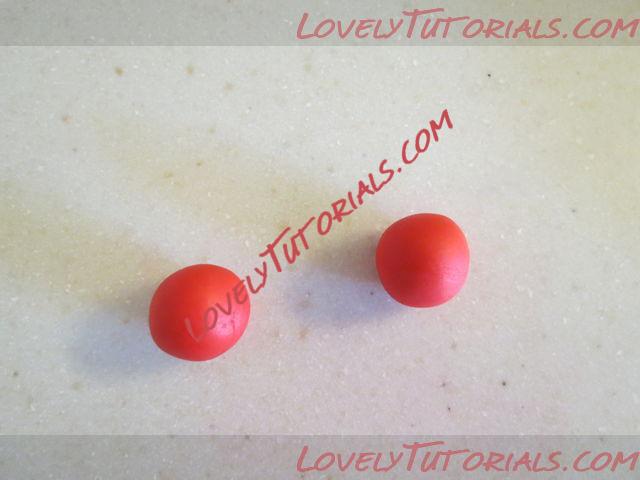
Roll them until you have the shapes you want.
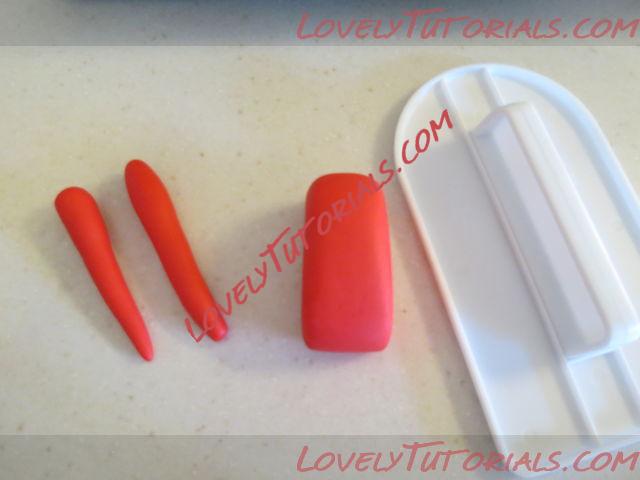
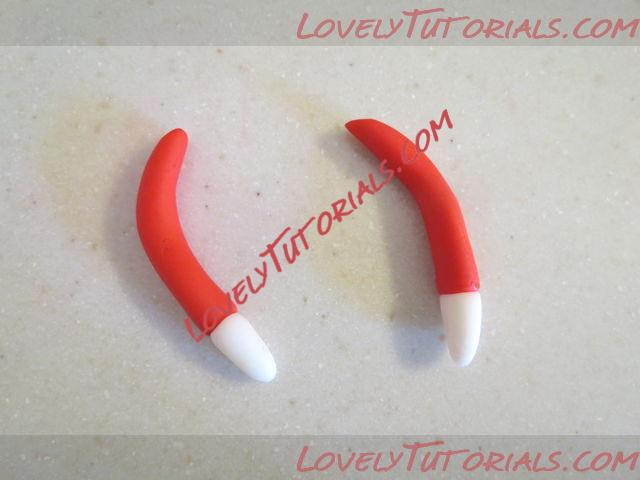
I flattened the top of each leg so it would sit flush under the torso.
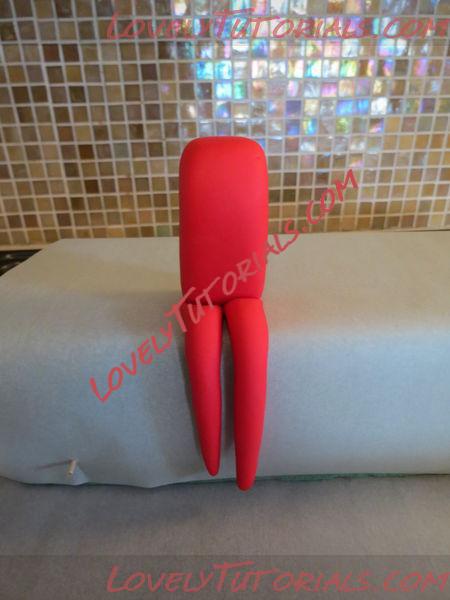
I bent the legs on my parchment-covered foam piece. With water, I attached the torso to the legs.
A smaller ball is made and halved for the skinny arms.
Make each one round.
Then roll them out.
Attach a white pointy elf hand to the bottom of each.
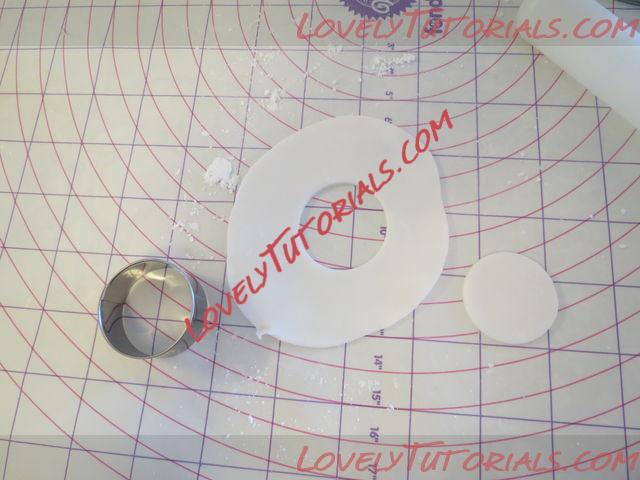
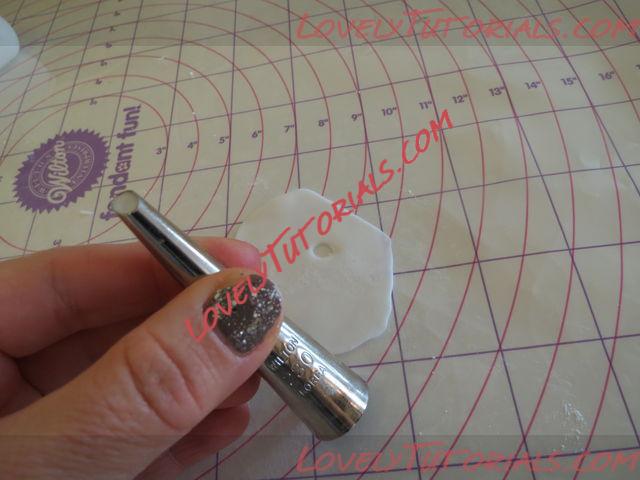
Now I will make the white collar. I cut fondant with a 1.5 inch round cutter.
Then I hand cut the points on the collar.
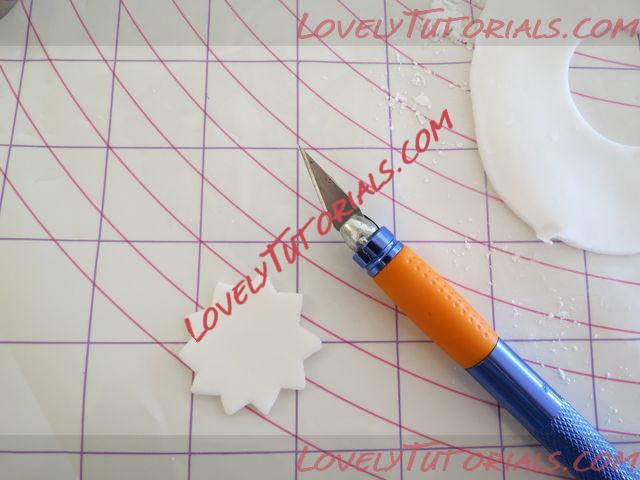
And attached it to the body with a bit of water.
I’m going to make the face details now. I use this tip to cut eye details because it has a nice oval shape.
Attach them with water.
Then slightly smaller blue ovals, and then slightly smaller black ovals were cut.
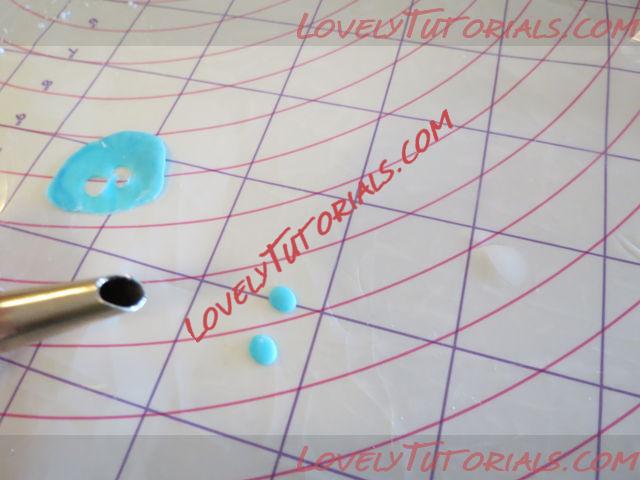
Here they are all attached.
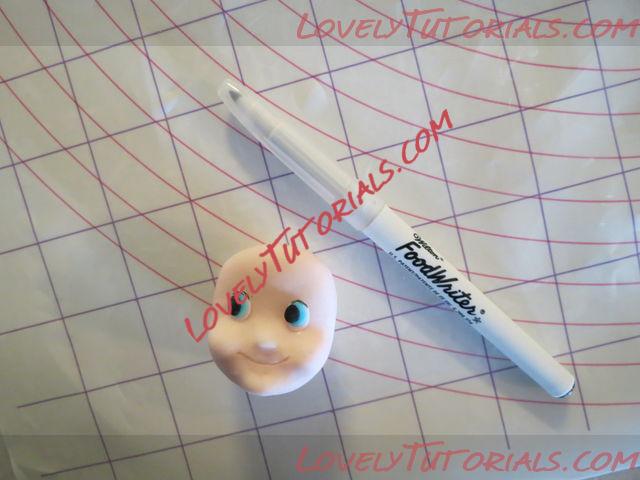
I use an extra fine tip edible marker to draw the fine lines at the tops of each eye.
Then I draw in the lashes with black and the brows with brown.
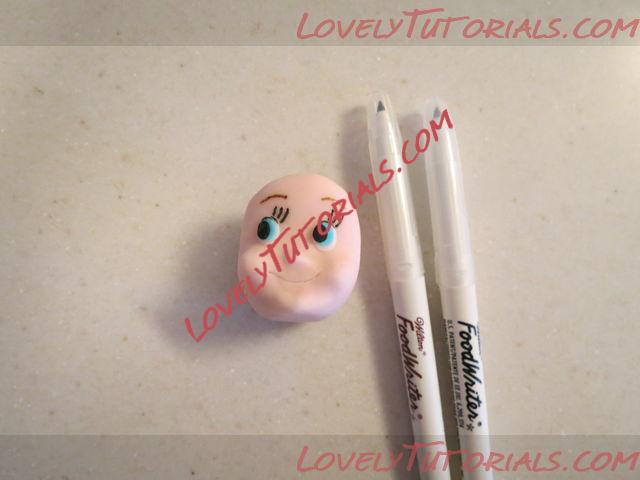
I draw his little pink lip with pink marker
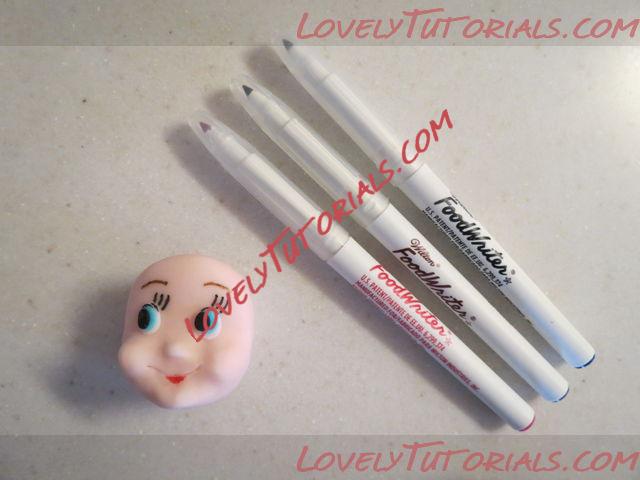
His cheeks are an orange/pink tone so i mix the two and gently apply with a soft brush.
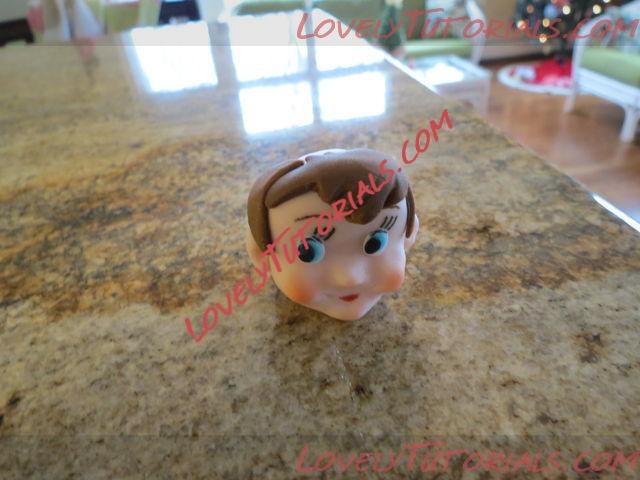
I noticed he has ears so I molded them by hand and then attached them and gave them an indent with this stick tool.
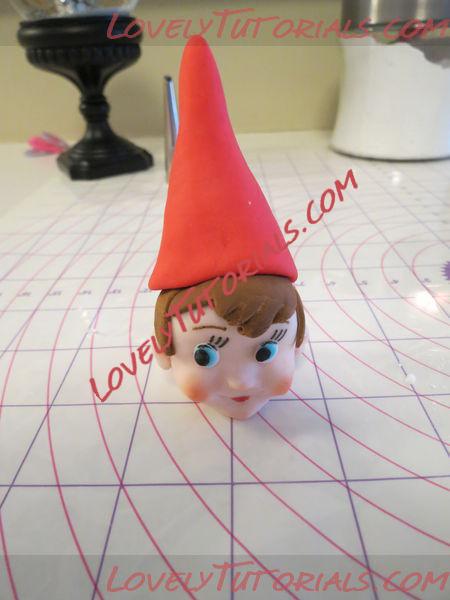
I decided to add his front and side hair only since the hat covers the rest. i added it in 3 small pieces.
I gave some texture to the hair with a toothpick.
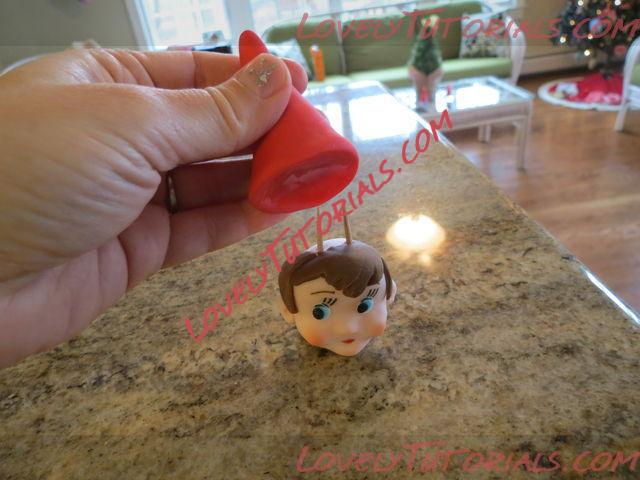
To shape the hat, I started with a red ball of fondant. I used my hands and fondant smoother to keep rolling it into a cylider. I hollowed out the middle with my thumbs a little so it would fit his head nicely.
Attach it with a little water and 2 half toothpicks.
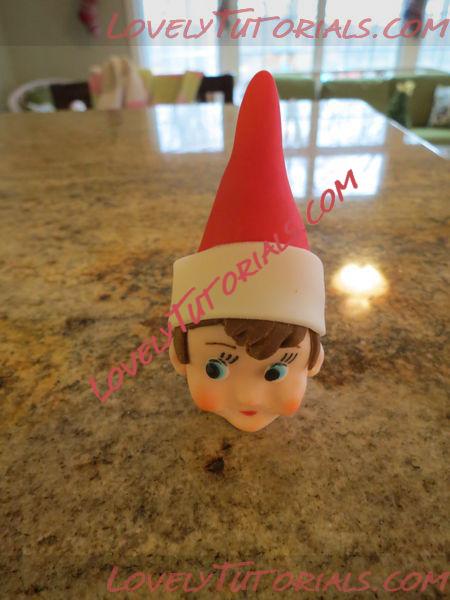
Finally, I rolled and cut a wide white band of fondant for the hat trim and attached it. Allow the head to dry for a while up against your backsplash or somewhere. This will help the hat keep it’s upward shape.
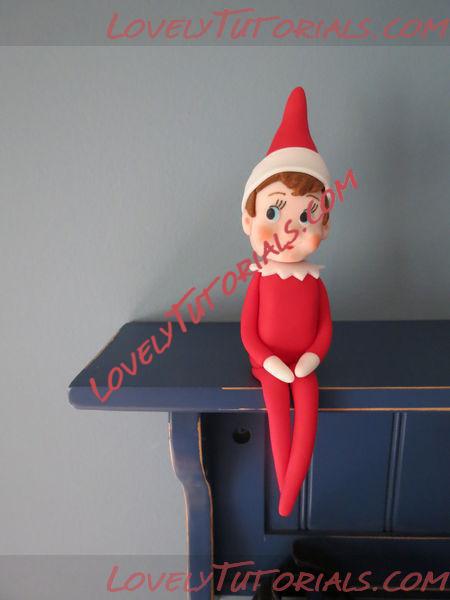
Once your head is nice and firm, attach it to the torso with water and toothpicks. Be careful to line it up properly. Thanks for looking and please message me with any questions

xo