Огромная благодарность Автору
ChrisJack1 за Мастер-класс

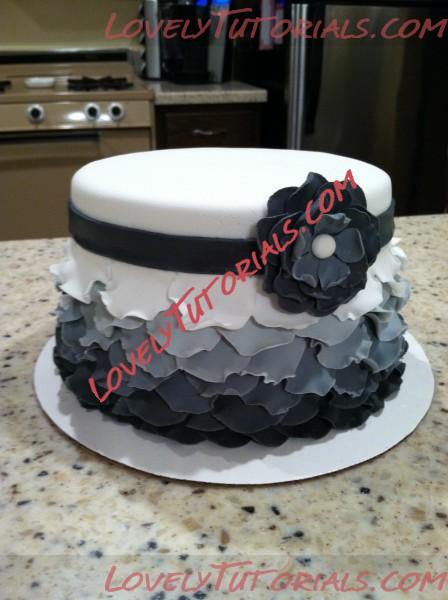
I had quite a few cakesters ask how I made the Pretty & Petite petal cake, so I decided to make a tutorial to share.

You may find along the way an easier method since this was my first attempt at this technique. I hope it helps!!
List of Materials
- Colored Fondant
- Small Rolling Pin
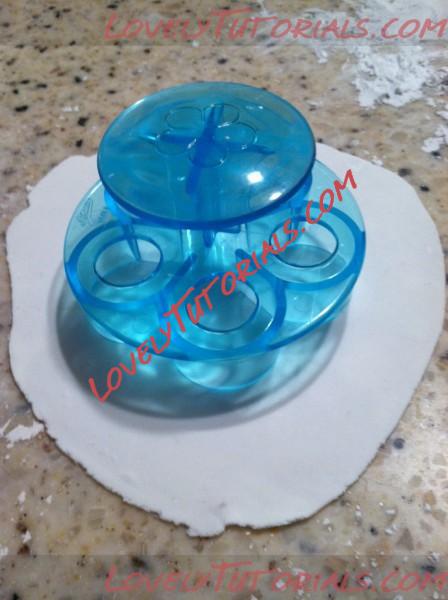
- 5 Petal Cutter (mine is made by Ateco)
- Sharp Cutting Tool
- Ball Sculpting Tool
- Foam Pad
- Paint Brush
- Water
- Fondant Covered Cake

Gather your materials. Your cake should have a base cover of fondant on it at this time.
Roll the fondant out fairly thin – the thinner the fondant the more “frill” you will get from the petal. Use your 5 petal cutter to cut out your petals. I rolled out enough fondant to do several flowers at once to save time. They will stay soft if you keep them under plastic wrap.
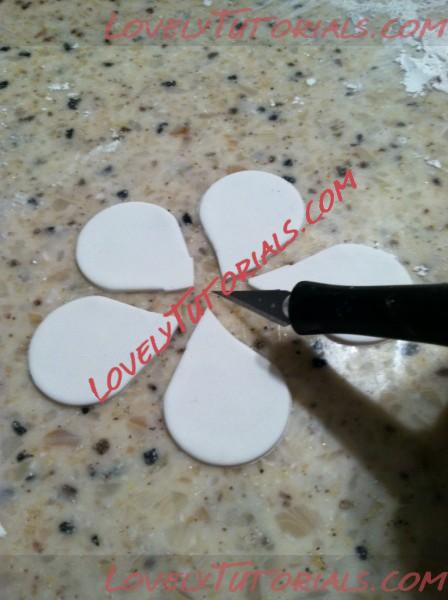
Use your sharp cutting tool to separate the petals. You can do this after you frill, but I found before to be easier.
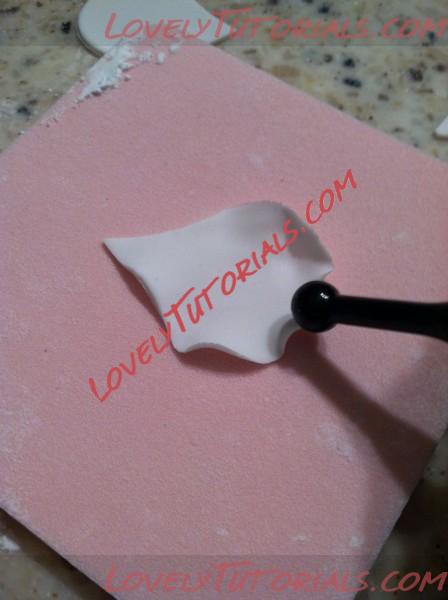
I used the small end of my ball tool to run along the edge of the petal. If your tool is plastic and has a seam, be sure to use the side of the ball so it doesn’t tear the fondant. Running half of the ball on the petal and half on the foam pad will give you a great result. I used the pointed tip as a “handle” while I worked with each petal.

Cut the point of your petal away with your sharp tool so you can line them up along the cake more evenly.
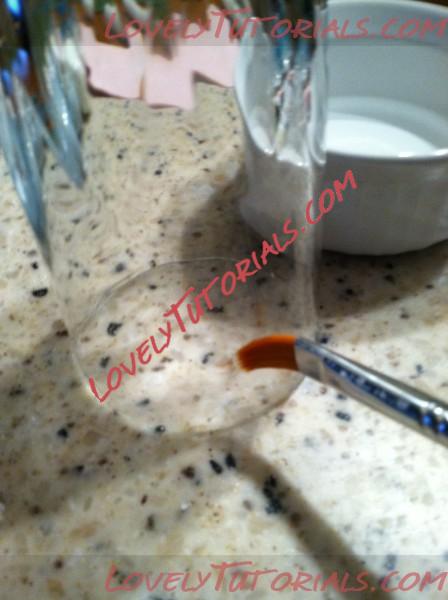
Take your brush and water and run it around the area of the cake here you want to place your petal. Be sure to only wet where the top of your petal will go so the whole thing doesn’t stick to the cake. If this happens, you won’t get the airy result you’re looking for. Think of a Post-it notepad. Only the top of the page is sticky.
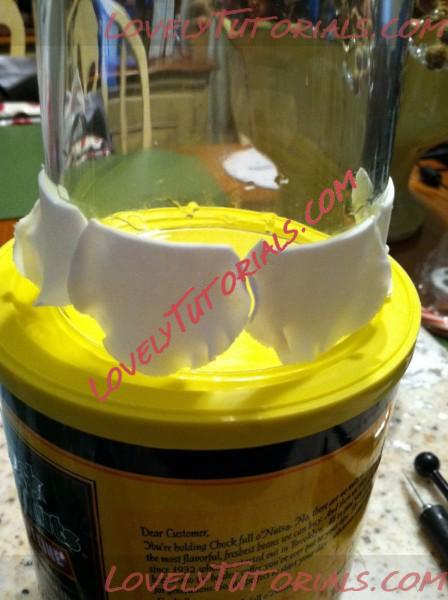
Place your petals along the side of the cake, being sure you try to keep your line straight. You can use a toothpick to lift the petals up here and there for a pretty effect.
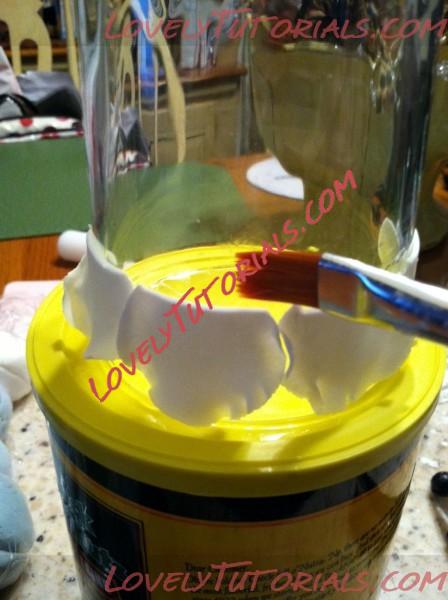
Wet the area above the row you just placed, being sure again to only wet the area where the top of the petal will touch.
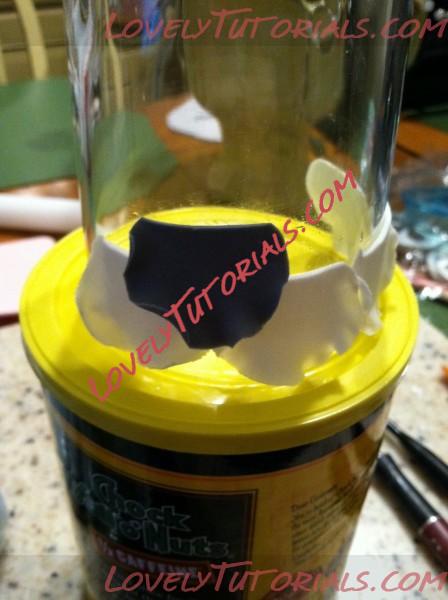
Start your second row of petals above the first. Be sure to position this row so that the petals cover the seams of the first set. The way you would stack bricks.
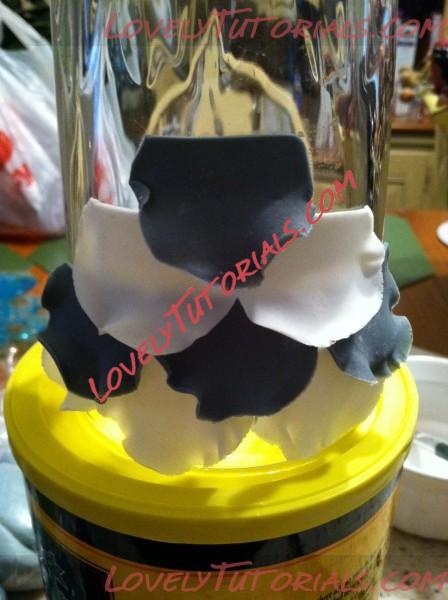
I’ve used to different color petals here so you can see the brick effect. Practicing on a glass or bowl is a great way to work on your technique before using it on a cake. Thank you for looking and good luck!!