Огромная благодарность Katrien Van Zyl за Мастер-класс
 Materials:
- A covered rectangular cake board
- 9” x 13” (22.5 cm x 32.5 cm) sheet cake
- 2 ½ cups (625 ml or 22.5 fl oz) ganache or buttercream icing
- Smooth apricot jam, sugar syrup or piping gel
- 2 lb 10 oz (1.2 kg) pink fondant
- 4¼ oz (120 g) cream-colored fondant
- Corn starch (corn flour)
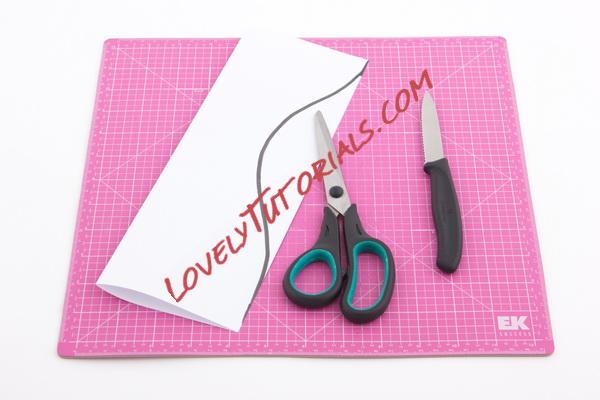
- One A4-sized sheet of paper
- Scissors
- Serrated knife
- Palette knife
- Rolling pin
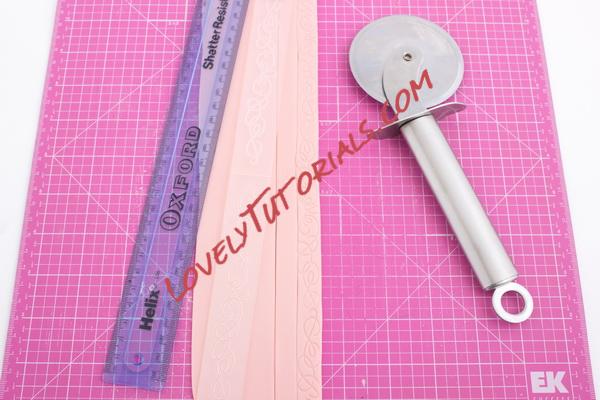
- Knife or pizza wheel
- Cake smoother, acetate or a small ball of leftover fondant
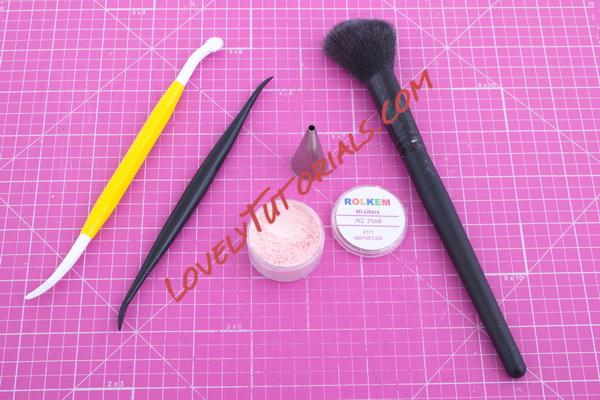
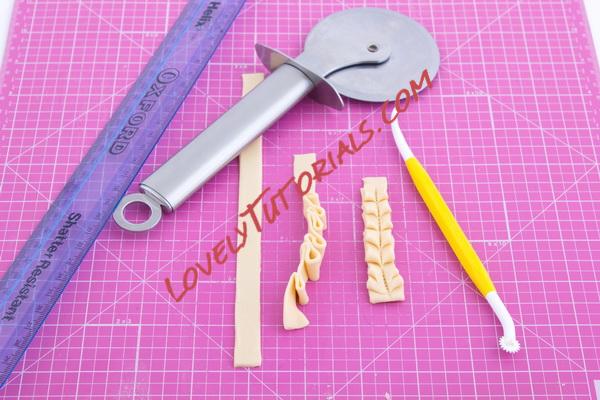
- Dresden tool
- Stitching wheel
- Embossing border plate (optional)
- Pink luster dust
- Edible lace (optional)
Directions:
 Step 1:
Fold an A4-sized paper in half and draw the outline of a torso or hourglass. Cut out the torso template with scissors.
Place the sheet cake on the decorated rectangular board.
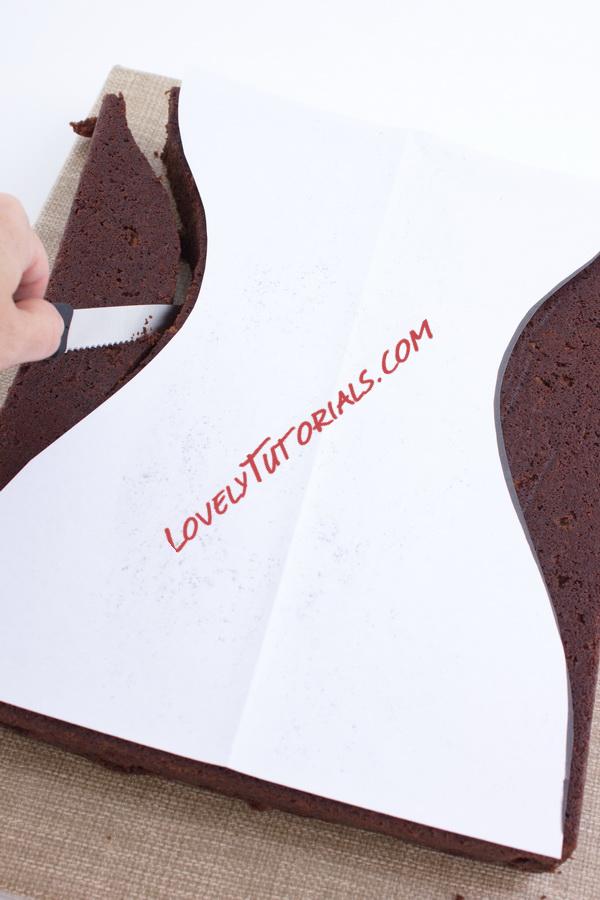 Step 2:
Place the paper template on the cake and cut out curves at the side edges of the cake with a serrated knife following the template to resemble a corset.
 Step 3:
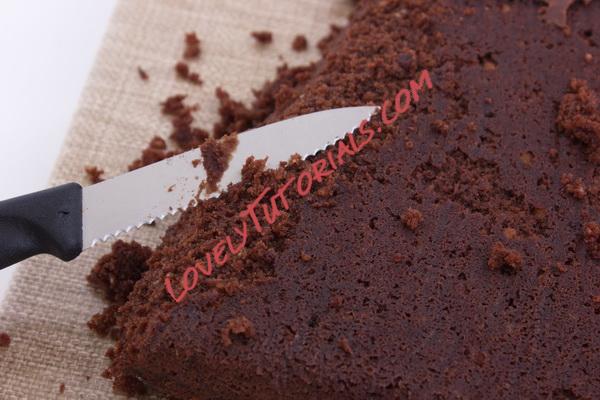
Carve and shave off the edges of the cake with a small serrated knife to, so that it looks like a rounded body.
 Step 4:
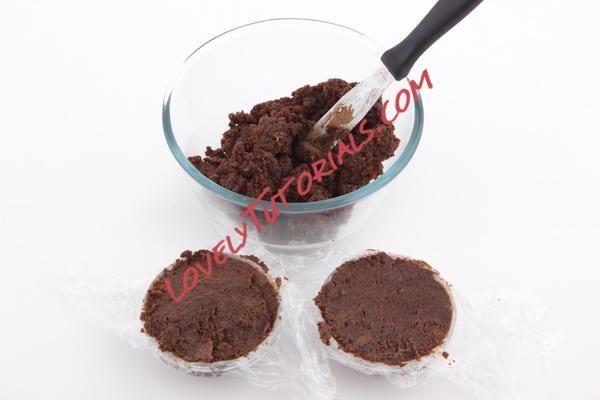
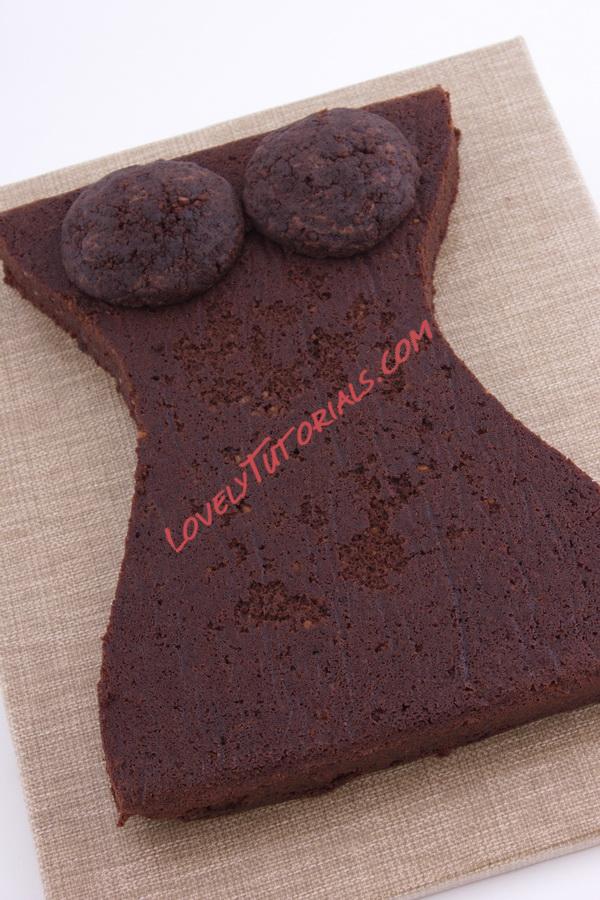
Crumble the off-cut pieces of cake into a bowl and mix it with a few teaspoons of ganache or buttercream until it comes together and has the consistency of cake pop mixture. Line two small bowls with plastic wrap and press the mixture into the bowls. Take the molded cake mixture out of the bowls and place it on the cake to form the chest area.
 Step 5:
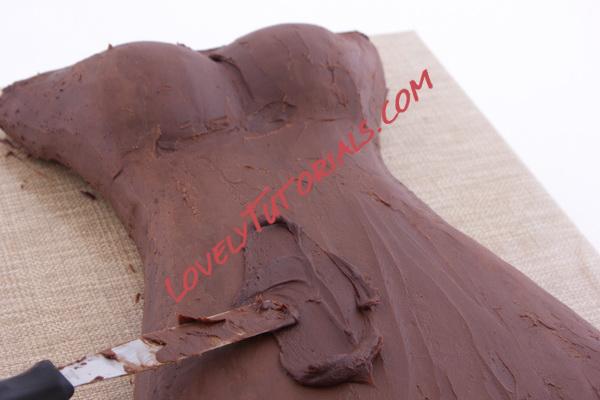
Coat the cake with ganache or buttercream using a palette knife. Once the whole cake is coated, dip the palette knife into hot water and wipe it off on a clean cloth. Smooth the ganache or buttercream with the hot palette knife. Place the cake in the refrigerator for 15-20 minutes for the coating to set.
 Step 6:
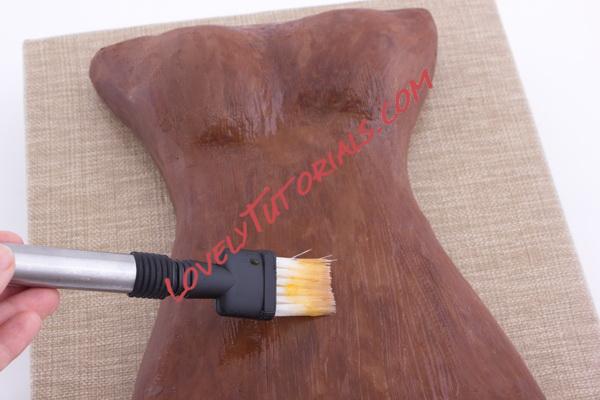
Brush smooth apricot jam, sugar syrup or piping gel over the surface of the cake for the fondant to adhere to.
 Step 7:
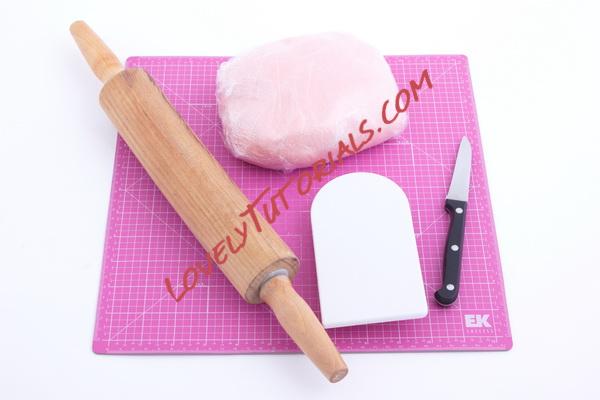
Roll out the pink fondant into a rectangular shape, on a small amount of corn starch (or corn flour). Roll it to about 1/6″ (4 mm) thick and big enough to cover the cake
 Step 8:
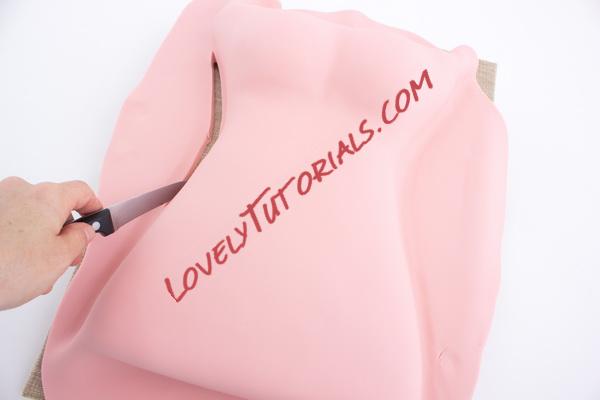
Lift the fondant with a rolling pin or your hands and place it over the cake. Lightly smooth the fondant over the cake and tuck it into the bottom edges of the cake. Cut off the excess fondant with a sharp knife or a pizza wheel being careful not to dent the cake board.
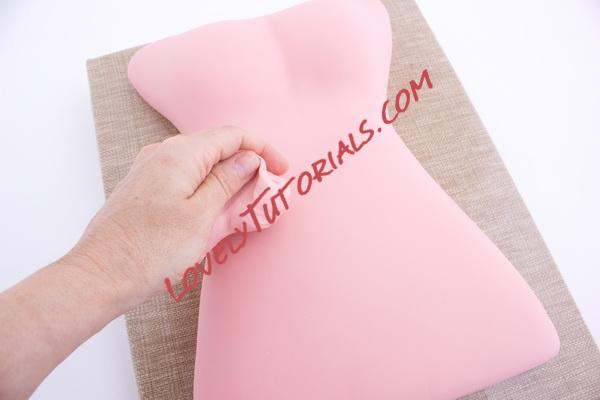 Step 9:
Smooth the fondant using cake smoothers, acetate or a small ball of leftover fondant.
 Step 10:
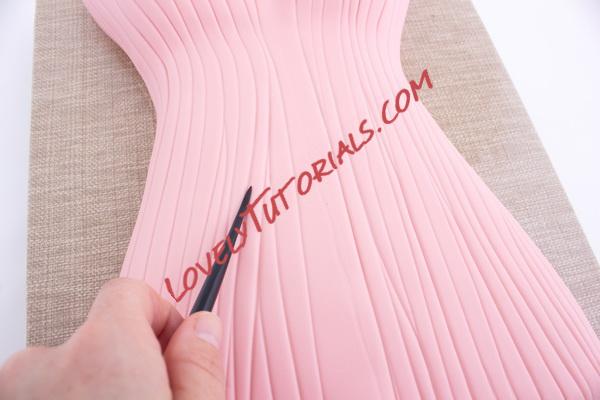
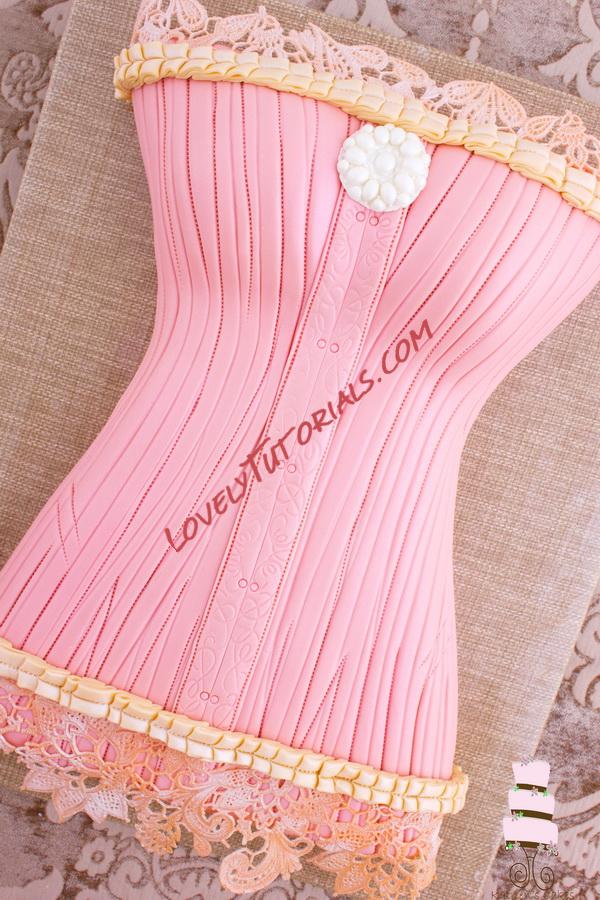
Mark grooves into the fondant using a Dresden tool starting at the top of the cake and dragging the tool towards the bottom of the cake to resemble pleated fabric.
 Step 11:
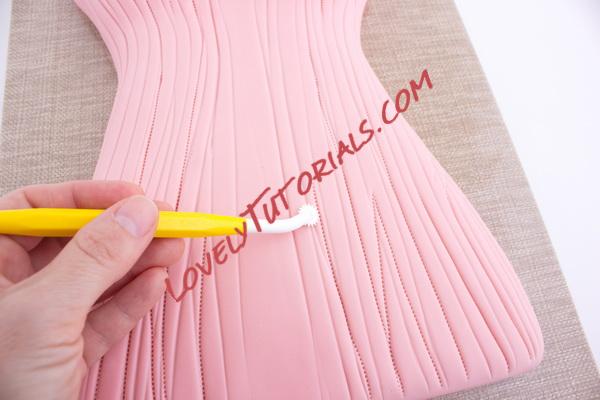
Re-roll over some of the lines with a stitching tool and make marks here and there with the tool, so that it resembles stitched fabric.
 Step 12:
Roll out a piece of fondant, as long as the cake and cut it into two 1/2″ (1.25 cm) strips using a ruler and pizza wheel. If you prefer emboss the strips with an embossing plate, used for paper craft, which has been brushed with melted shortening to make it food-safe.
 Step 13:
Glue the strips to the center of the cake using a drop of water and mark the edges of the strips with a stitching wheel. Use any other craft techniques to embellish your corset cake such as painting, brush embroidery or needlepoint.
 Step 14:
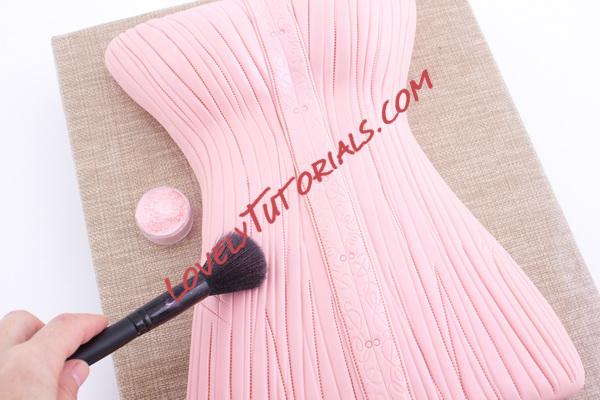
Dust the cake with edible luster dust using a soft, un-used blusher brush.
 Step 15:
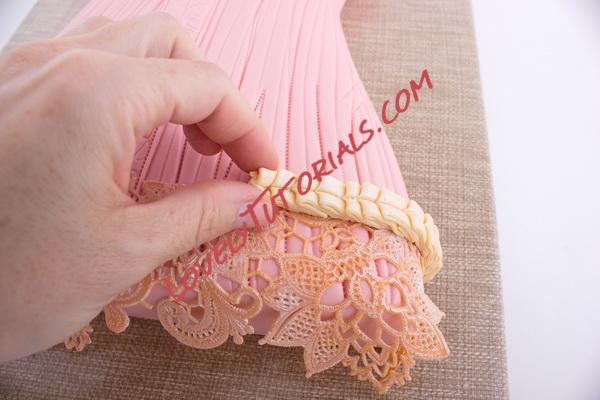
Attach pieces of edible lace to the top and bottom of the cake with a few drops of water if preferred. Roll out the cream-colored fondant and cut strips as above. Fold the strips to form pleats.
 Step 16:
Attach the pleats in a horizontal row to the top and bottom of the corset with a few drops of water. Mark the center of each long pleat with a stitching wheel. Add molded fondant jewelry, pearls, flowers or anything else that will enhance your cake.