Огромная благодарность rosycakesnz за Мастер-класс
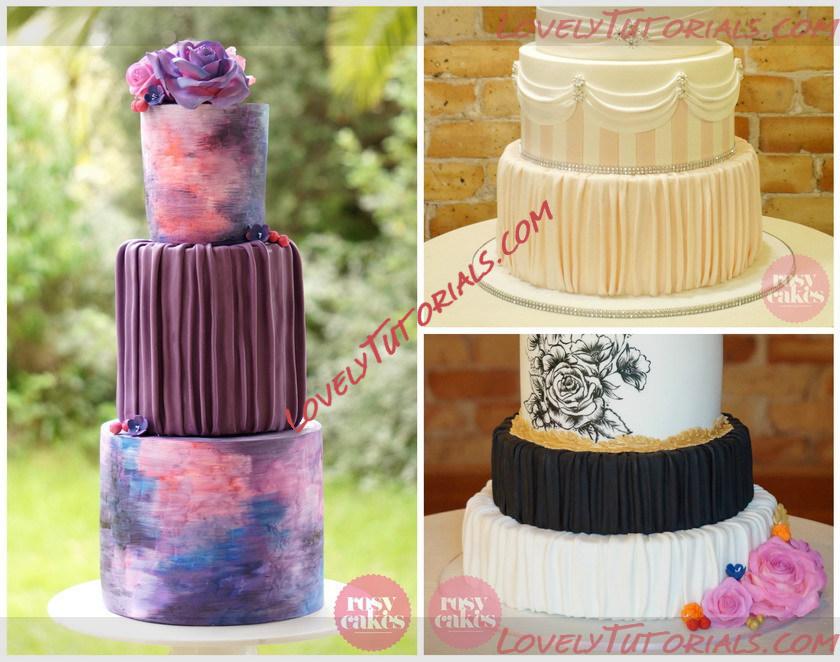
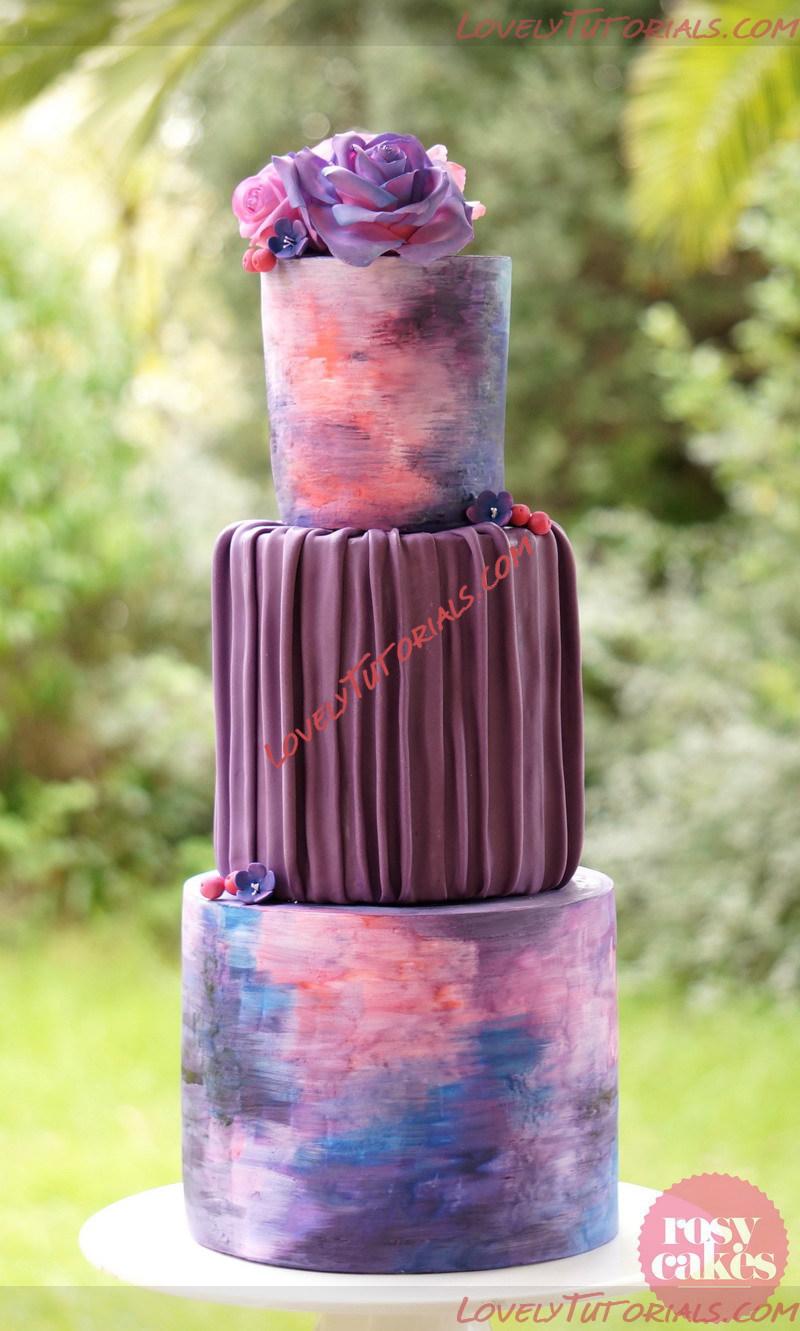
This is a short tutorial that gives some insight into how I make a simple pleated tier. By no means am I implying that this particular pleat design was created by me, I have seen it done many times but I have also been asked a lot of questions regarding how I achieved it, in particular the folding of the pleat underneath the cake. I hope the below helps you to achieve a pleat you are happy with.
This particular pleated design is for a tier that is going to have another tier above it. The design does not cover the entire top of the cake. Prior to making the pleats I score or mark the size of the above tier into the top of the cake. This is the guide for how far on top of the cake the pleats are to sit. This cake has been covered in a thin fondant base, this is absolutely not necessary, on all of my pleated cakes I do a very thing fondant base in the same colour, this gives a really tidy finish when the thin pleated effect is adhered, I also find the pleats stick to the fondant a lot easier. In addition to that, if you have any gaps in your pleats (which does not apply so much to this particular design, then they wont show due the base layer being the same colour)
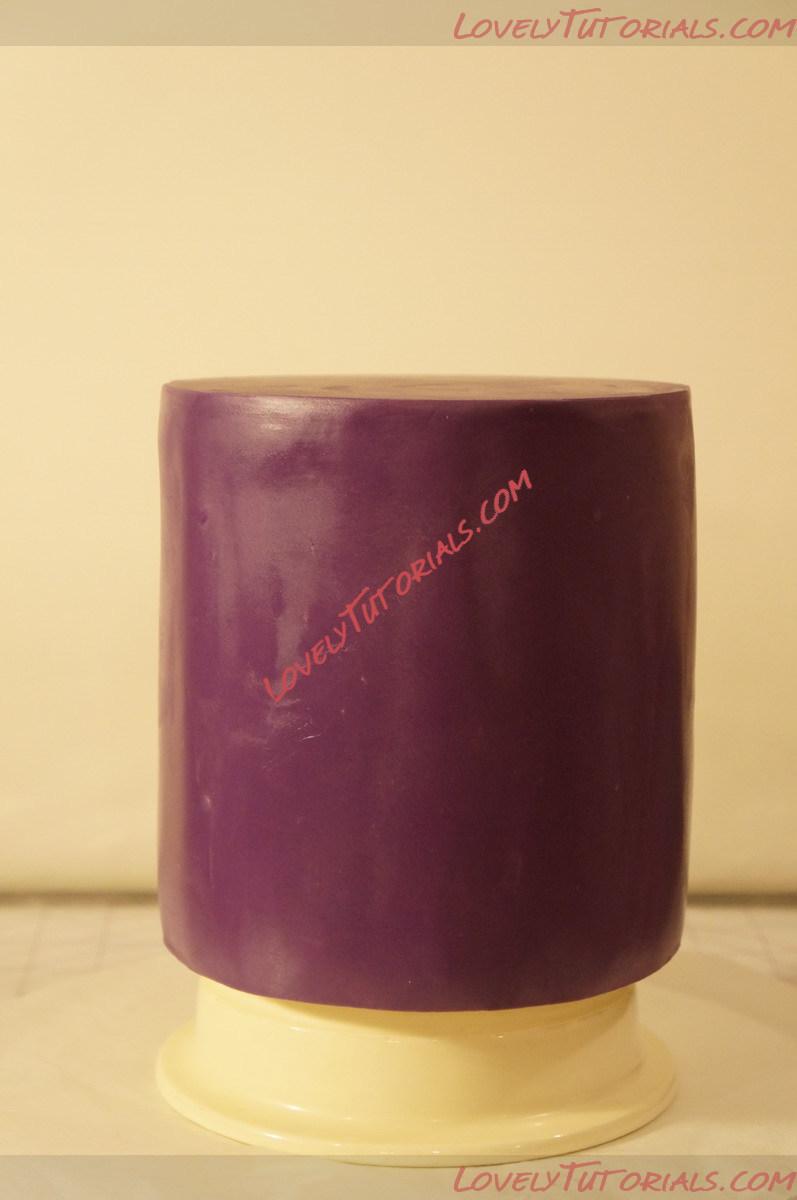
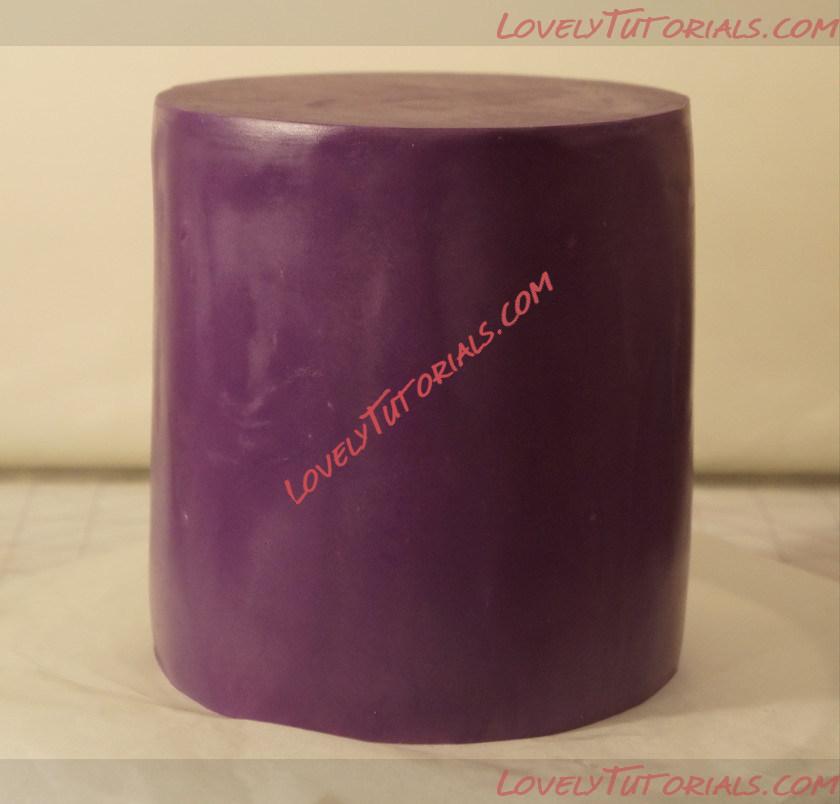
The key to creating the pleats that fold under the cake is to elevate the cake on a very sturdy bowl. The cake remains there during the whole process and the pleats are adhered to the cake and folded under the cake base. It is important that once the pleats are completed to carefully place the cake onto a cake board (or if that is not ready yet just place it onto a flat surface that is lined with baking paper. This will ensure the pleats at the bottom dry in the perfect way rather than drying while the cake is elevated and then being placed onto a flat surface, this may cause the bottom pleats to crush or break. In addition, ensure pressure is applied when placing your completed cake onto a cake board or lower tier and use a level to make sure the cake is sitting flush, so that the pleats don’t cause the cake to be lop-sided.
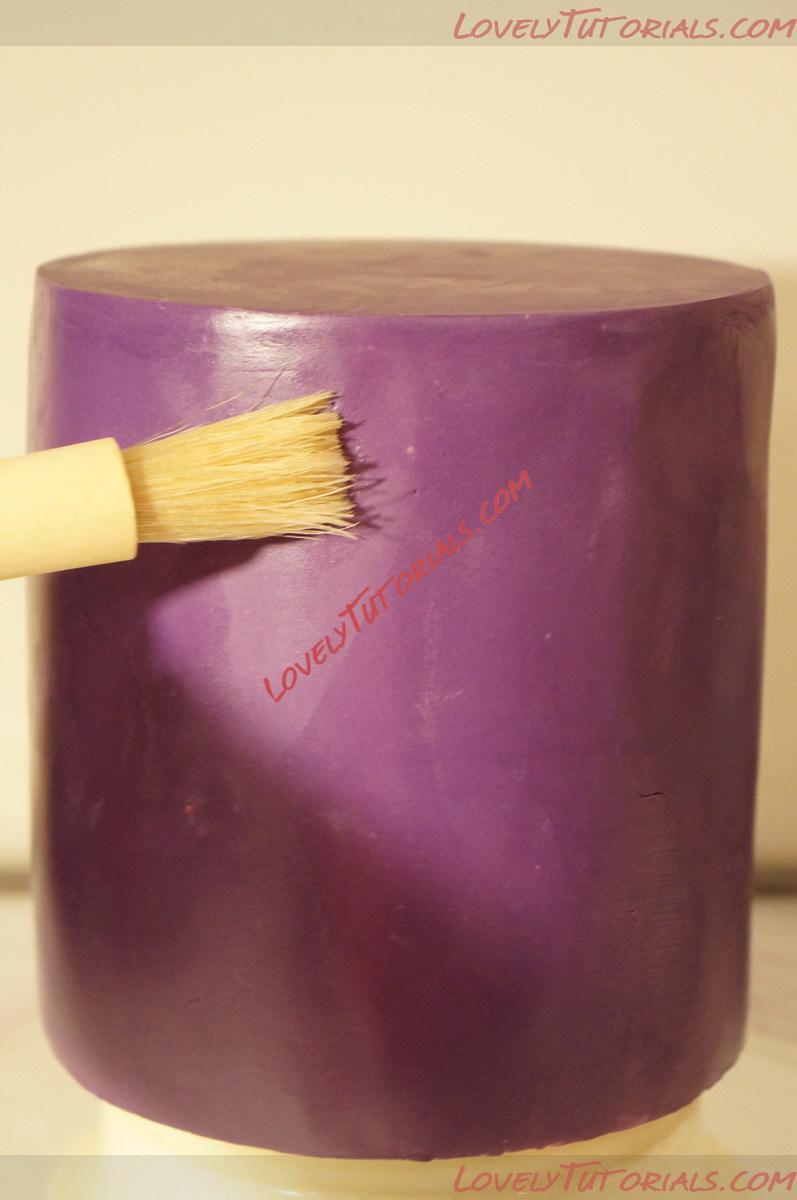
Brush entire cake with edible glue, shortening or water. If it dries while your working you may need to reapply.
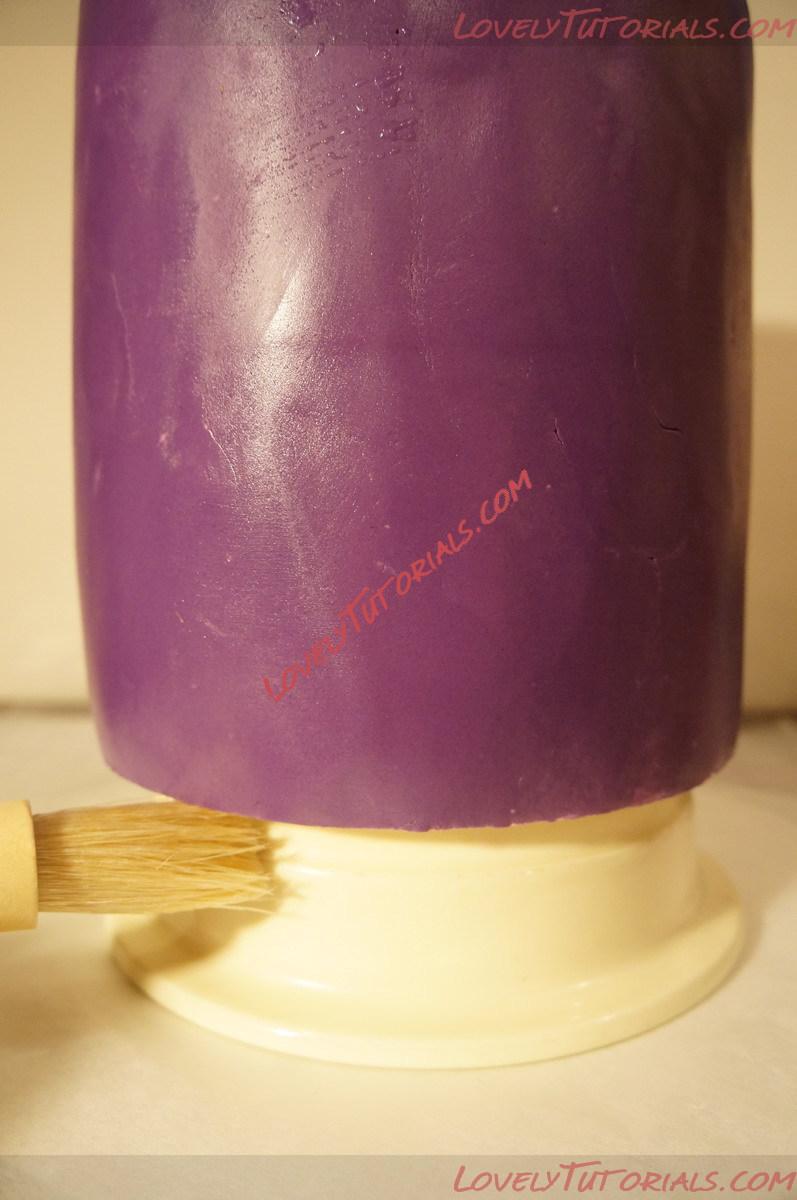
Also a few cm’s under the cake
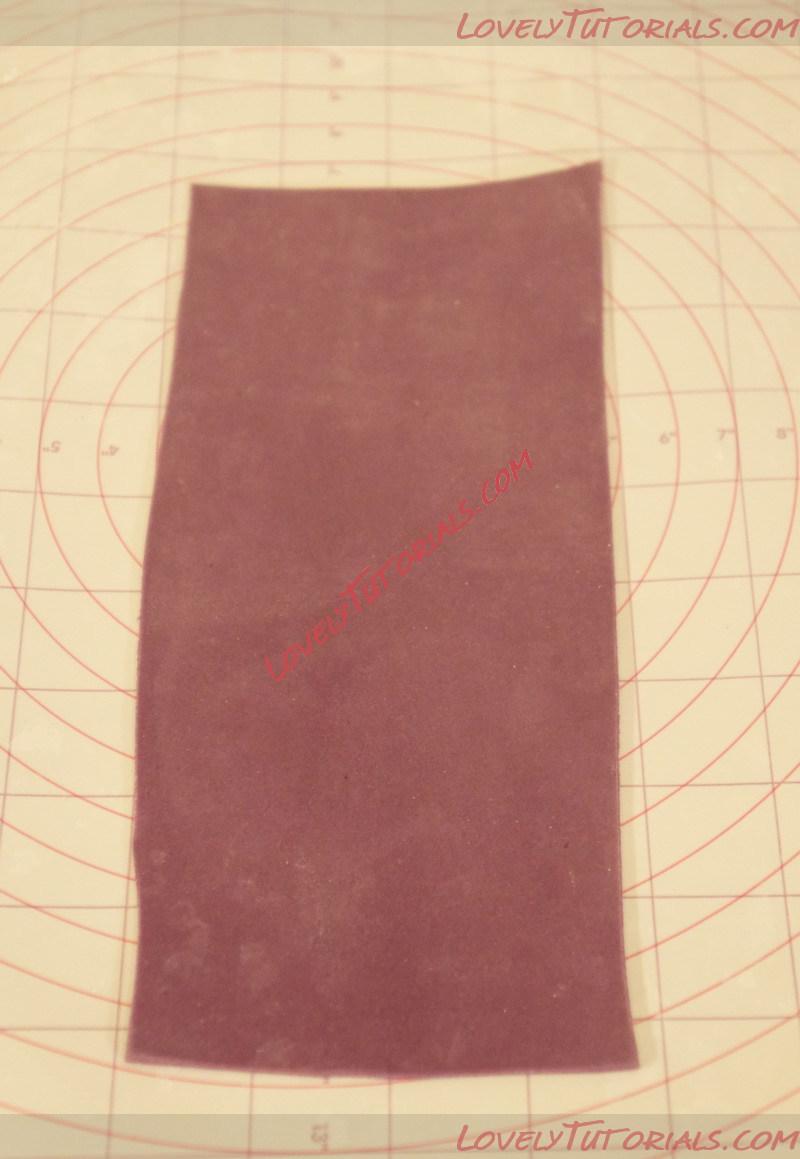
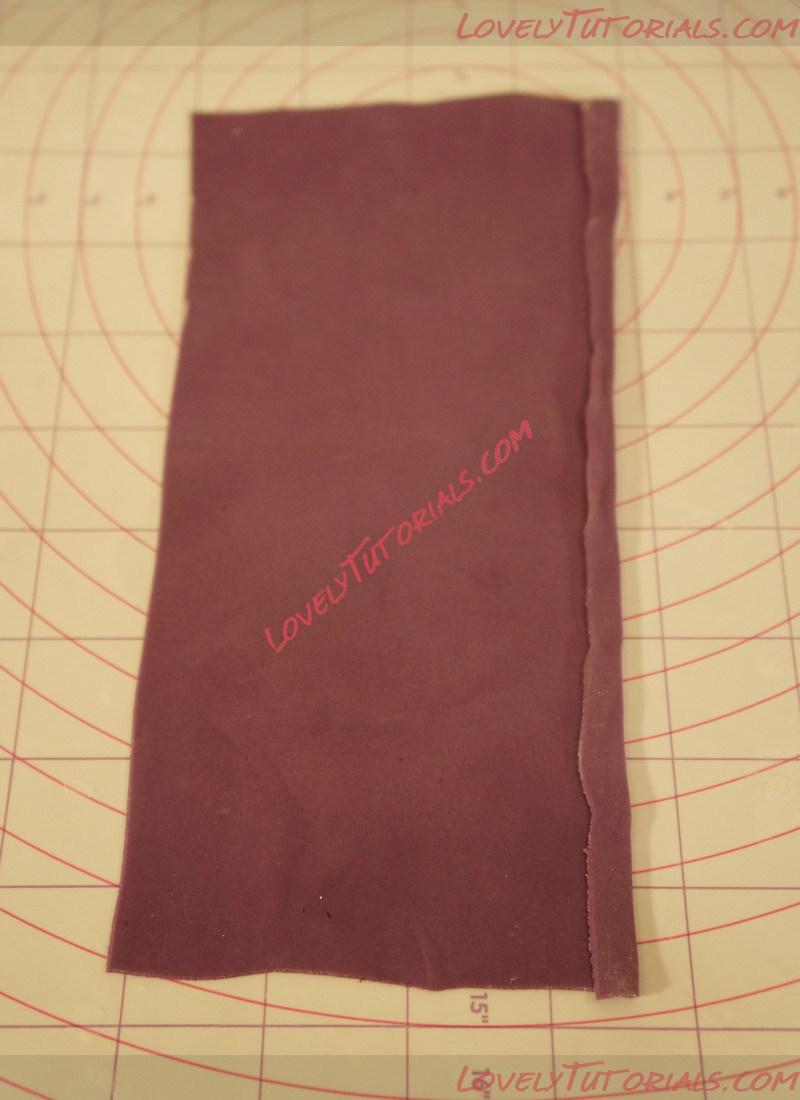
Roll out a very thing piece of fondant. Measure the height of your cake and add a few cm’s to the length. Enough to fold over the top of the cake and enough for a wee bit to fold underneath.
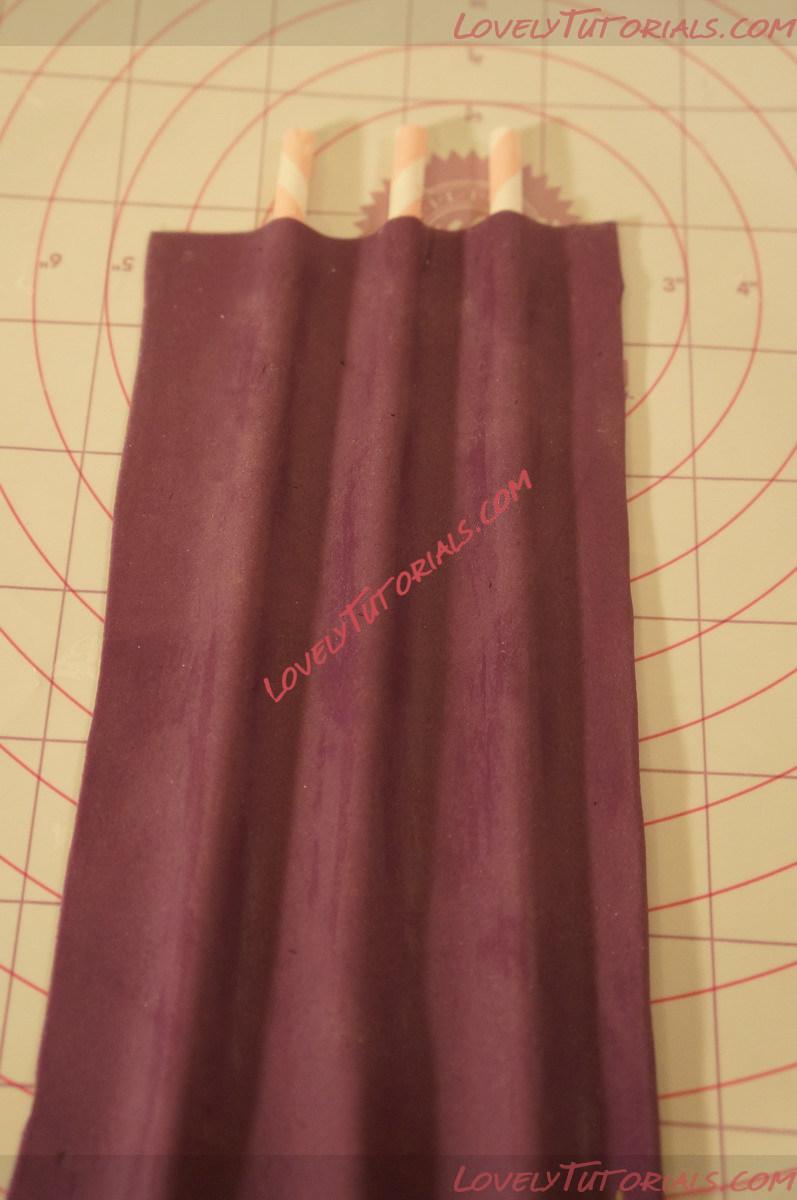
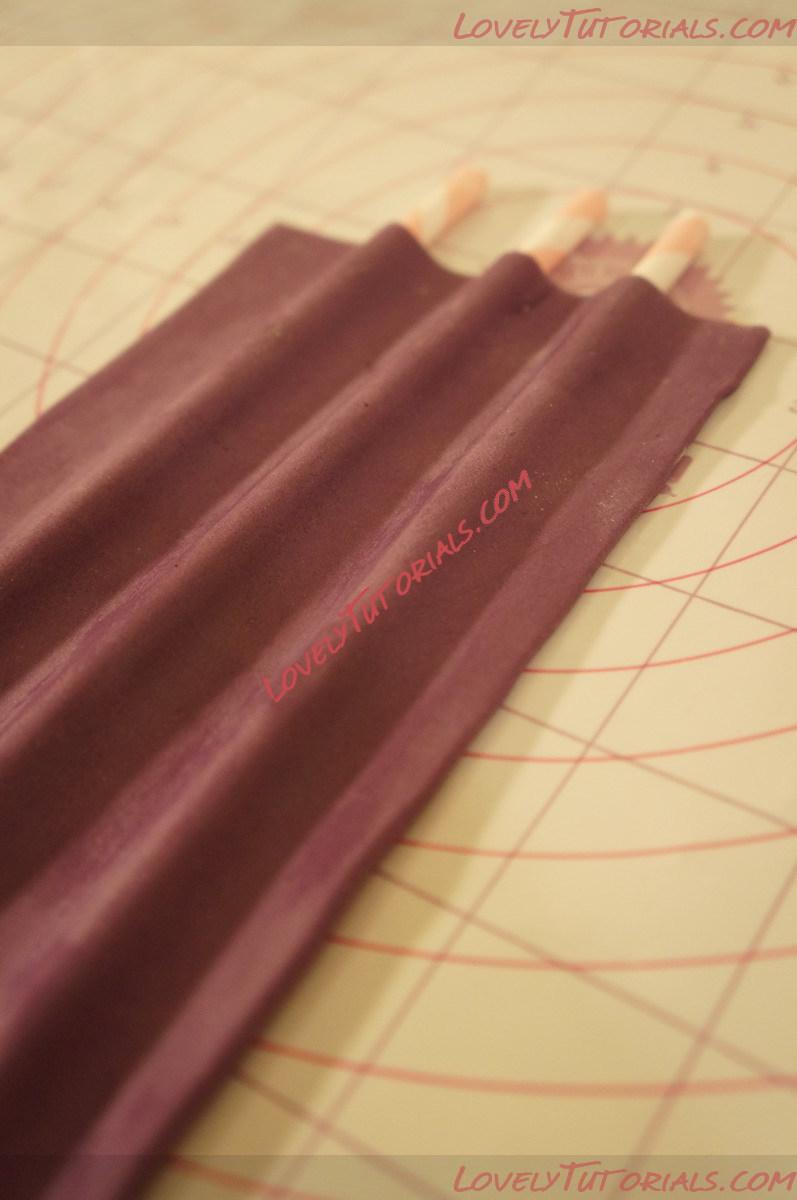
Lay fondant over 3 paper straws (Dowels or skewers also work). Use your fingers to smooth over the straws and create grooves in between the straws.
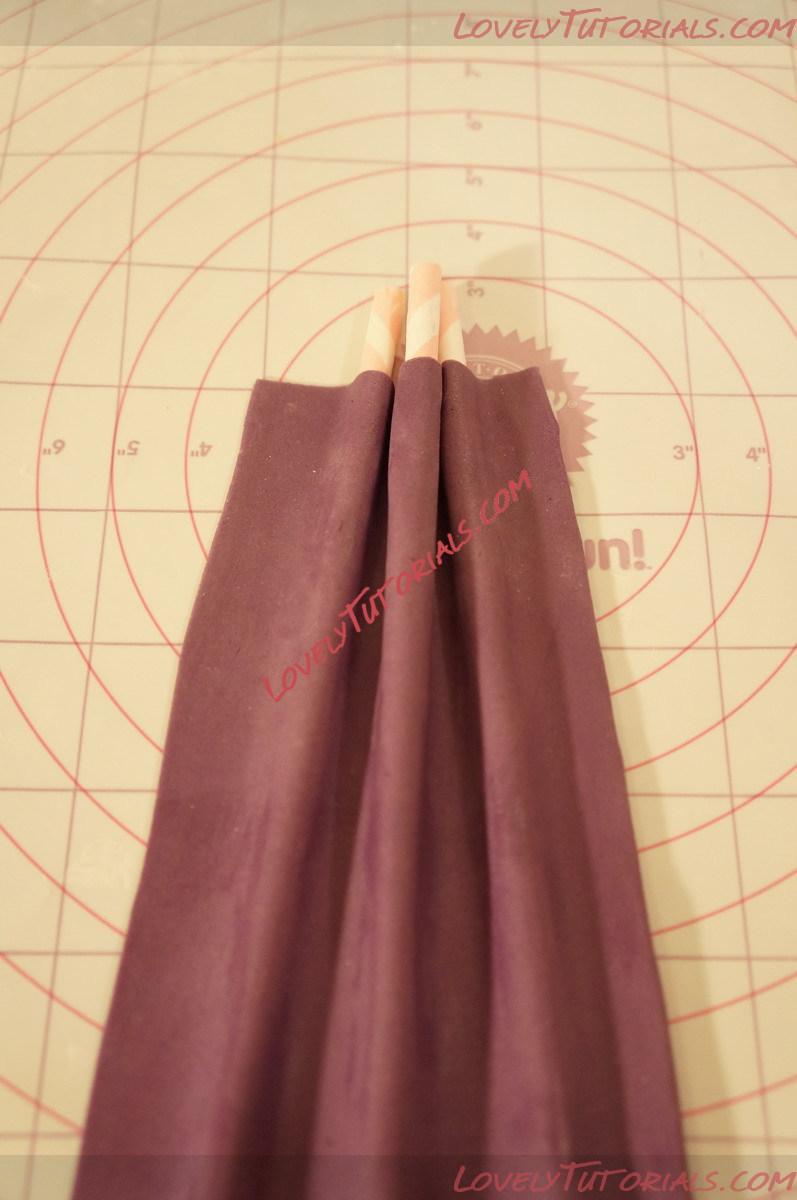
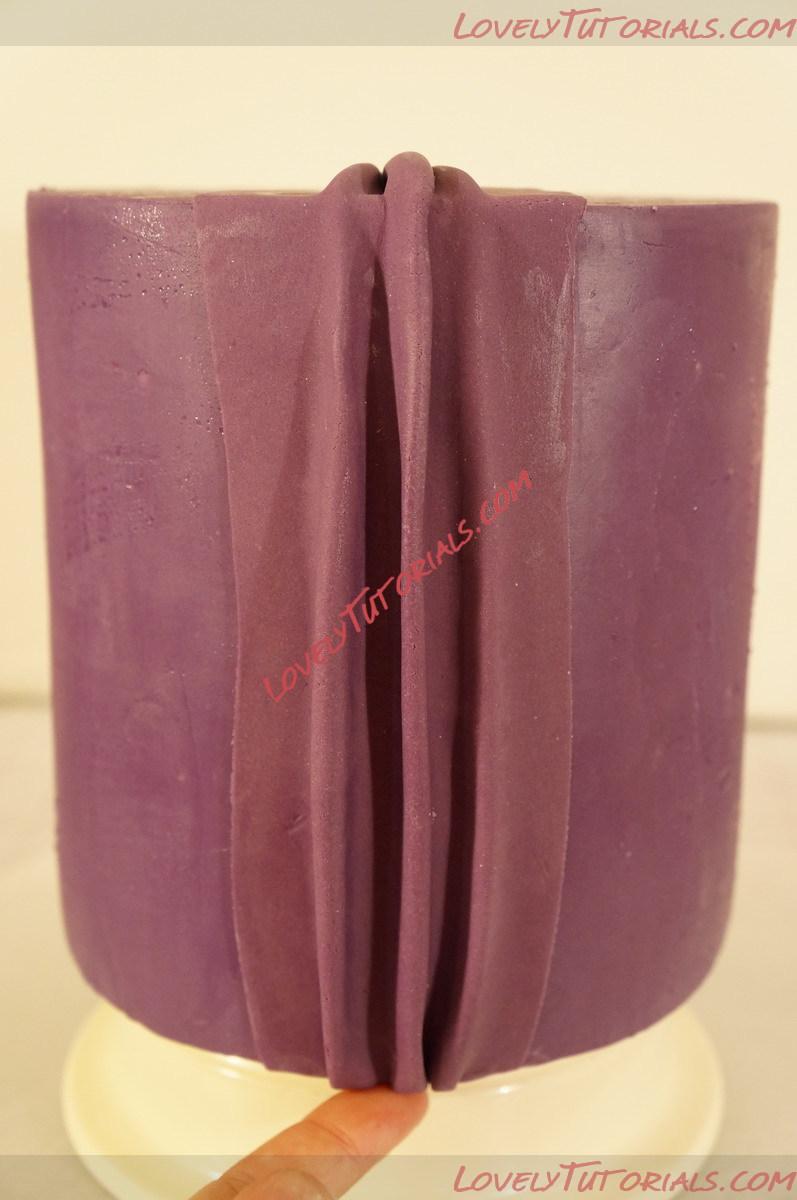
Pinch the tops of the straws together at the top, this is creating the pleats.
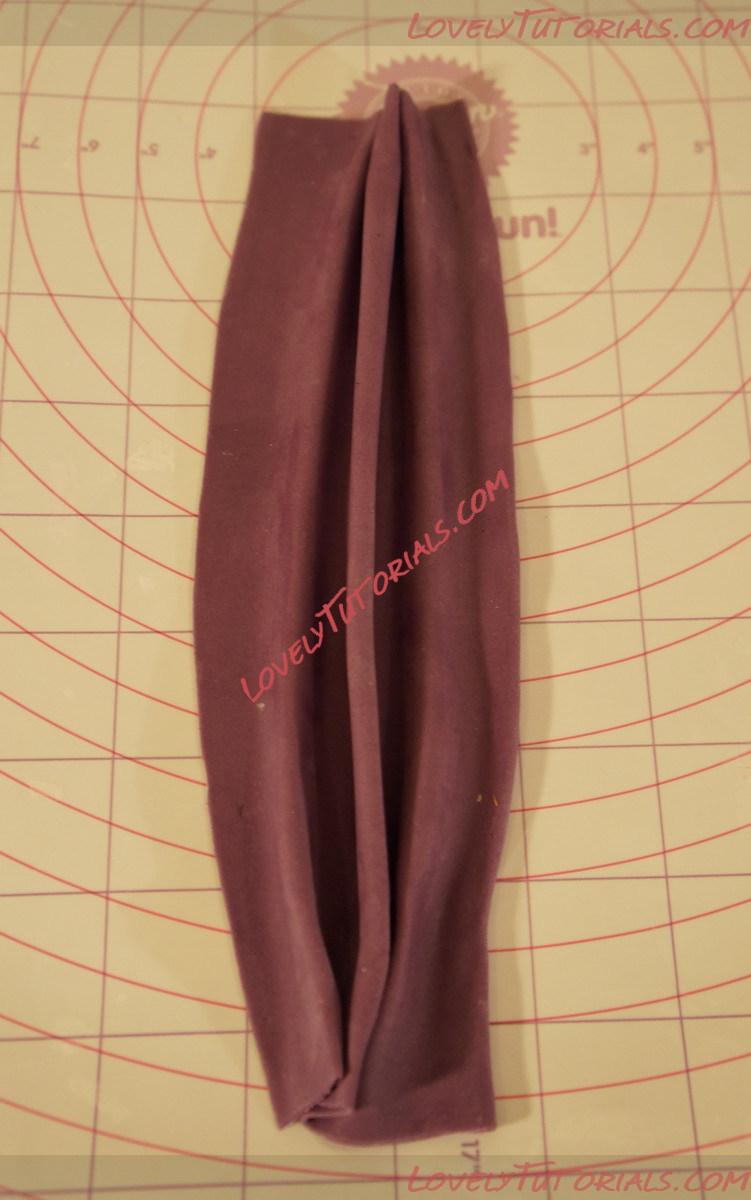
Remove the straws, then gather the opposite ends together as pictured.
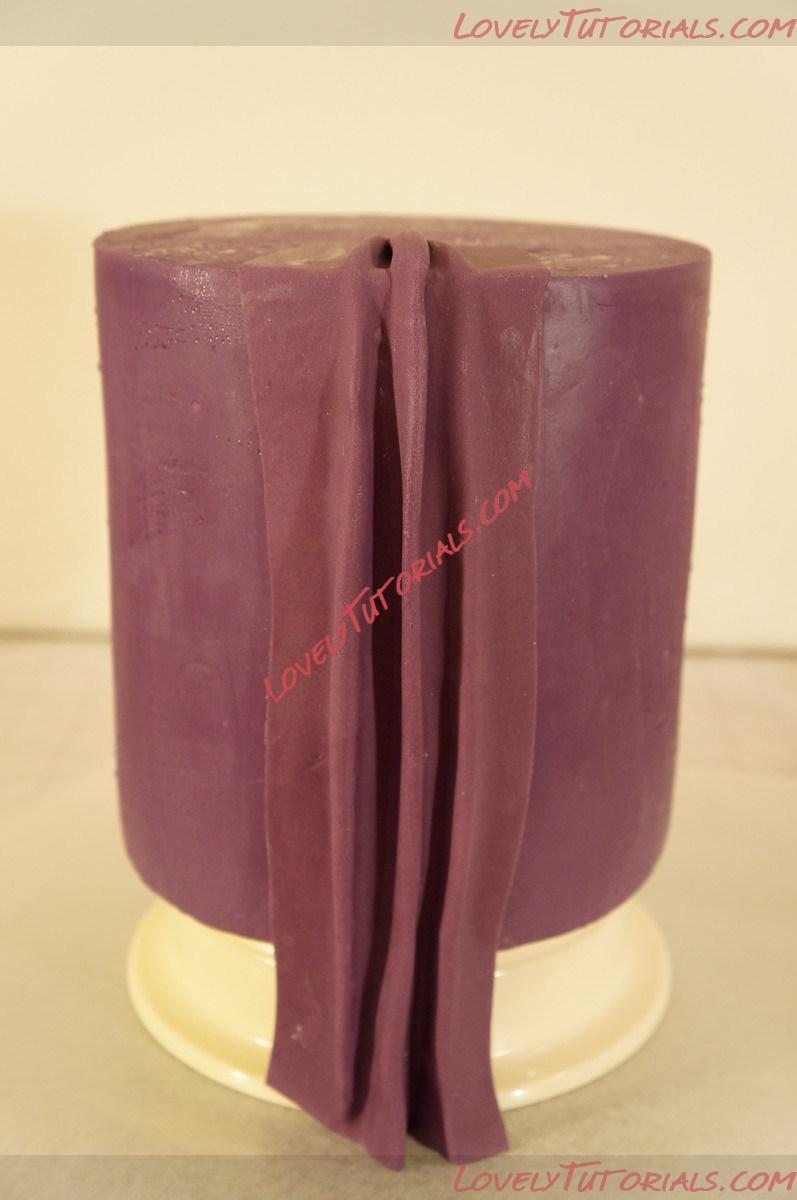
Using the guideline marked the top of the cake, adhere the first pleat to the top of the cake.
Trim the bottom of the pleat so it over hangs a little bit.
Fold the pleat under the cake and apply pressure to the cake base.
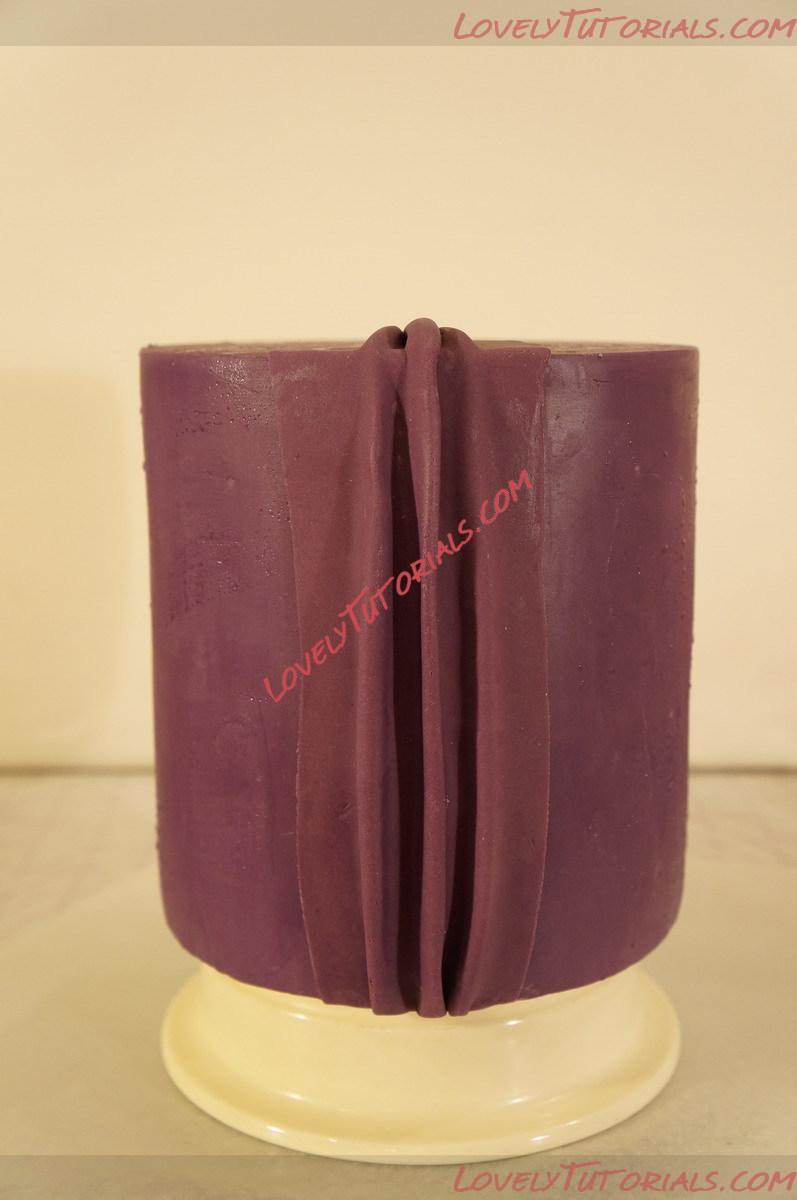
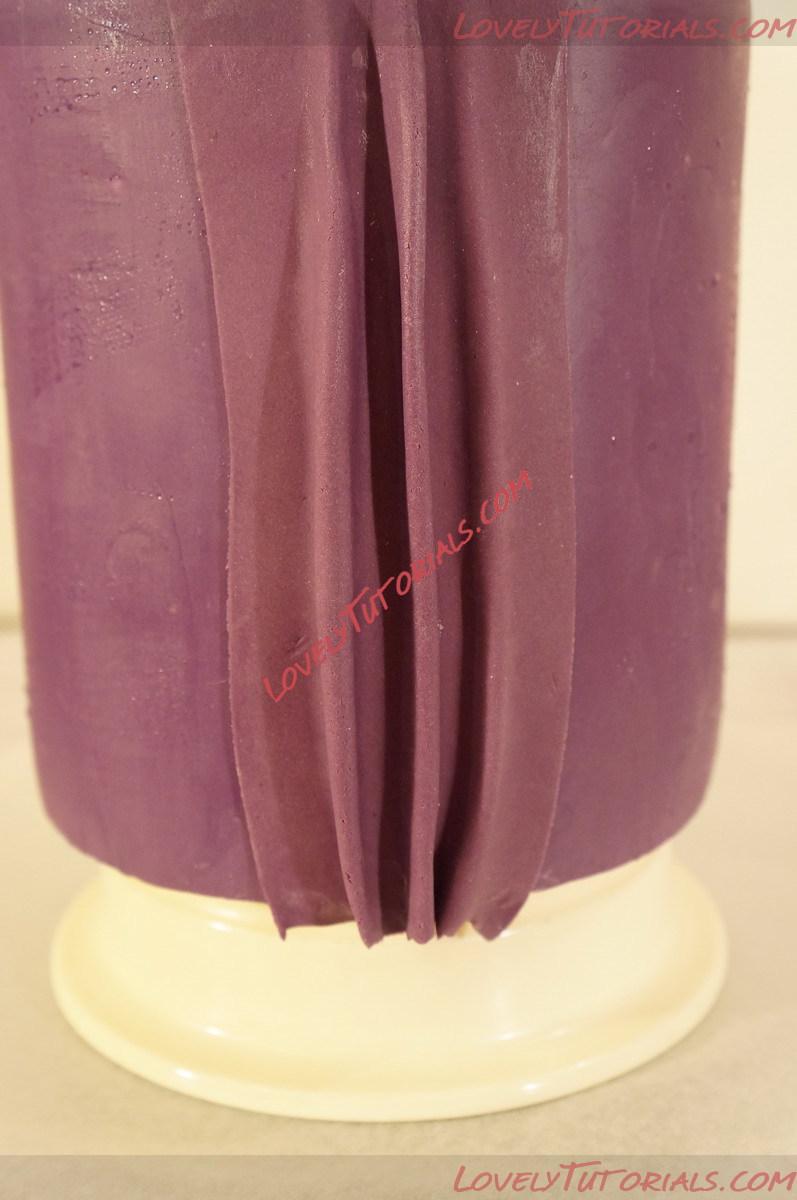
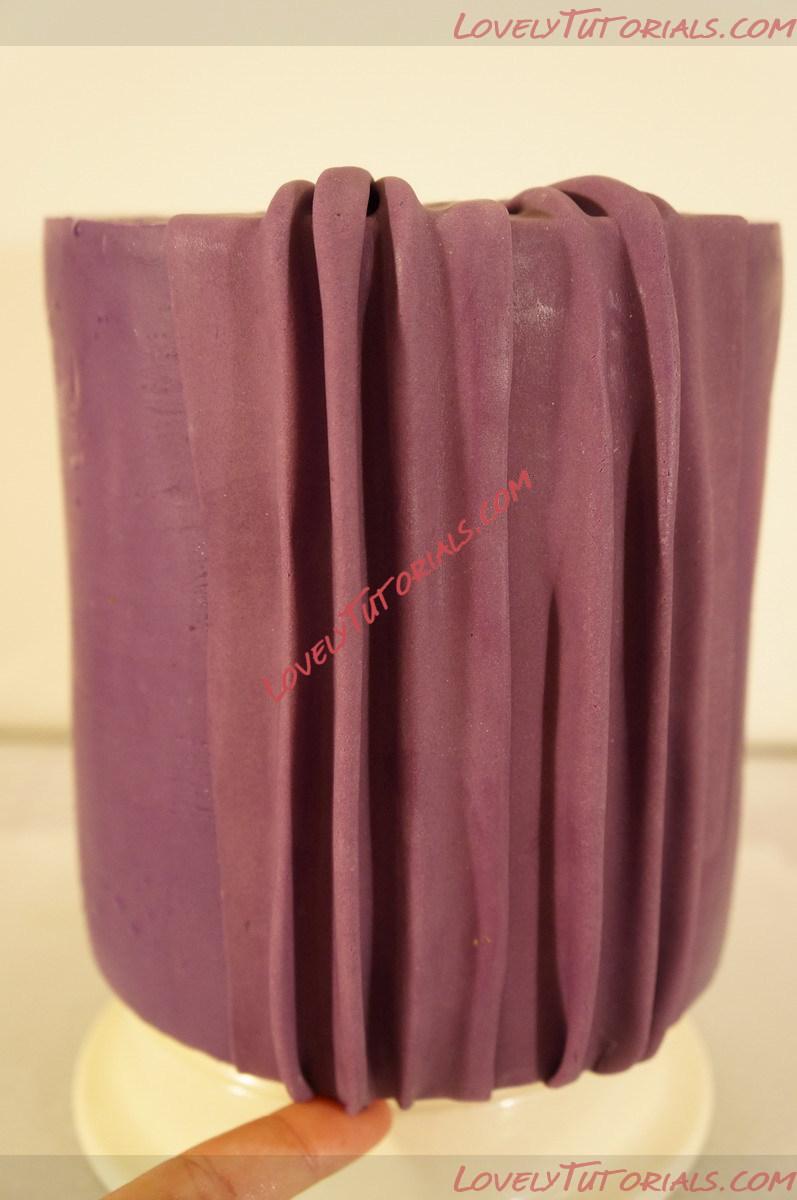
Every pleat will be different but it will now resemble something like this.
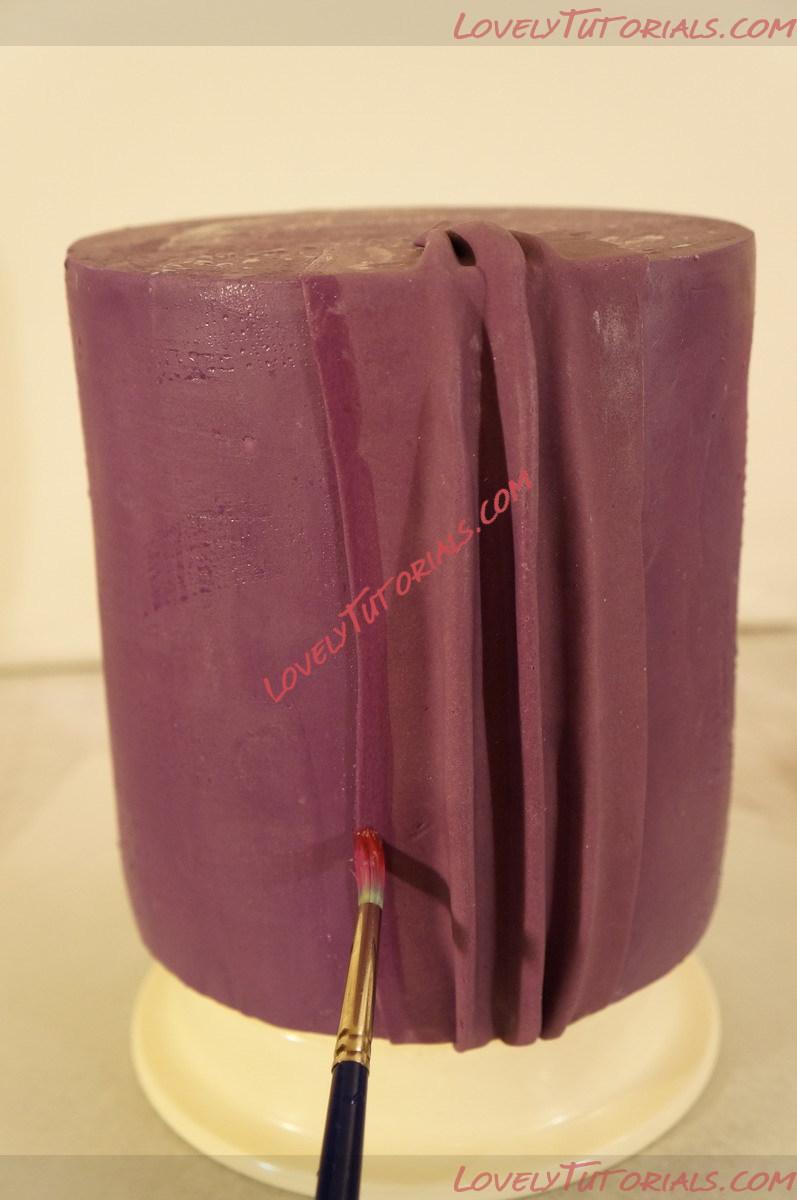
Apply a small amount of edible glue or water to the seam where the next pleat will overlap.
All of the following pleats are created in the same fashion as the first one. The only difference is that they a small “hem” is created on the edge that will over lap the prior pleat.
Turn the “hemmed” side over, lay over the straws and create the pleat.
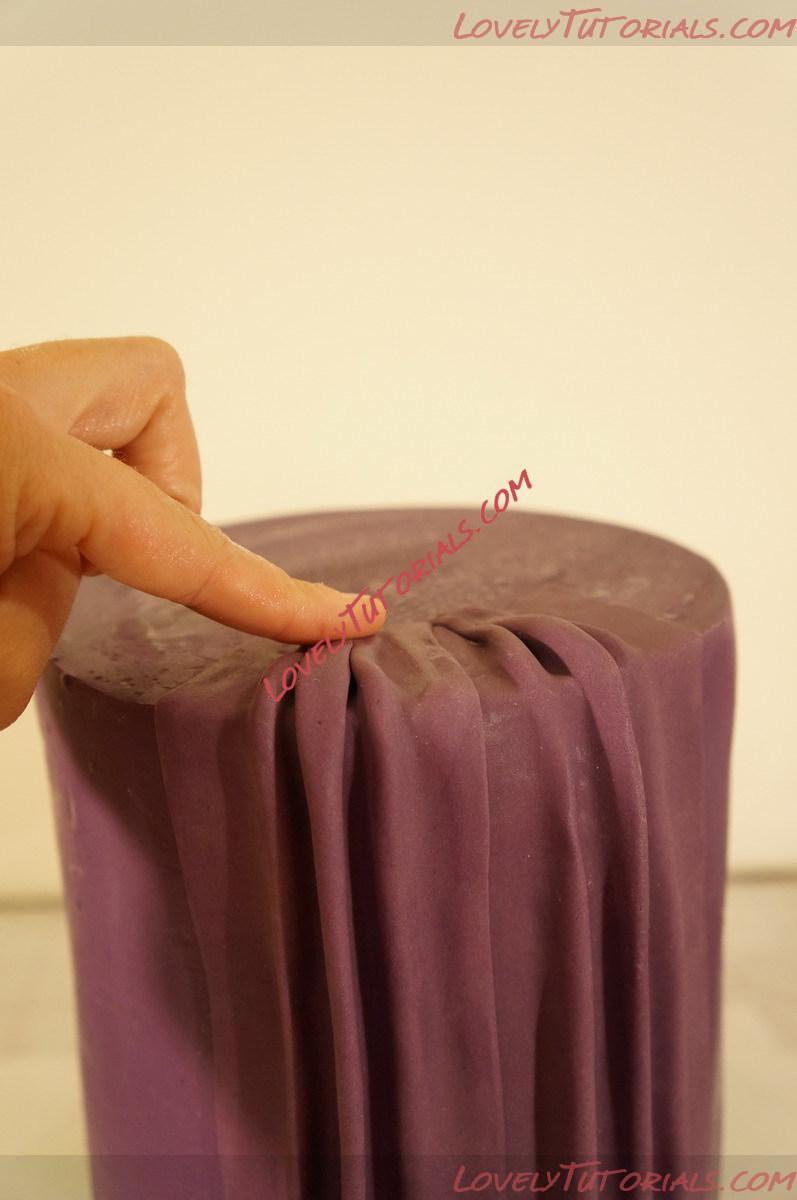
Adhere the next pleat. See how I am applying pressure to the top of the pleat, almost squishing it down where it meets the guideline.
Do the same at the base of the cake.
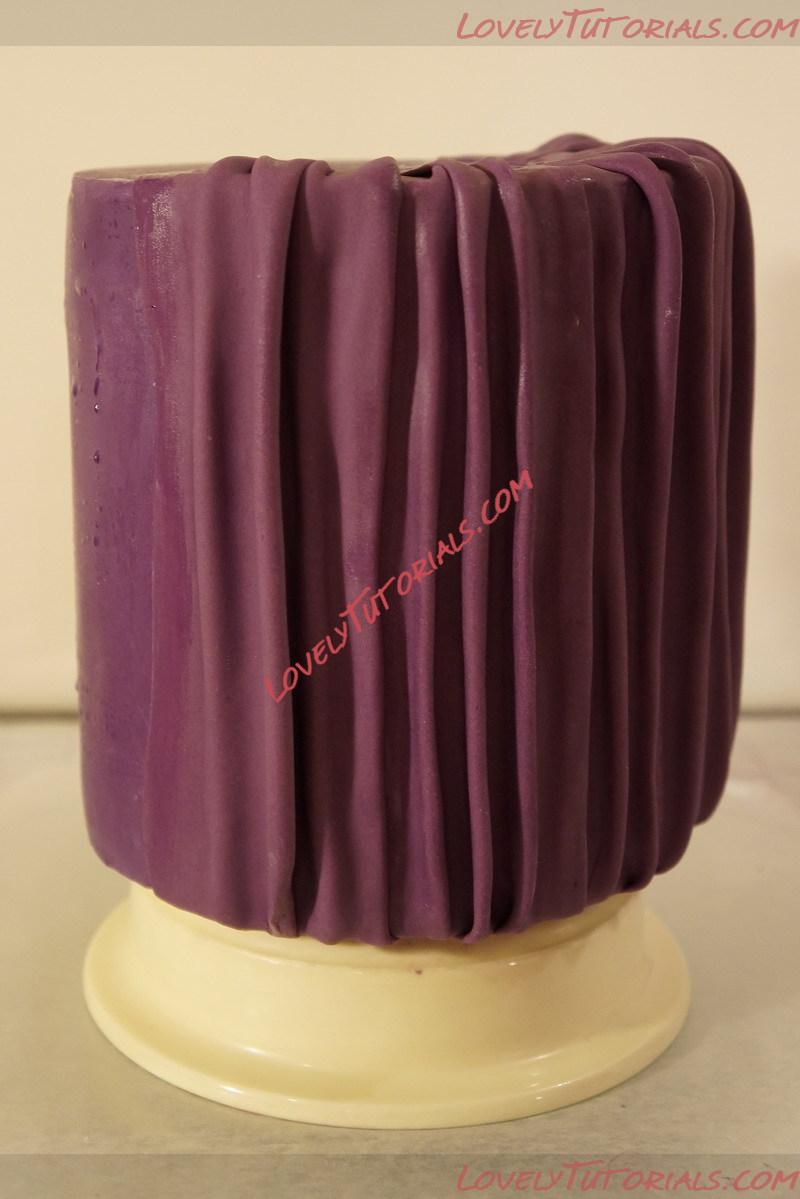
Continue making pleats the whole way around the cake until it reaches the first pleat.