Огромная благодарность Автору The Happy Caker за Мастер-класс
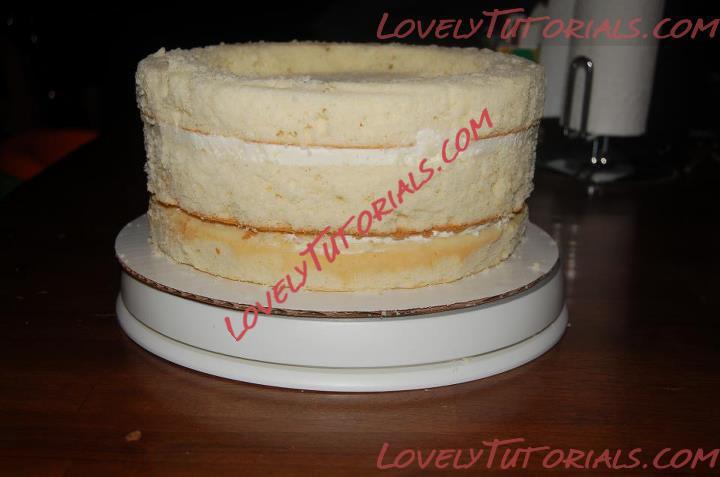
I started by baking two 10" rounds and one 9" round for the basket. You could probably get by using only two 10" rounds but my cakes didn't come out as full as I wanted them to so I added one more to get a total height of 4".
For the bunny body I baked two 6" rounds. The head was baked in a small pyrex bowl so it had a little bit of a dome shape.
I also made a large batch of marshmallow fondant and a batch of milk chocolate modeling chocolate. I kneaded together 1 pound of the fondant and 1 pound of the modeling chocolate to make chocolate fondant for the basket.
Using the chocolate fondant I rolled out 2 ropes and twisted them together to form the handle of the basket. I inserted lolly pop sticks into both ends so that I could attach it to the basket after it dried. **Important note...if you want the handle to dry hard you should knead some tylose powder into the fondant before you form the handle. I forgot this step and my handle never dried after letting it sit out for 5 days. I had to cheat a little to get my pictures but since the cake was for my family I don't think anyone minded

** I shaped the handle around a 9" baking pan so that it would be the right shape.

Next I filled and stacked my cakes for the basket. I put the 9" cake on the bottom. Then I carved the cakes so that they were slightly tapered. I actually placed a cardboard round over my top cake and flipped it over. It was a lot easier to carve upside down. When I was happy with the shape I flipped it back over and carved a hole in the top cake so that the bunny would sit a little lower in the basket. (save the carving scraps for use later)
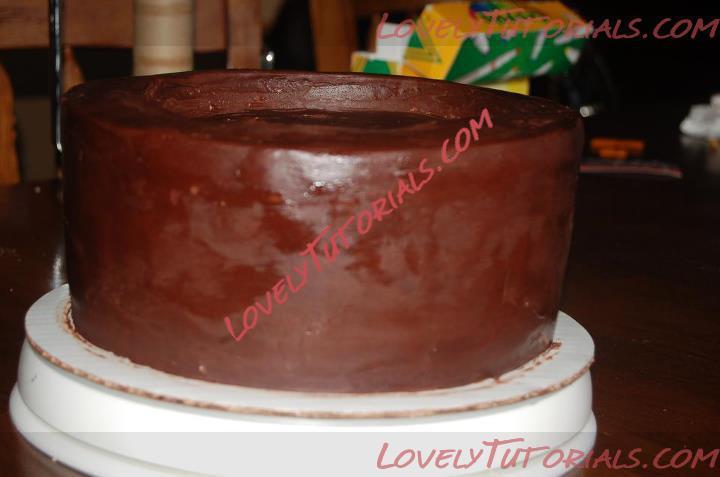
I covered the cake in milk chocolate ganache and let it set overnight so the chocolate would be nice and firm before I put the fondant on. (This was my first attempt at ganache! Overall I was pretty happy with the turn out. I think I am a ganache convert!)
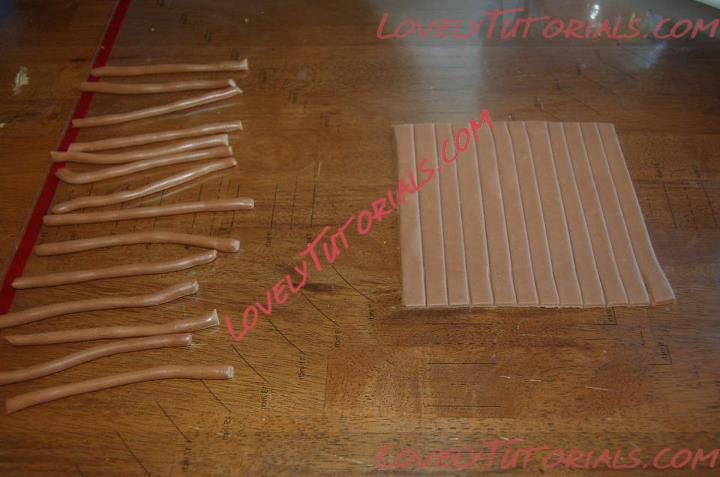
Using the chocolate fondant I rolled out a loooot of 4" sausages for the basket! Then I rolled out some chocolate fondant. I squared it off and then cut 1/2" strips.
Now for the really fun part
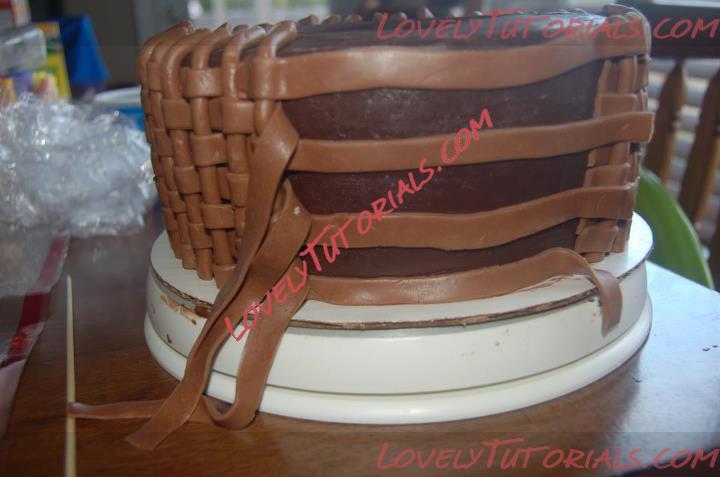
I'm sure there is a much easier way to do this but I actually wove my pieces. I attached the stips horizontally on the cake using a bit of water to help them stick. Then I attached one of the sausages vertically pulling every other strip off one at a time to cross over each sausage. Hope that makes sense!! It's a little difficult to explain but the picture should help. This process took a lot of patience!! I did the cake in 4 sections and by the time I got to the 3rd section I had gotten a lot faster. I rolled two more long ropes and twisted them together to make the top edge of the basket. I also used an extruder to make two thin ropes that I twisted together and attached to the bottom of the basket.
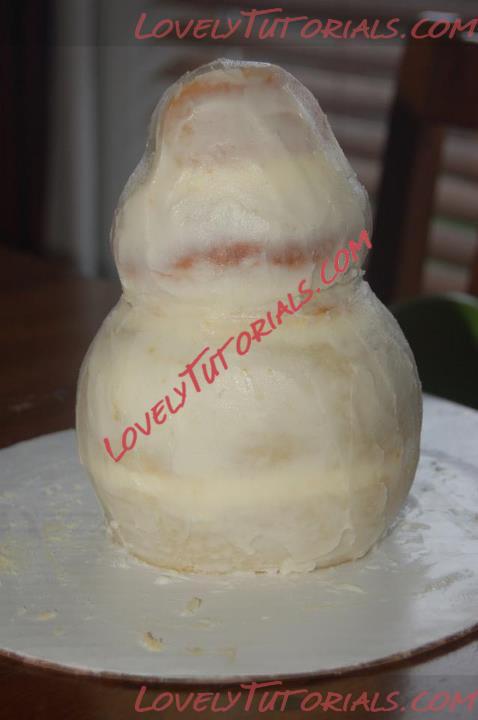
Next I started to work on the bunny. I meant to take more picture of this but totally forgot! I filled and stacked my cakes and let them chill in the freezer for about 30 minutes so it would be easier to carve. The head took me a while to figure out how to get the shape I wanted it but I basically very slowly tapered in from the top of the head to about halfway down and then back out again so it had puffy cheeks. After I had the head carved how I wanted it I placed it on top of the body so I could get the proportions correct. The body was carved in an egg shape. I added a dowell through the center of the bunny for support and crumb coated the bunny with swiss meringue buttercream.
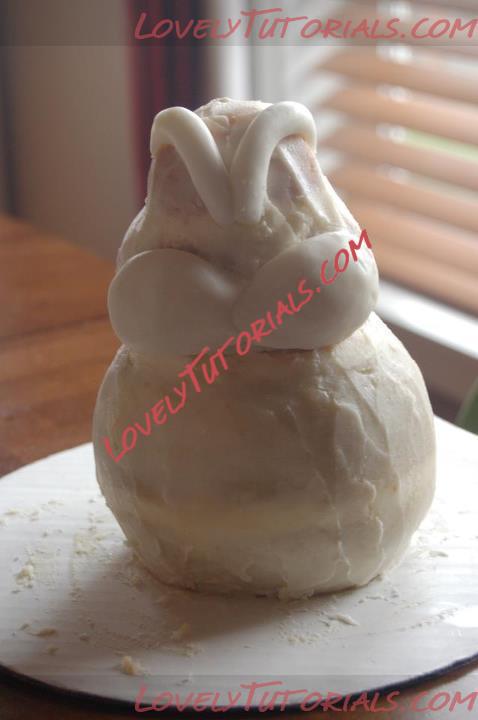
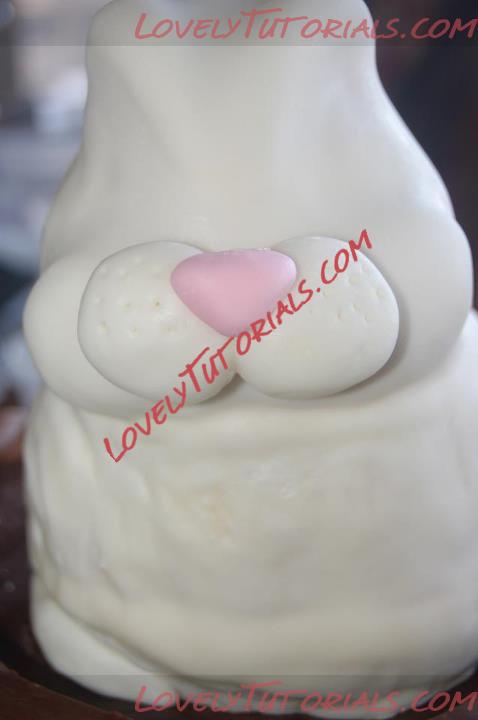
Using my white fondant I rolled out two sausages and attached the to the eye area of the bunny so there would be more definition to once I covered it with fondant. I also added 2 balls of fondant to the cheek area so that it was a bit puffier.
I don't have a picture of this but next I covered the bunny with a layer of fondant.
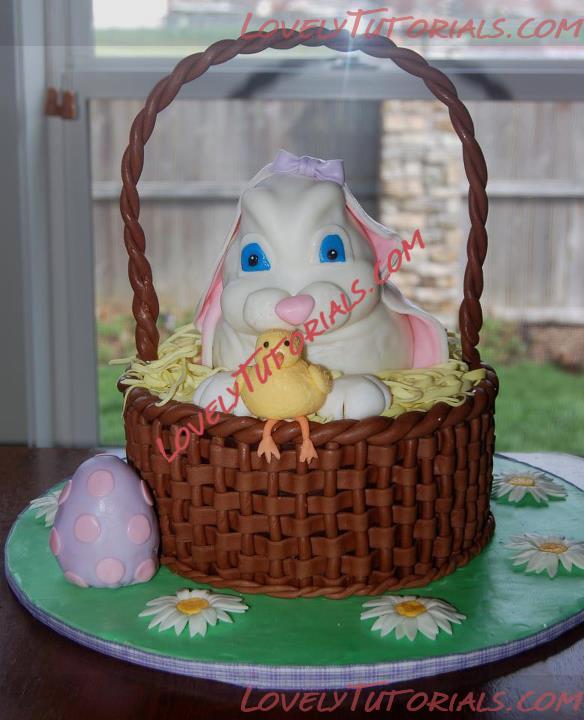
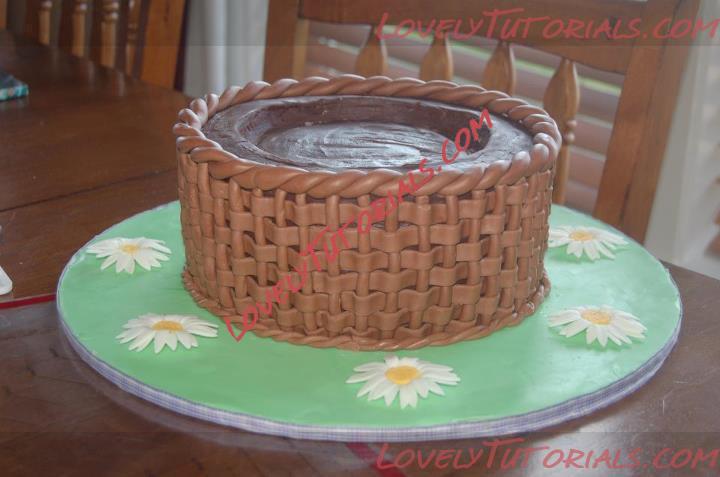
At this point I covered my cake board with green fondant and moved the basket to the center of the board. I placed the bunny in the center of the basket. I also added daisies all around the board. (There is a tutorial for the daisies I made in my notes).
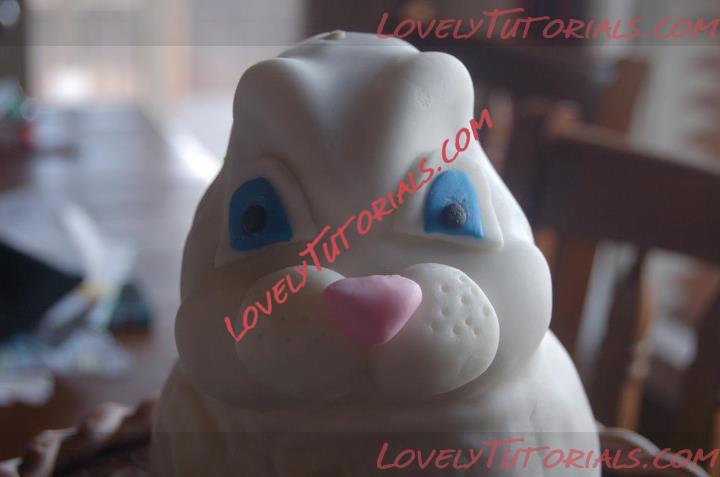
I made a mouth and nose out of fondant and attached with a bit of water. Using a toothpick I made little holes on either side of the nose.
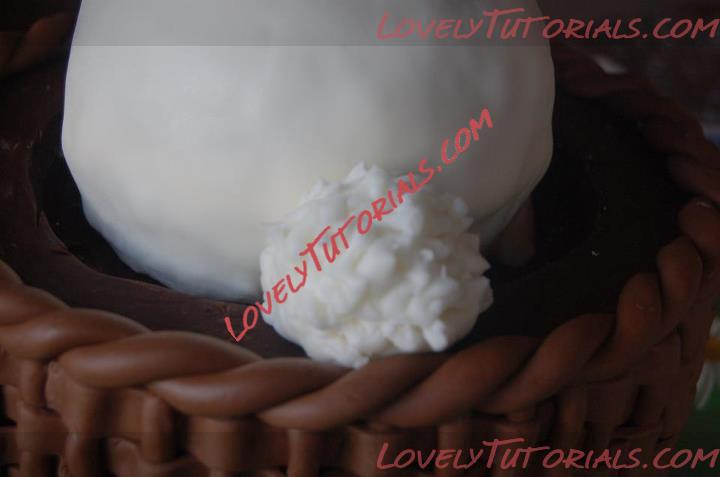
I made the tail using a ball of fondant. I made little cuts all around the tail using a small pair of scissors to make the tail look fluffy.
I cut out some white fondant ovals and cut the bottom portion off so it had a flat bottom. I then cut out blue ovals a little smaller than the white and cut the bottom off. I attached the two pieces and then added a small ball of black fondant that I flattened slightly. Using white food coloring I added a small dot in the middle of the black for a highlight. Then I attached the eyes to the bunny right above the fleshy part of the cheek.
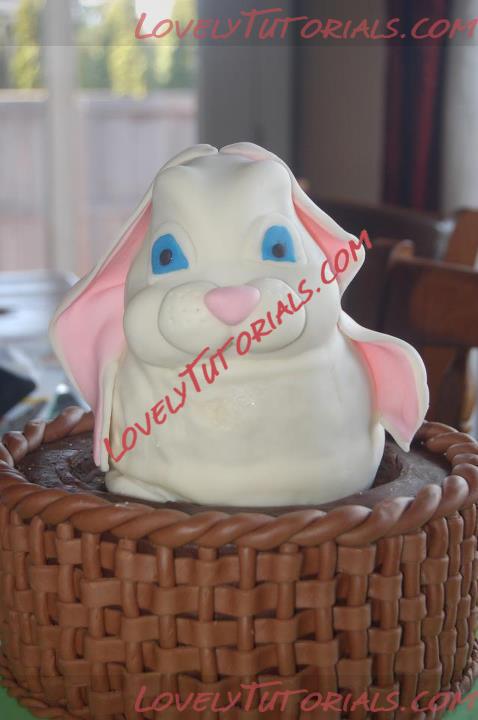
I rolled out some white fondant and cut out some floppy bunny ears. Then I rolled out some pink fondant and cut it out slightly smaller than the white. I glued the two pieces together with water and attached them to the top of the bunny's head with the white part facing the outside. I gave the ears some shape by "fluffing" it out and attaching it to the body in a few places using a little water.
Using some left over cake scraps from my carving and a little bit of frosting I squished everything together tightly and created an egg shape. I then wrapped it in saran wrap and popped it in the freezer for an hour to firm up.
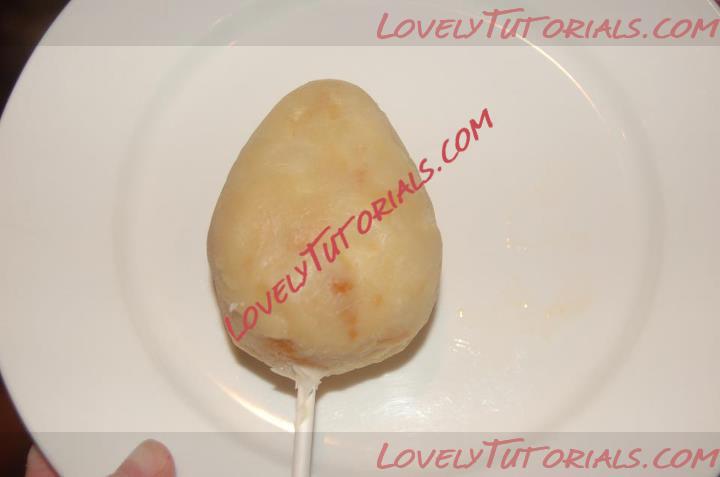
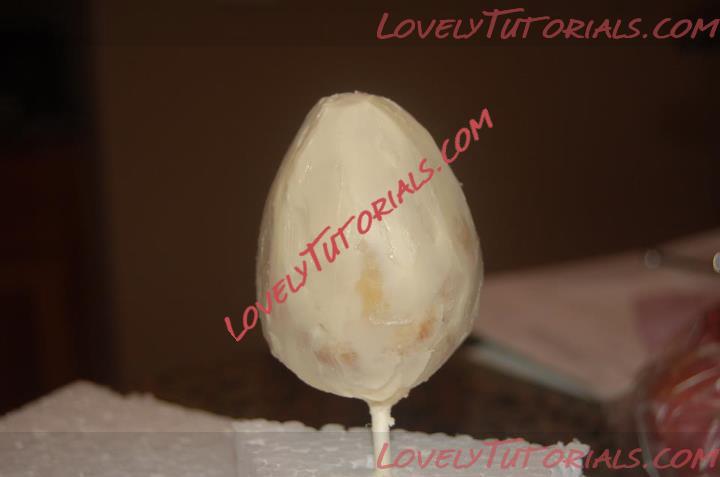
I melted some white candy melts and added vegetable oil so the chocolate was very smooth and pourable. I dipped about a 1/2" of a lolly pop stick in the chocolate and then inserted it halfway in the bottom of the egg and popped it back in the freezer to set. After a few minutes I took it back out and covered the surface of the egg with the rest of the melted chocolate and let it dry upright on a block of styrofoam. When it dried the surface was not very smooth so I smoothed it out using a knife dipped in hot water. Use a paper towell to wipe off the knife after dipping it in the water.
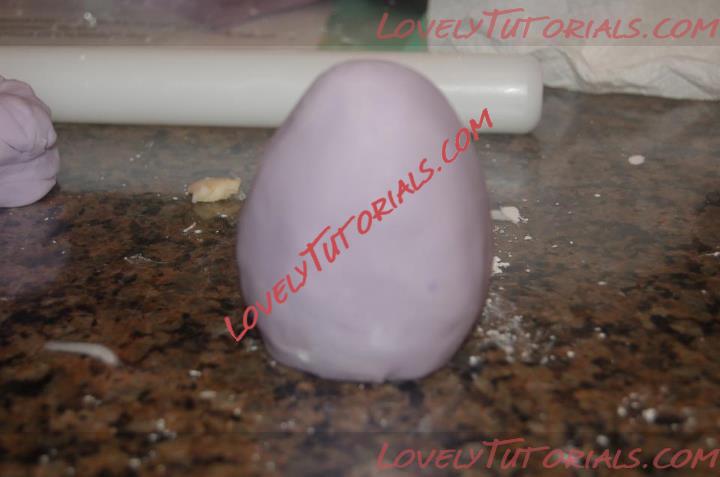
Once the surface of the egg was nich and smooth I rubbed a very small amount of shortening on the egg and covered it with fondant. (The shortening helps the fondant stick). Then I cut out small pink circles using a piping tip and attached them randomly to the egg. (I actually covered the egg with two layers of fondant because I totally messed up when I tried to add decorations to the first layer)
Back to the bunny...I rolled some white fondant into balls that I flattened slightly and shaped into a paw. Then I cut tow slits using an exacto knife. I then attached them to the front of the bunny so they were right at the edge of the basket.

Next I rolled out some yellow fondant and using a pizza cutter I cut out some very thin strips to make the grass. I placed the pieces all around the basket making sure to cover any areas that you could see the ganache coming through.

The last thing I did was add the handle by inserting the lolly pop sticks into the cake.
I also made a small chick to nuzzle with the bunny. I forgot to take pictures of the process!! It was pretty easy to make though. It is basically two balls of yellow fondant attached together. Then I added some wings legs and feet. I made him look a little fluffy by cutting random slits all over with an exacto knife.