12.01.2020, 14:33
|
|
Администратор
|
|
Регистрация: 10.03.2016
Сообщений: 1,002
|
|
 МК торт Феррари-Ferrari cake tutorial V1
Огромная благодарность Donna за Мастер-класс
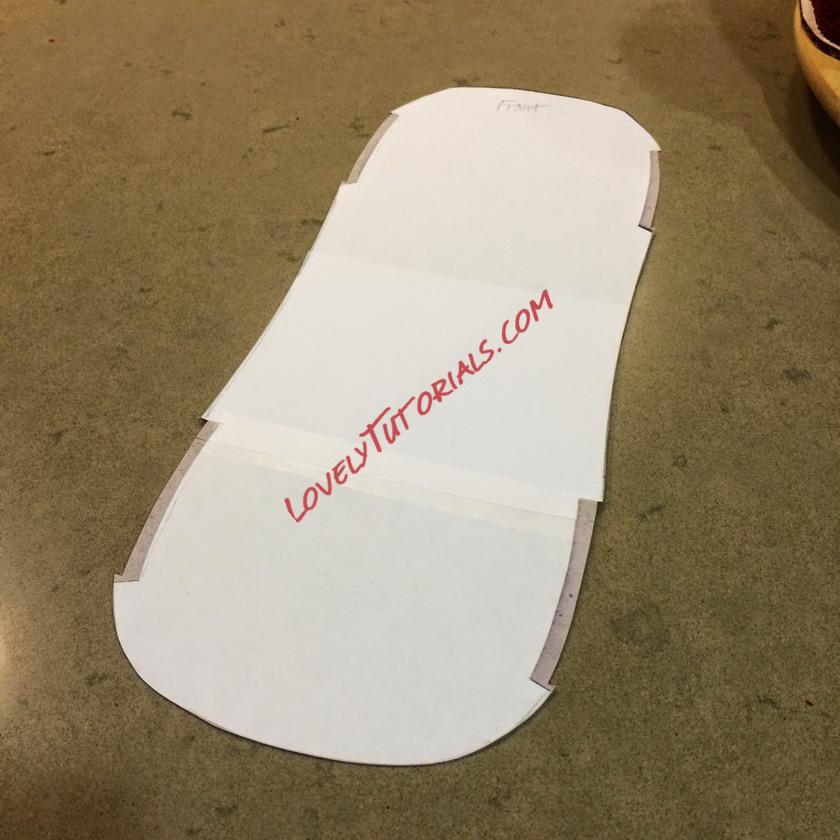
1. Make your templates
- Templates are important, it will help to guide you through sculpting and trimming your stacked cakes. Give you a closer idea of what size the cake may be.
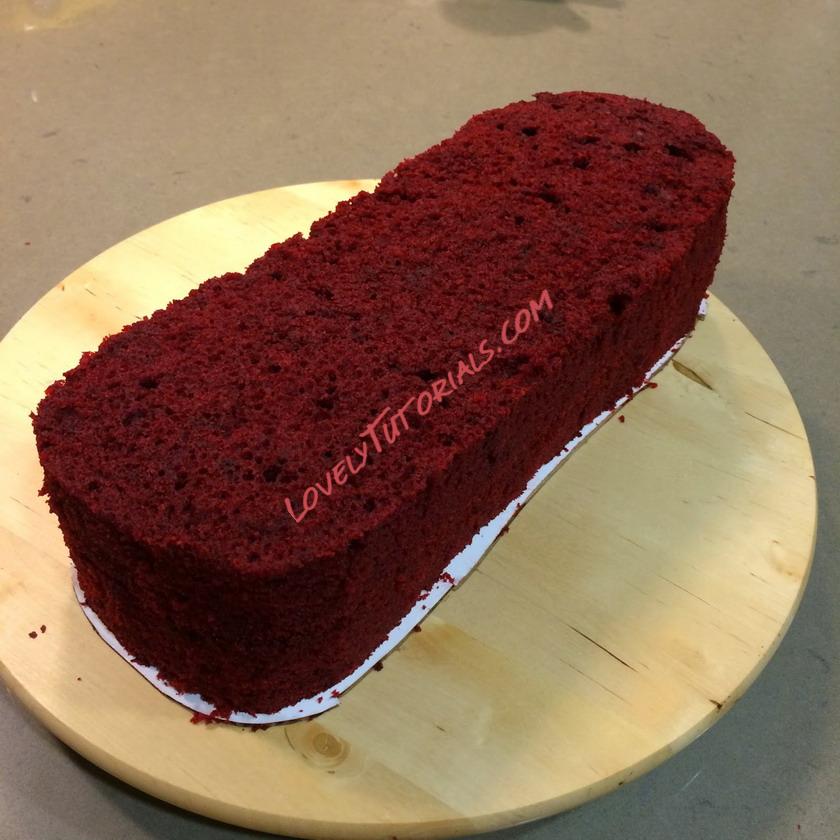
2. Get cake layers ready
- Shape the cake layers, fill between the layers, crumb coats. You know the drill! 
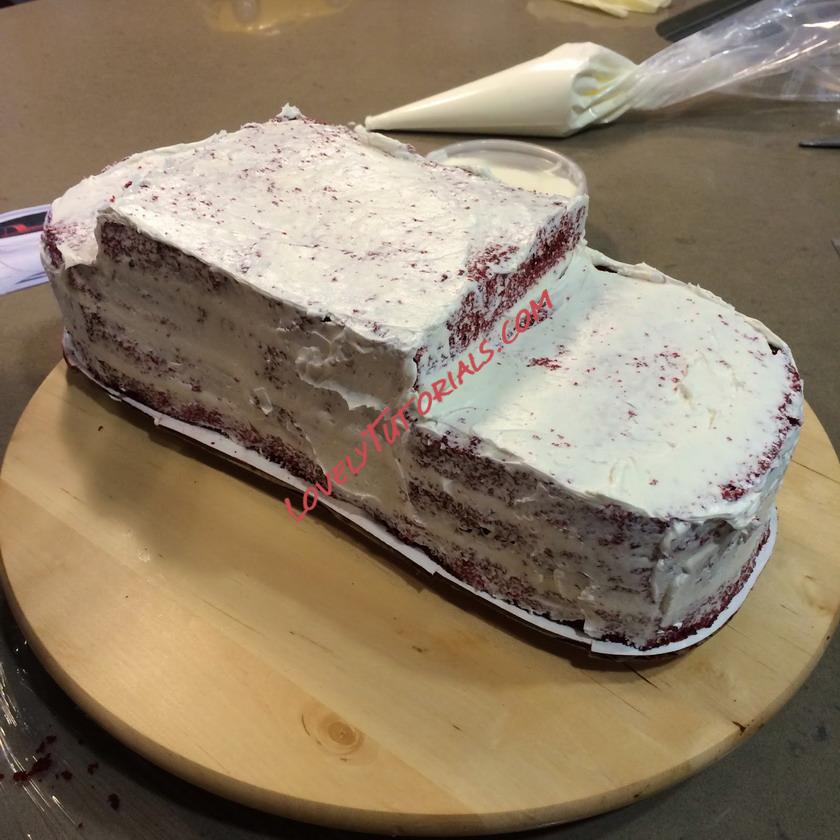
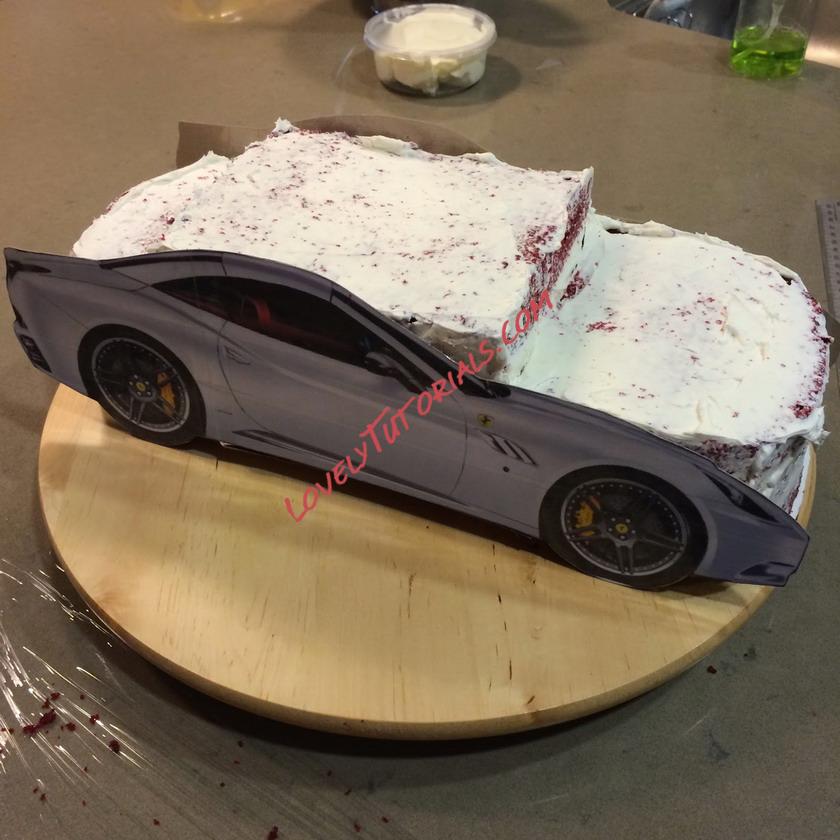
3. Frost over all shape
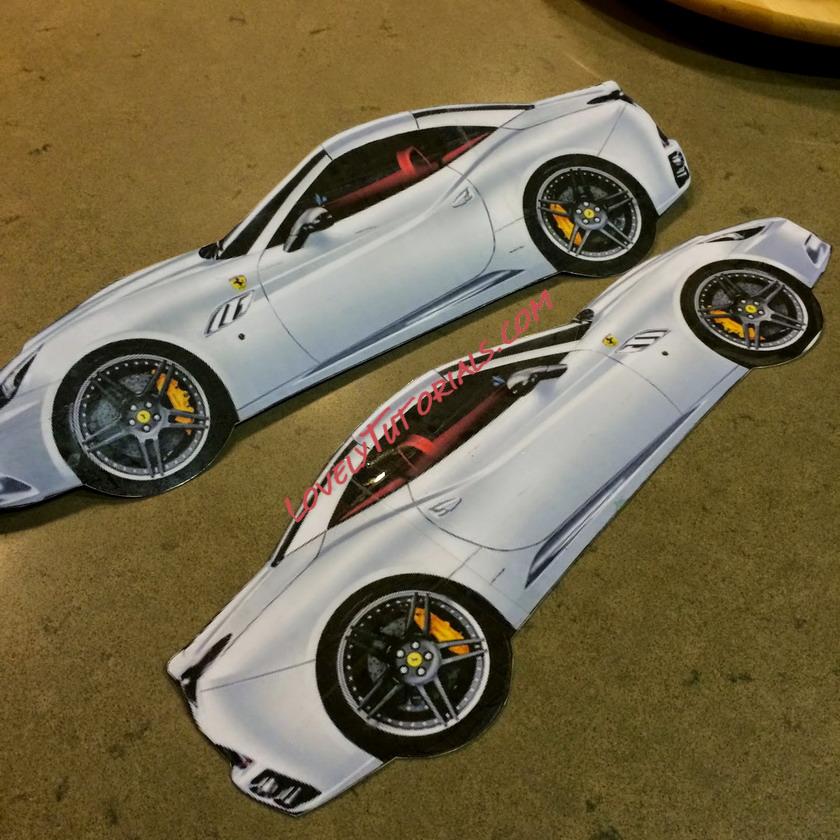
- Take your car profile template, stick them next to the cake, so you know how much more cake to trim and buttercream to fill.
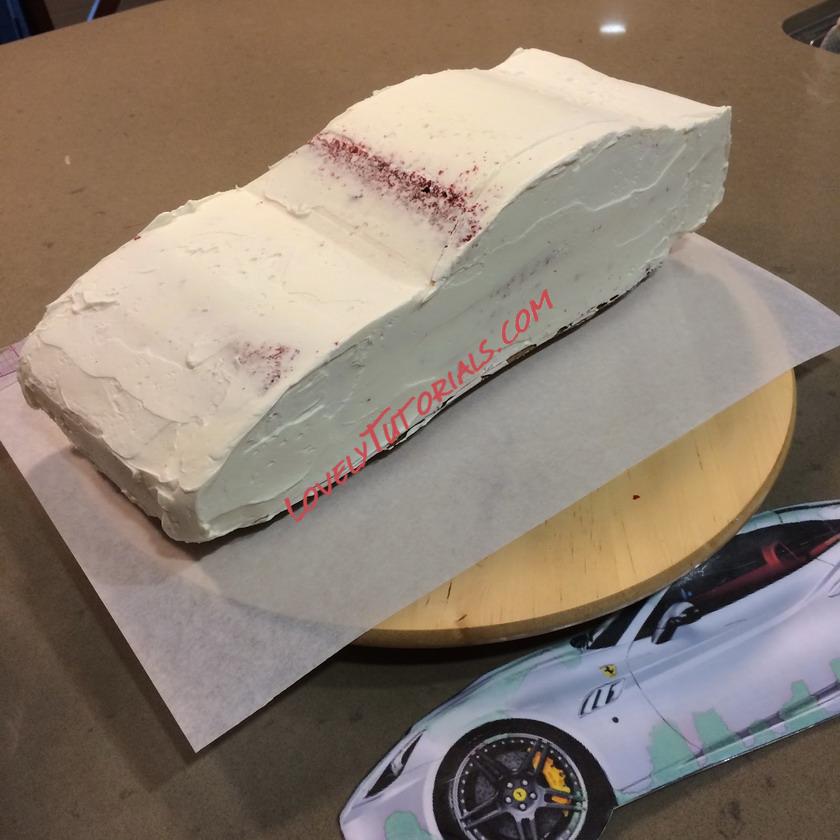
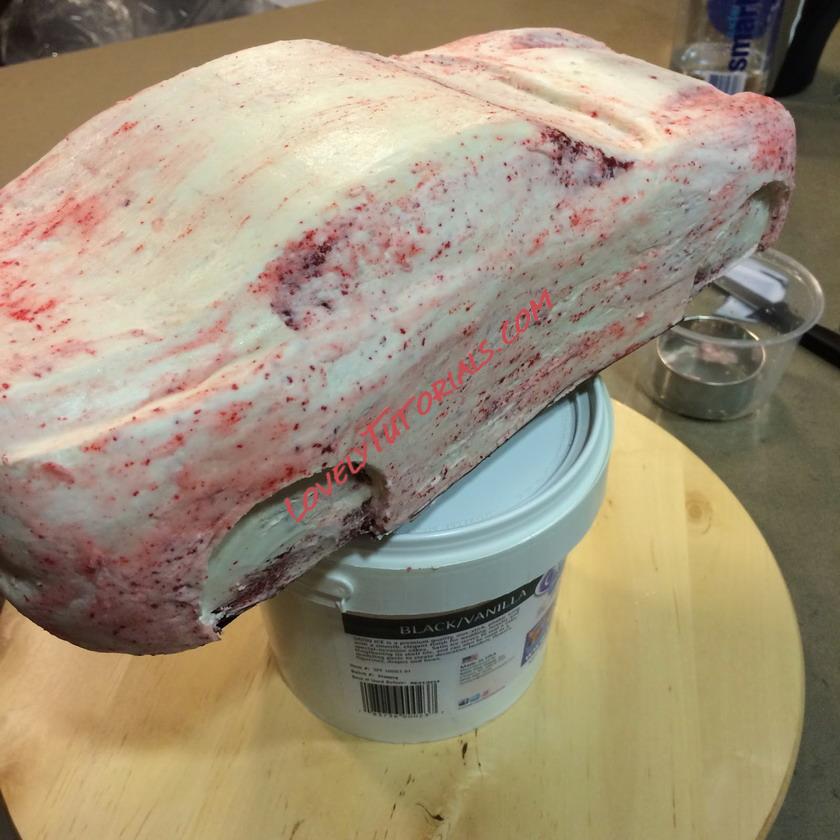
4. Trim the sides
- Make sure you Google a lot of pictures to help you understand the curves of the car.
- When yousculpt the cake, trim a little more than you think you need. Because after you trim the cake, you will apply a layer of buttercream. On top of that, there's another layer of fondant. This way the end result of the car won't be too thick and look less like a cartoon toy car.
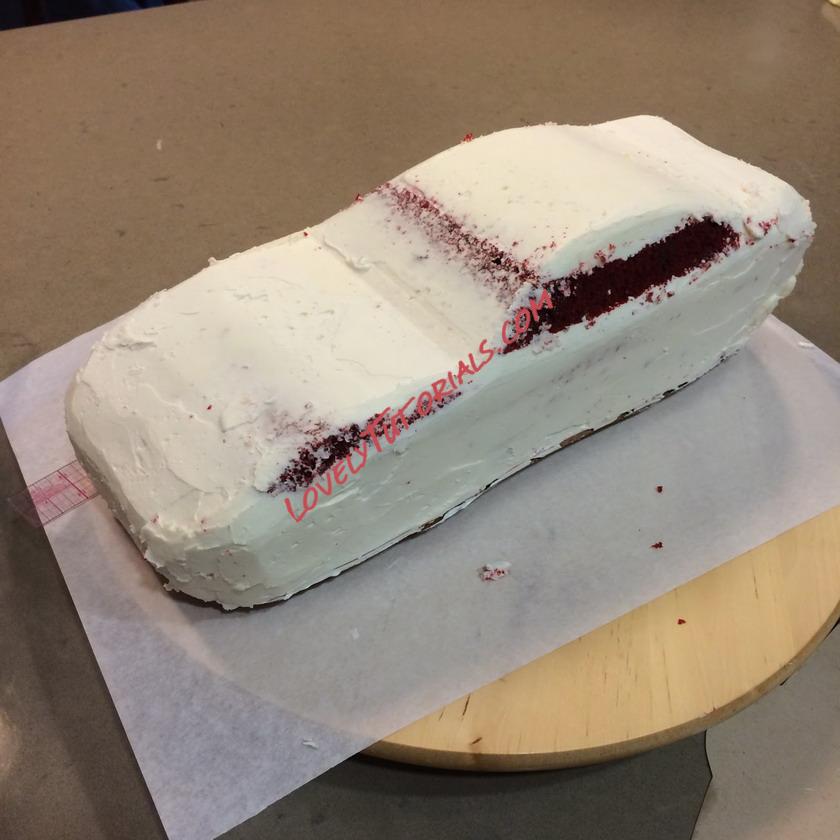
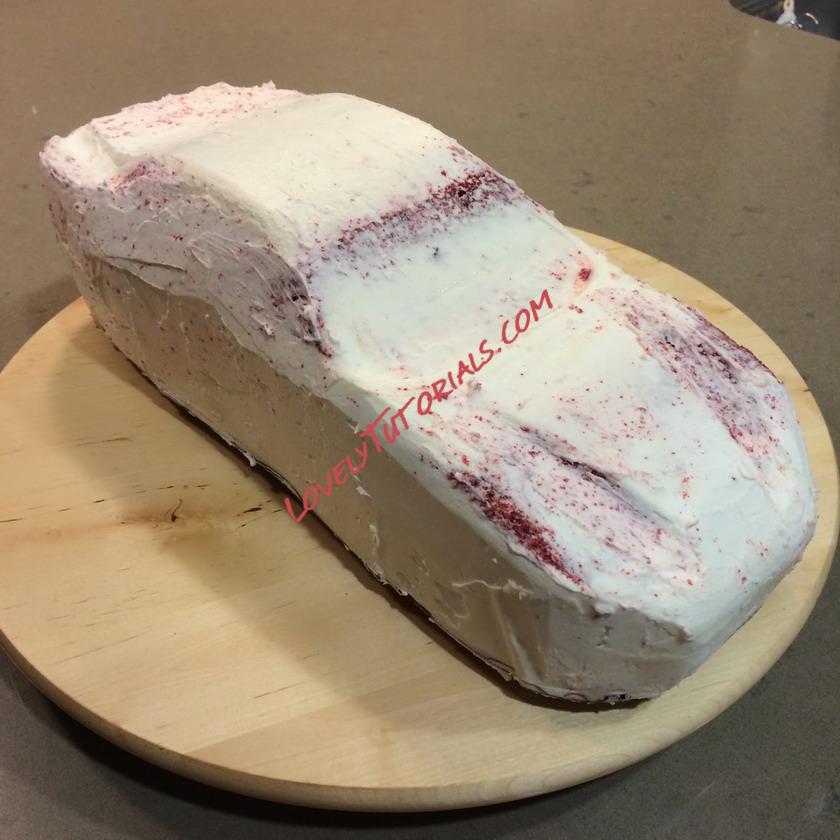
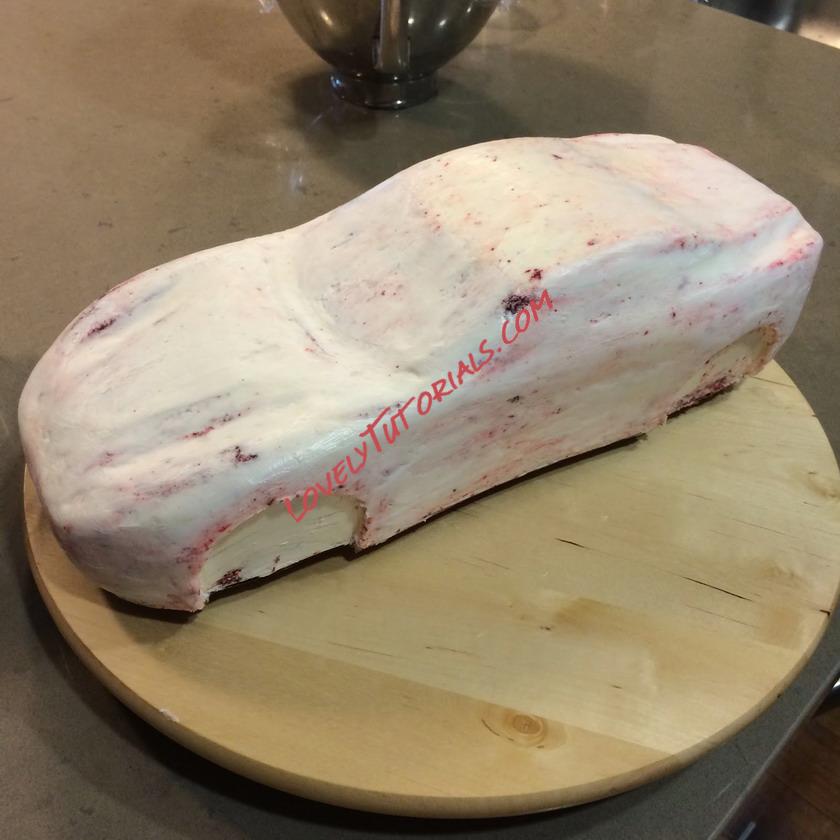
5. Frost and shape
- Use small offset round tip spatula to frost and make necessary curves.
- Use round cookie cutter to shape the tire area, so you will get clean lines on the round shape.
- Make sure to refer back to your templates to help keeping the shape as close to the right proportion.
- In this case, I was making a white car out of red velvet cake, so I had to make sure the frosting was as white as possible. This is to prevent the car looking "pink" after being covered as the fondant might be too thin.
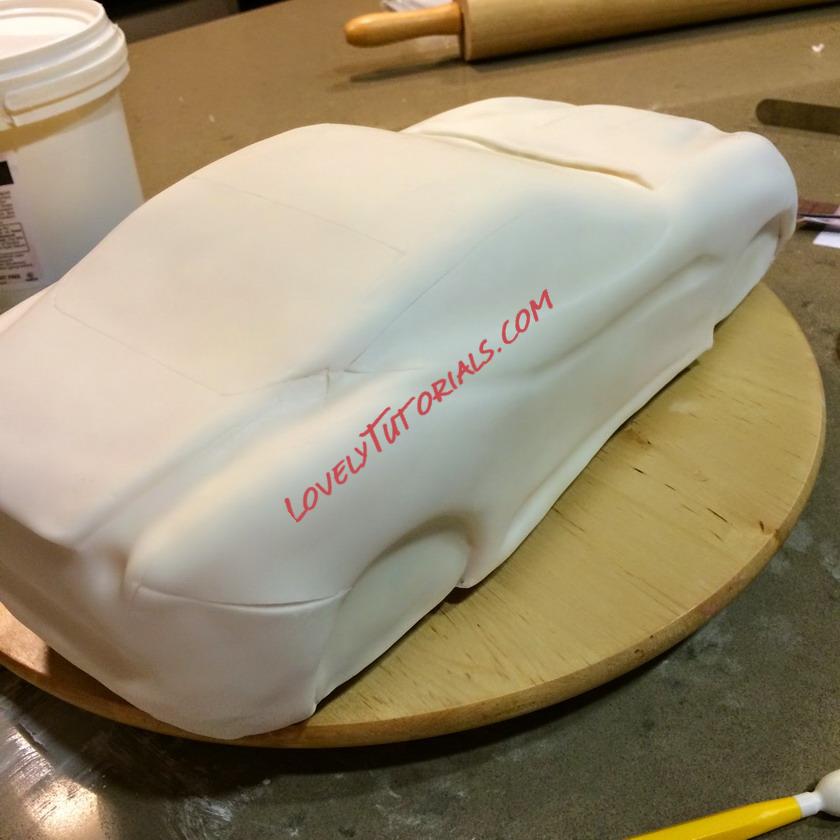
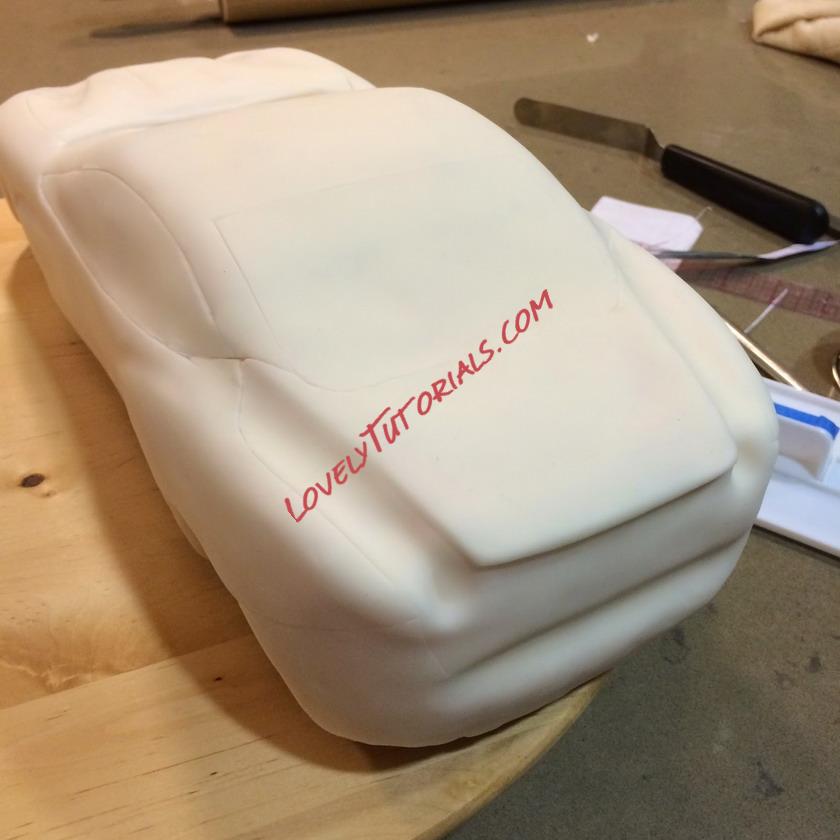
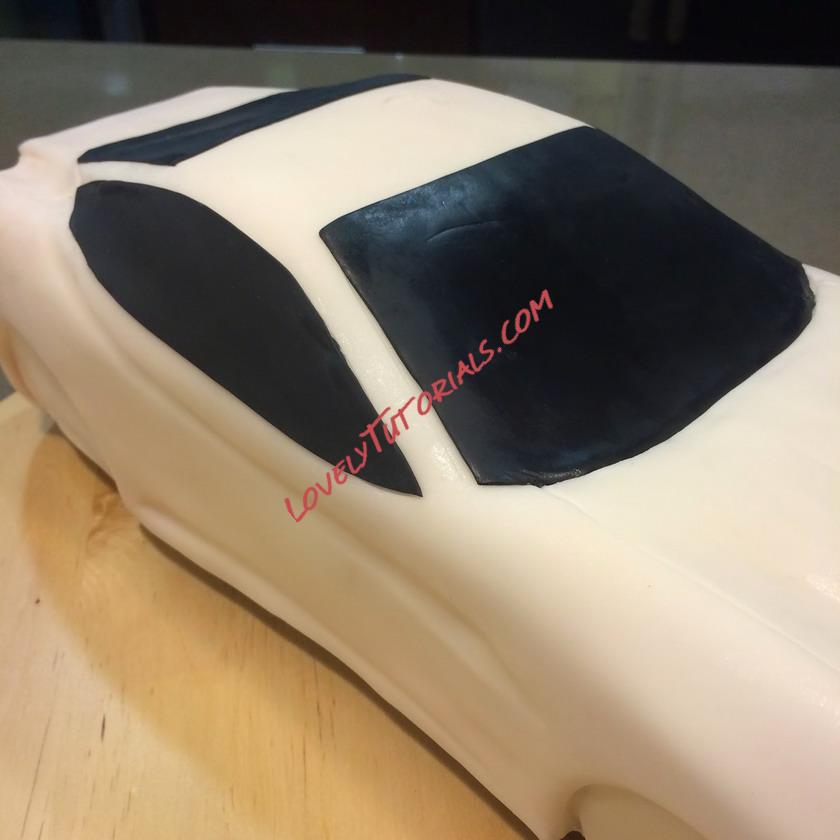
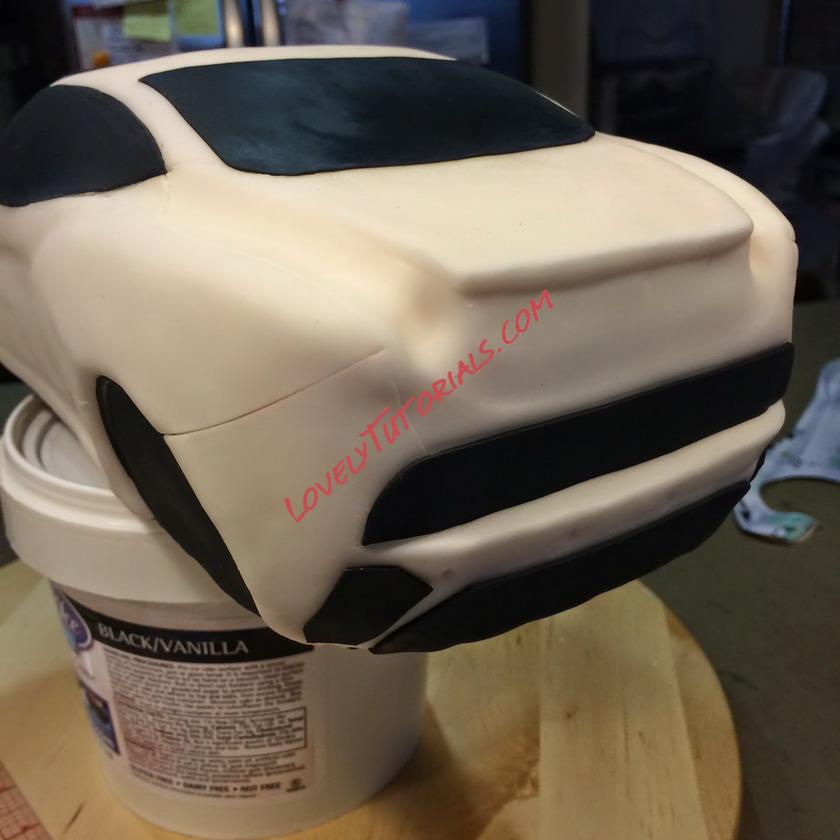
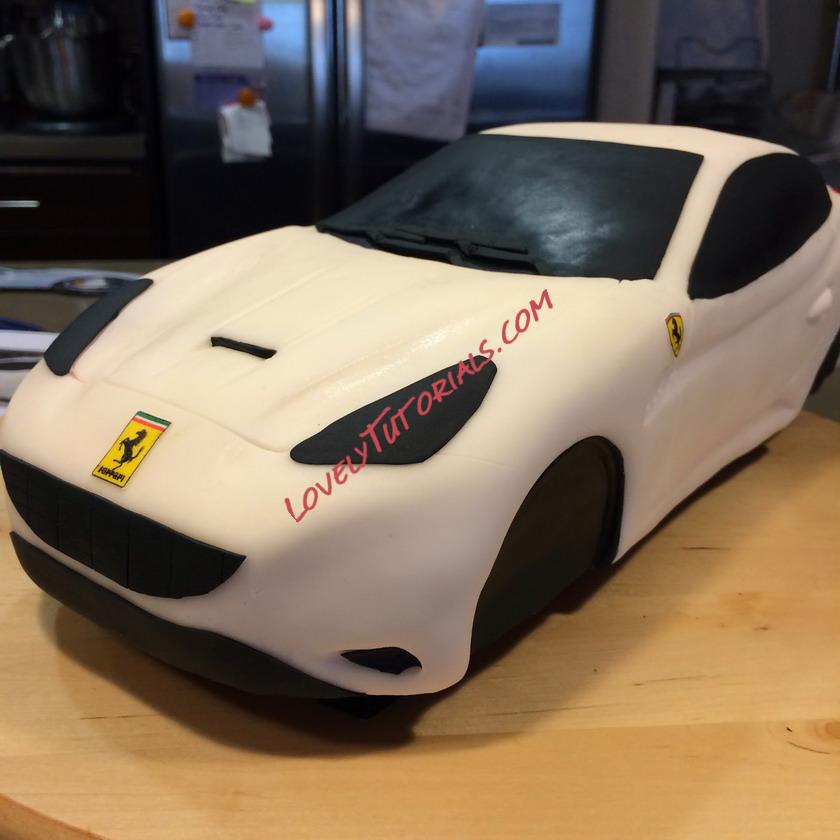
6. Cover with fondant
- Smooth all over the body of the car with your fingers and palms.
- Use modeling tools to form the edges on windows, hood, bumper, area, etc.
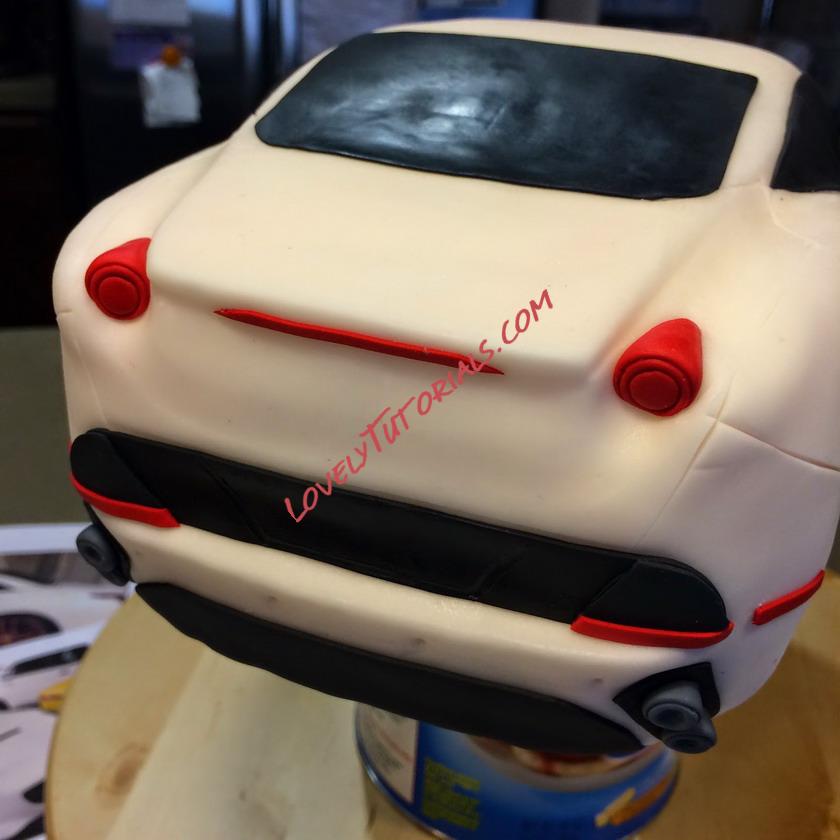
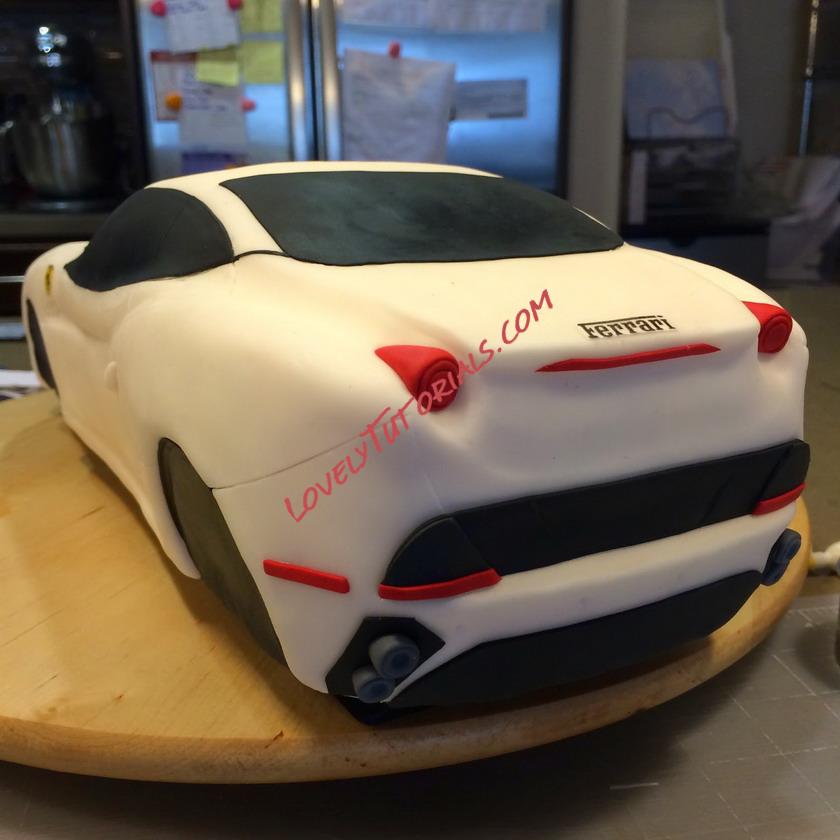
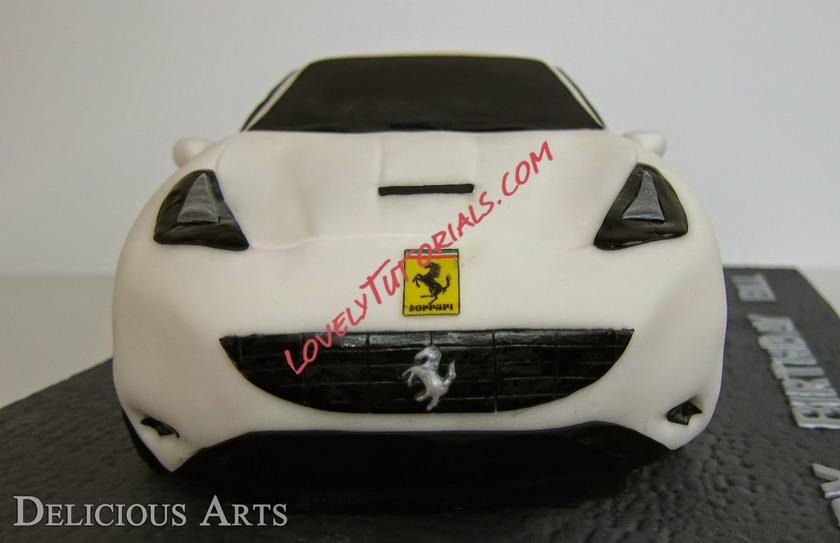
7. Add details
- Make templates to help making windows cut outs.
- Add black rounds on tire areas to create shadow.
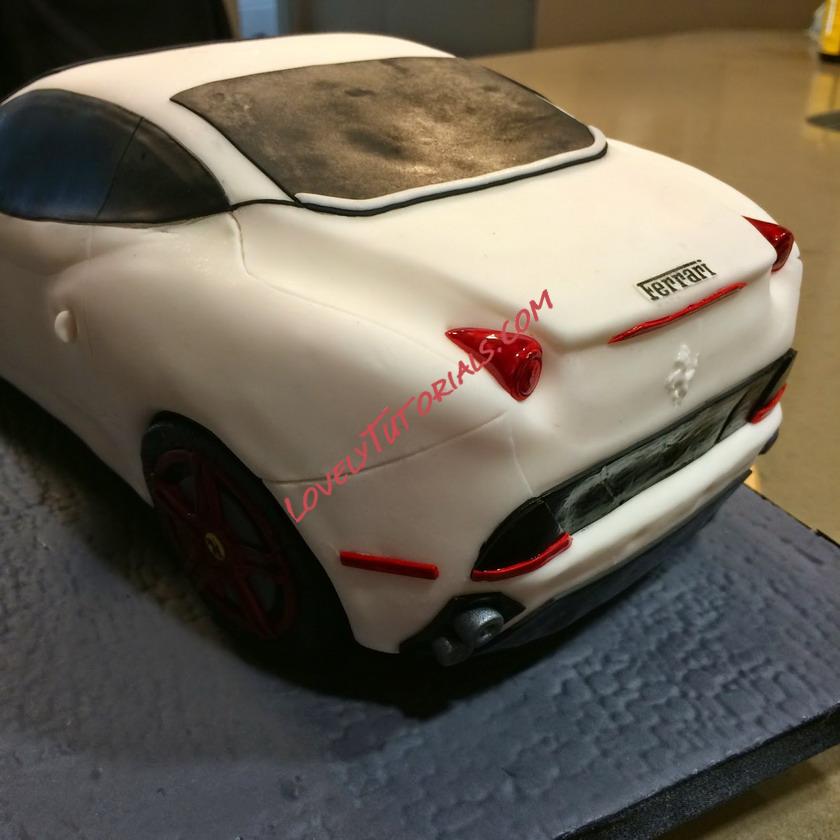
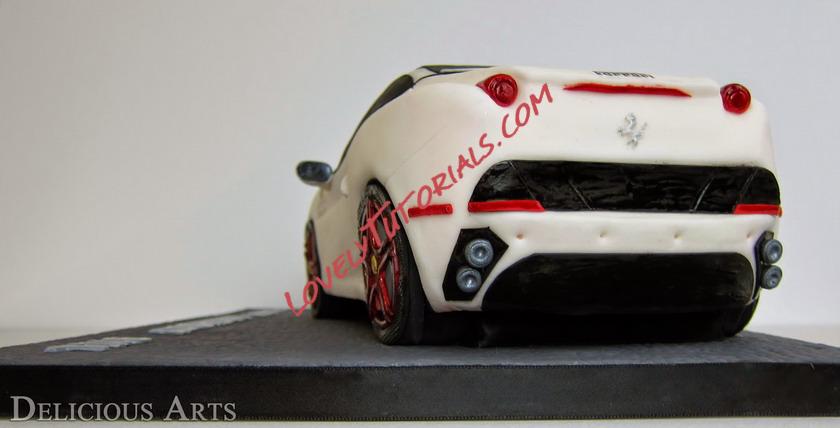
- Use red gumpaste to create lights. Utilize round tip piping tips to add circle textures on lights.
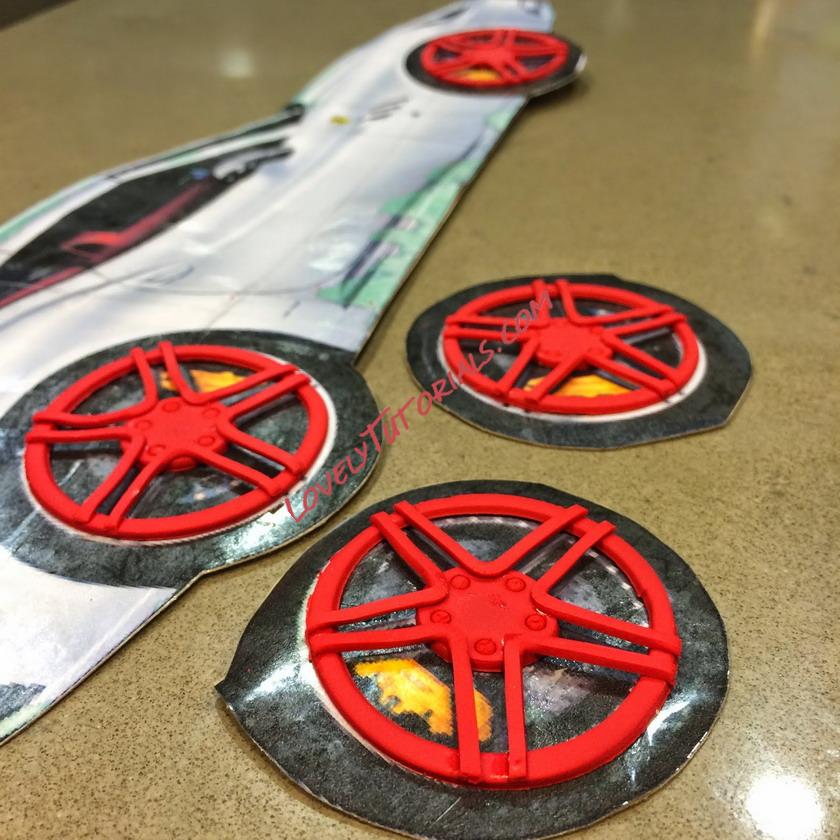
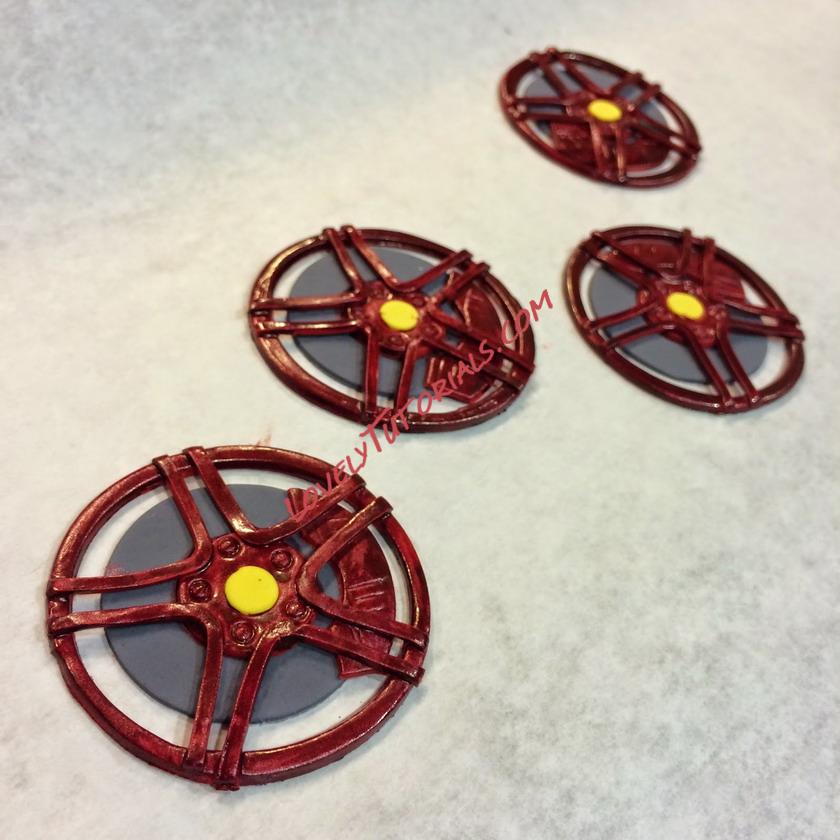
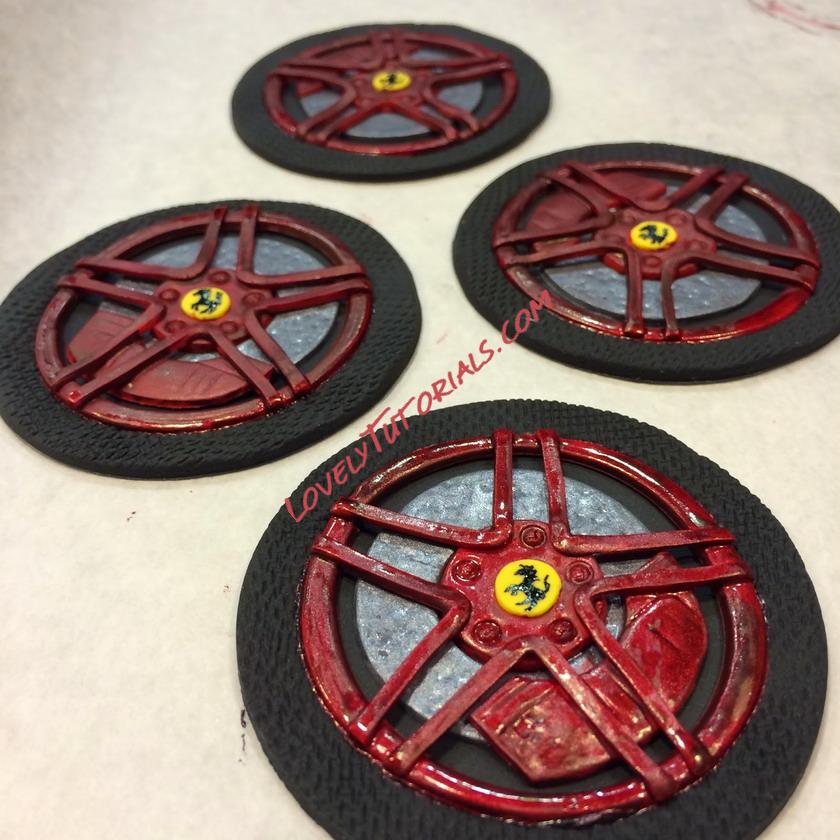
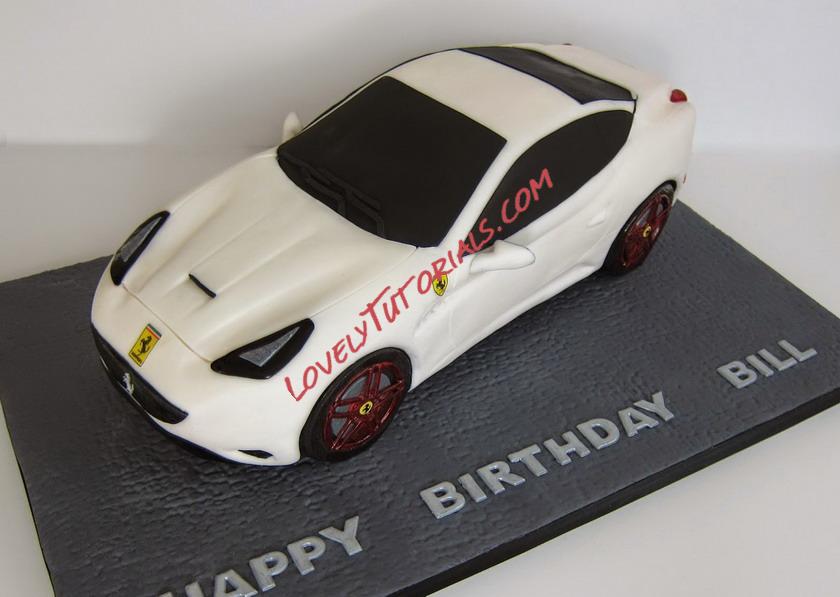
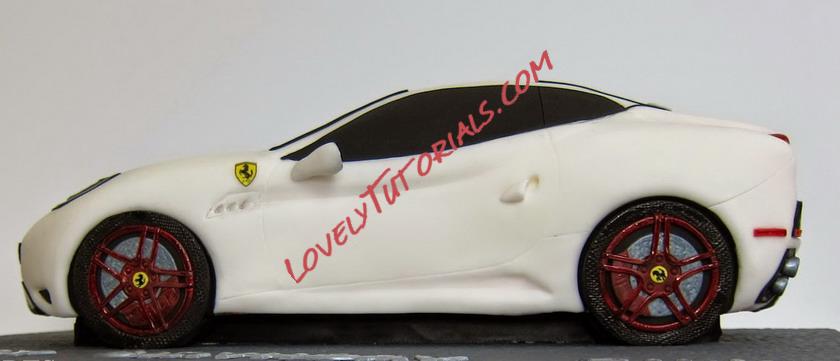
8. Rims and Cake board
- Cut out thin lines of strips and line them up like in the photos. Add touch of water with thin brush between gumpaste pieces to glue them together. After it's dried, use red food coloring with red luster dust mix, paint over the rims. When it's all dried, use black food coloring to paint the infamous Ferrari logo!
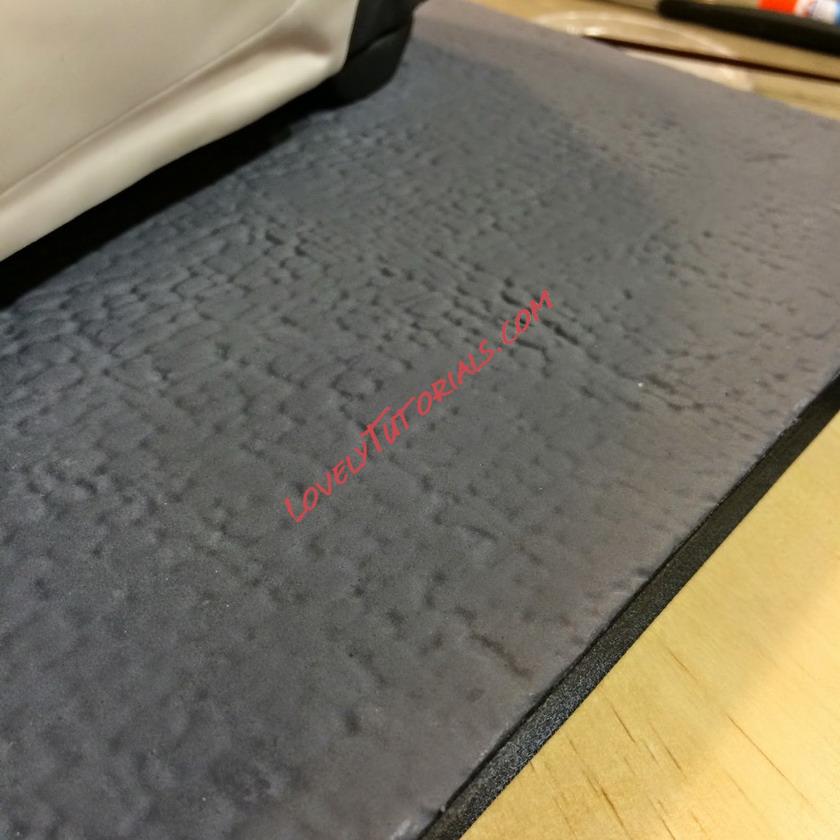
- I'm big on presentation. When the cake looks great, an appropriate cake board should go with it to give it a great over all look. In this case I've rolled out a thin layer of grey fondant to cover the cake board, then used cobble stone impression mat, pressed the mat all over the board.
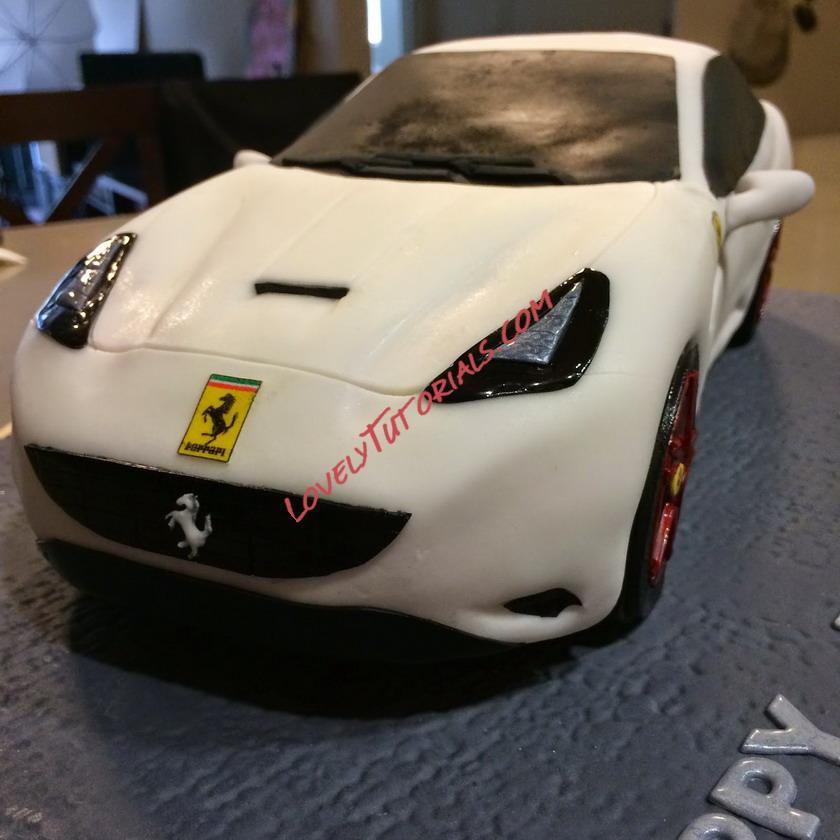
9. Use an edible color printer
- While I'm big on making things by hand, I also believe when it comes to certain details, it is Okay to use a printer; to help enhance the look. In this case, I've printed the very fine detail logos that I know for sure won't look good if I paint it free hand.
10. More details
- As you add more details, here are some more tips. Use corn syrup to brush shine over the light area. Corn syrup gives the look of the glass. It's a good and fun detail to add to your cake.
Here are better pictures of the finished cake. Hope you guys have fun making it!
|