Огромная благодарность Автору cakerator за Мастер-класс
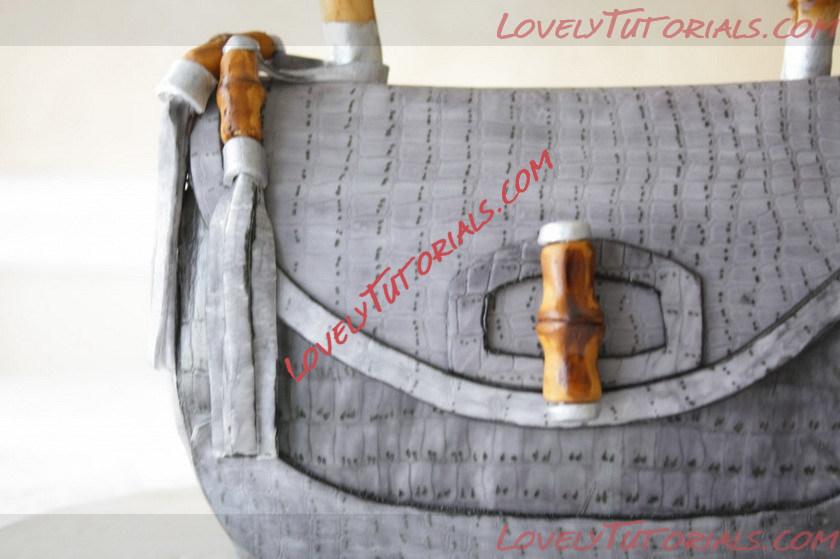
Close up of the "hardware"
Ok, finally the “Posh Designer Purse Cake tutorial Part 2″! I want to start by describing a little about the “hardware” on the purse, the bamboo handle, latches, and tassels.
Below I show a few steps on how I made these details such as the bamboo latch and tassels. I used a piece of gum past rolled up into a shape of a sausage and pinched the middle all around. Once I got the middle of the sausage pinched and raised, I used the wheel tool and marked an indentation in the middle of the raised pinched area creating a joint, then I used some cutters that where the same circumference of the “sausage” to create the metal cap end by cutting out gum paste circles, which I will paint silver later once dried, and attach to the bamboo after they are dried also and painted brown. The same technique is used for the handle to create the bamboo handle, using an 18″ gauge wire as part of the internal structure. A more detailed tutorial on how to create these hardware details will be available for purchase at a later date. Stay tuned!
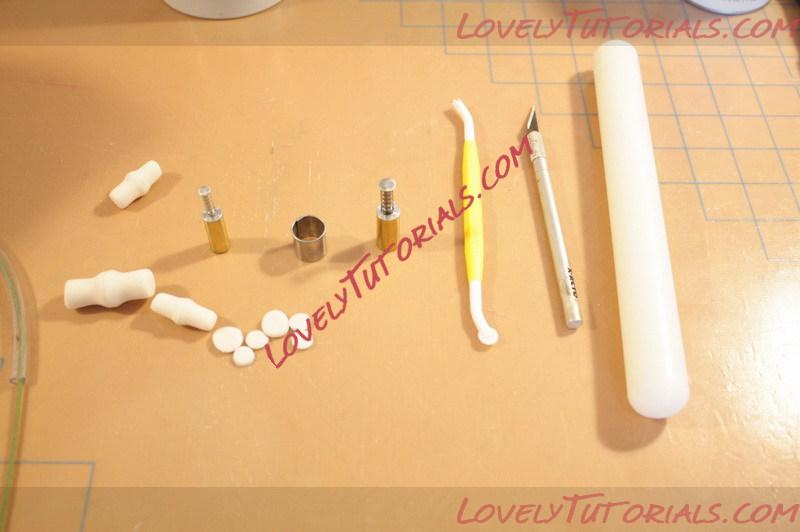
Making "the Hardware" before painting
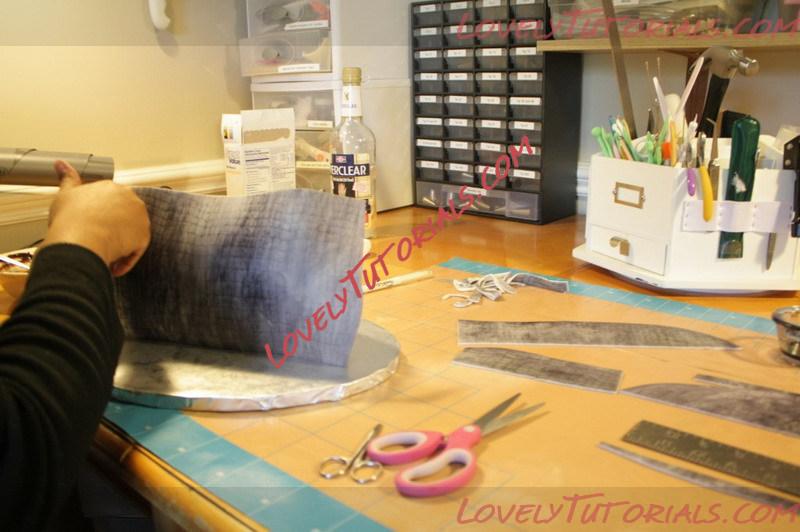
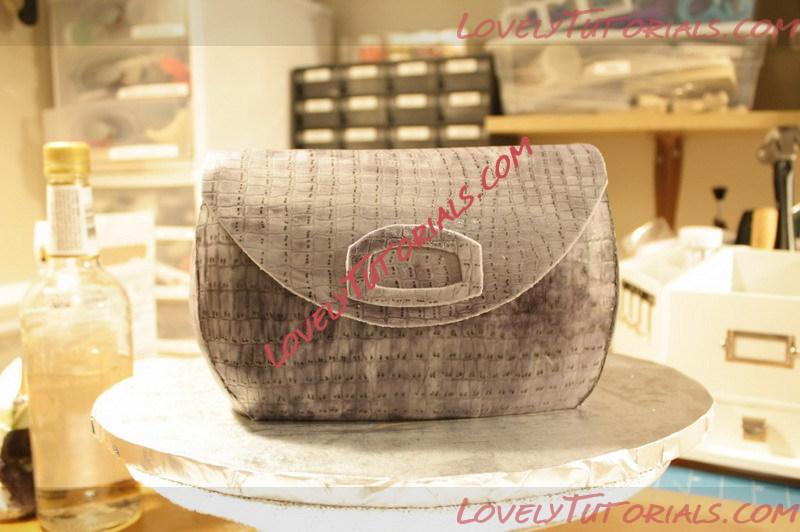
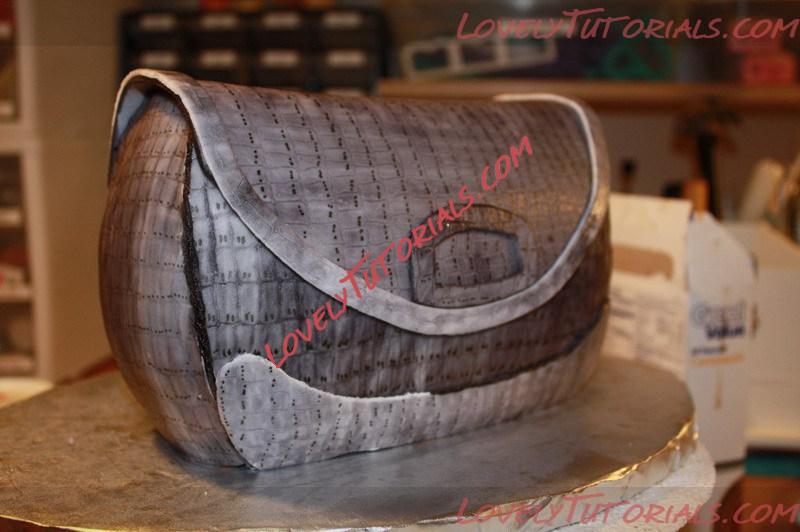
Here is a close up of the alligator skin. I rolled out white fondant and I used the impression mat to begin to create the “skin” look, then let it dry for about 20 minutes. Using a mix of color gels and Ever Clear or Vodka, ( you want to use something that will dry very fast and not sit on the fondant and dissolve or melt it). This part is a little trick to explain, but you want to use a stiff pastry brush and the paint should not be watery, and you want to dab the paint concentrating between the creases, then dab with a dry paper towel, and repeat till you achieve the right look.
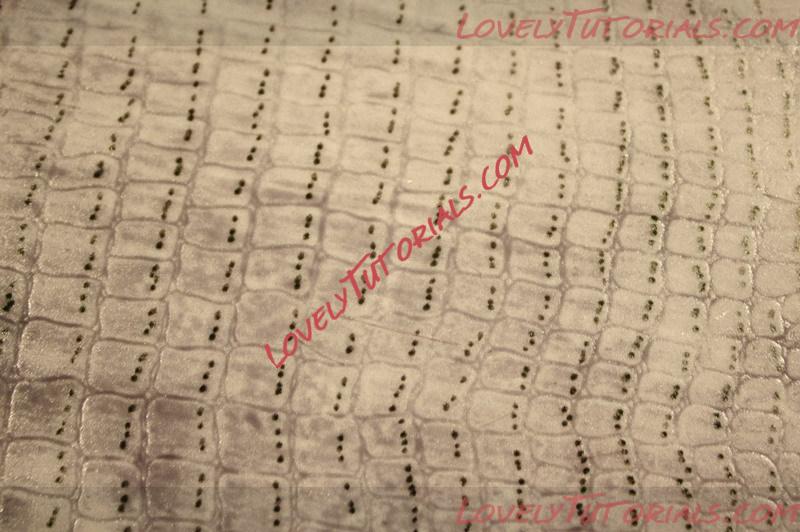
Close up of alligator skin
Then I used a food writer pen to add the little dots at the bottom of each skin cell (that’s what I call it, don’t know what the technical term is) This will all be included in the more detailed tutorial.
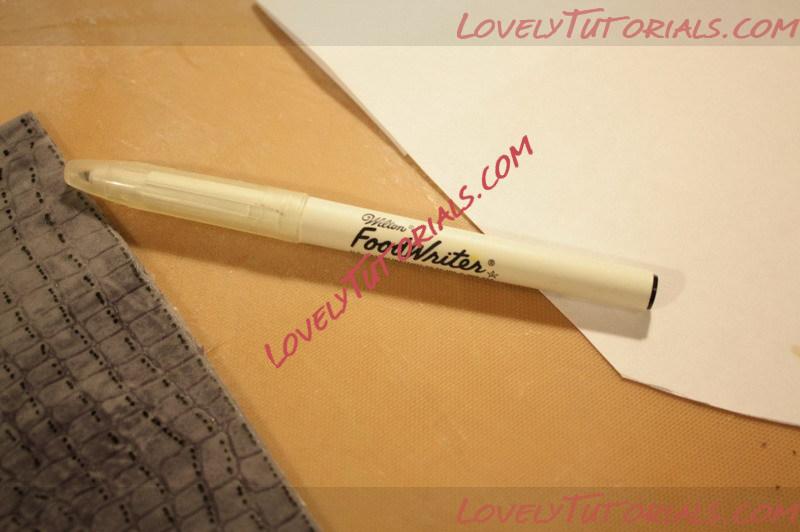
I love the Wilton Food Writers
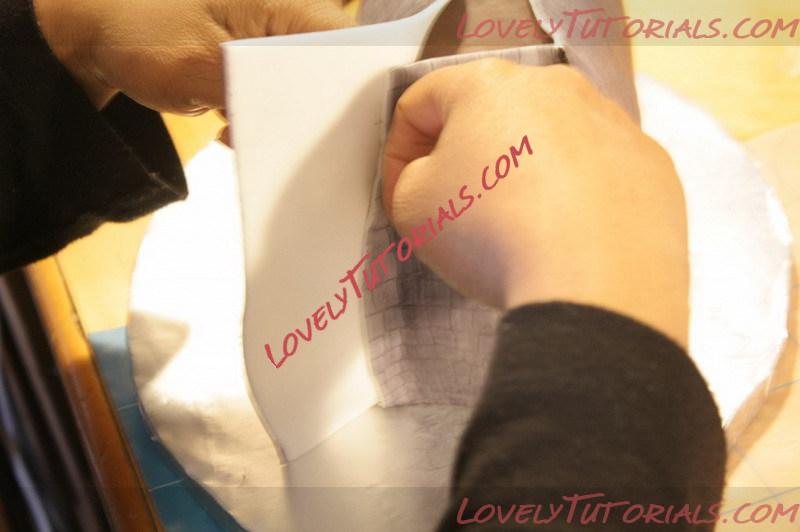
Place the semi dried fondant on the cake, it needs to be dried so it is easier to handle, don’t worry about elephant skin, it will actually work to your advantage to create the look of alligator skin in this case. Make sure the paint is also completely dried before handling.
Placing the slightly dried fondant on cake
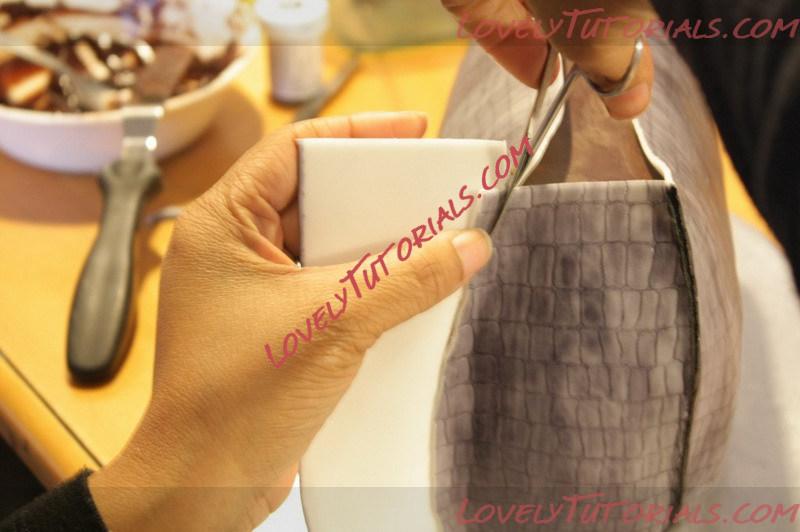
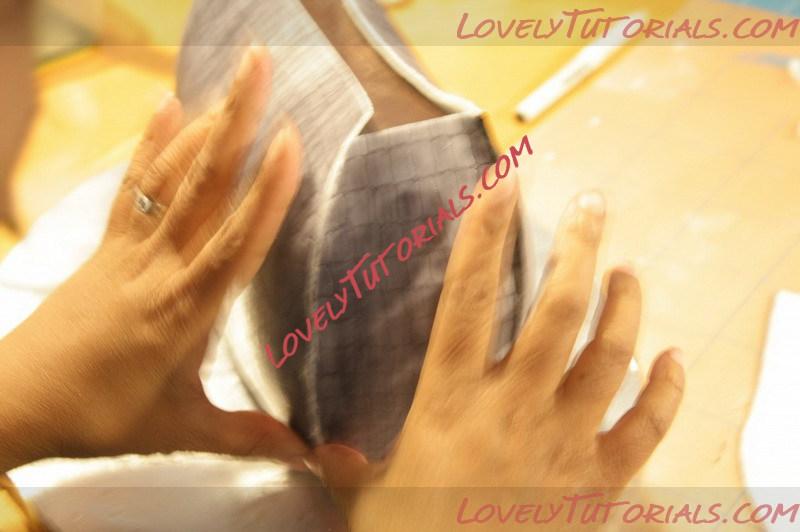
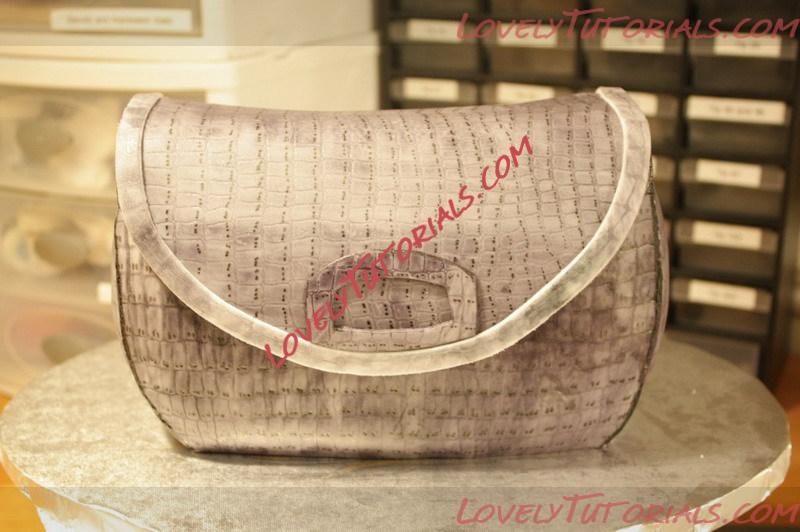
Apply the fondant on each side of the cake in separate pieces and join them at the seams.
Connecting and joining the ends
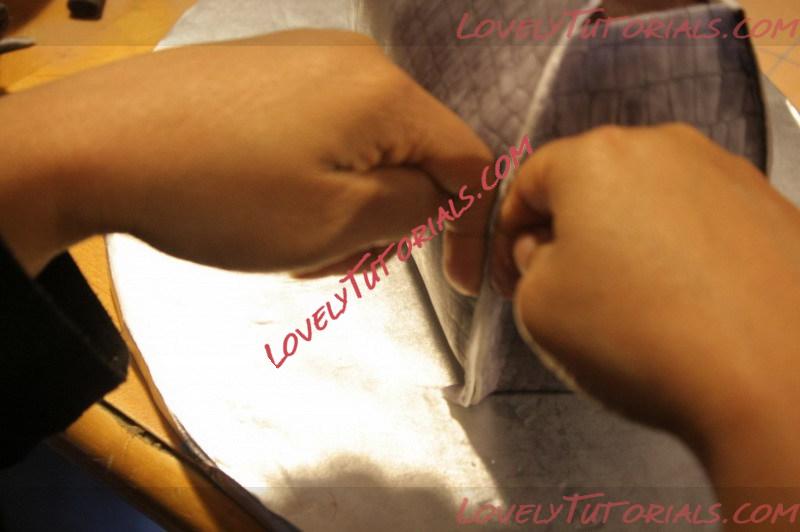
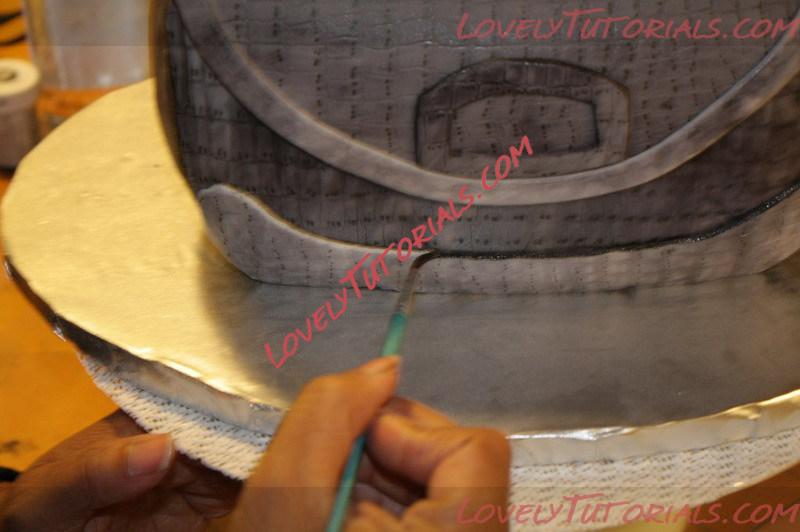
Now cut all the seams to shape.
Trimming the ends
Here I am pinching the excess fondant to trim more off, you want it nice and clean.
Pinching the ends and trimming excess fondant
Here I’m smoothing the fondant, once you cut the fondant, the “fresh” sticky part of the fondant is exposed and joins easily at the ends.
Working the fondant to create a finished seam, sorry for the out of focus pic
Now getting ready to paint all the trims and ends
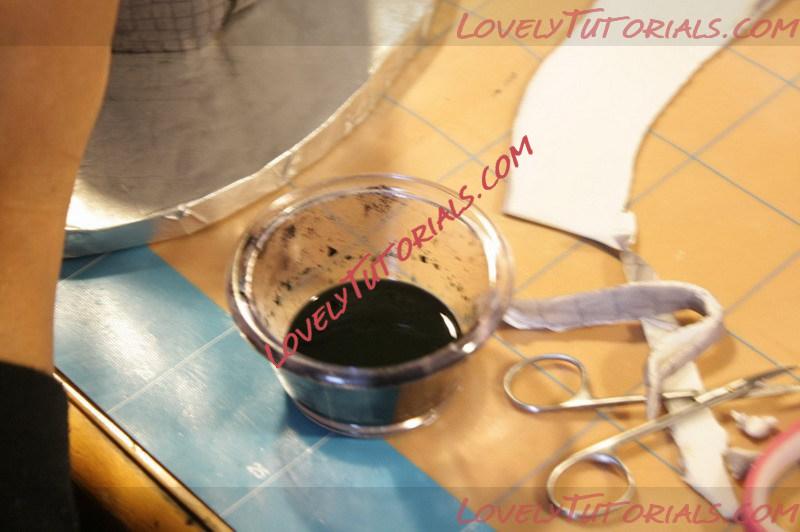
Prepared edible paint
Now use a paint brush to paint the cake details.
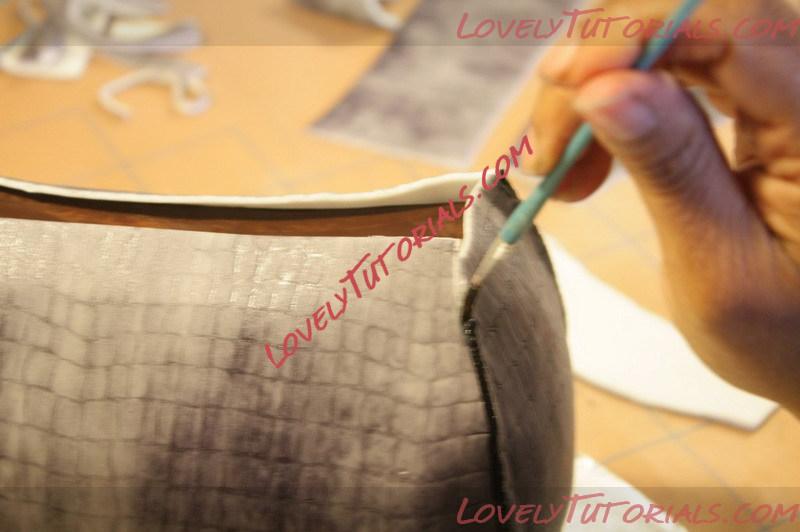
Painting ALL of the seams and ends
And more painting, I did not say this cake was fast to make, like all cakes that have lots of details it takes time, but the end result is worth it.
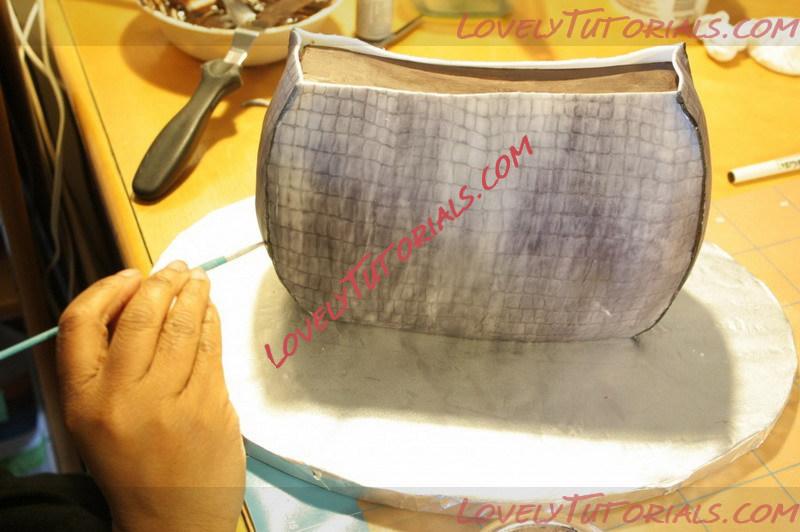
More painting
Adding more details to the “skin” in the back of the purse. It’s an art class people!
Adding markings to the back of purse
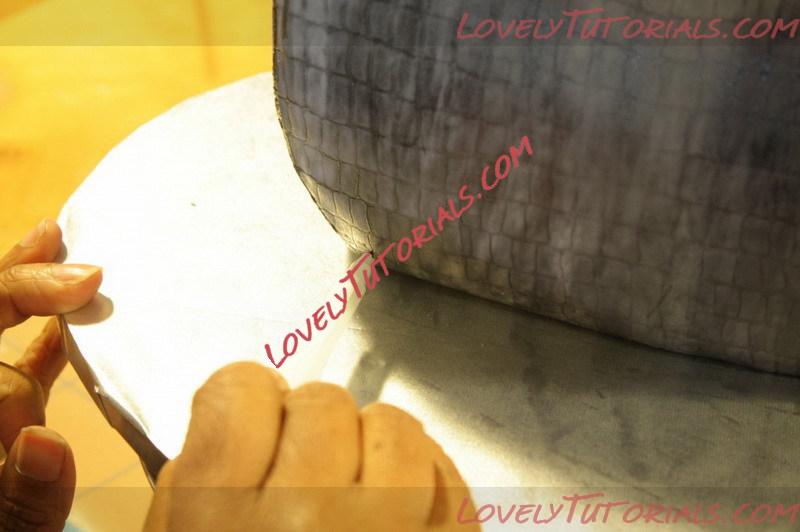
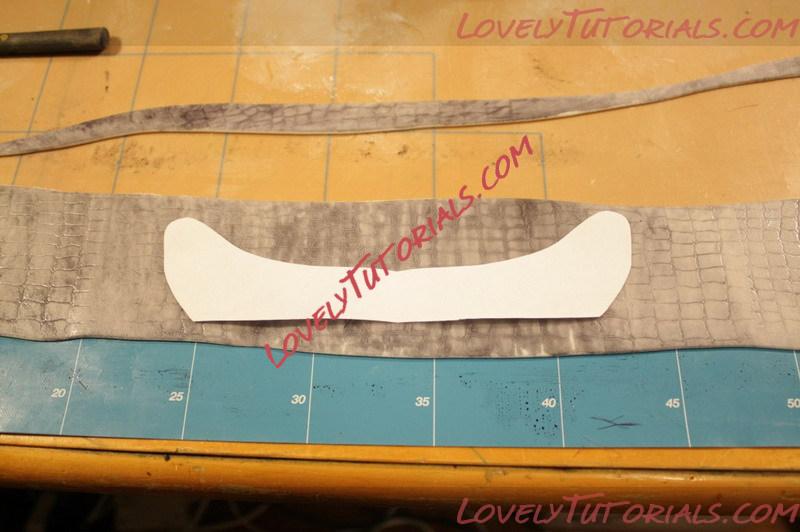
Now I create a template for the flap, roll out some more fondant, paint, add markings and cut.
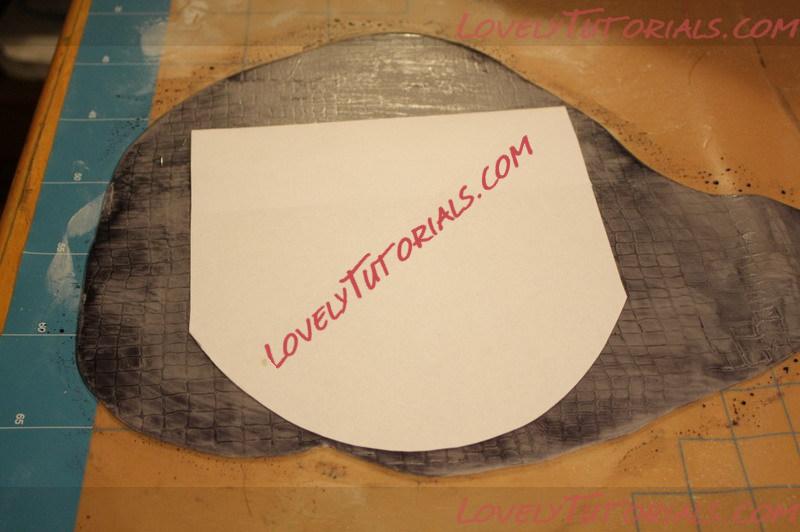
Using a hand drawn template to create flap
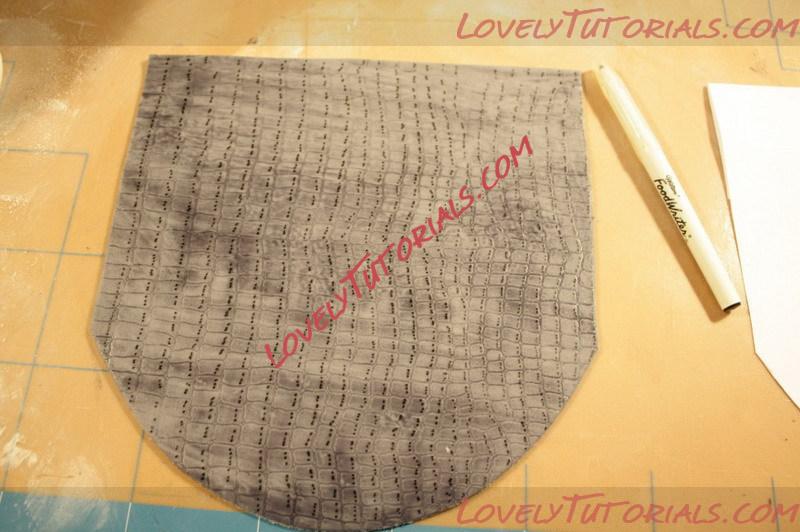
Freshly cut flap ready to place on the cake with some edible glue.
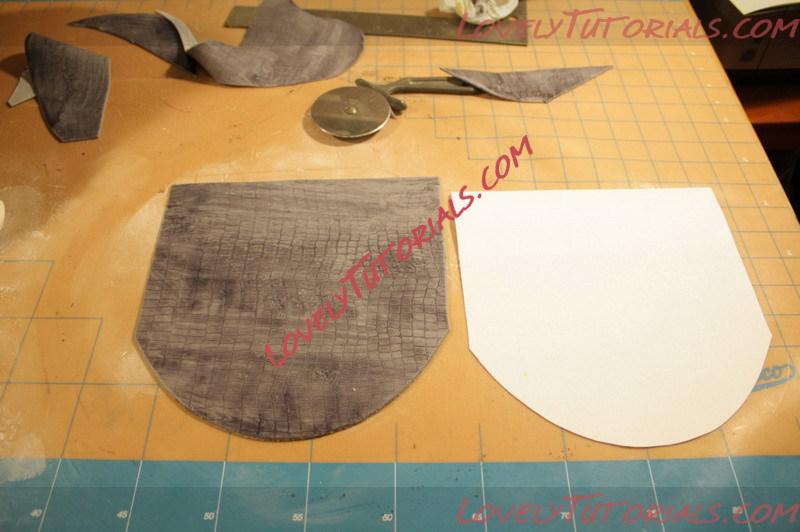
Cut flap
Need to add details on this too…
Draw alligator markings
It’s starting to look like a purse after you attach the flap.
Glue the Flap and other latch details
And now I added a piece of trim to the flap, And you need to paint that too!
Adding trim on flap
Another hand drawn template to crate more trim on the cake.
Cutting more purse details with hand drawn template
AND more painting!
Painting the end of trim
Almost done with the painting and the fine detailing, folks this is why sculpted cakes cost as much as they do, even smaller cakes requires lots of detailed work to create a realistic piece of art to deceive the eye! You are buying a piece of edible art, not just a layered cake with buttercream, you are paying for art as well as a tasty cake!
Almost done painting
Once everything has dried you can add your finally details such as the handles.
I want to add that I glue all my pieces with a gum glue adhesive like tylose glue or gum glue, and I also use melted chocolate for heavier pieces, like the hardware bamboo pieces on this case.
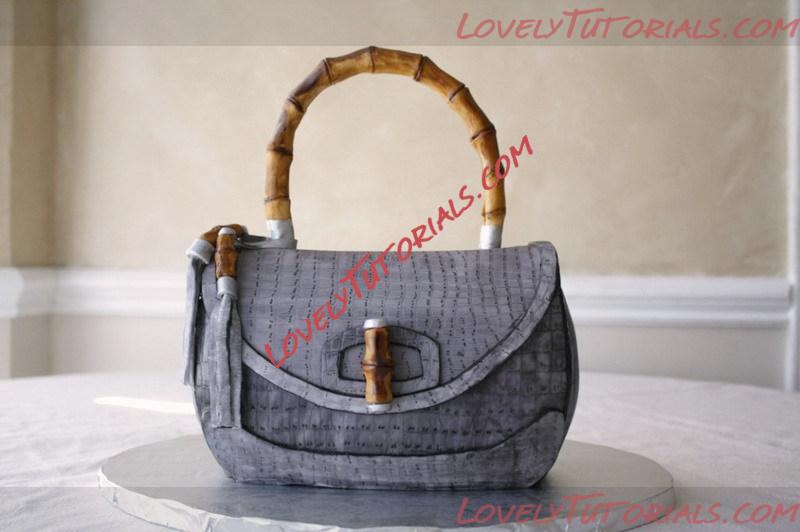
Added the handle, tassels, and latch hardware.
Here are the pictures I used for reference, my cake is a mix version of both purses
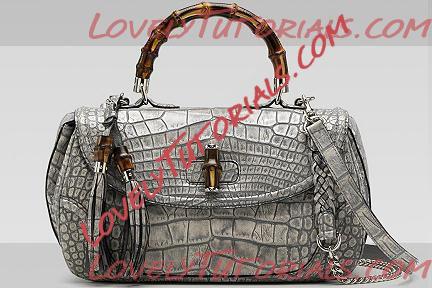
The Real Alligator Purse

The Real Alligator Skin Purse