Огромная благодарность Автору rosebakes за Мастер-класс
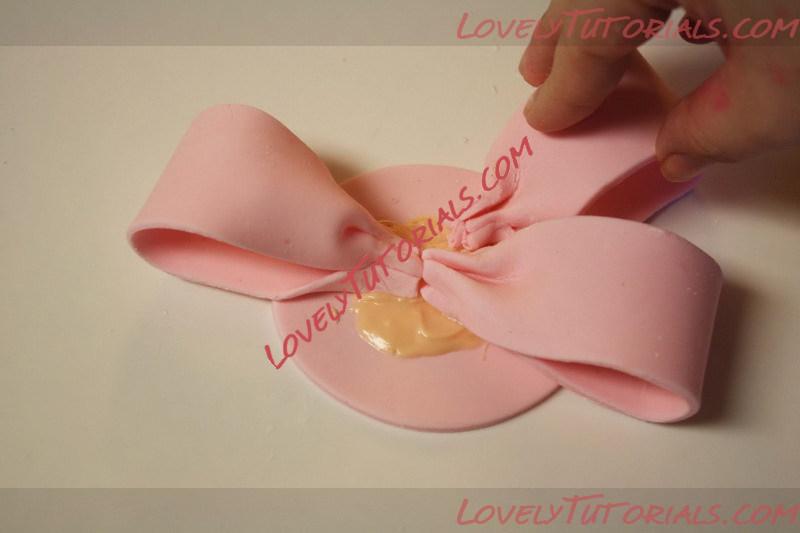
Now, your bow loops and tails have dried overnight (or longer) and we’re ready to assemble. You’ll want to start by melting some white chocolate. If you have candy coloring on hand, you can color the chocolate to match your fondant, but if not, the white shouldn’t show up after all the loops are there. Ignore the fact that mine was orange – I already had it on hand so I figured I’d use it up instead of waste it.
I used a squirt bottle to put a circle of white chocolate on my dried circle. You could also just do this with a spoon, then just spread it around. Don’t skimp on the white chocolate, you’ll want to have enough for your first set of loops to stick to!
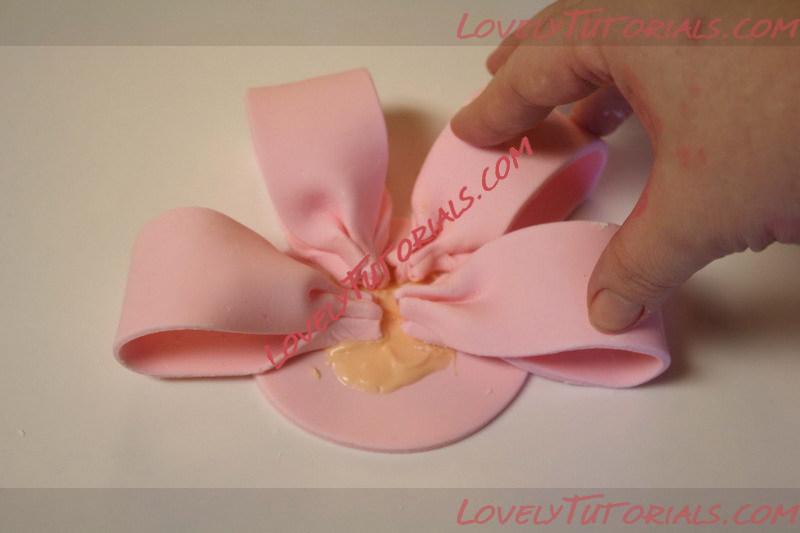
After this, you’ll want to start by adding 6 of the flat-bottom loops in a circle (shown in part one).
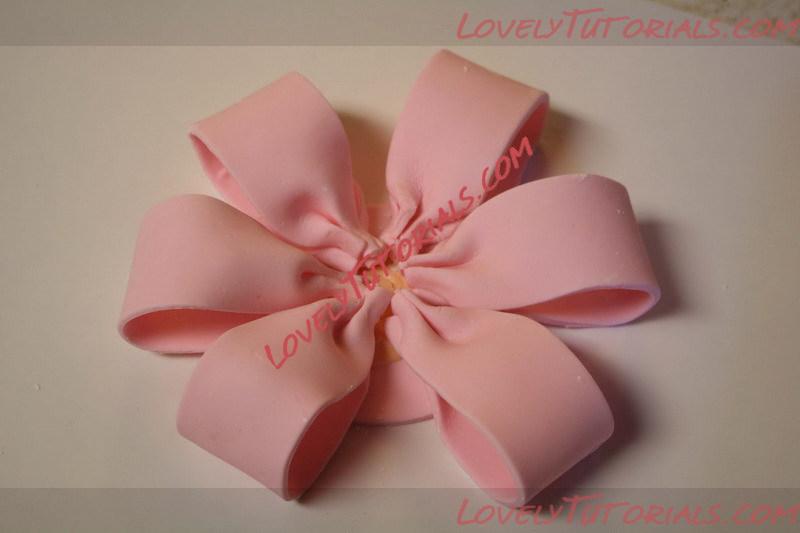
I won’t include a lot of dialogue here, but you can see the step-by-step…
I’m so sorry about the lighting in these pictures. I have terrible lighting in my kitchen and I have no idea how to fix it with my camera :-(
Now that all of those loops are set, you’ll want to take a ball of leftover gum paste (or fondant) that is colored to match your bow, and wet it.