Огромная благодарность Автору G Sweets за Мастер-класс
I wish I took a picture of how I started the cakes... but since I didn't ...
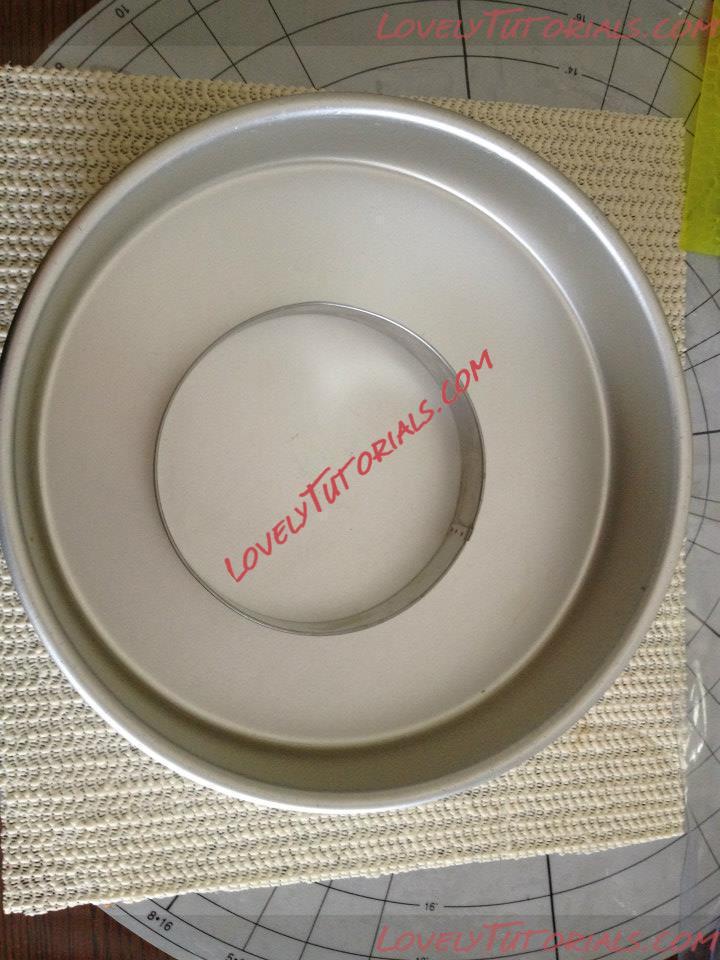
I used 2 10X3 round cakes. I filled it with Vanilla IMBC and chilled it in the freezer it for about an hour so. Once out, I used that circle cutter (5.25 inches) and cut through the middle portion of the cake.

I manipulated the cake , so that I would get this shape. I trimmed (well, my hubby did a lot of the carving! LOL) everywhere to make it rounder and get those indentations on the snake.
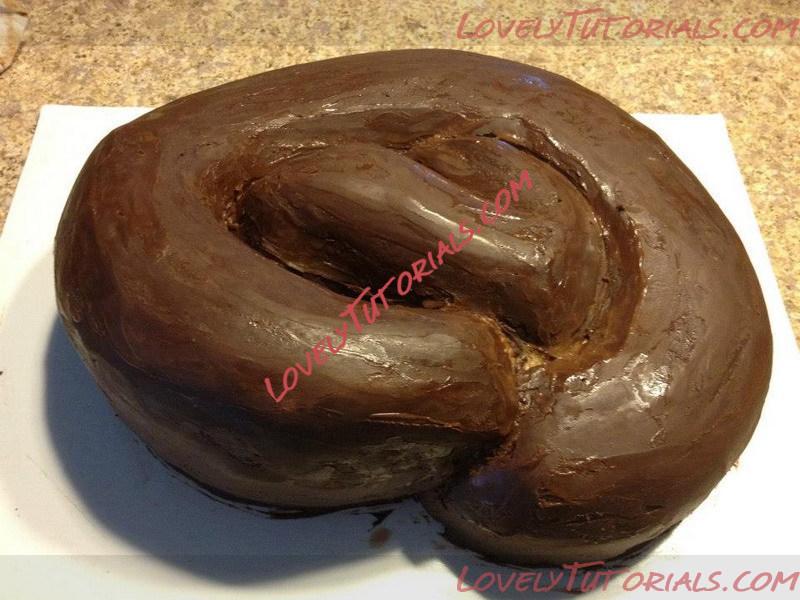
Okay... this looks like a big blob of "**!" but... this is after I applied ganache to it. Put it in the fridge overnight to settle.
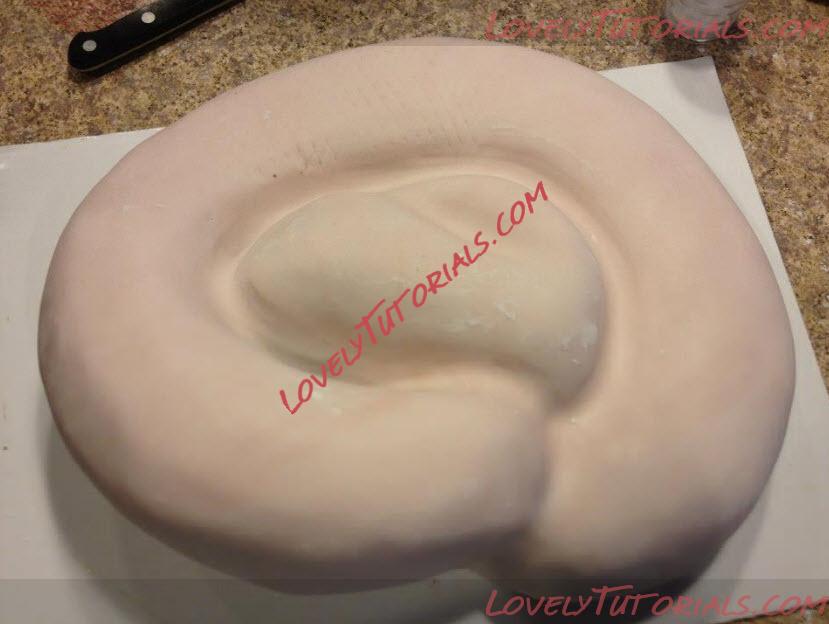
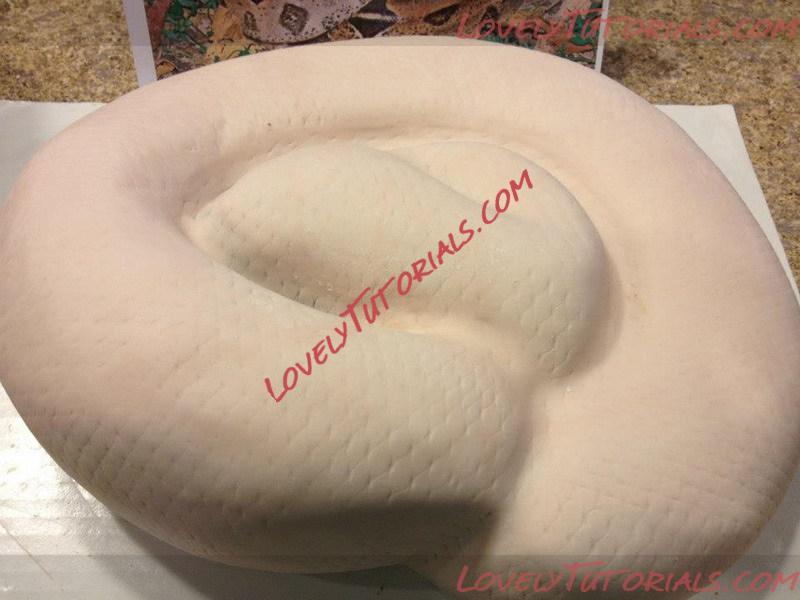
Covered in fondant (white, colored with brown paste).
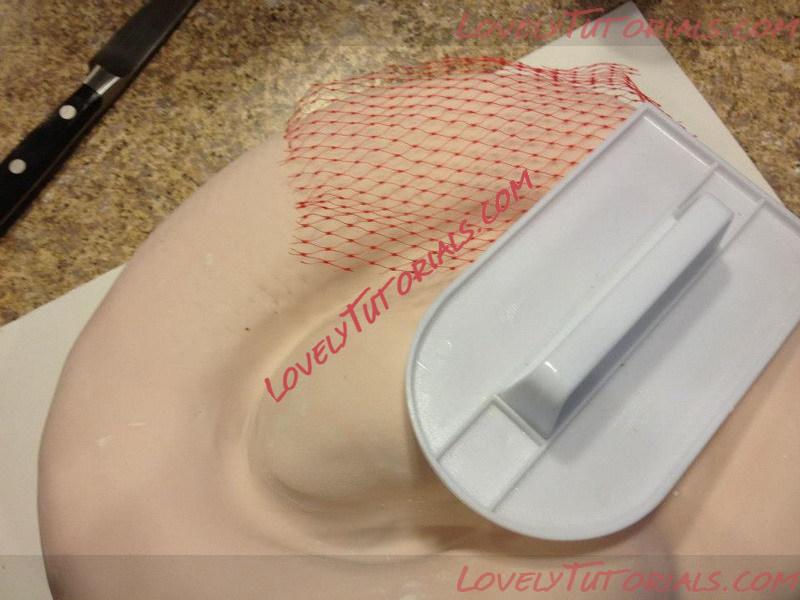
And this was the hardest part.. thinking of what to use for the SCALES!!! I tried a lot of imprints, none worked. And I didn't want to individually imprint the scale. So, I found this "net" and used my fondant smoother to imprint all over the snake.
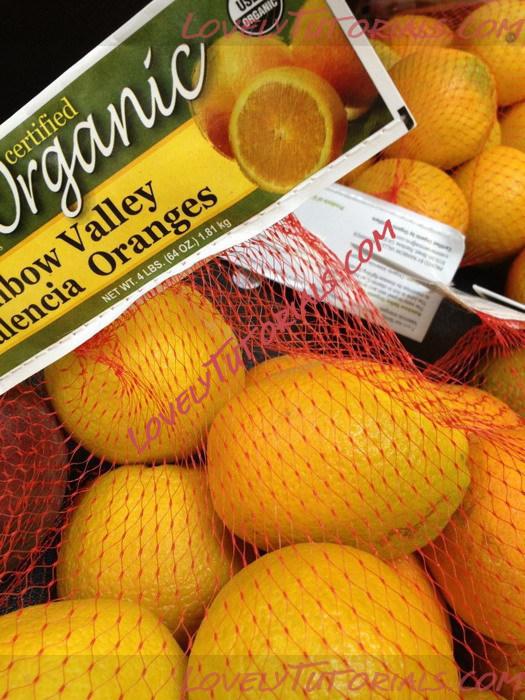
This is where I got the net used for the snake scales


After it has been imprinted.
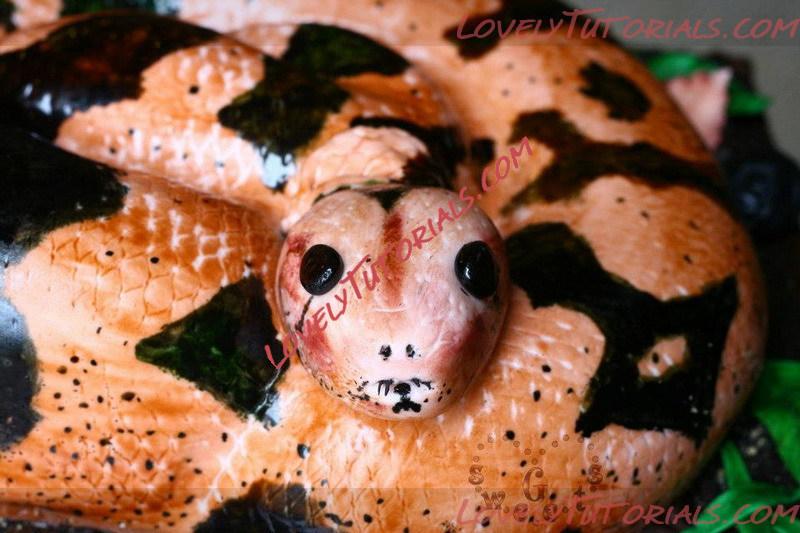
A Closer Look! Also then started working on the head ... which is all fondant. (sorry no picture!)
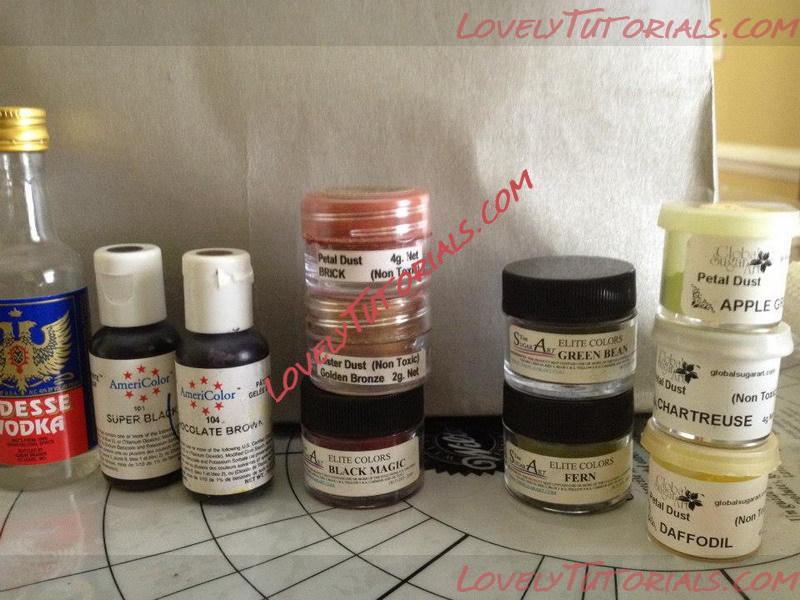
These are the colors I used ... I only used whatever I had on hand. Next time though, I would order a brown petal dust.
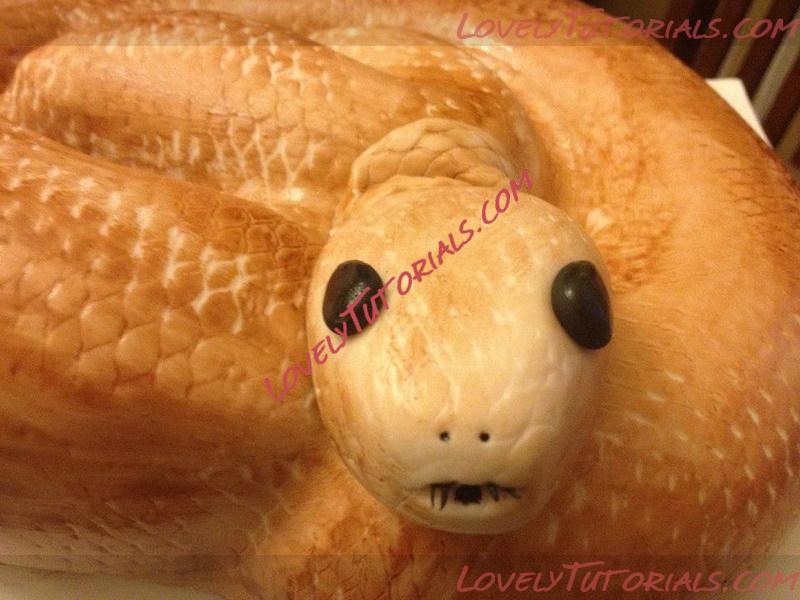
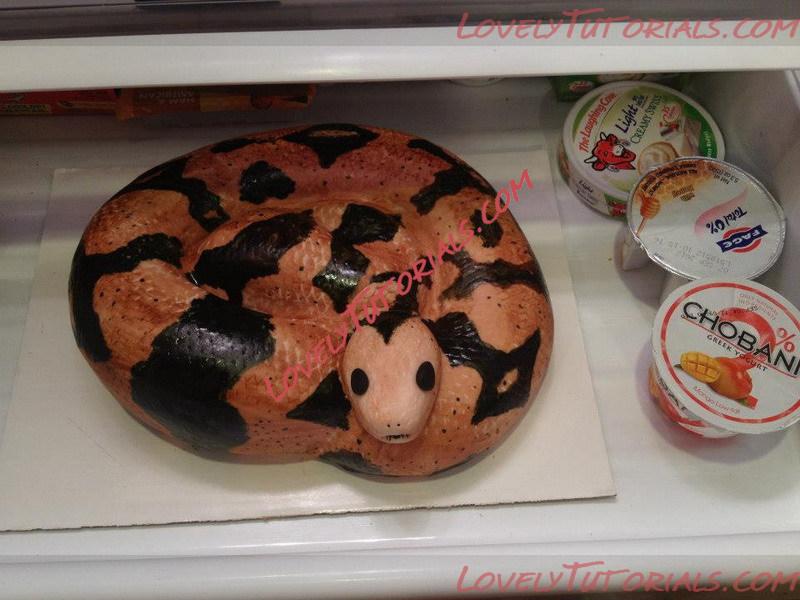
Here it is... with one coat of Brown mixed with Vodka. I just attached the head using edible glue and put a strip of fondant around it.
It's coming alive!
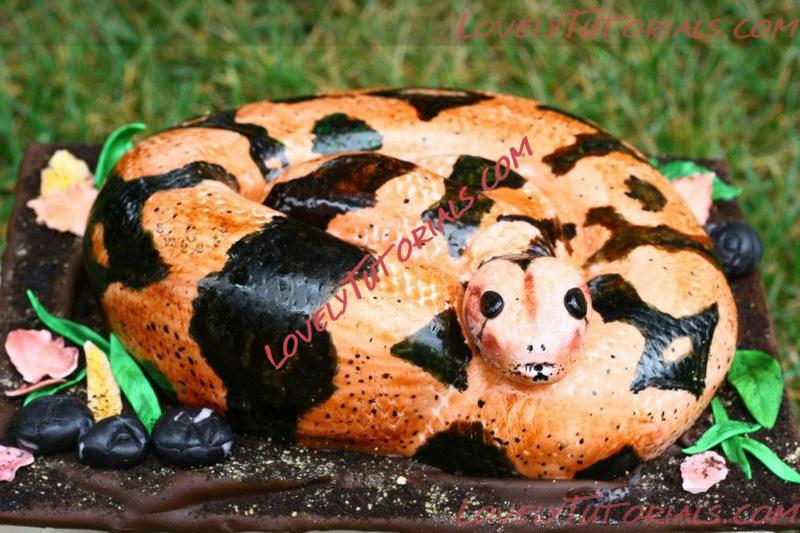
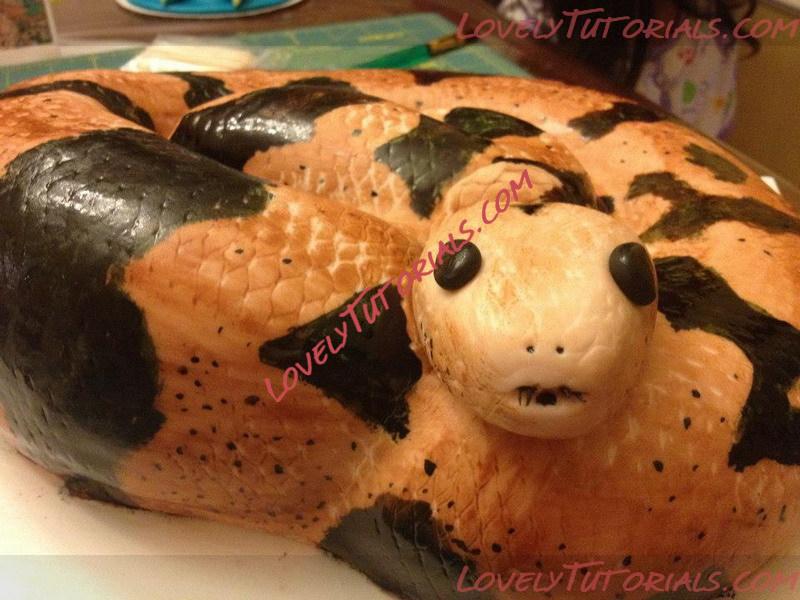
And here it is, painted with dotted with all the colors.
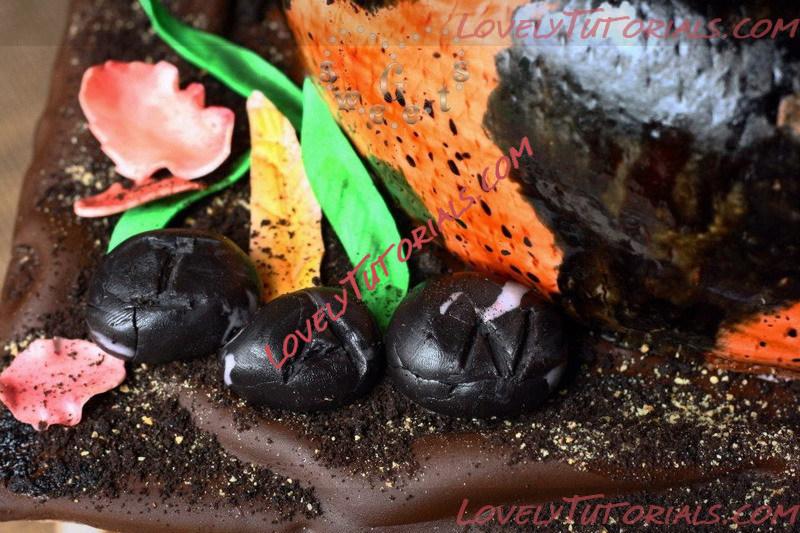
Of course, we have to set the scene! I used a cake board and covered it with Chocolate Brown fondant. Then I crumbled oreos and graham crackers and spread it all over (I brushed the whole chocolate fondant with piping gel so the crumbs will stick).