Огромная благодарность Автору Bronnie Bakes за Мастер-класс
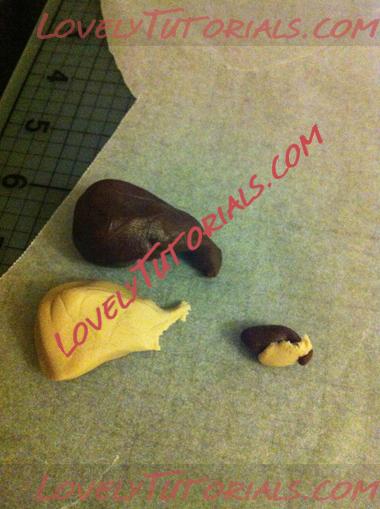
Start with some chocolate brown gum/sugar paste, some white and then using a bit of each, create your mid-brown ‘owl’ colour. Leave a small amount of your chocolate brown and your light brown together which you will use to make a marbled colour for the log.
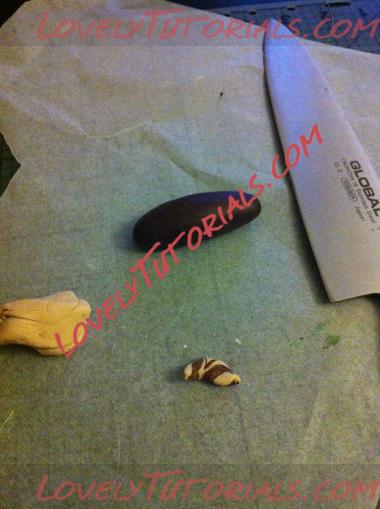
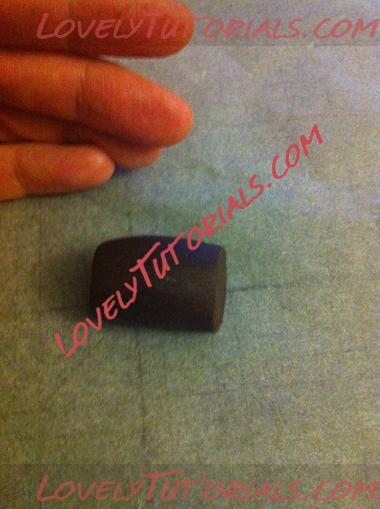
Roll out your chocolate brown into a log and then cut each end using a very sharp knife
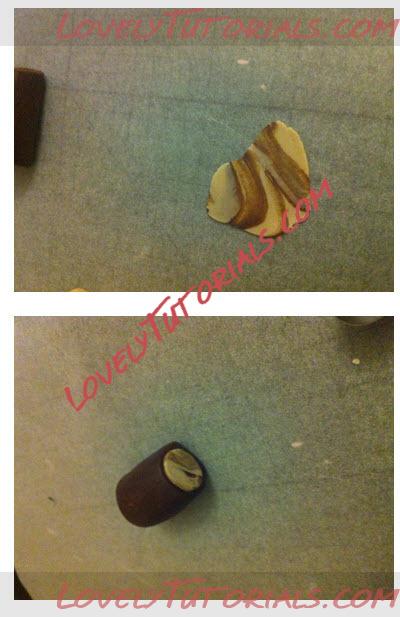
Twist together your light and dark brown colours and then roll out and stamp out two circles before attaching them to the ends of the log.
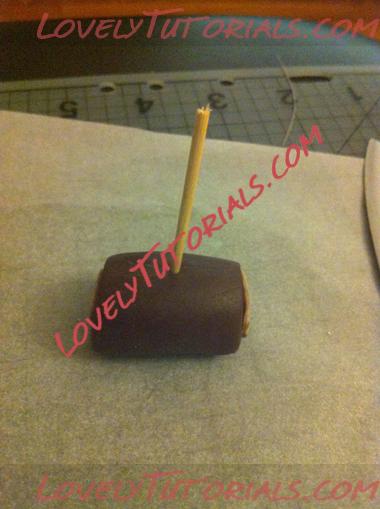
Make a hole in the top of the log with a toothpick
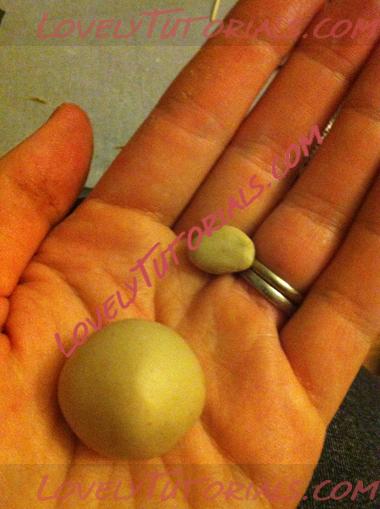
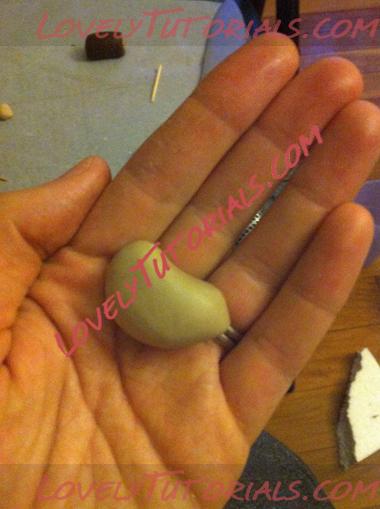
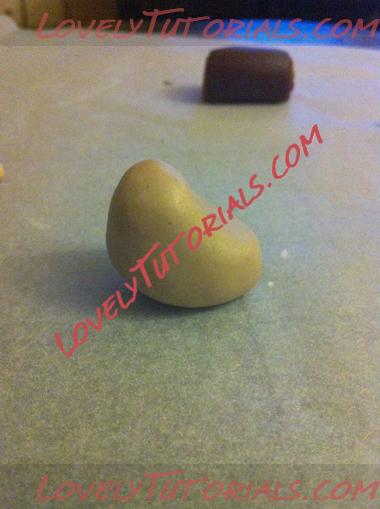
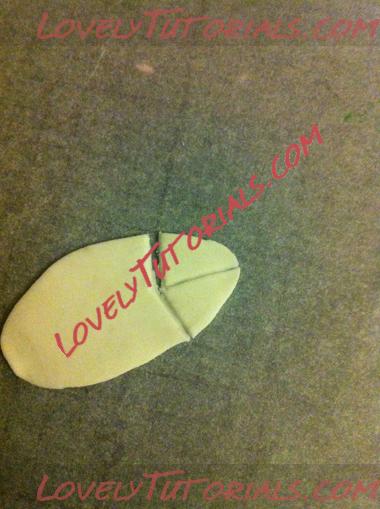
Roll out your light brown colour into a ball (reserve a small amount for the wings) and then mould into a ‘bird’ shape
(sorry – there’s no other way to describe this shape, other than bird!!)
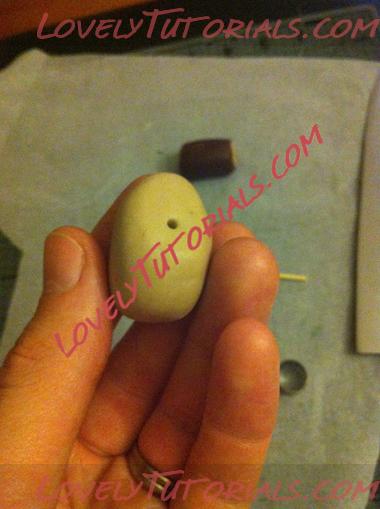
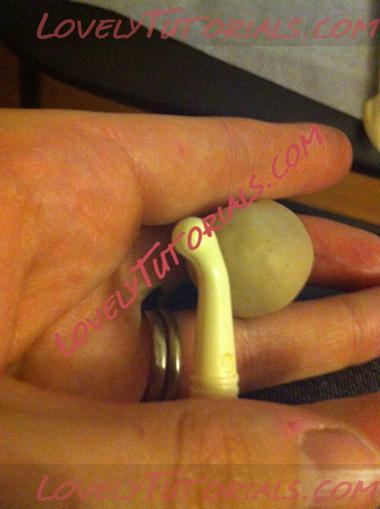
Make a hole in the bottom of the bird using a toothpick
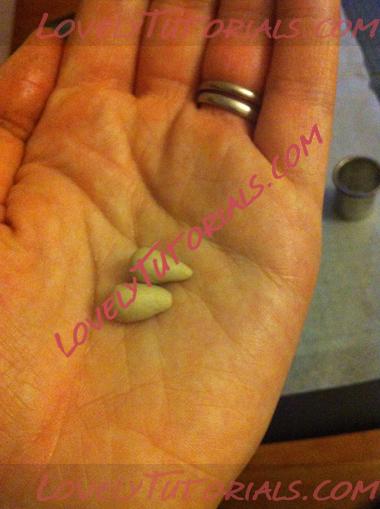
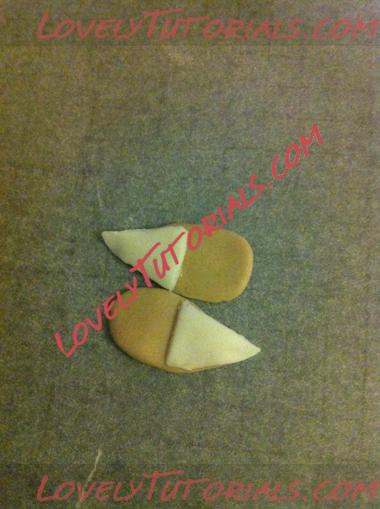
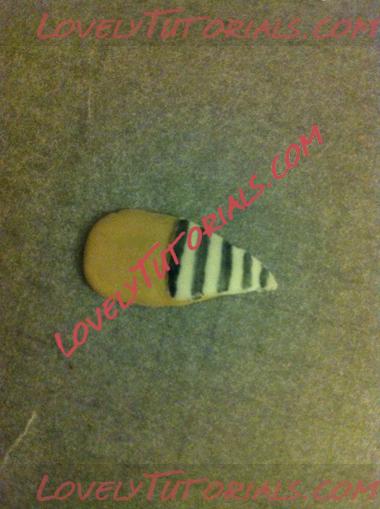
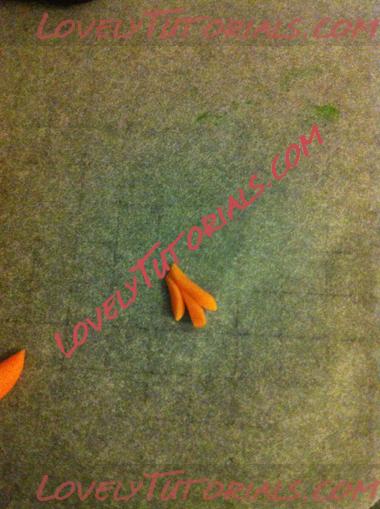
For the wings, roll out two teardrop shapes and then flatten
Roll out some white colour and cut out two ‘half teardrop’ shapes. Stick to the brown wings and then set aside to harden for a little while.
Using a modelling tool, make an imprint on the Owl’s head for the eye sockets
Roll out some white colour and cut a figure 8 shape out using 2 circle cutters. Attach to your Owl.
Roll out two flattened balls of orange colour and attach to your Owl
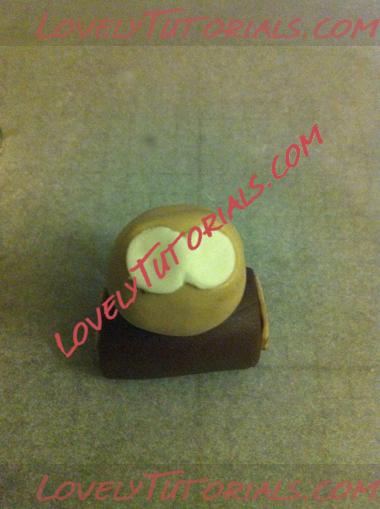
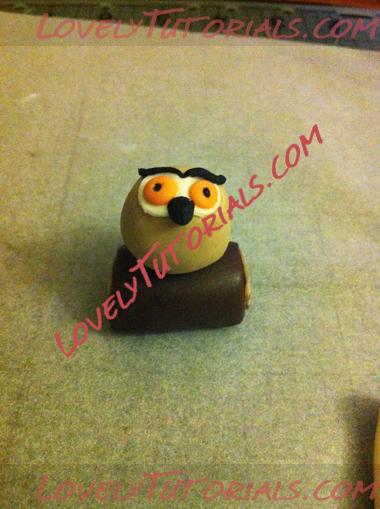
(The above photo is a perfect example to show you how bad something can look as you’re making it. You have to think of figurine modelling as building blocks…. it can look awful at a certain point in time, but as you add all the layers it magically comes together at the end. Don’t despair! It happens to me most of the time and I think what I’m making is going to look awful…but somehow towards the end the figure takes shape!) Love his ‘fried egg’ eyes?!!!

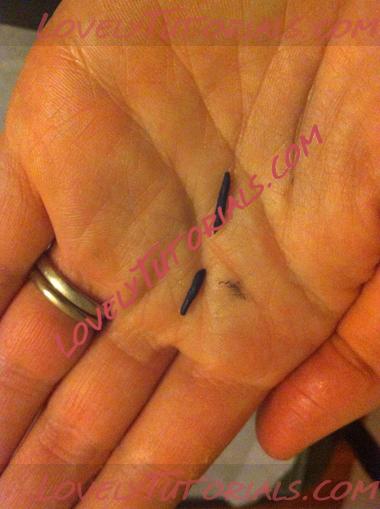
Roll out two thin sausages of black for the eyebrows

It can be quite tricky to apply the eyebrows to the owl. Black fondant is notoriously difficult to work with! It can also smudge and discolour your figurine. To apply the eyebrows and get the shape we’re after, carefully add a small amount of water/edible glue above the eyes and gently place the eyebrow. Use a modelling tool to mould the eyebrow into the desired shape – if you use your fingers, it is easy to get black onto them and end up making black smudges around the eyes.
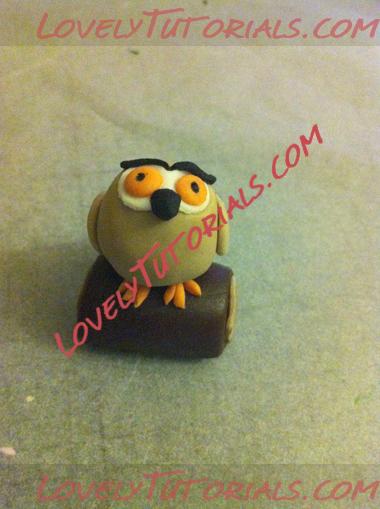
Also attach a black triangle for the nose and mark in the eyes with a black edible marker.
Using your marker, colour in black stripes on the wings and then attach to the Owl’s body.
Roll and cut three small strips of orange fondant and stick together for the feet.
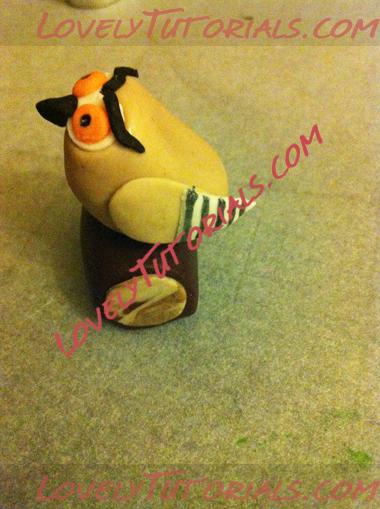
Stick onto the log and then stick your Owl on top (I have used half a toothpick in the log and Owl to join them together. You may omit this step if you feel it is dangerous for the kids)
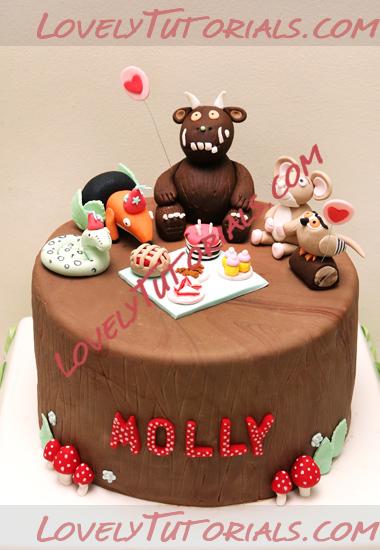
I ended up making balloons for the Gruffalo and Owl to hold which was simply done by cutting a circle of pink gum/sugar paste and stretching one end to make it a balloon shape, sticking on a heart and then gently inserting some florist’s wire before letting it dry and harden.