Огромная благодарность Автору Peggy Does Cake за Мастер-класс
TUTORIAL: Fondant John Deere Tractor
·
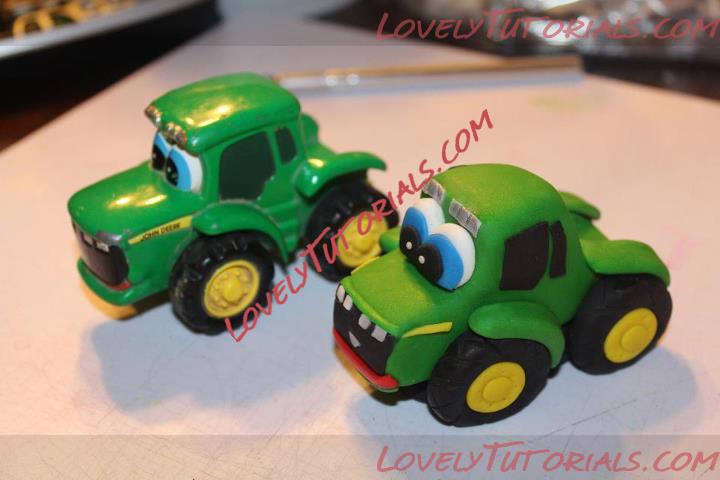
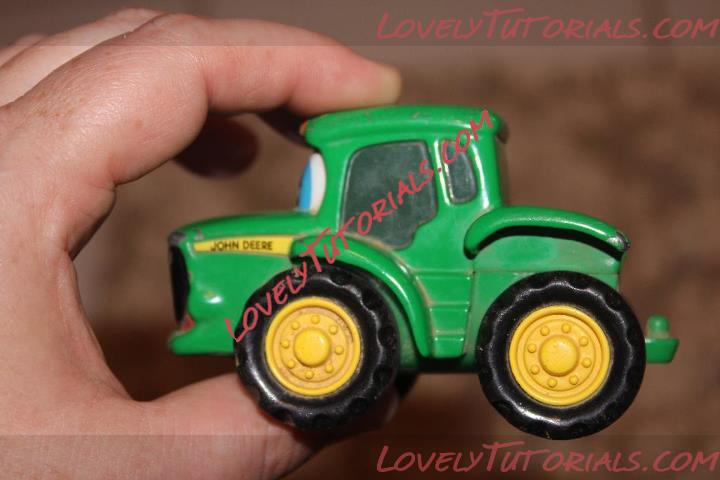
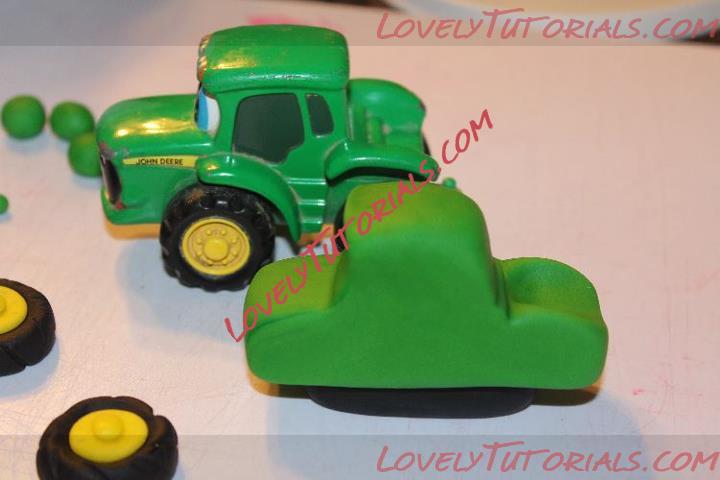
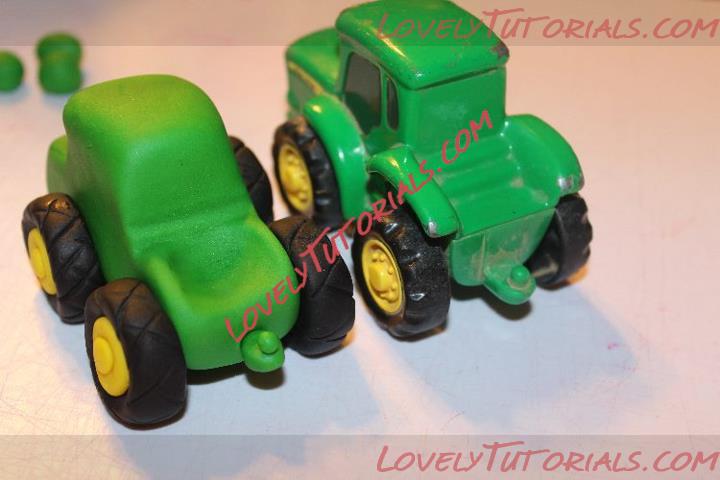
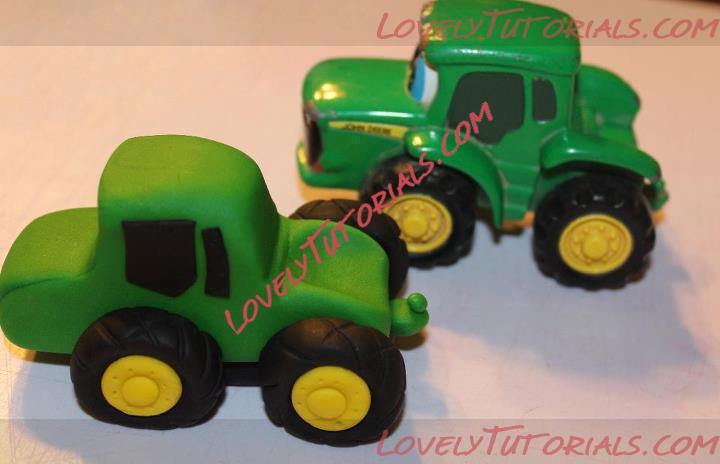
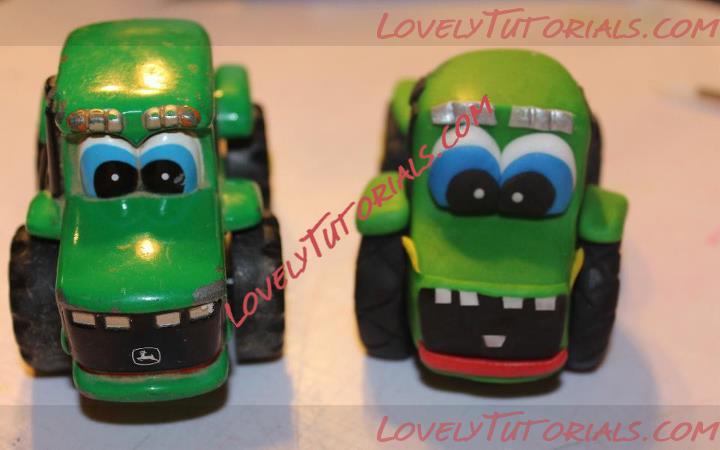
So here's what we're making. Can you tell this little toy has been LOVED?
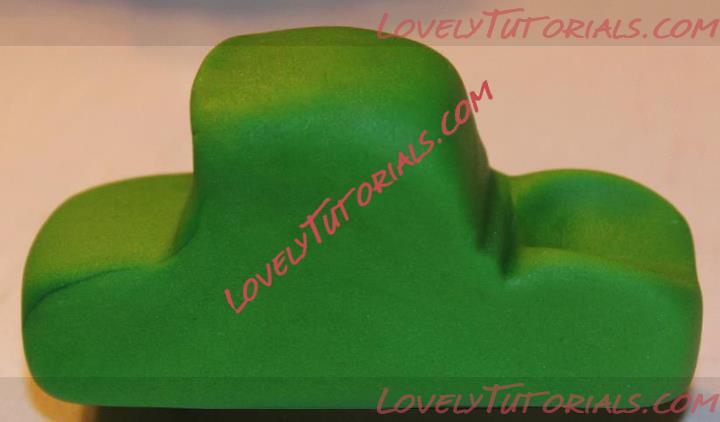
Start with a basic shape of the body of the tractor:
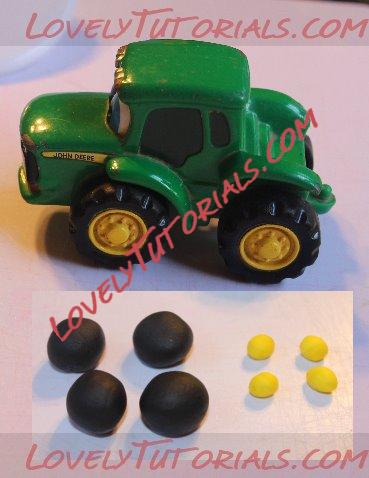
Roll out 4 black balls for the tires and 4 yellow balls for the centers of the tires:
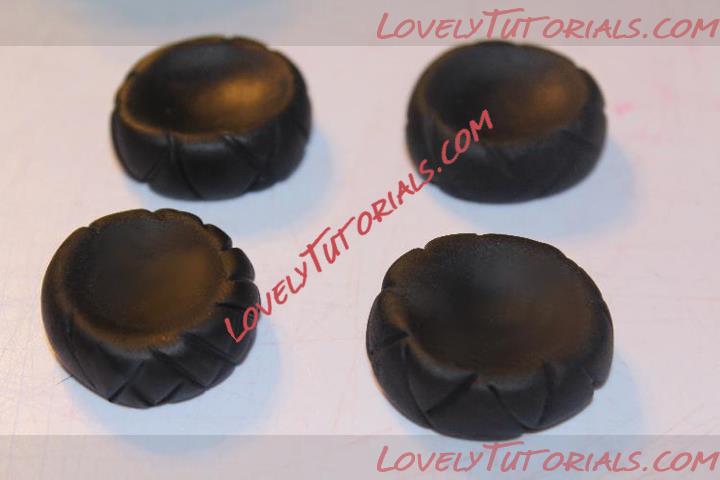
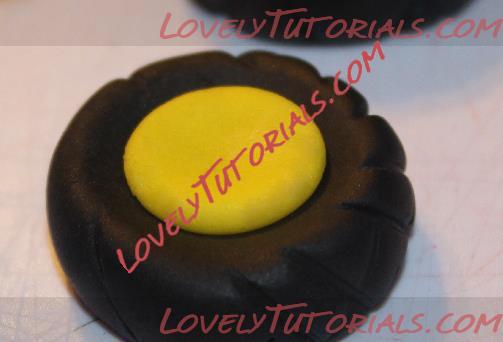
I have a habit of using my fondant smoother to press balls into circles:
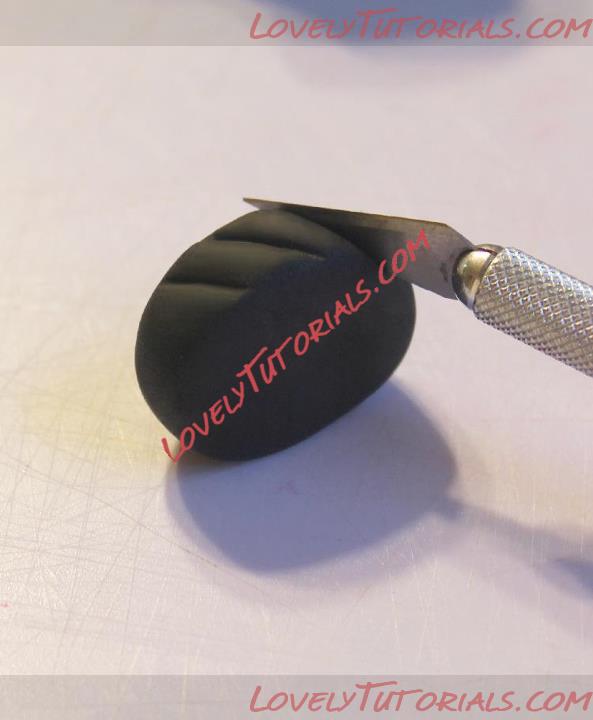
Use an Exacto knife (or whatever you have handy) and make treads:
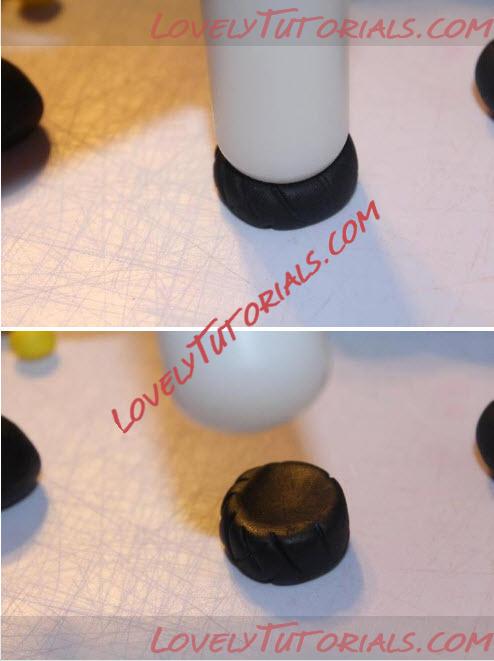
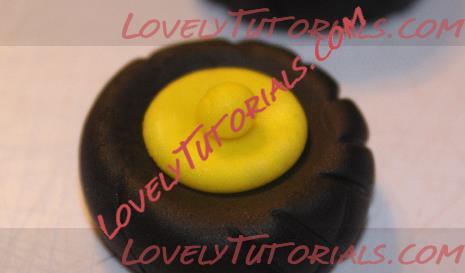
Use the end of your small rolling pin (or whatever you have handy) to round the inside of the tires:
Time for the 4 yellow balls. Break each ball into 2 parts; a big part and a small part, now you have 8 of them:
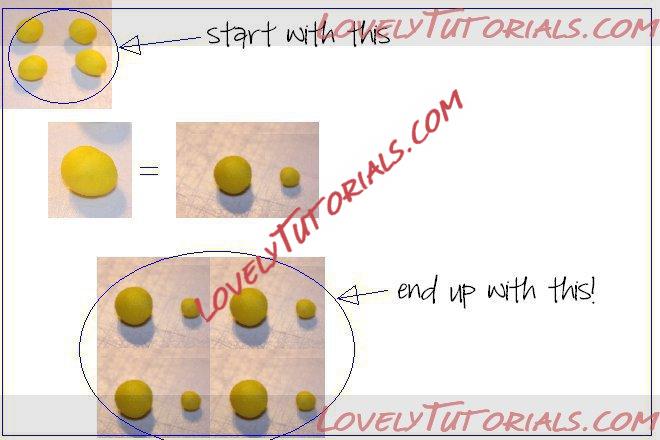
The big yellow ball gets flattened and becomes the center of the tire:
The small yellow ball remains somewhat rounded (press it down just a bit) and becomes the hub of the tire:
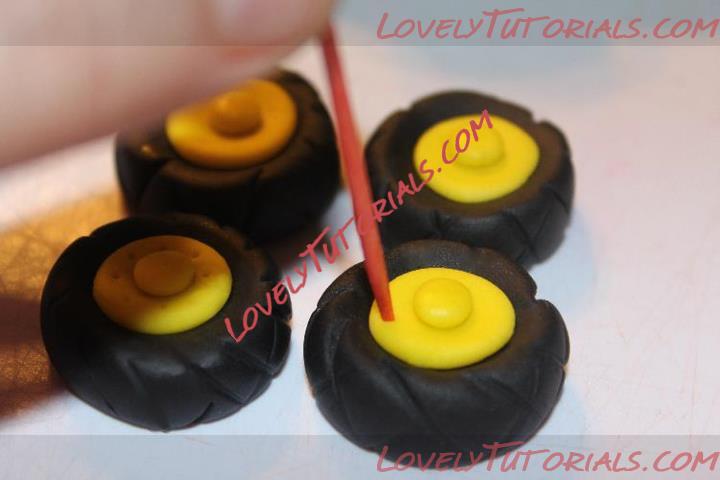
Use a toothpick (or whatever you have handy) to make lug marks:
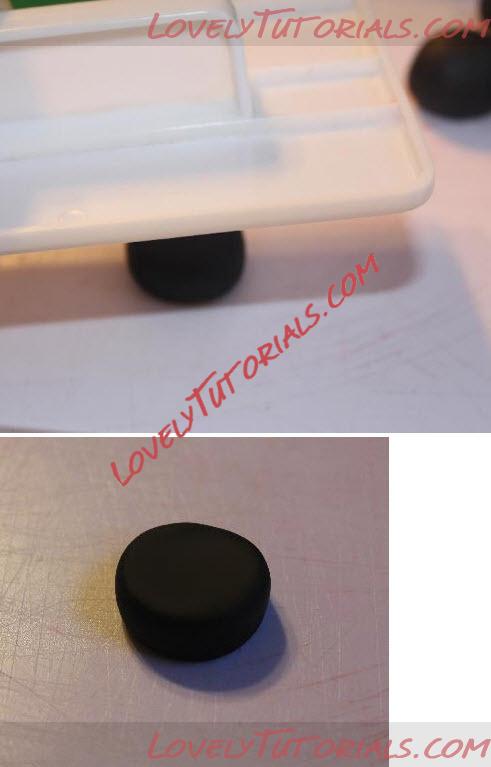
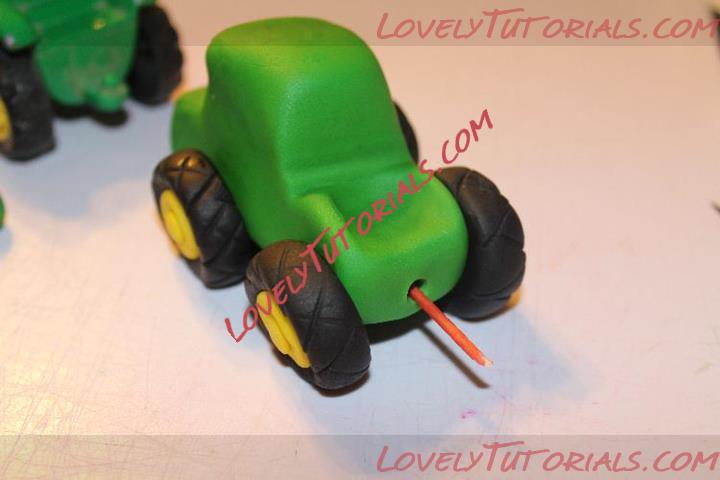
The body has to be off the ground, so put a piece of fondant underneath. I used black so it wouldn't be too obvious when it was finished:
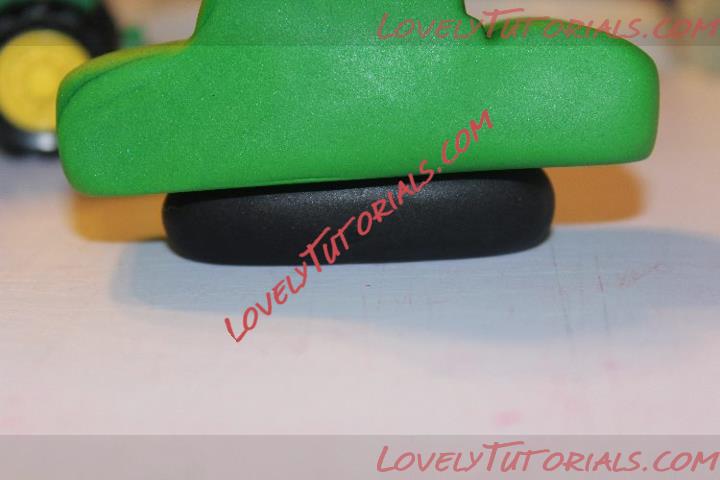
Make sure it's about the right height:
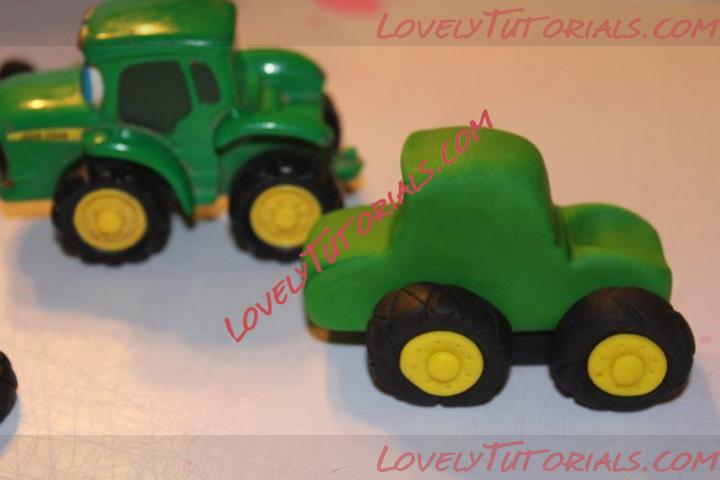
Glue on the wheels with a bit of water:
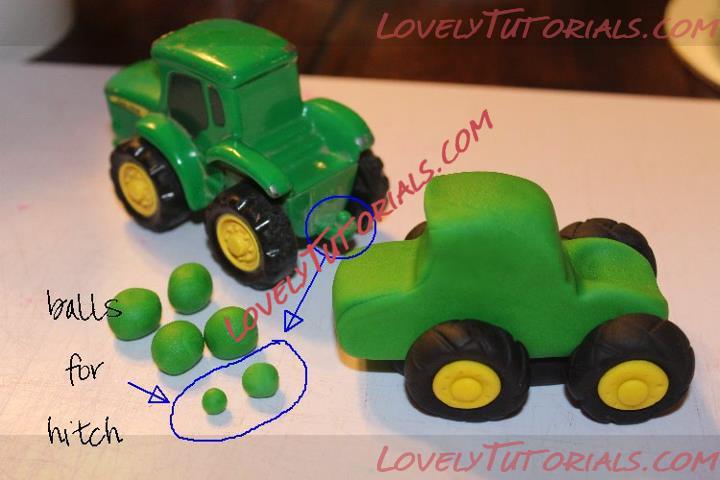
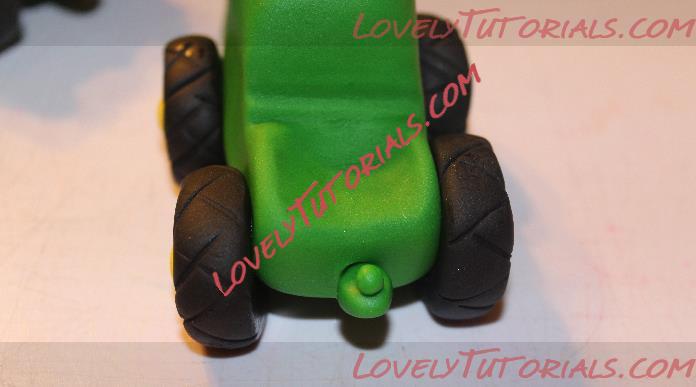
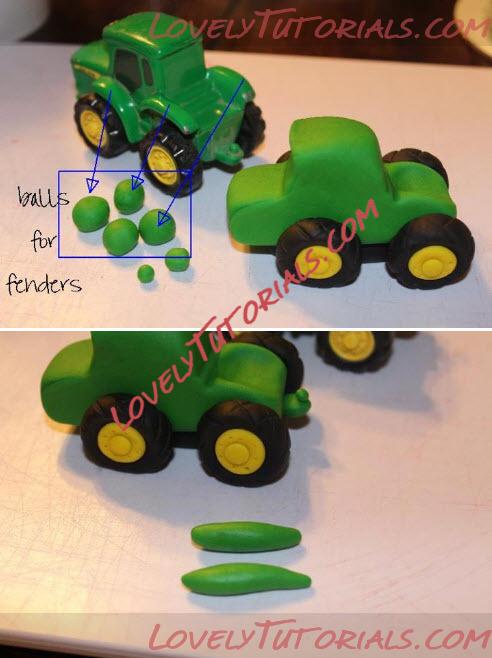
Roll 6 green balls: 4 for the mudflaps over the tires, and 2 for the hitch (one of the hitch balls should be notably smaller than the other):
Using a toothpick (or whatever you have handy) make an indentation for the hitch.
Roll the bigger of the two small balls into a teardrop shape, add a touch of water to the pointed end and insert into hole for hitch. Add a tiny dot of water on the "hitch" and rest the small ball on top:
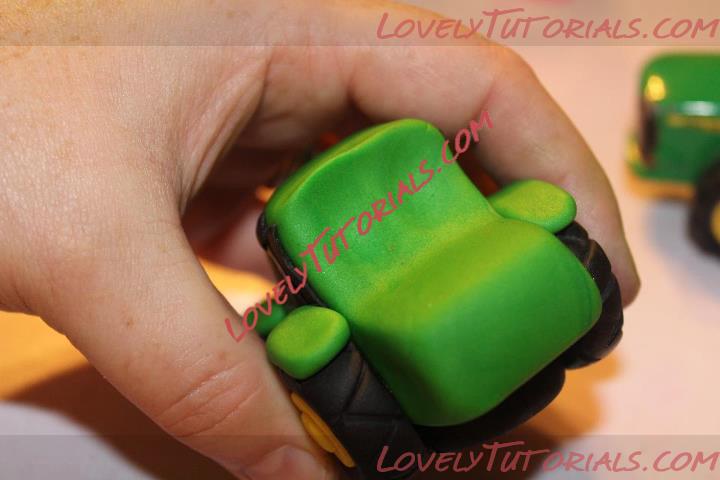
Now go ahead and shape the 4 bigger balls into your mudflaps. We'll let them sit and firm up a few minutes while we put on our windows.

Roll out black fondant very thin. This is a great time to use left over pieces, as we'll be cutting it down very small:
Use an Exacto knife (or whatever cutting tool you use) and cut the pieces for the window. Watch your edges and keep them neat. Use a bit of water to adhere the windows to the tractor:

Now do the other side:
Our mudflaps are probably firm enough now to glue them into place. Use a bit of water for glue:
Glue the front ones on:
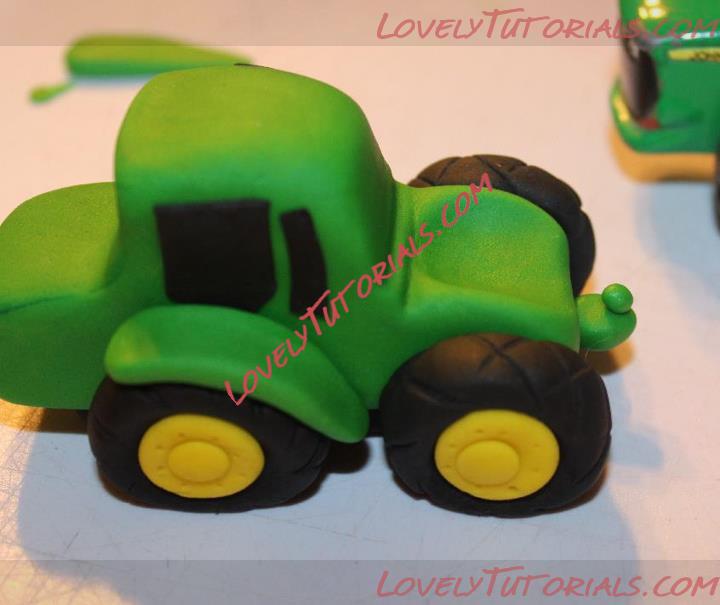
Now the back ones:

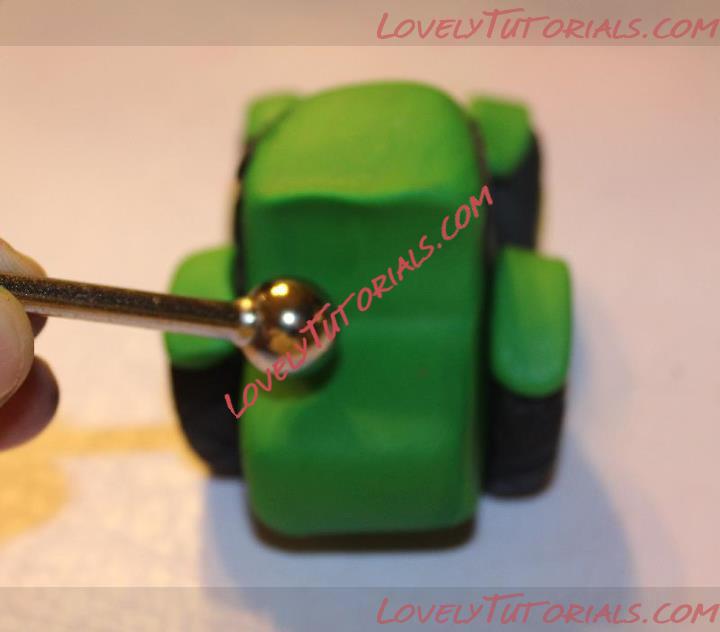
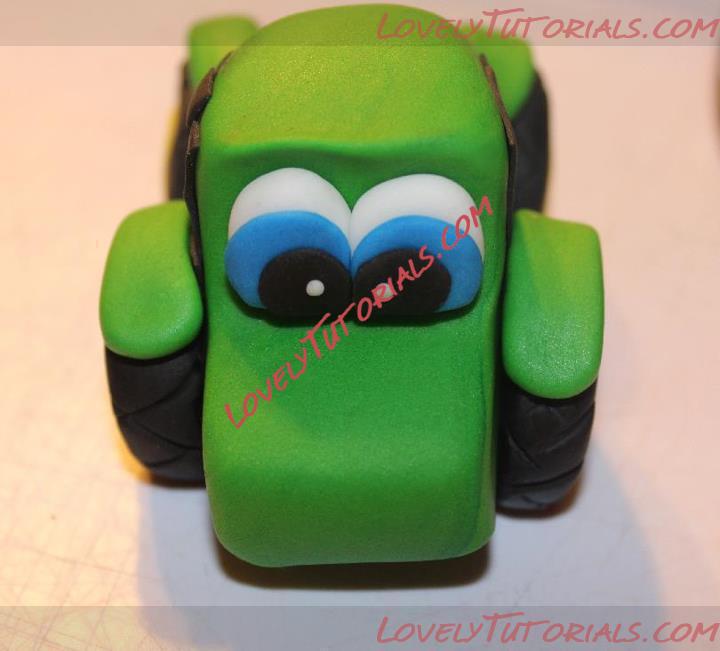
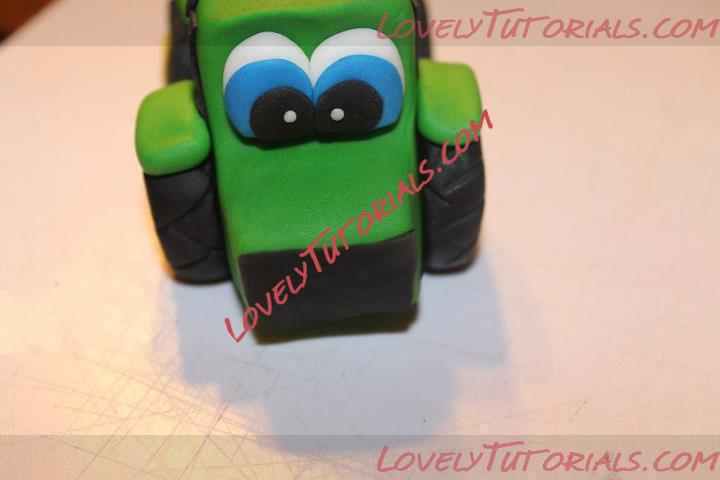
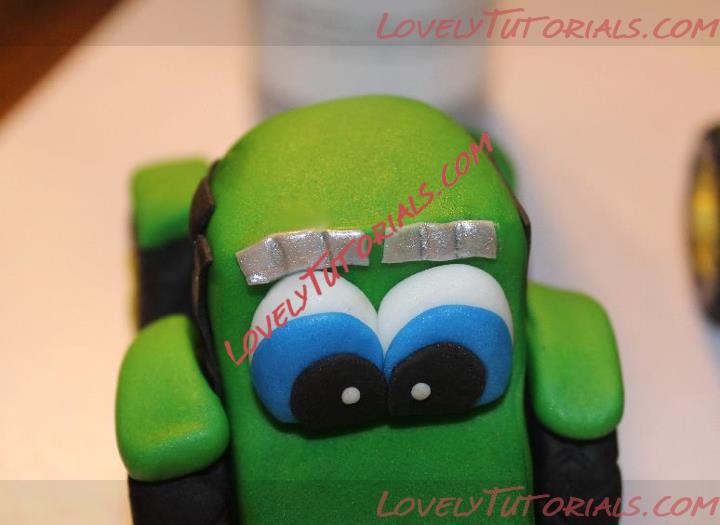
Use your ball tool (or whatever you have handy) to make pockets for the eyes:
Roll out white circles for the eyes and adhere with a tiny drop of water:

Roll out blue balls for the eyes and adhere with a tiny drop of water:
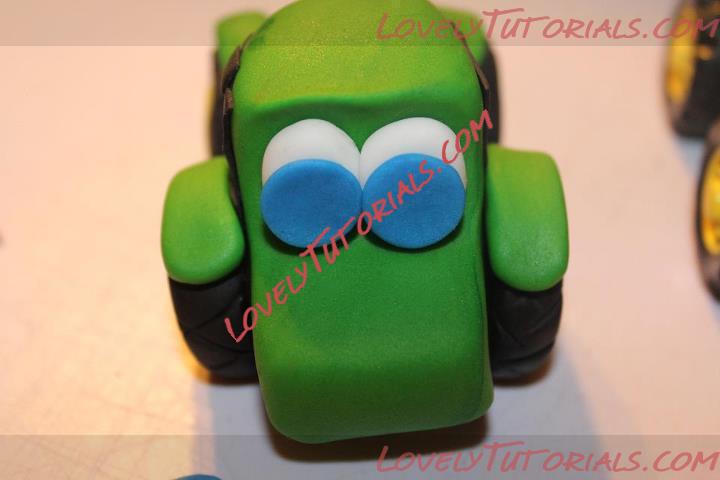
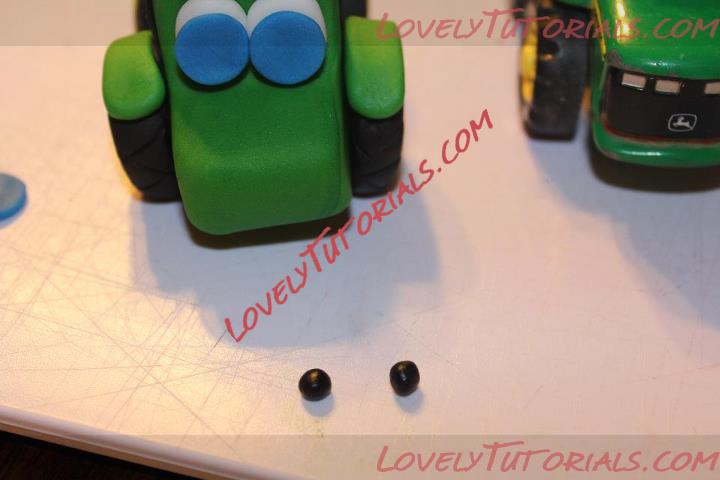
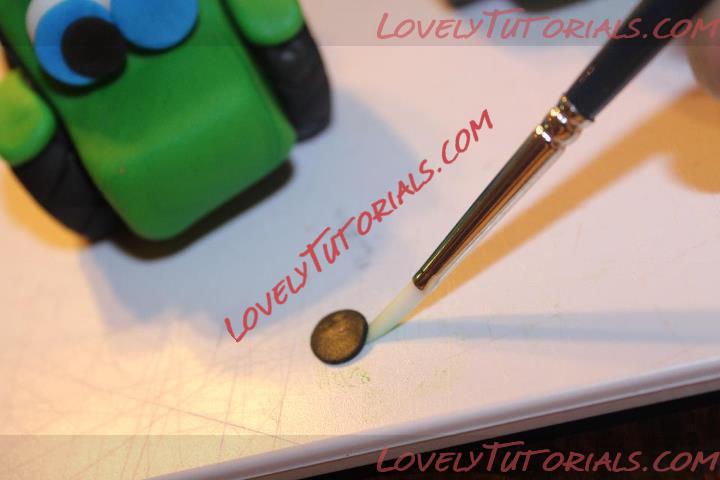
Roll out black balls for pupils and adhere with a tiny drop of water:
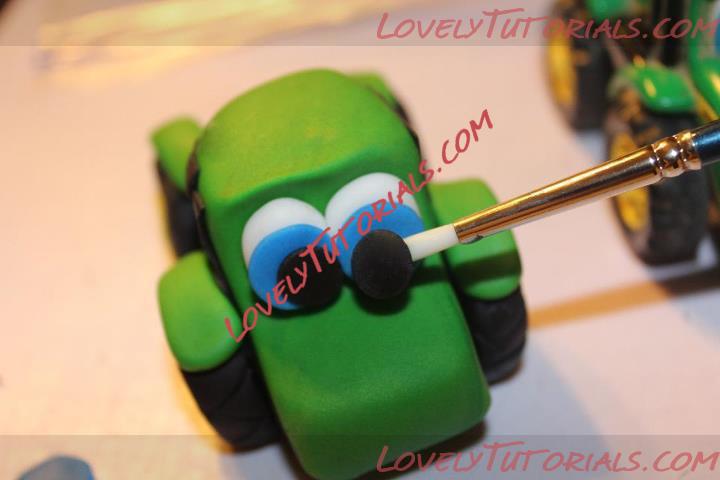
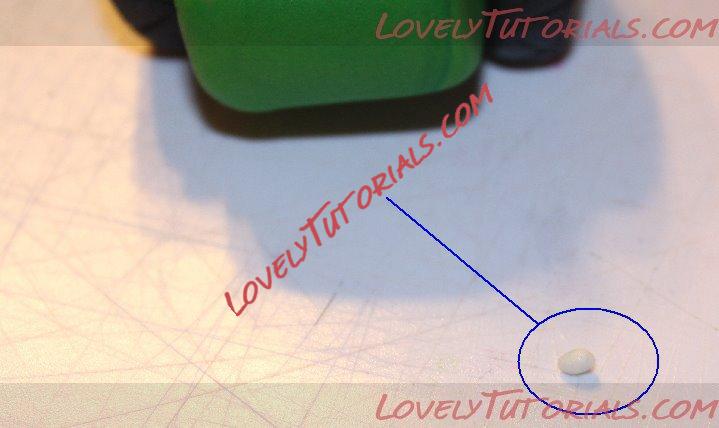
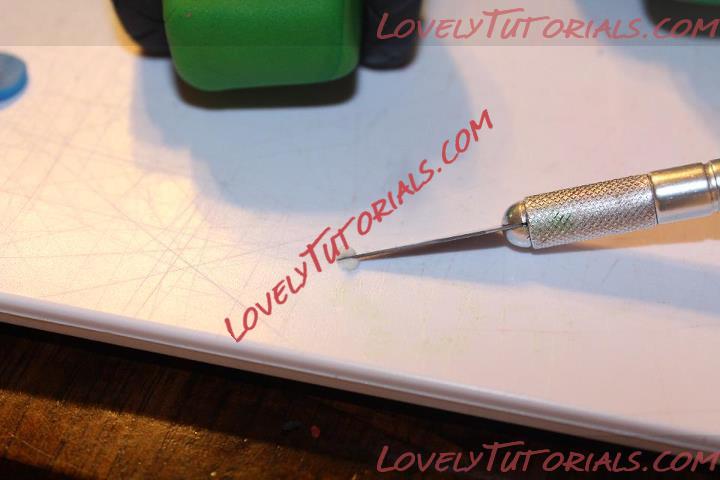
Roll out a tiny white ball for the "twinkle" in the eye. Cut it in half to be sure they're the same size and glue on with a tiny drop of water:
Roll a piece of thin fondant for the grill and adhere with a bit of water:
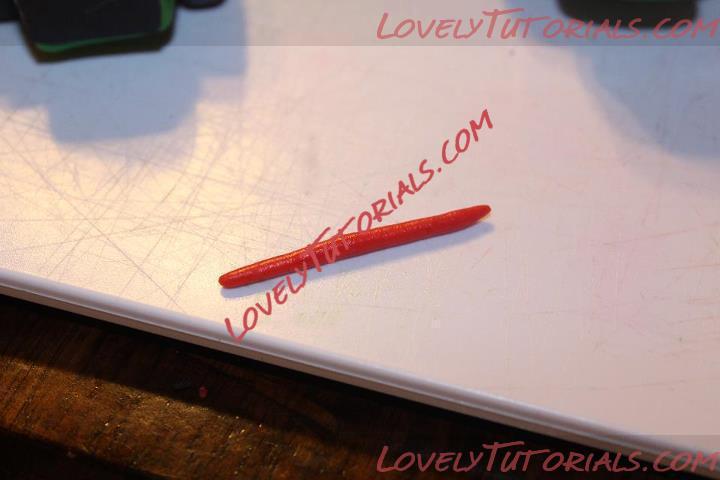
Roll a snake of red fondant for the smile, press to flatten and adhere with a bit of water:
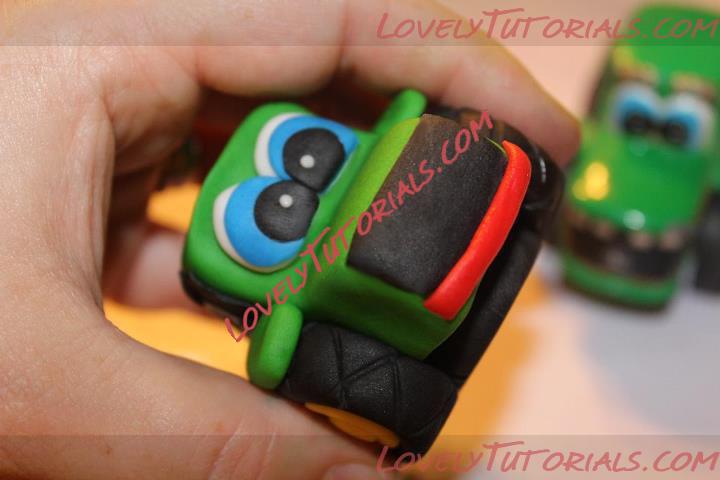
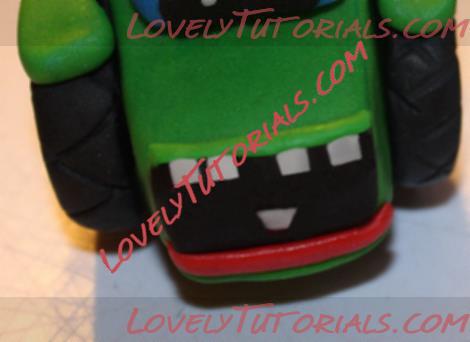
Roll a piece of thin white fondant and cut 4 teeth. Also, don't miss a little bit of white in the center of the grill for the tiny tiny tiny John Deere symbol. Adhere with a bit of water:

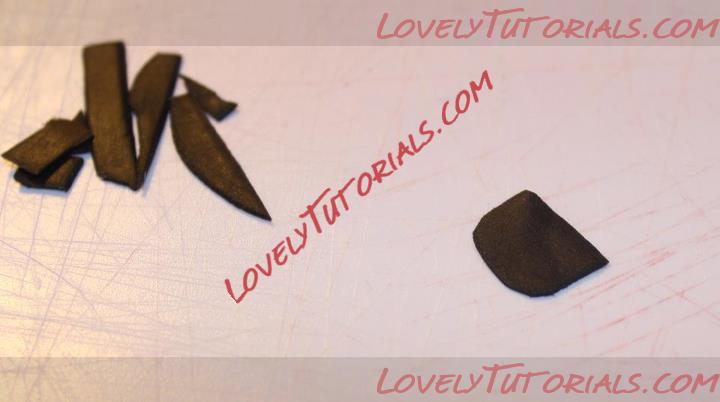
From that same white fondant that you used for the teeth, cut 2 rectangles for "chome-look" eyebrows and use your Exacto knife (or whatever you have handy) to section them each into 3 parts.
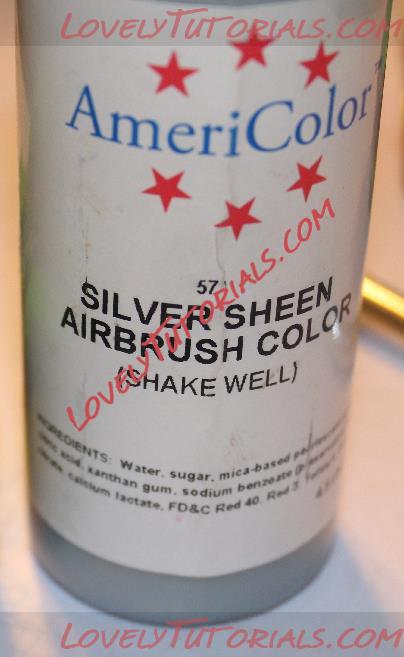
Then bust out the silver airbrush paint (or silver luster dust, etc.) and paint them (full strength with a paint brush is fine) so they look shiny and metallic:
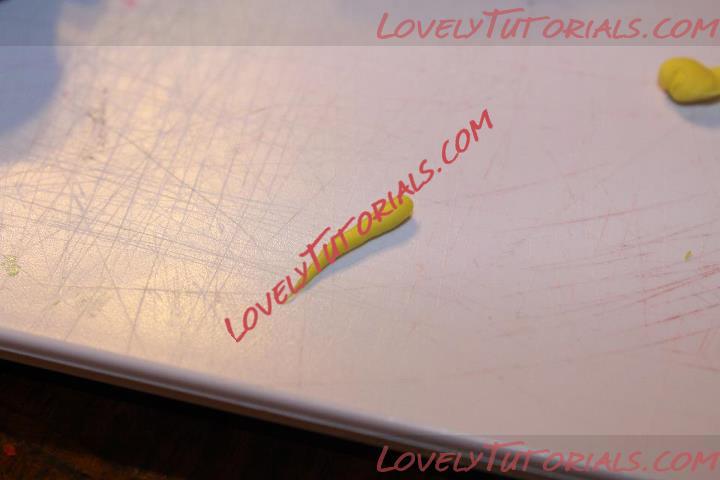
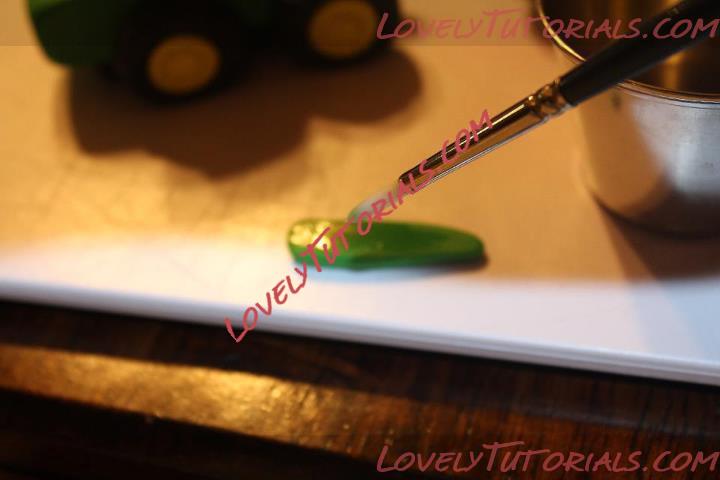
Finish up by rolling a tiny yellow snake of fondant for the stripe down the front fenders. Make a tear drop shape out of one end of the snake and adhere to front fenders using a tiny drop of water:
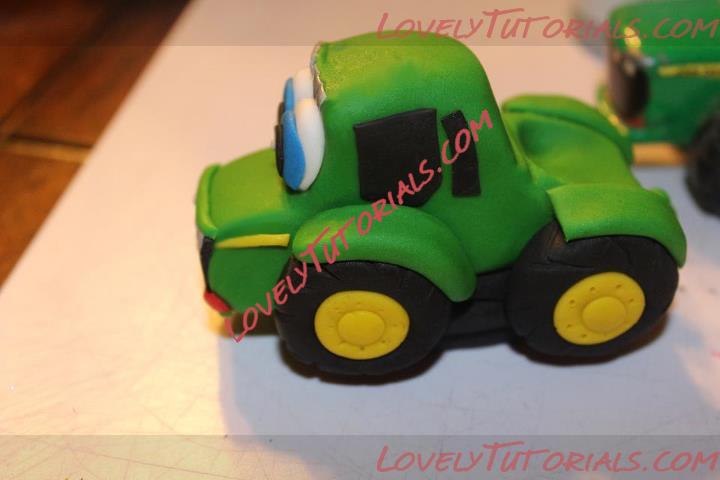
Finished view from the front:

Tsk Tsk, at the end I realized I had missed a yellow bit under the "smile" - so i went back and added it. Now he's DONE!