
21.09.2012, 14:39
|
|
Администратор
|
|
Регистрация: 07.09.2010
Сообщений: 7,669
|
|
 Earlene Moore's Enhanced Fondant Lace Tutorial
Огромная благодарность Автору Earlene Moore за Мастер-класс
Earlene Moore's Enhanced Fondant Lace Tutorial
 "I consider lace to be one of the prettiest imitations ever made of the fantasy of nature; lace always evokes for me those incomparable designs which the branches and leaves of trees embroider across the sky, and I do not think that any invention of the human spirit could have a more graceful or precise origin."
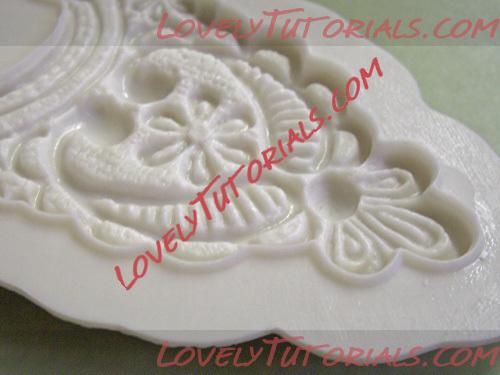
 This tutorial, by Earlene Moore, shows us how to use her wonderful, new, enhanced lace molds -
WHAT MAKES THESE MOLDS DIFFERENT?
Designs are already over piped for you to give you more dimension in the lace pattern.
This tutorial, by Earlene Moore, shows us how to use her wonderful, new, enhanced lace molds -
WHAT MAKES THESE MOLDS DIFFERENT?
Designs are already over piped for you to give you more dimension in the lace pattern.
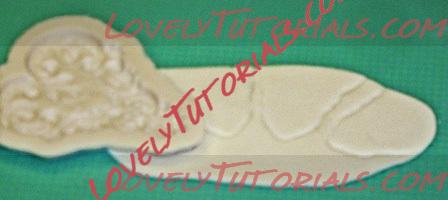
Bottom (blank) pattern on each mold for marking your sugar dough.
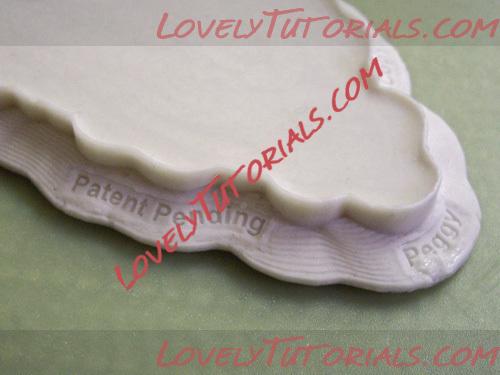
"Blade" around the top of each design for trimming your sugar dough fast and easy.
The firm ridge around the top of each design is what is called the "blade"
HOW TO USE ENHANCED LACE MOLDS -
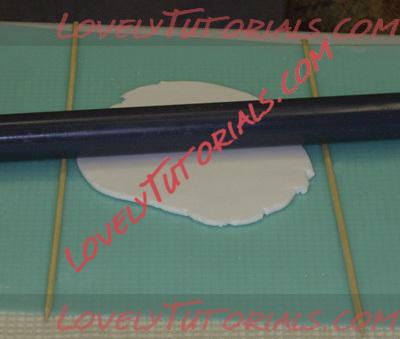
1. Roll out the dough slightly thicker than the thickness for flowers. I normally do flower petals on the #5 setting on my pasta machine. The #4 thickness is good for the lace pieces. All pasta machines are not created equal - yours may be better on another thickness setting.
If you don't have a pasta machine, you can roll the dough out between 2 - 1/8" skewers Then roll it thinner - to about 1/2 that thickness
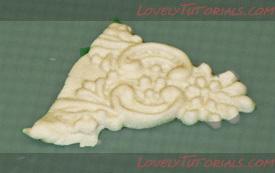
2. Imprint design outline using the back of the mold on your sugar dough. Imprint multiple patterns to cut apart
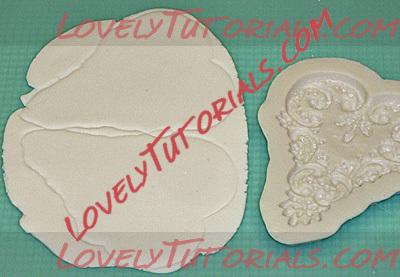
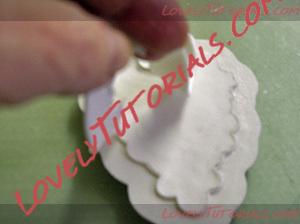
3. Cut around one imprinted design.
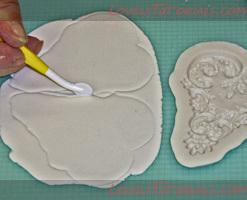
4. Very Important
Dust the bottom side of the sugar dough to be placed down into the mold with a knee hi stocking filled with cornstarch.
Don't dust the mold - dust the sugar dough
Lay rolled sugar piece on top of the mold - cornstarch dusted side down.
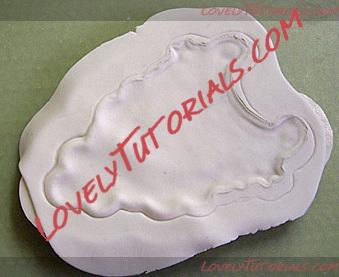
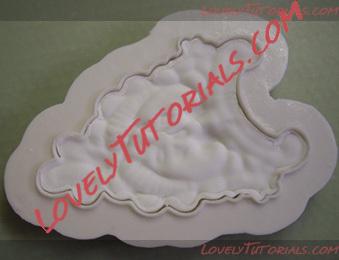
5. Using a small rolling pen - roll over the top of this sugar piece multiple times with light pressure until "blade" has trimmed the mold

6. Remove excess dough from around the mold
7. Press around the edges of the mold rolling the fingers in toward the center as your press firmly
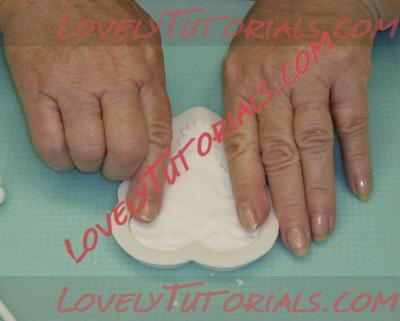
8. Press firmly over the entire surface to imprint the design into your sugar piece.
If more detail is needed try using a stencil brush with a rubber band around the bristles of the brush
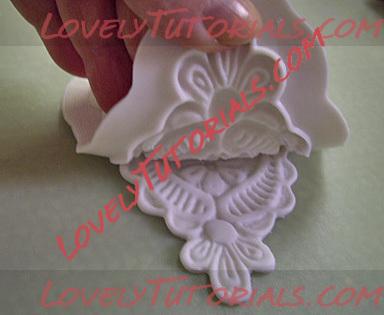
9. To remove the sugar piece from the molds. Turn the mold upside down on a clean surface. Encourage one edge to begin to release the dough and roll back the mold away from the dough.
Scrunch the molded piece if you need it to be a little smaller. Stretch it slightly if you need it a little larger.
Troubleshooting Tips:
If you don't get enough detail it could be
1. You didn't press hard enough
2. Your sugar dough was to firm
You can always place the sugar piece
back into the mold and press firmer.
Because the pattern to these molds is significant -
the sugar paste will fit right back into the pattern.
Molds can be used with Isomalt, fondant,
gumpaste, chocolate and more
Handy Tip:
If you want to mold a chocolate piece
with the silicone molds
- warm the mold before filling
with warm chocolate.
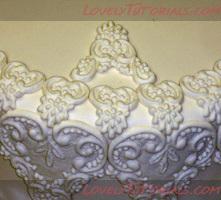
Extending Design Elements:
Using individual elements in the molds and Enhancing the designs.
All the molds have elements in them that can be used separately as a design enhancer.
Here are the steps to this cake design elements.
 1. Imprint just the portion of the mold you will need.
 2. Press into the mold
3. Trim around the design element needed angling in with a cutting wheel.
2. Press into the mold
3. Trim around the design element needed angling in with a cutting wheel.
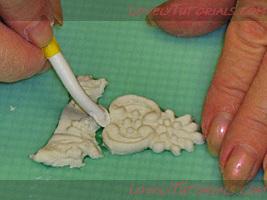 4. Neaten up the edges with the cutting wheel or a dresden/veining tool.
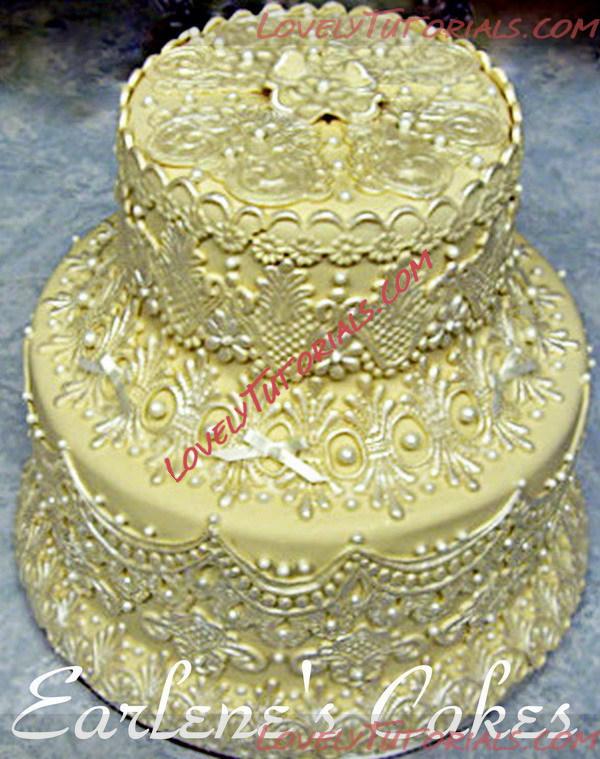
 On the above photo, the full mold is used for the sides, but only the tip of the "Carolyn" mold is used for the next row up.
The bottom half of the mold is used for the center fill in design.
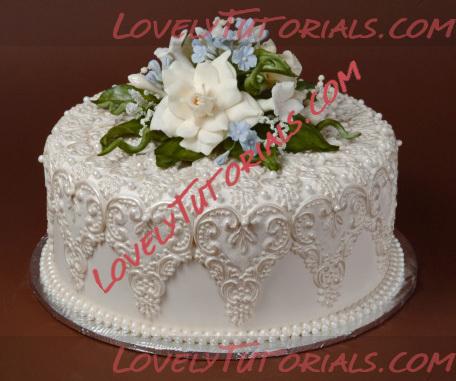 The only mold used on this entire cake was the "Carolyn" enhanced mold.
ELEMENTS IN LACE MOLDS -
When purchasing a lace mold - look for all of the elements in that mold that can be separated and used independently
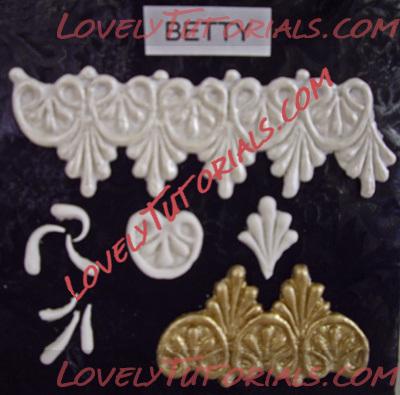 Betty Mold
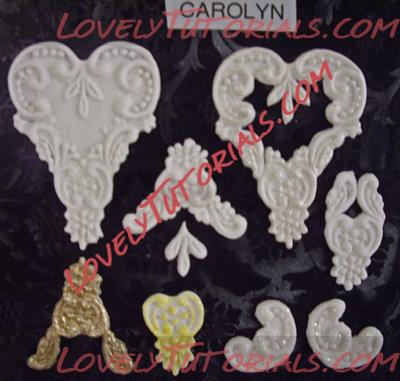 Carolyn Mold
 Peggy mold
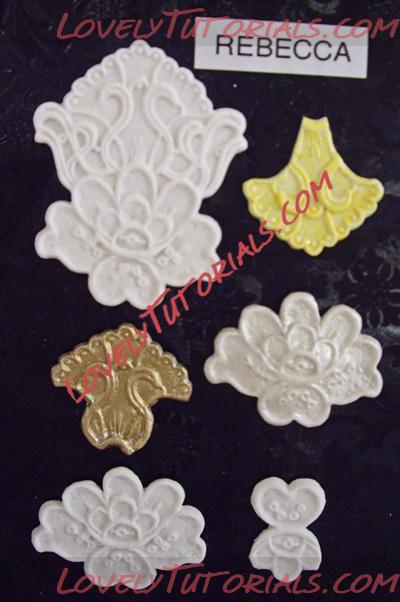 Rebecca mold
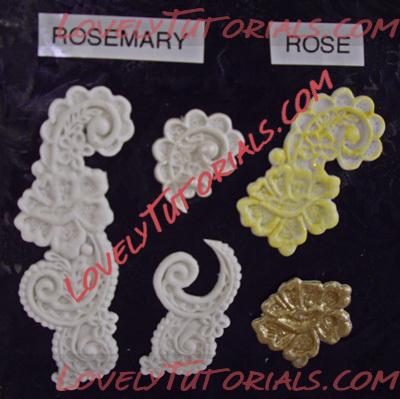 Rosemary and Rose molds
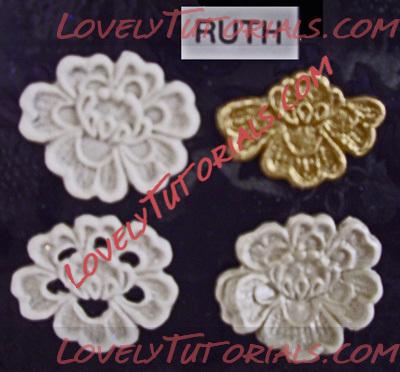 Ruth mold
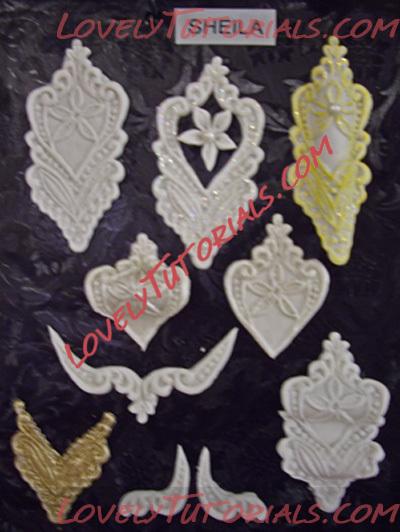 Sheila mold
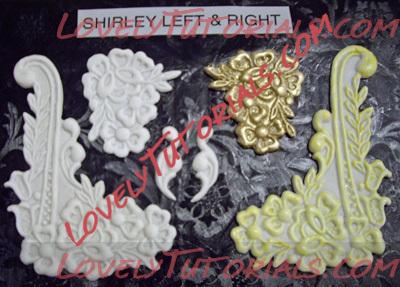 Shirley Left and Right

|