Огромная благодарность Автору Melanie за Мастер-класс
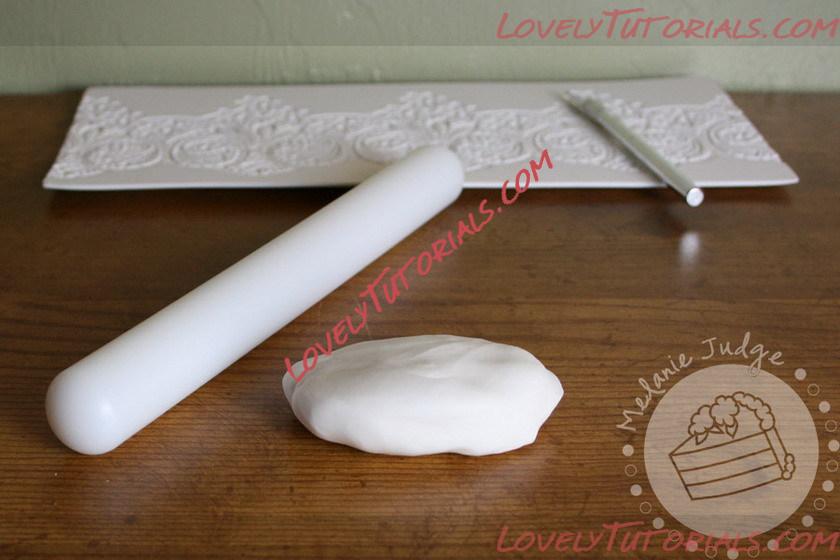
Materials You'll Need:
- fondant, kneaded until soft
- rolling pin
- sharp knife
- lace mold (my molds are from Caljava)
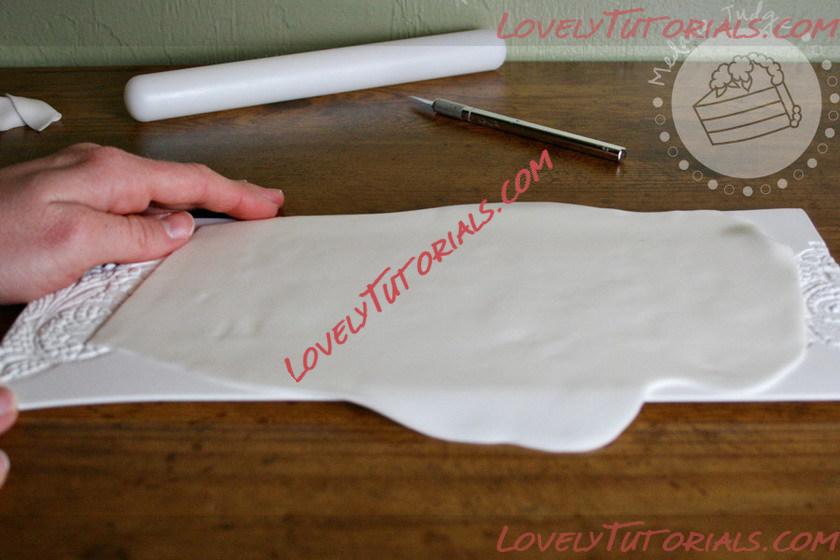
 Step 1:
 Roll the fondant into a thin sheet, between 1/8 and 1/16 of an inch thick. You may need to lightly dust your work surface with powdered sugar to keep the fondant from sticking.
 Step 2:
 Trim edges of fondant sheet so it's easier to work with.
 Step 3:
 Carefully lift the fondant sheet and place it on the lace mold.
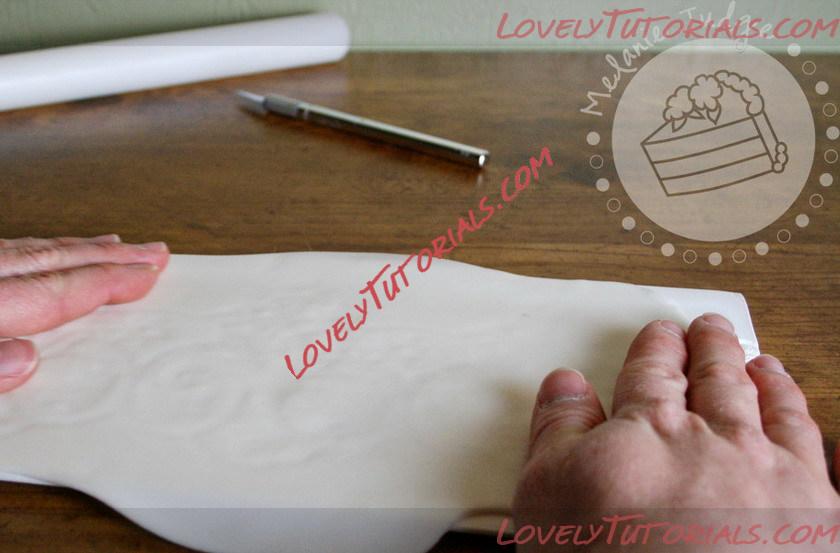 Step 4:
 Firmly press the fondant into the lace mold, being careful not to stretch it.
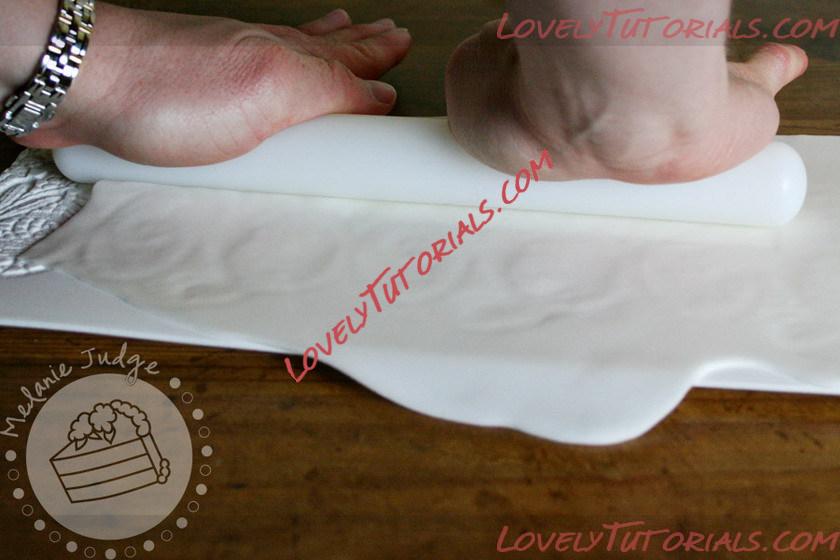 Step 5:
 Firmly roll over the fondant to press it further into the lace mold. I like to roll from the center upwards and then from the center downwards. Its important not to stretch the fondant or move it on the lace mold in this step. If the fondant shifts, you will get a second lace mold impression.
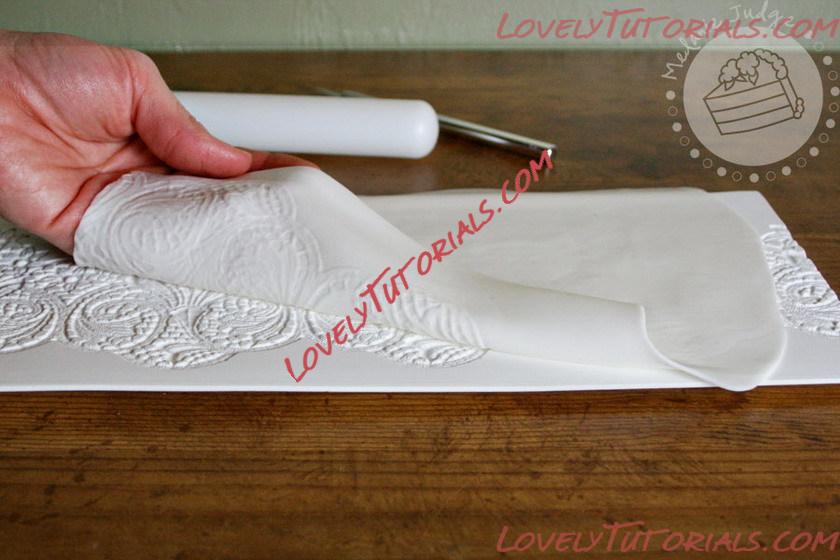
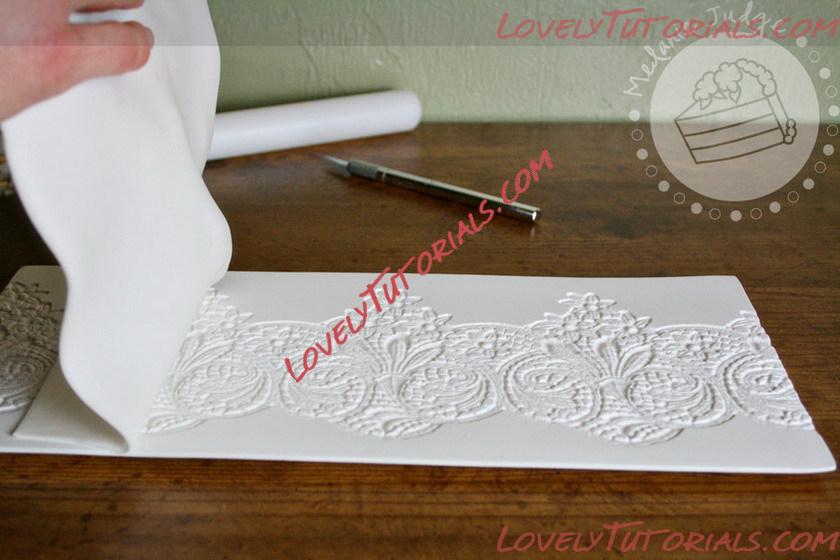
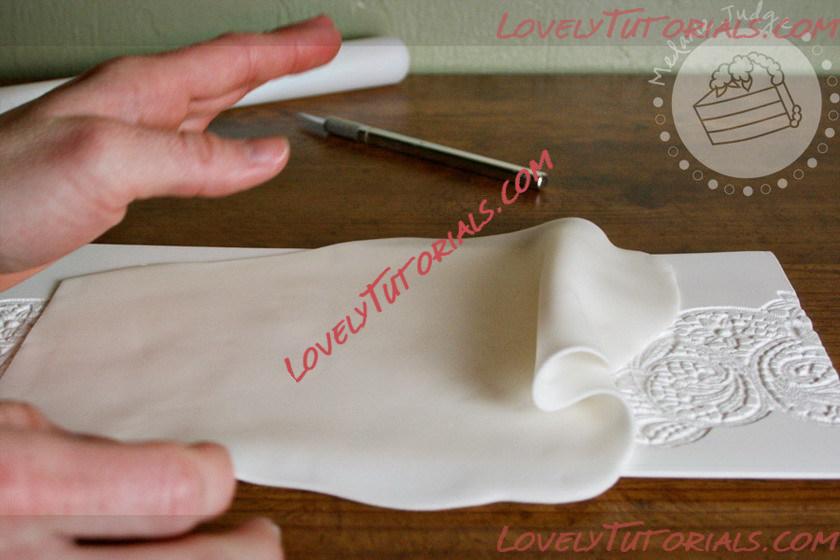
 Step 6:
 Carefully lift the fondant off of the lace mold and place it on your work surface. If you do not see a clean, crisp lace impression in the fondant at this time, re-knead the fondant and start again.
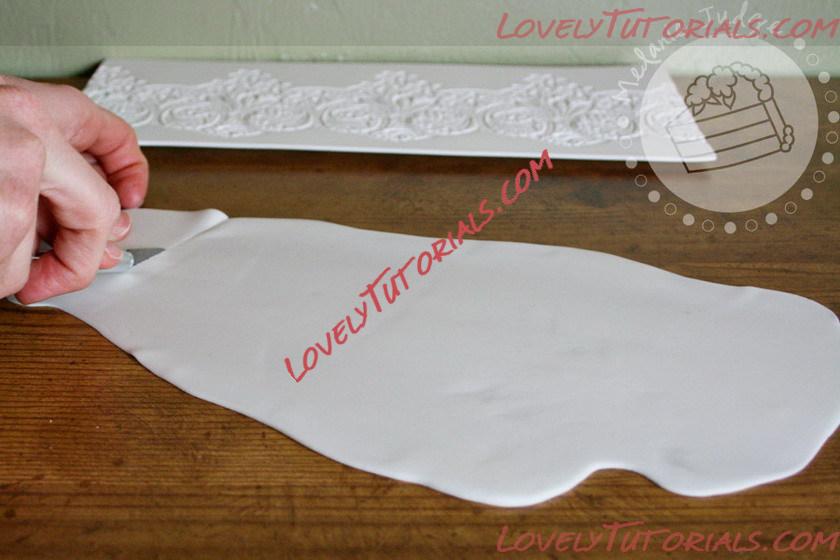
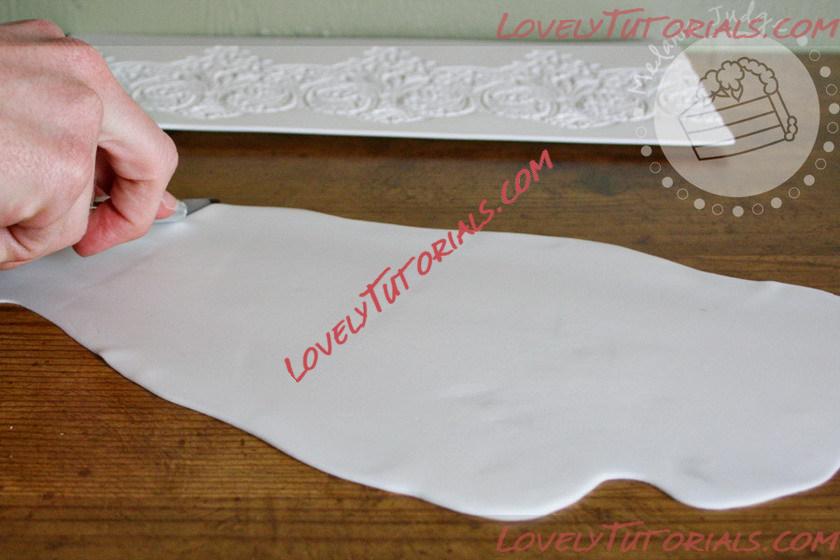
 Step 7:
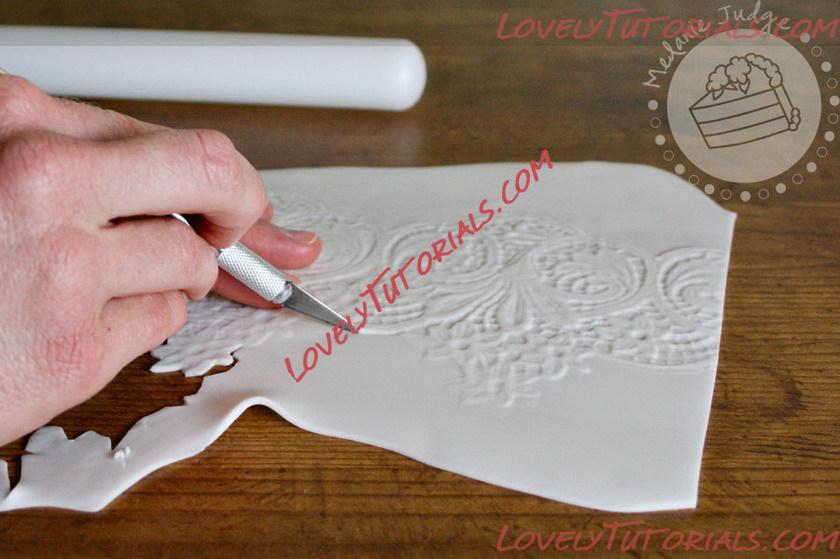
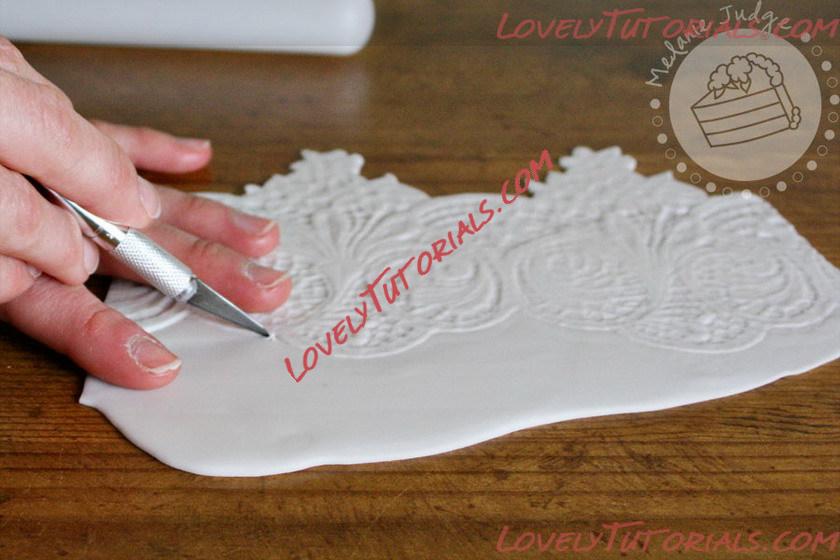
 Using a sharp knife, trim around the edges of your fondant impression. Use your imagination here! You do not have to abide by the lines of the lace mold. You can use just tiny pieces from the impression, cut more holes out of it, etc.
I find it easiest to trim the piece if I put a finger on each side of the knife. That keeps the fondant from sliding or bunching while the knife cuts through.
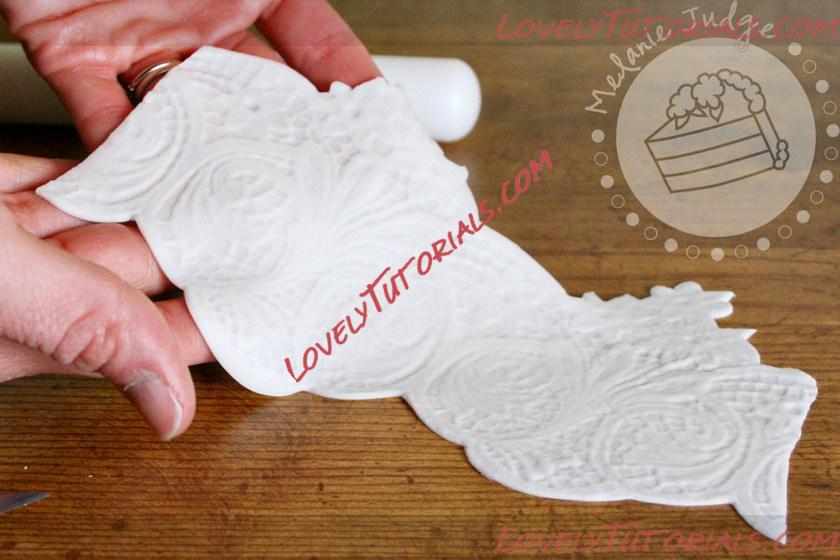
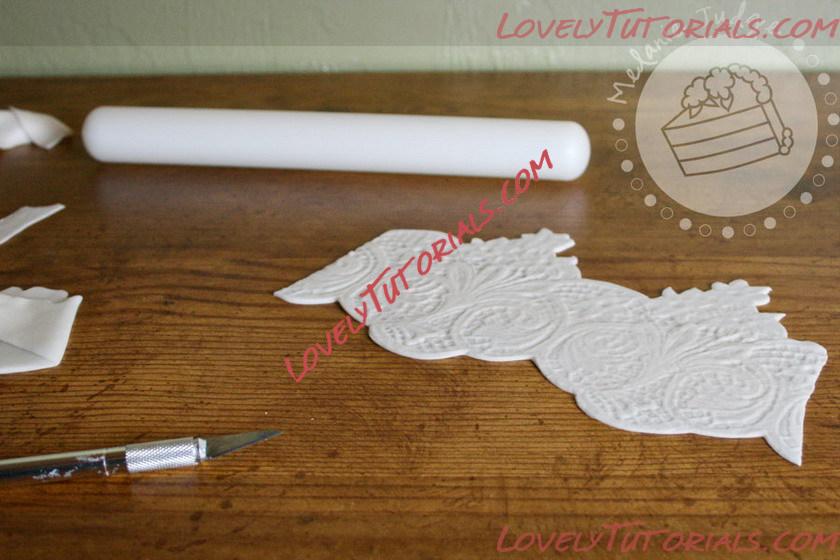
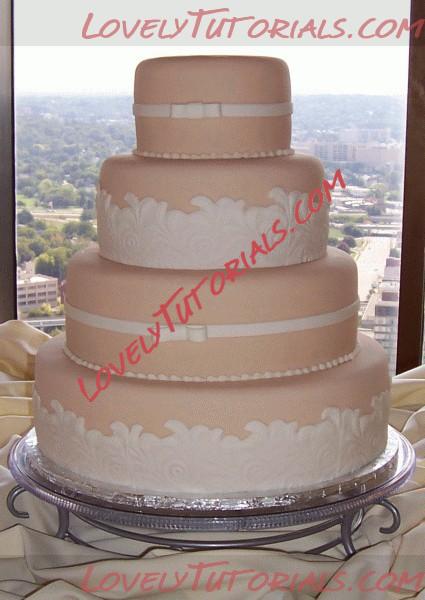
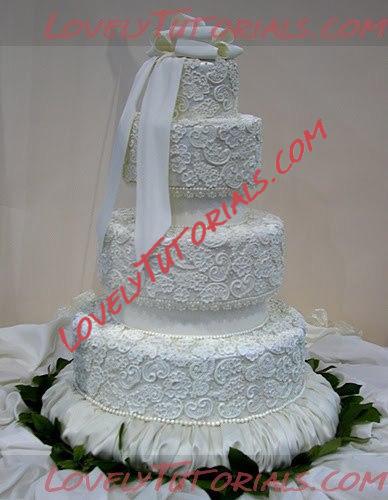
Now your fondant lace piece is ready to be applied to your cake! If you're applying it like I did on the cake above, paint a little bit of water on the cake and then carefully lay the fondant lace piece on it.
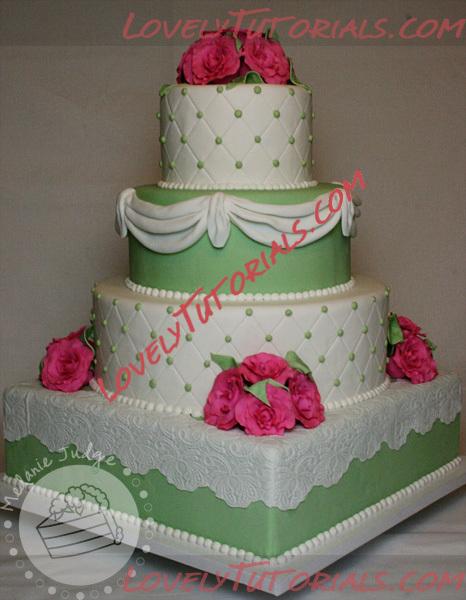
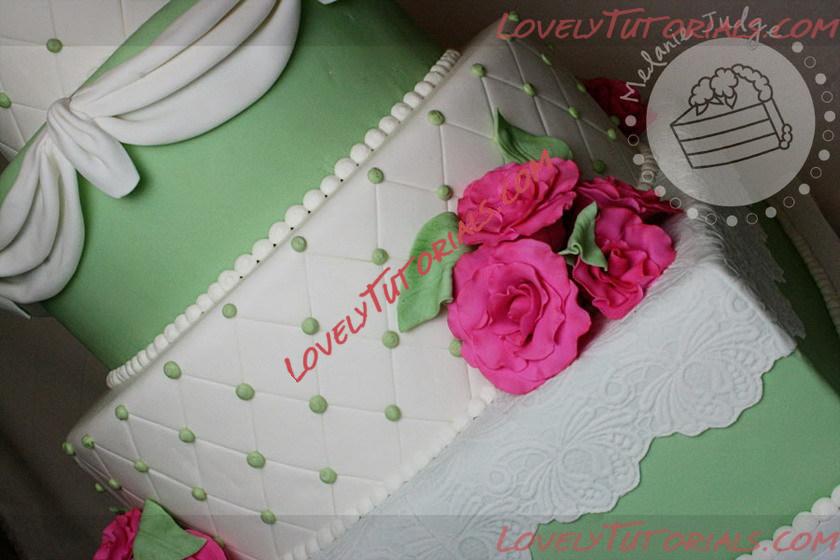
Here are a couple of other examples for how to use your lace pieces:
A lace patchwork cake from
Earlene Moore.