Огромная благодарность Автору Ann-Maries Cakes за Мастер-класс
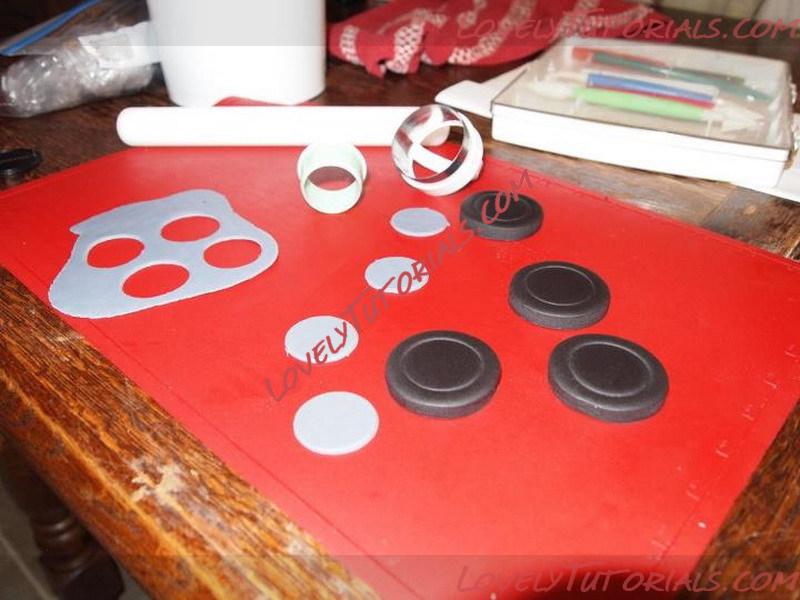
Start the day before with making the tires. I used 1/2 thick black fondant...but if you prefer you can cover an oreo with black fondant. Then I used gray for rims.
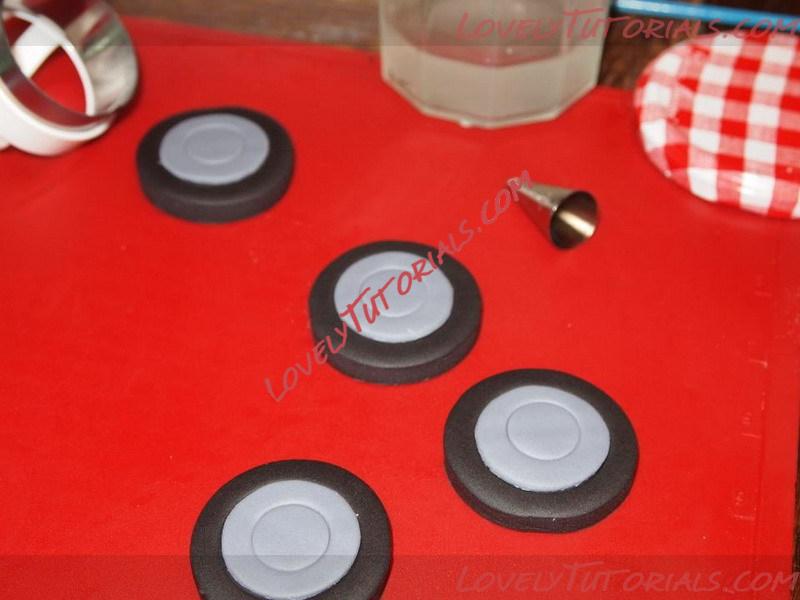
I glued the Rims to the tire. Made impression with the bottom end of a tip.
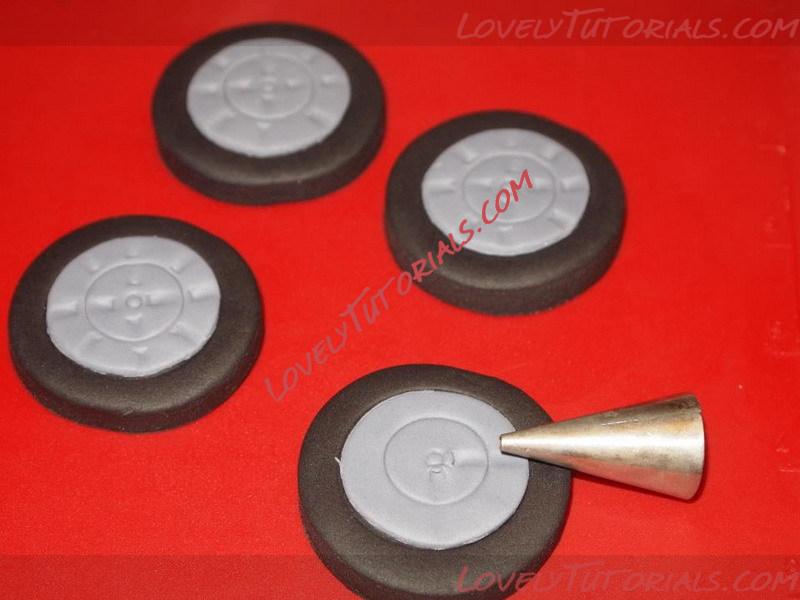
I used the other end of the tip to make impressions. Pushing it in and up.
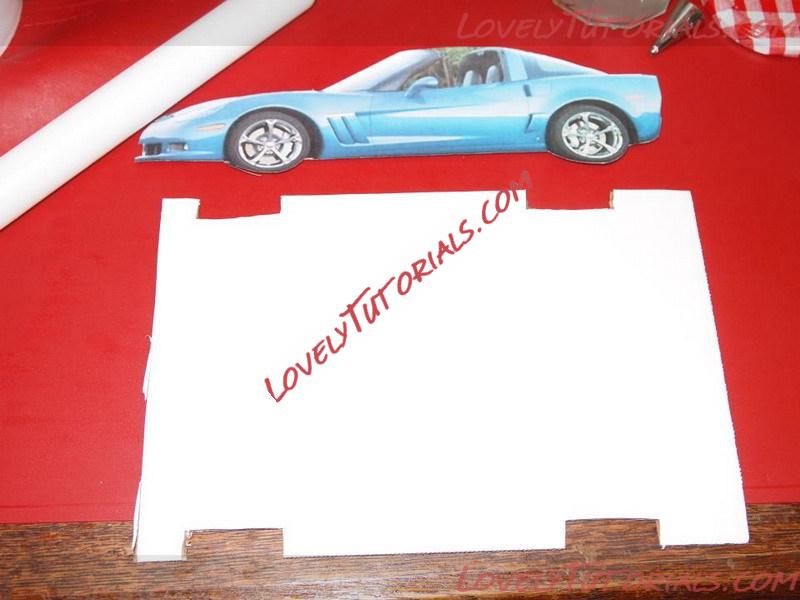
Next you need to make the board the cake will sit on...here I made it a bit too fat...But You can adjust it after you carve with your craft knife. I also run off a picture or blue print of the car...make sure you blow it up to the size you need. This will help you make your first cuts. Here is the website I get my blue prints from
http://www.the-blueprints.com/blueprints/cars/

Making the first cuts....go slow and take your time. Don't worry if you cut off too much you can always put it back with frosting and cake.
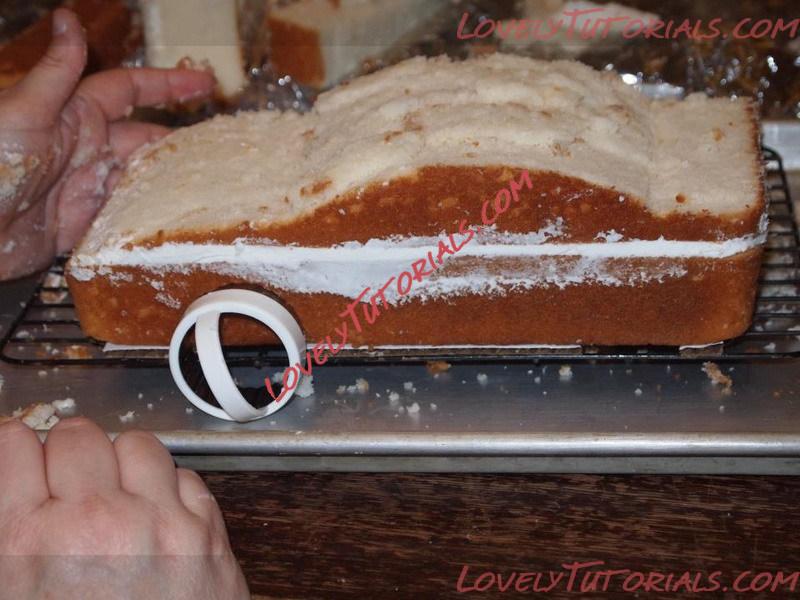
Here I make my wheel wells...just cut a bit more than the tire.
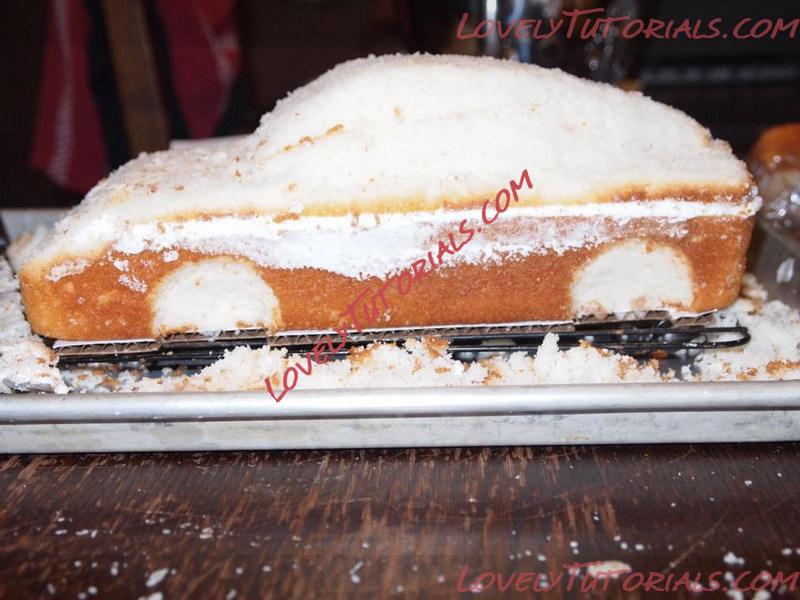
This is what it should look like once you have your wheel well done...I now started rounding the edges of the car. I decided I took too much off so I added more cake..and carved.
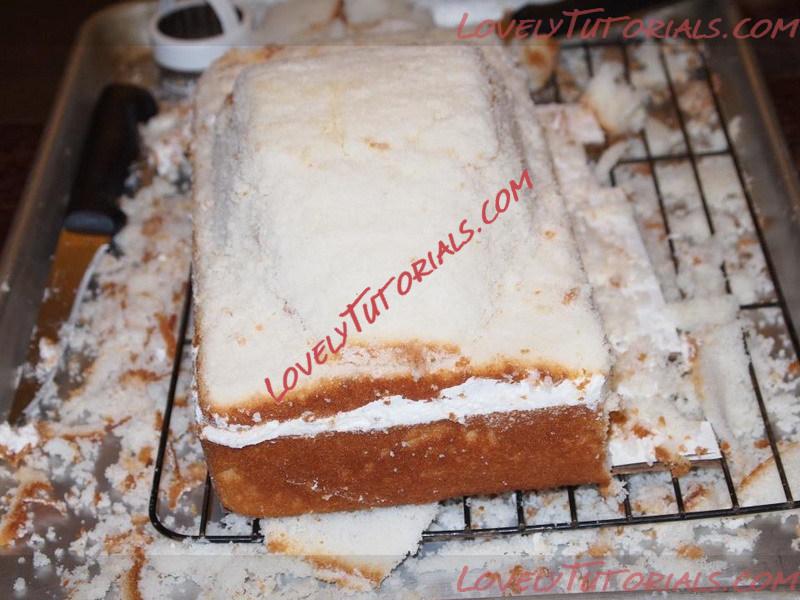
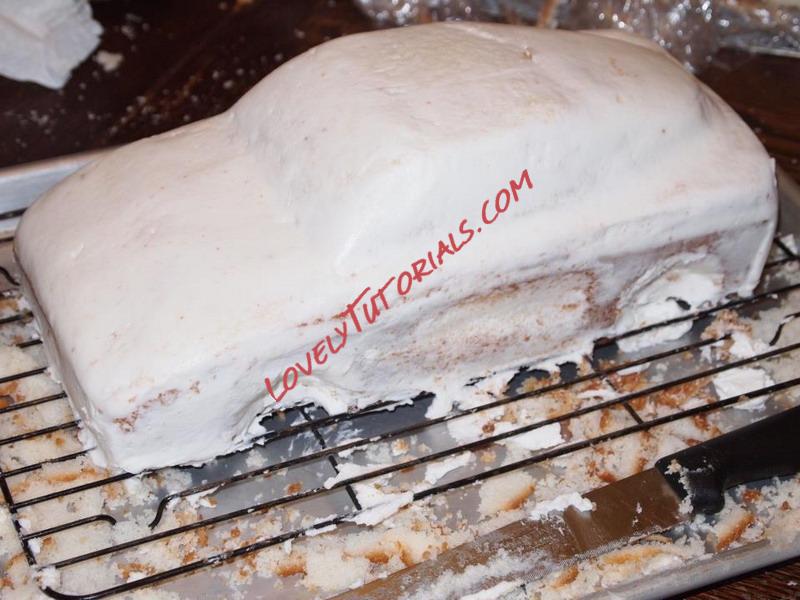
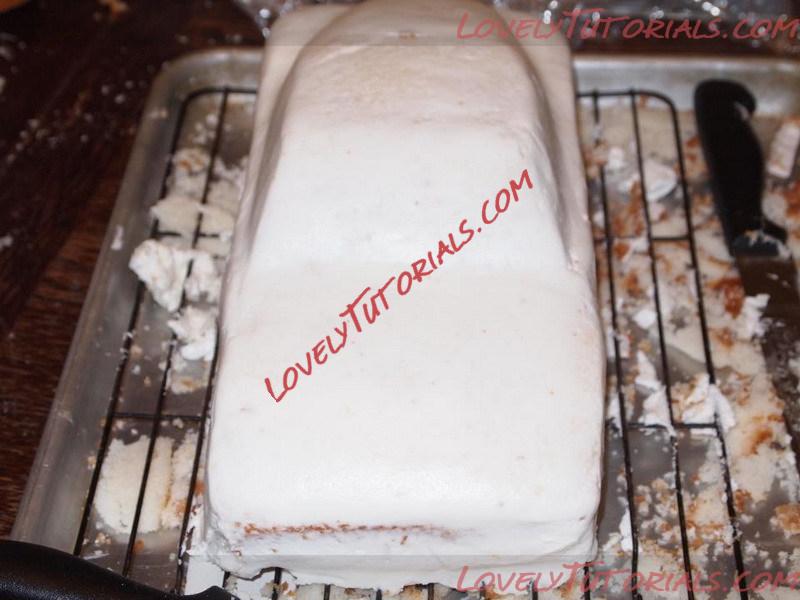
Now crumb coat or dirty ice the cake. That is all you need...if you put too much buttercream you will have a mess! Or you can use ganache...which will result in a much cleaner look!
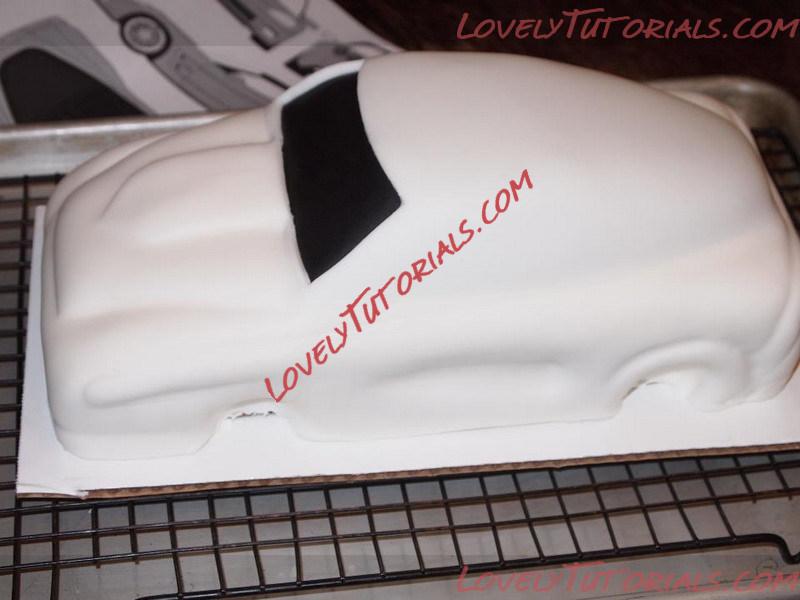
I for got to photograph a step...before you cover with fondant cover you whole windows and top of the car with black..or whatever color you want for the windows. And Now would be a good time to build up any areas...like for instance..I built up the hood and wheel wells, ect.with fondant underneath. Then cover with your fondant. Trim off your fondant..leaving a bit around the bottom of the car. you need to press it under the car. Then ever so GENTLY use you craft knife to cut away the fondant from the window areas. Taking care not to press too hard or you will cut the black windows out.
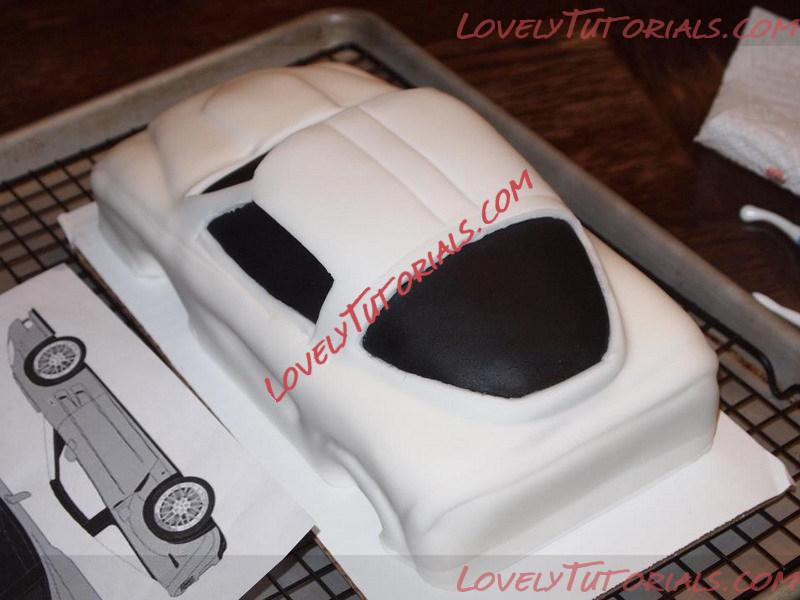
Do the same for all the windows. I kept the blue prints handy to look at. Make all your indentions for the hood, doors ect.
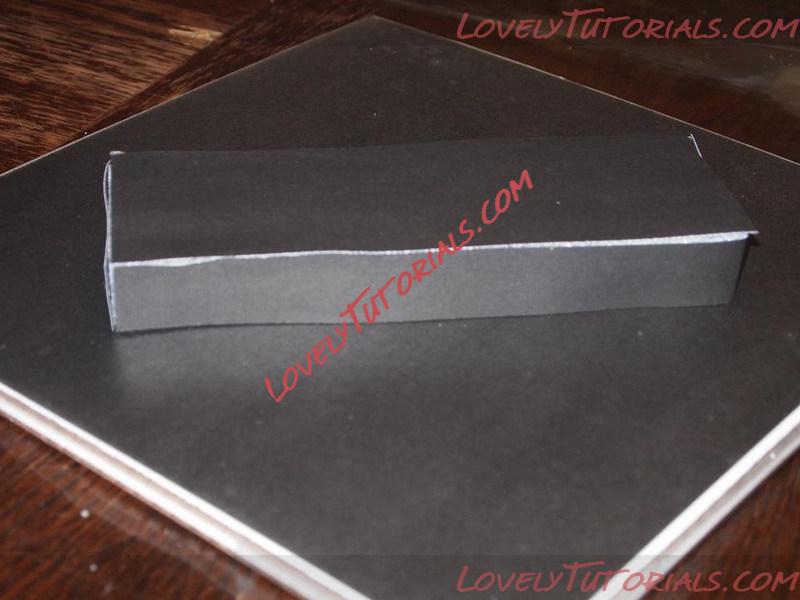
Make your board....I used a 1 in block of foam covered in black card stock...but most of the time I use a few 1x1 in wood cut to the size I need..painted black or cover the sides with black fondant.
Glue your board down to the block to raise it up off your board. I use hot glue or chocolate.
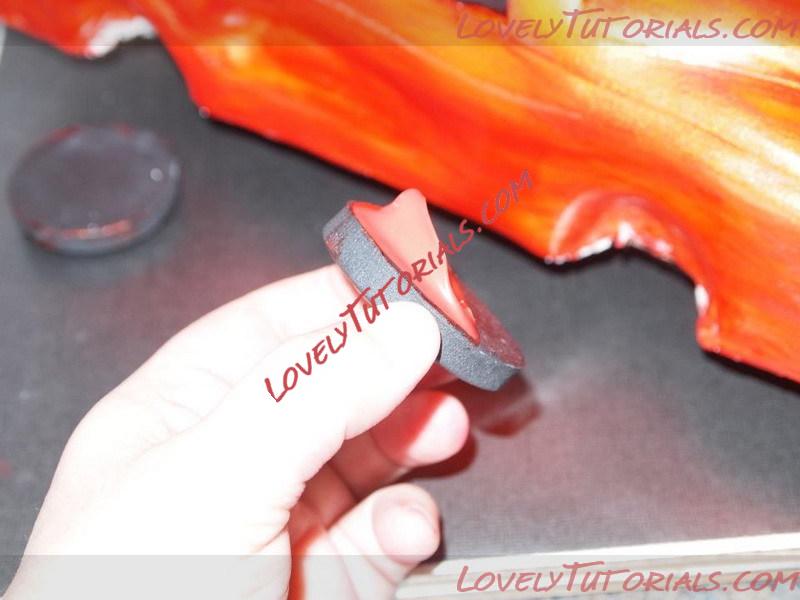
Glue your tires on...with chocolate
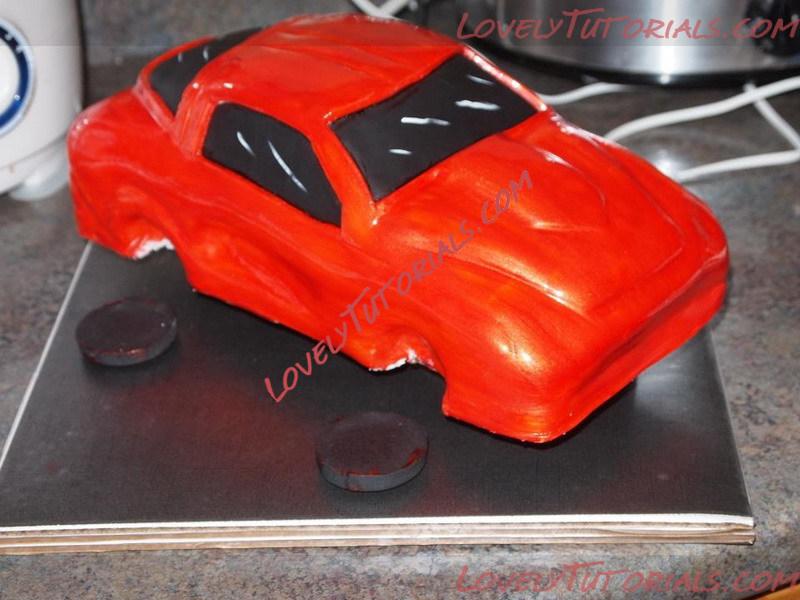
Make your headlights, licence plate, tail lights, grill, bumpers...ect
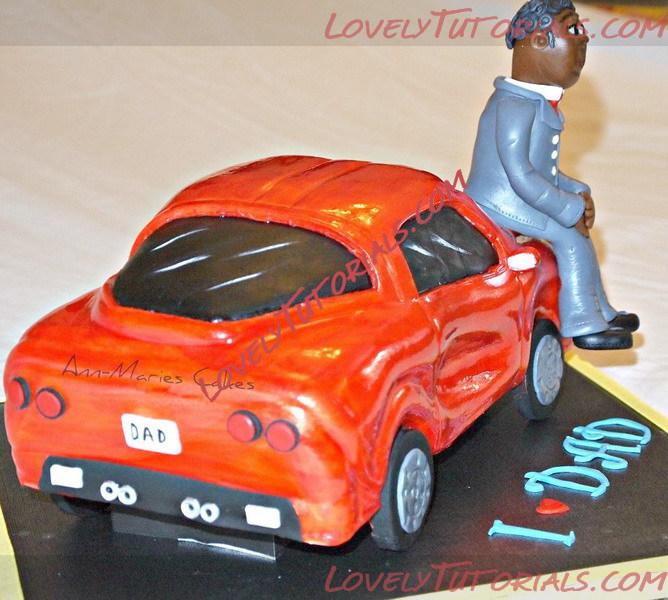
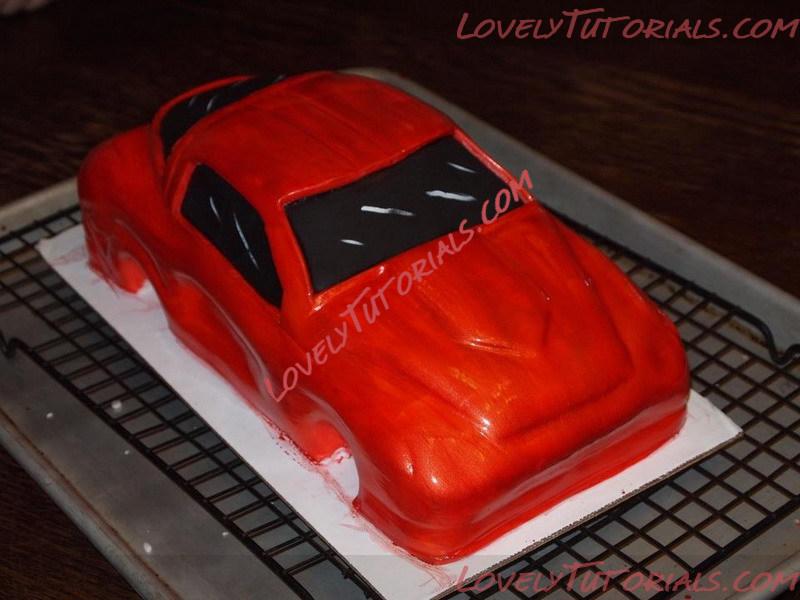
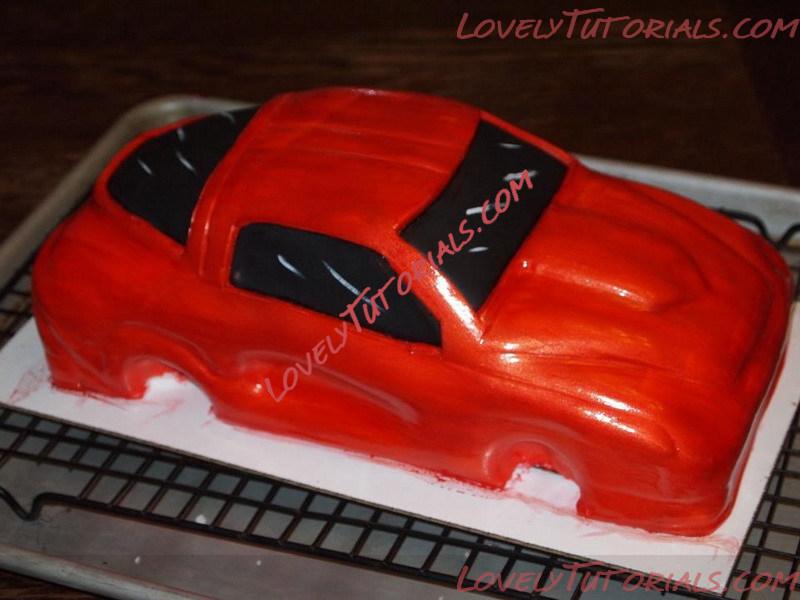
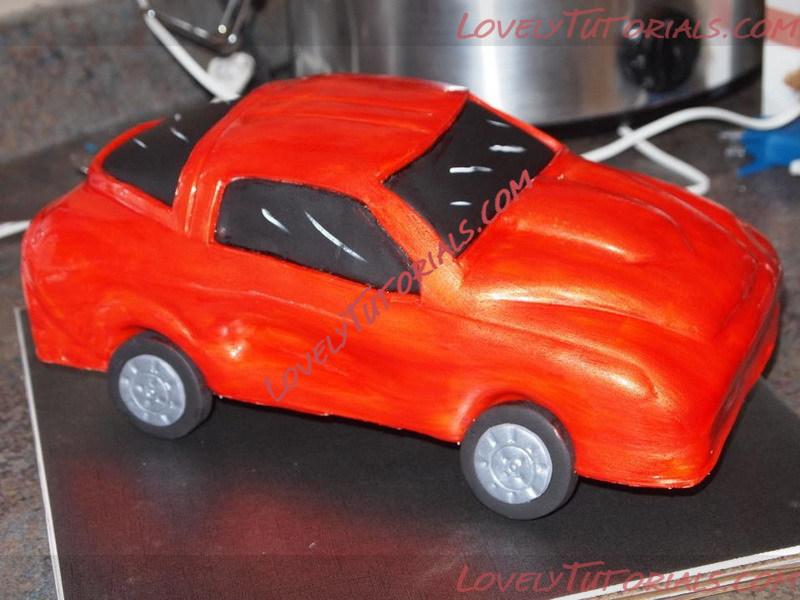
Here is the finished product!
