Огромная благодарность Автору Tami Shvat за Мастер-класс
Supplies:
- Two similar colors of clay for the Rosebud
- Complimentary darker color clay and white clay
- Dark colored clay for sepals (leaves at base of rosebud)
- Translucent clay
- Pasta Machine
- Cutting Blade
- Skewer (optional)
 Step 1:
 Choose two colors (I'm using orange and orange mixed with red), roll them out and set them up for a Skinner Blend. Add a strip of white and a strip of the darker color to the sides as shown to enhance the effect of the blend.
 Step 2:
 Make A Skinner Blend.
 Step 3:
 Roll the sheet - lighter color to the light one and darker color to the dark one.
 Step 4:
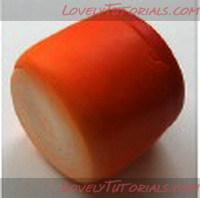
 The finished roll will look like this.
 Step 5:
 Reduce the roll.
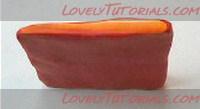
 Step 6:
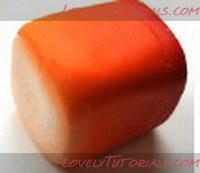
 Square up the reduced roll to a cube shape.
 Step 7:
 Turn the cube's light end to face you and now roll the cube into a cylinder (the light and dark ends will now become the sides of the roll). Every slice will now have variable colors from light to dark.
 Step 8:
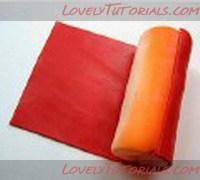
 Wrap a layer of the darker of the two main colors around the roll.
 Step 9:
 Mark four equal parts on the roll and cut one off.
 Step 10:
 Lengthen the remaining piece a little and cut it into five equal parts. You will now have six rolls as shown.
 Step 11:
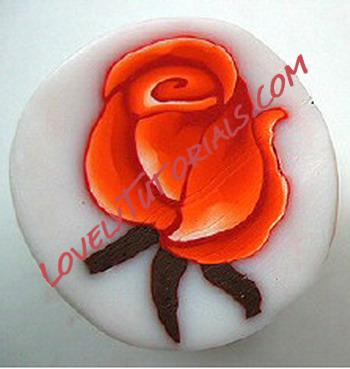
 The finished construction of the flower is shown in this illustration. this should help you to place the pieces together.
 Step 12:
 Flatten one of the smaller rolls into a lengthy slice (like a very narrow slice of cake - one end thicker than the other). From now on maintain the light side and the dark side when you build the pieces.
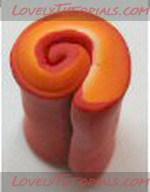 Step 13:
Roll the slice into a spiral with the narrow end to the inside.
 Step 14:
 Flatten the spiral a little. It will be the heart of the bud.
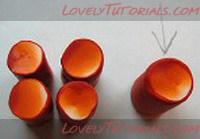 Step 15:
 You are left with 4 equal size rolls and one larger roll, marked with an arrow. Compress the large roll to the same height as the smaller rolls. It will have a larger diameter than the others.
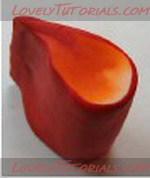 Step 16:
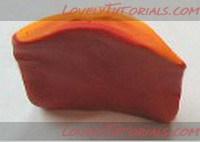
 Shape the larger piece into a teardrop shape.
 Step 17:
 Attach the narrow side of the teardrop to the squeezed spiral.
 Step 18:
 Shape one of the smaller rolls into a triangle shape.
 Step 19:
 Insert the triangle into the construction as show.
 Step 20:
 Shape another small piece into a crescent shape as shown.
 Step 21:
 Add this to the left side of the spiral and triangle.
 Step 22:
 Shape another small piece as shown.
 Step 23:
 Put this piece on top of the spiral and push the narrow edge between the spiral and the top of the teardrop.
 Step 24:
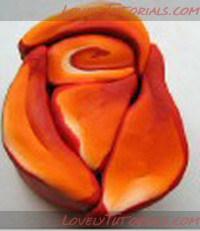
 Shape the last roll as shown. You can indent the ends with the skewer if desired.
 Step 25:
 Attach this piece to the right of the teardrop as shown. This is the end of the rosebud construction. Now we add the sepals.
 Step 26:
 Make a roll of the dark colored clay you selected for the sepals.
 Step 27:
 Pinch the roll into a narrow triangle shape.
 Step 28:
 Cut 3 or 4 pieces from the triangle.
 Step 29:
 Attach the pieces to the bottom of the bud as shown.
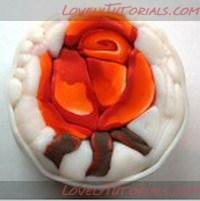 Step 30:
 Use translucent clay to pack around the rosebud forming a circle, and finish with a thin sheet of translucent wrapped around the cane.