Огромная благодарность Автору
duskyroseveiners за Мастер-класс


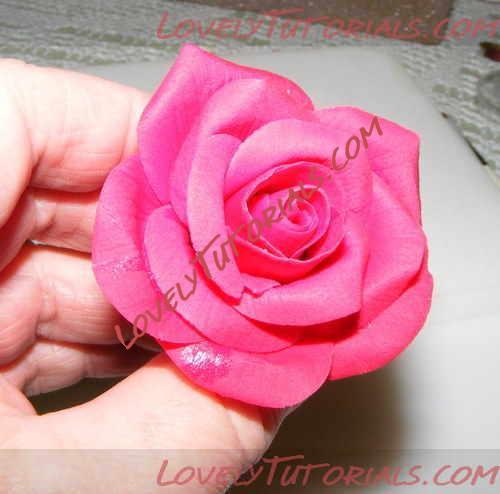


There are 28 petals on this full rose, which makes the process quite time consuming but you could stop at any stage if you require buds or half roses.
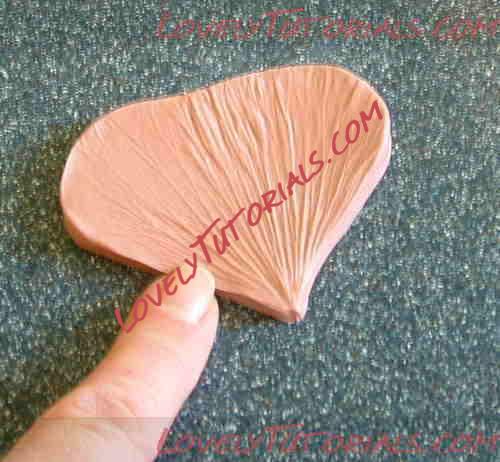
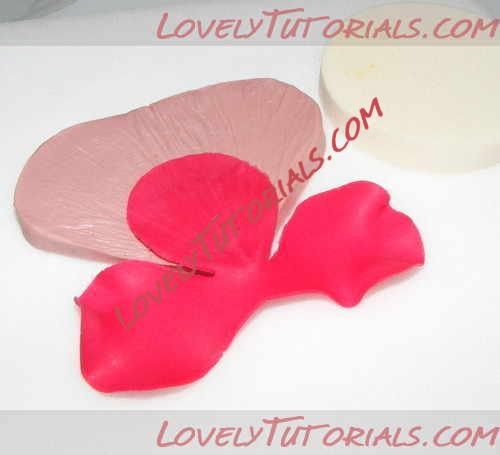
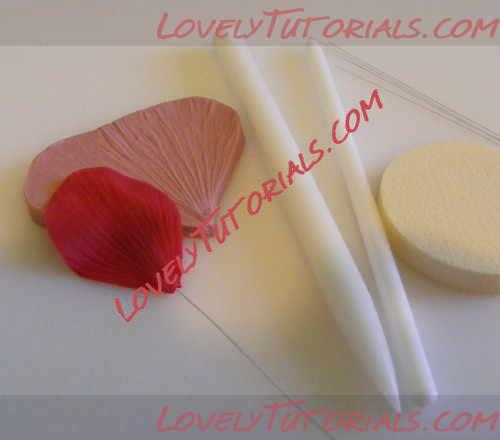
I have chosen here to texture the petals with the Dusky Rose
large hollyhock petal veiner to give them a fabric effect, but if you do not want to texture them, just omit the steps for veining the petals.
What you will need:
Rolling board
Softening pad
Rolling pins
Paste of choice
5 petal blossom cutter
Calyx cutter
Single rose petal cutter(larger than petals on blossom cutter)
Hollyhock petal veiner
Piece of foam
Ball & Dresden tools
Craft knife
Glue of choice and paintbrush
Trex or petal base
20 or 22g wires for cones
28g wires for single petals
Wire cutters & long nose pliers
Stem tape
Oasis & apple tray
Plastic for keeping petals under(document wallets work well)
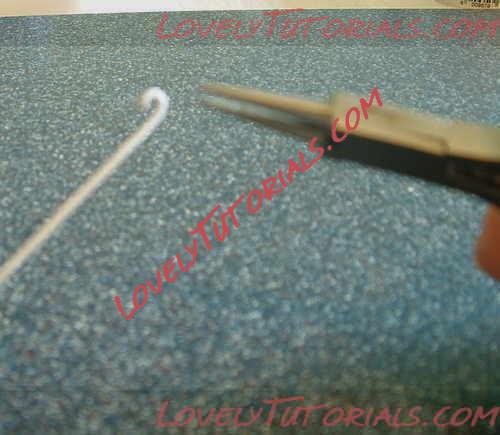
Take a third length of 20 or 22g wire and make a hook in the end with your long nosed pliers.
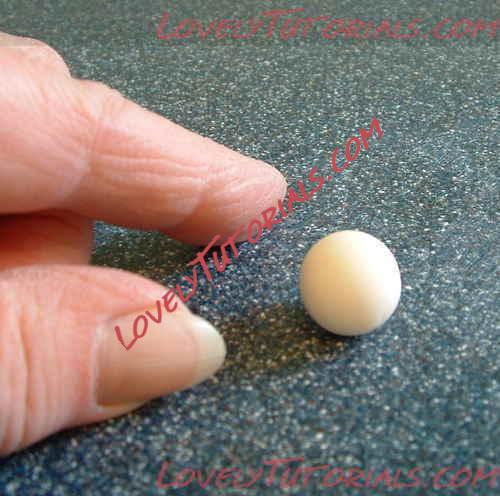
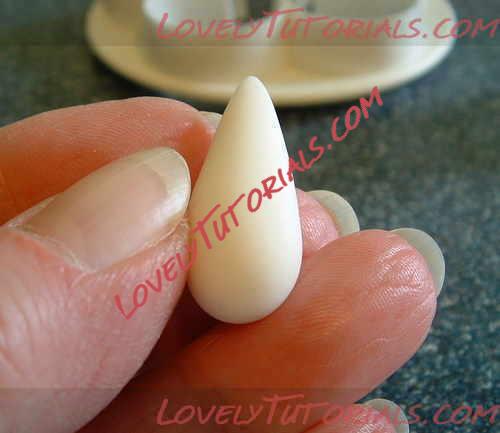
Roll a piece of paste into a teardrop cone shape. (You can use any leftover paste you have to make the cones as they will not be seen once the petals are attached)
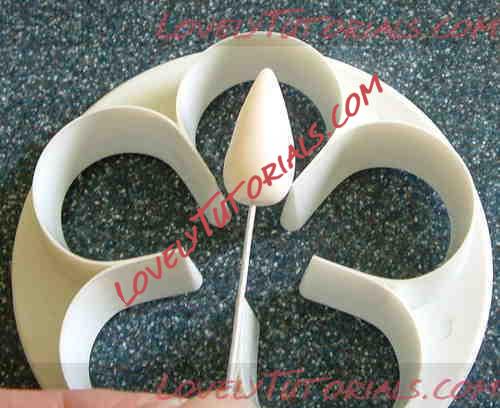
Moisten the hook with your chosen glue and insert into the fat end of the paste. The cone should fit easily into the petal size on your all in one blossom cutter. Make as many cones as you need and leave them to dry completely in your block of oasis. Here I am using a hollyhock petal veiner to texture the petals as I want them to have a fabric effect.
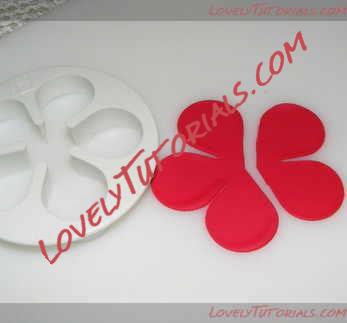
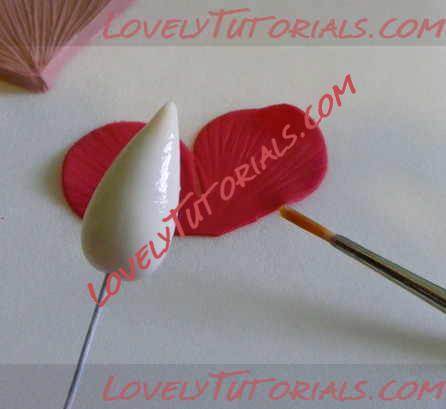
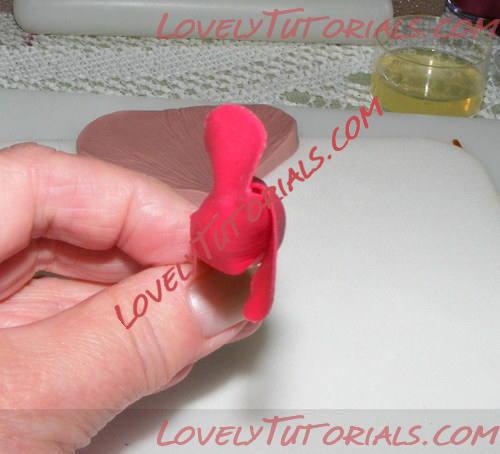
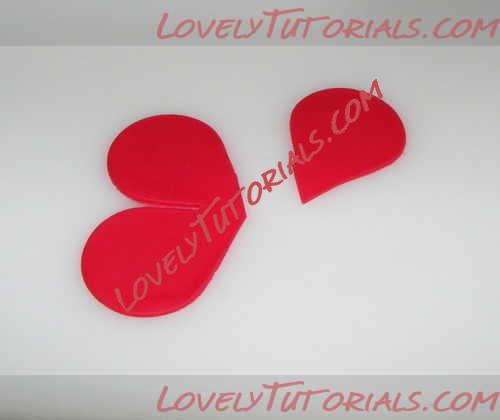
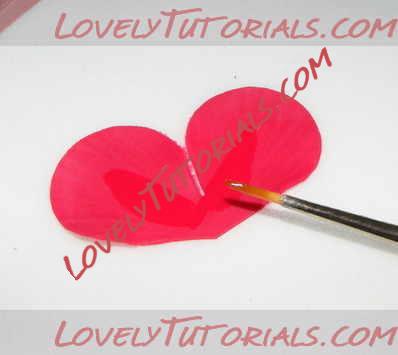
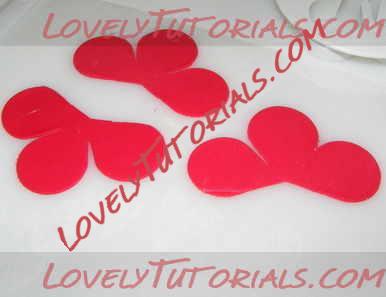
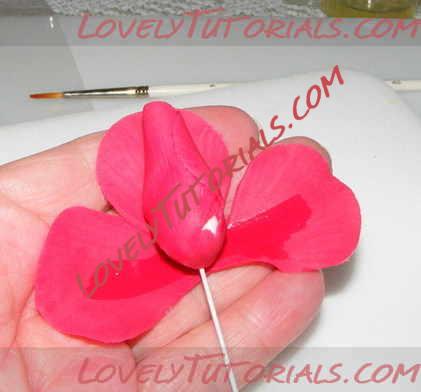
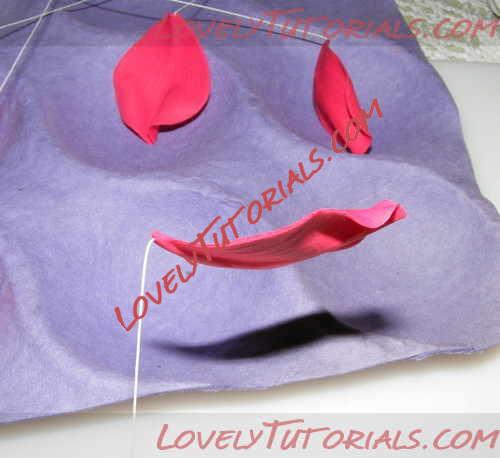
Roll out your petal paste and cut one blossom. Divide the blossom into two and three petals. Put the three petal piece under a piece of plastic to stop it from drying out. Thin and soften the two petal piece with the ball tool and vein if required.
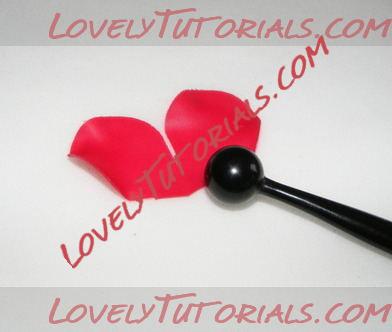
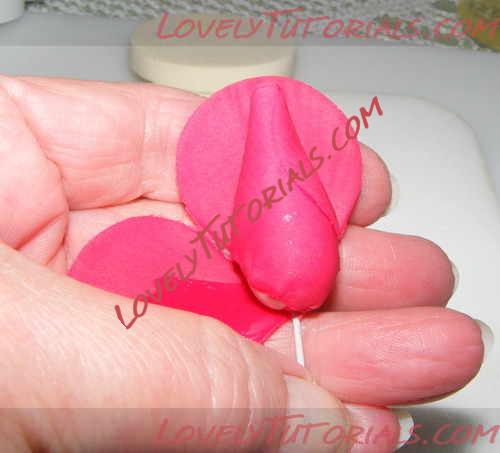
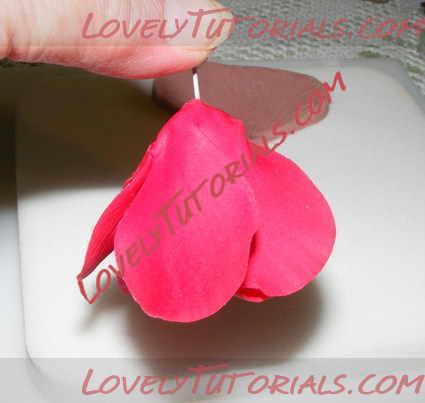
Using your chosen glue, moisten the whole of the cone. Place the cone in the centre of one petal, and bring the other petal up so that it is facing the first petal.
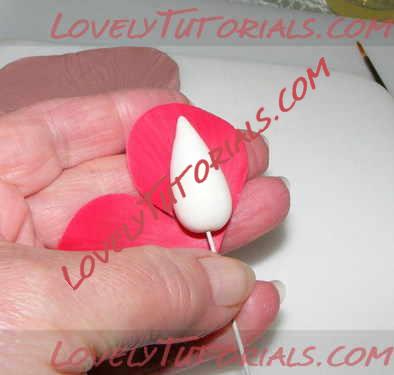
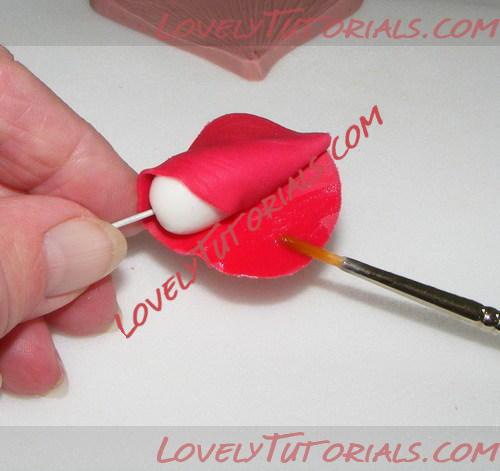
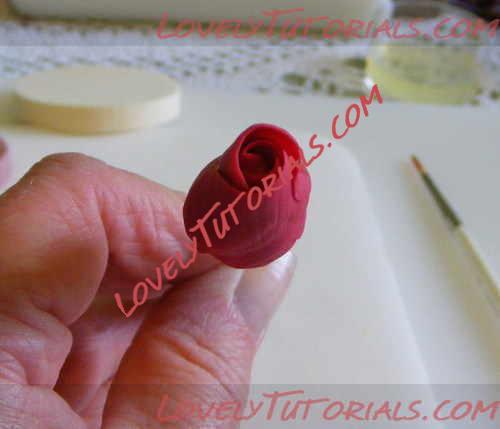
Wrap one petal tightly around the tip of the cone, and tuck the other petal inside it. You should not be able to see the white cone underneath. Moisten the edges of the petals and wrap around tightly.
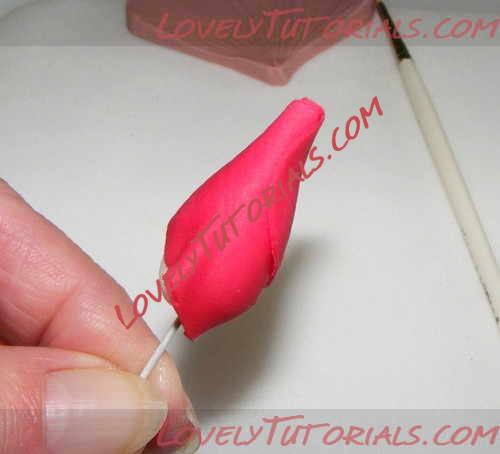
Tuck in and tidy up any loose paste at the base of the cone.
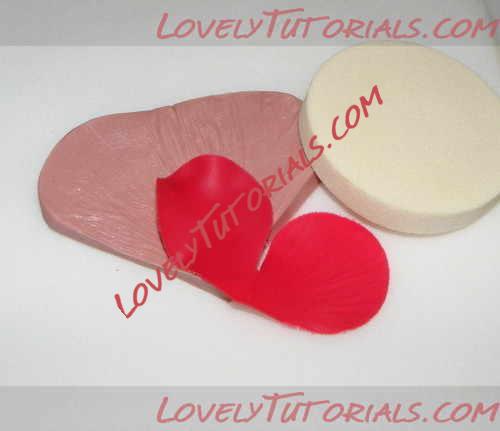
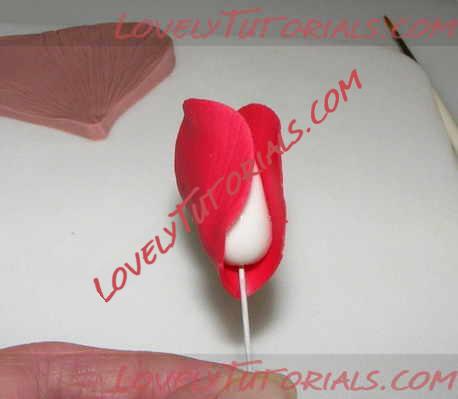
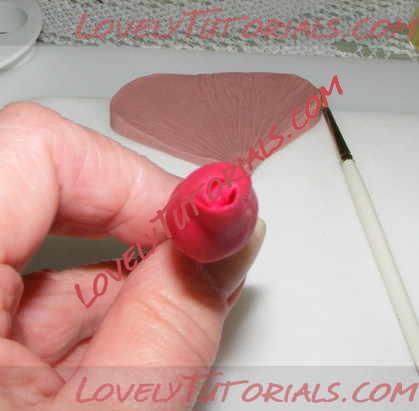
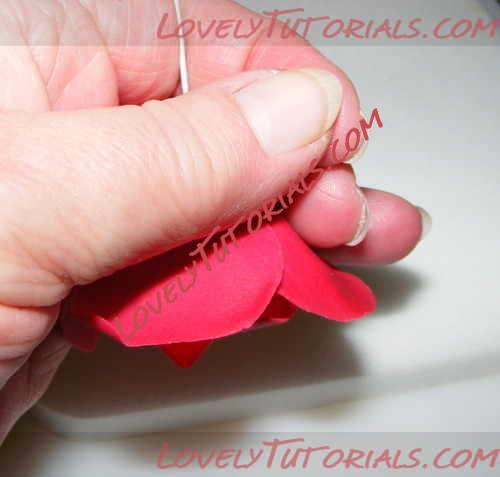
Take the three petal piece that you saved and cut away one petal.
This time, moisten just the the base centre of the petals. Offer up the rose cone so that a join will be placed against the centre of one of the open petals. As before, tuck one edge of the petals in, and wrap the other edge around in a spiral effect.
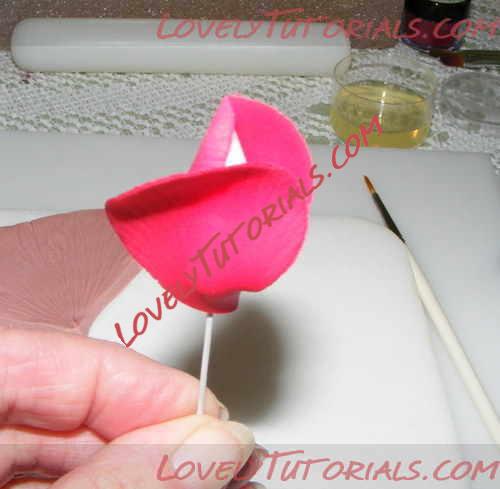
Cut three further sets of 3 petals, keeping the ones you are not using under plastic to stop them from drying out. Thin and vein as before if required.
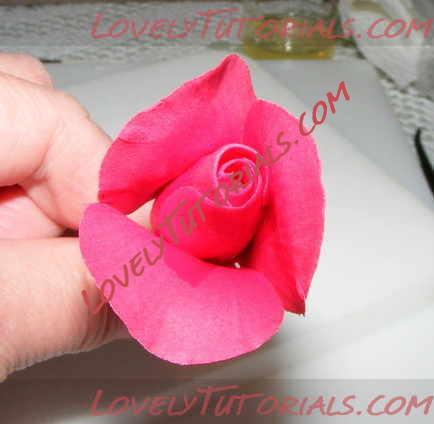
Moisten the base middle of each petal, and place as before, with the edge of a petal being placed in the centre of the three. Pull the remaining petals up, so that they are equal around the cone.
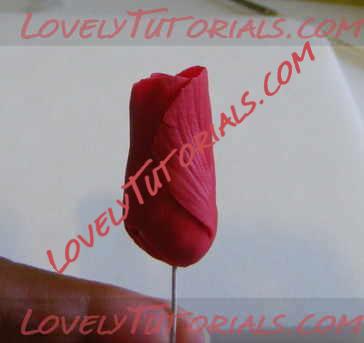
Moisten the edges of the petals as before and spiral as before with one edge under and one over. Try to keep the petals as close to the cone as possible.
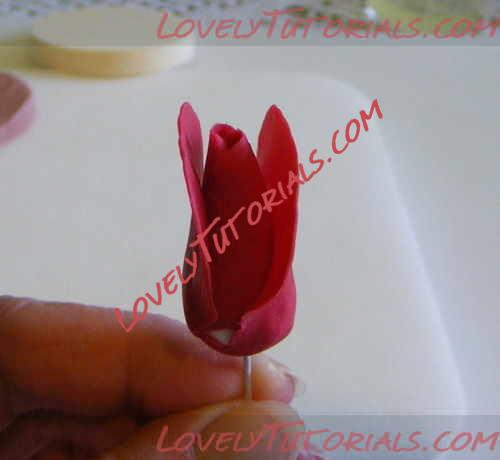
Take the 2nd set of three petals, thin and vein as before. By this stage the cone is becoming larger, so you will need to stretch the petals to make them equal around the cone. If you find this difficult, you can cut the three petal piece into a two and a one instead. Now you can start to tweak the petals to give the appearance of an opening bud. To do this, gently squeeze the petals between your finger and thumb, or you may wish to use a cocktail stick to curl the petals.
The third set of petals are attached in the same way as the previous set, but you should work the petals to stretch and widen them on your softening pad as the rose gets bigger.
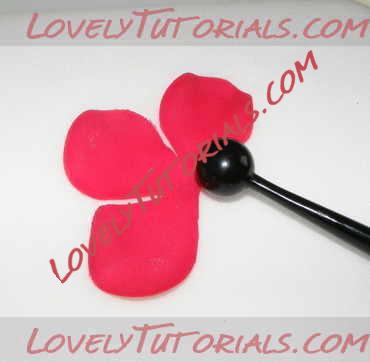
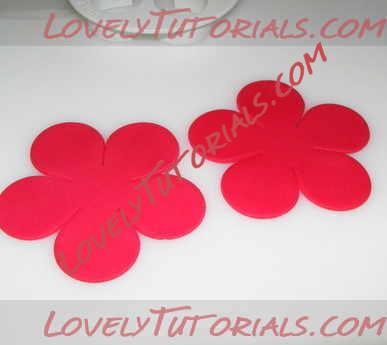
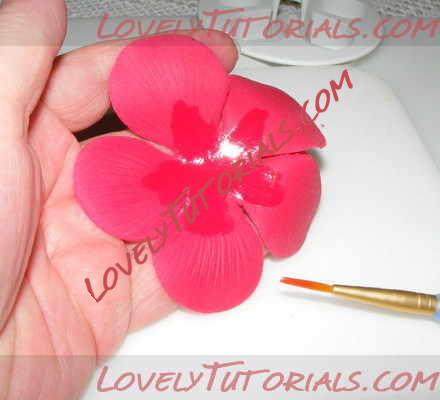
Now roll out your paste a little thicker than before, and cut out two five petalled blossoms.
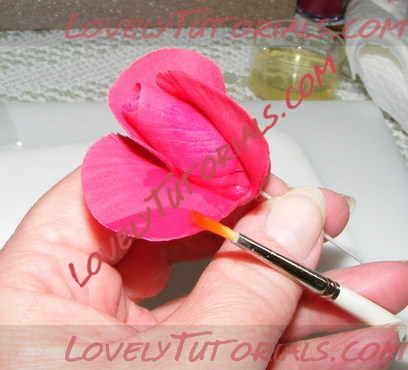
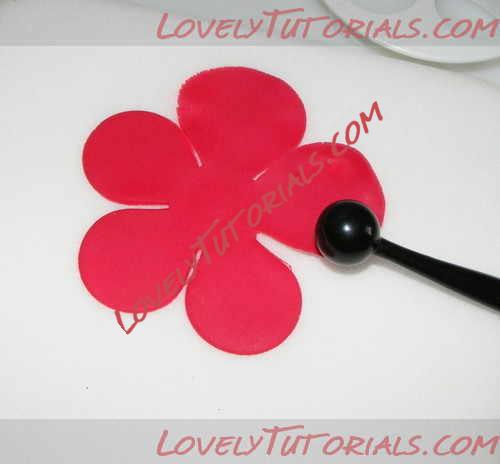
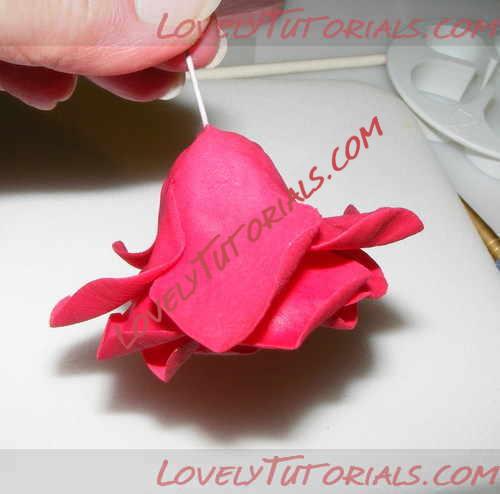
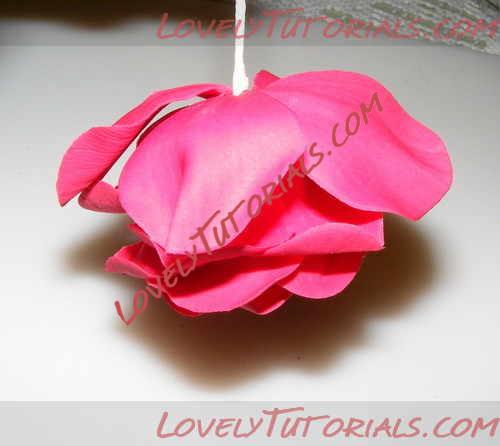
These petals need to be balled and stretched quite a lot to accommodate the ever increasing size of the rose. This is why you have just rolled your paste thicker. Moisten the centre as shown and feed the wired rose down through the centre.
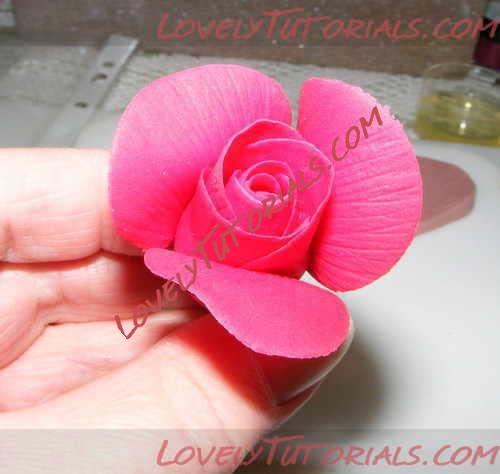
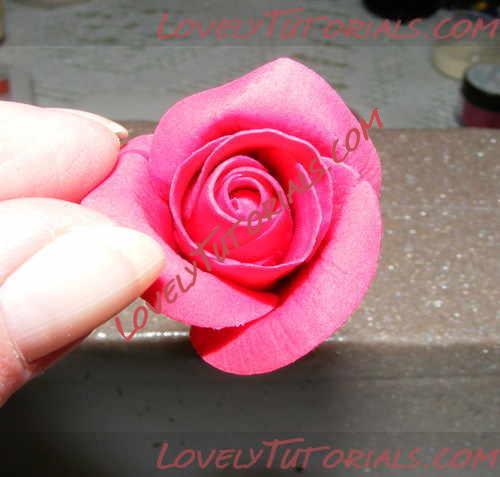
Turn the rose upside down. Position the petal edges one over and one under, again in a spiral, and moisten the base edges so that they stay where you want them. Cup the base of the rose in your palm and press gently. Turn it back up the right way and gently tweak the petals again to give some movement.
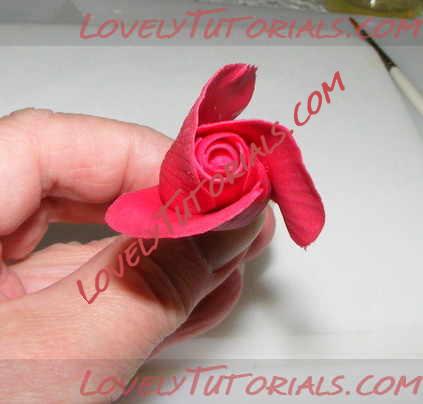
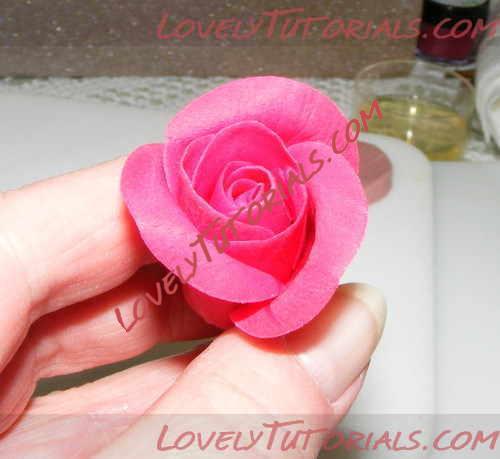
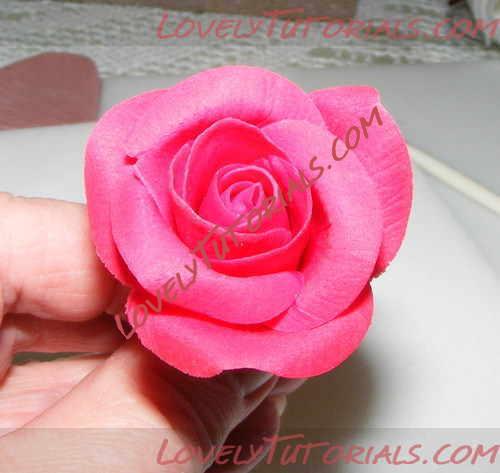
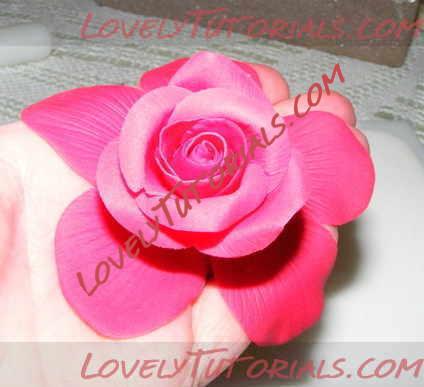
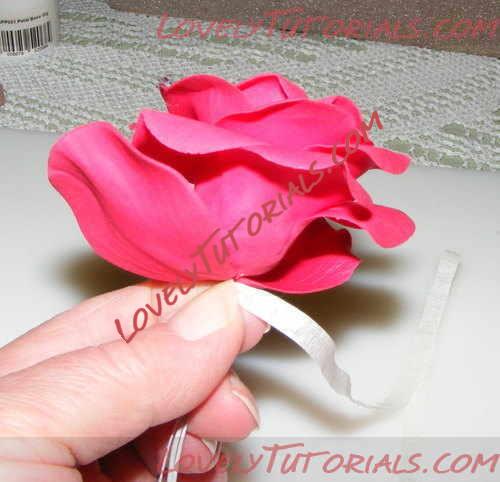
Attach the final 5 petal blossom in the same way as the previous one, and you should have something that looks like the two pictures directly above.
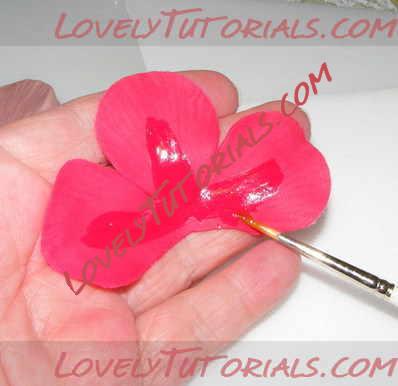
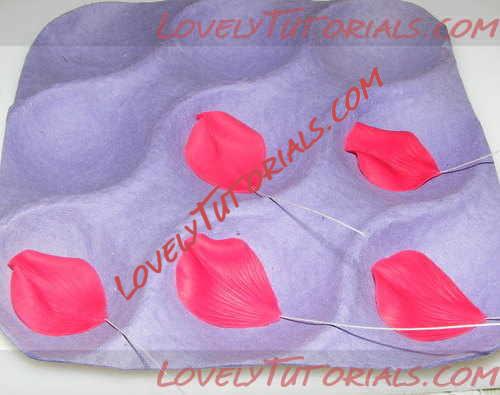
Make & vein five wired petals with the 28g wire and the larger rose petal cutter. Shape the petals and gently curve the wires so that they dry in a curve in the apple tray. Once dry, the wires can be straightened again as shown.
Tape the five petals equally around the rose, overlapping as before. Tape right down to the end of the wires. Make sure that the petals are where you want them to be as once the calyx is added, you will not be able to move them.
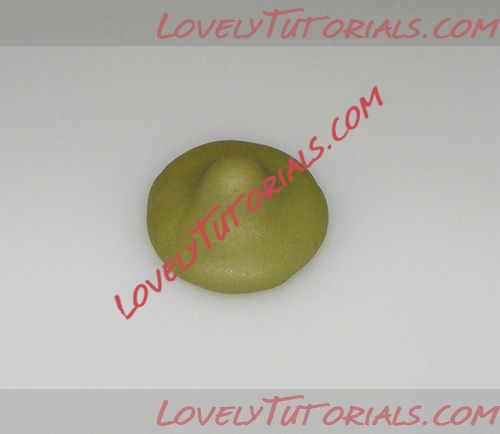
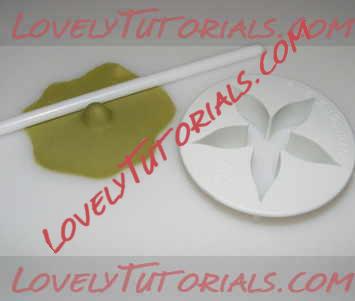
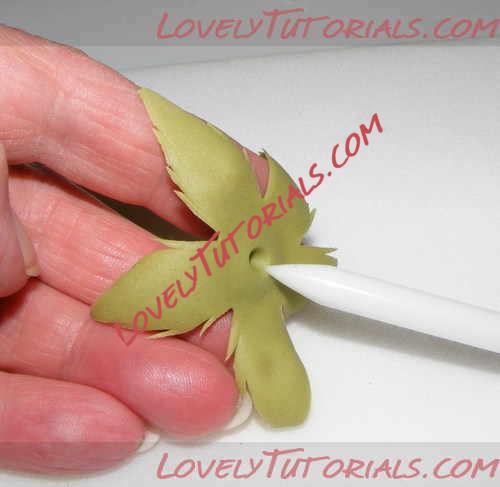
To make the calyx, take a small piece of green paste and make a mexican hat with a fat bump (This forms the hip of the rose. Not all roses have hips). Roll out the sides and cut out the calyx.
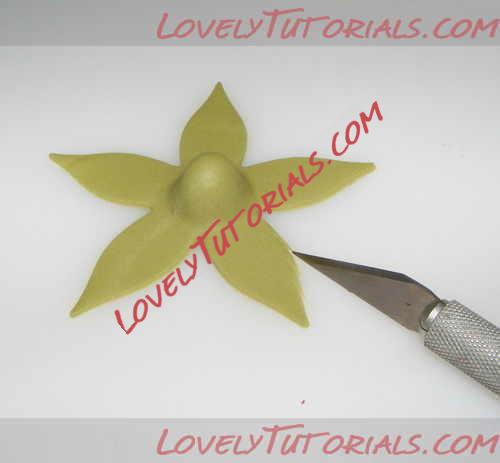
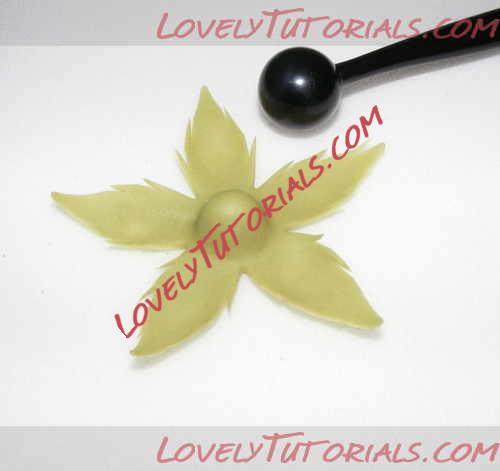
Using your craft knife, make tiny cuts into the edge of the points. Using the ball tool, thin the points from side to side instead of lengthways. This will open out the little cuts you have just made. Poke a hole into the centre of the calyx. This will make threading the taped wire through it easier.
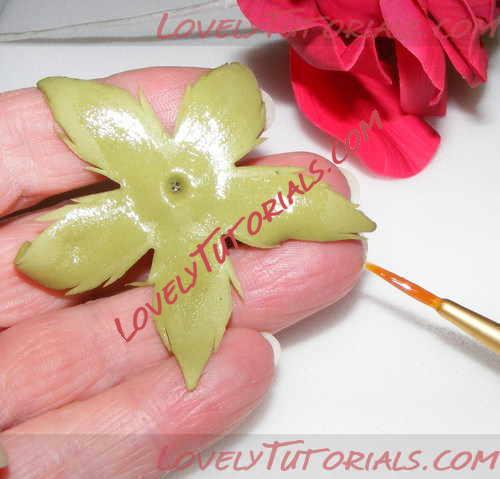
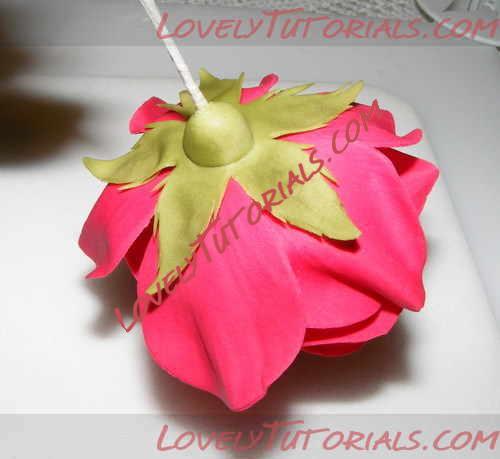
Moisten the calyx as shown and thread the rose down into it. If you have any untidy areas at the base of the flower, you should position the points of the calyx so that they are covering those areas. Take the dresden tool or the blunt side of your craft knife blade and run it gently around the hip.
Finally, tape down the stem with green stem tape.
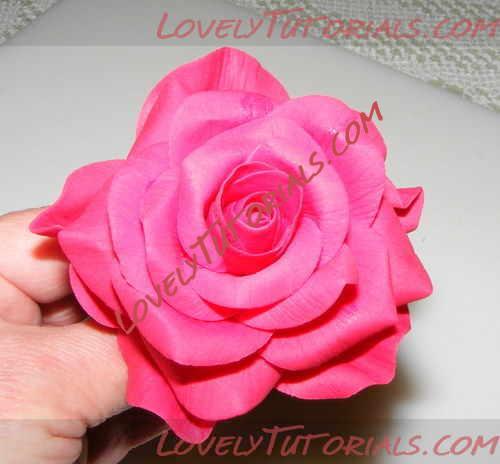
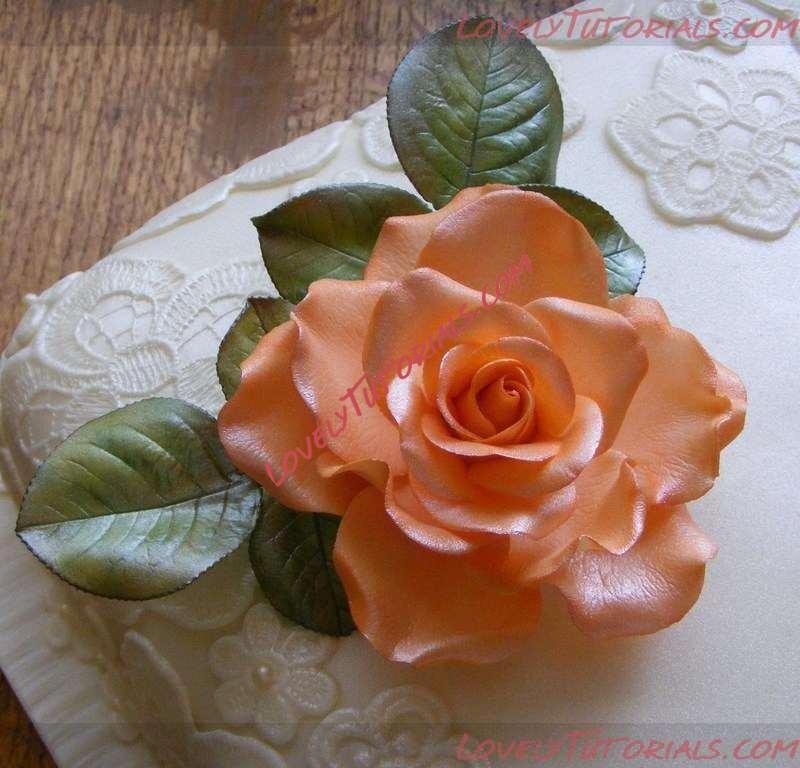
Once dry, your rose is now ready to dust in the colours of your choice. Steam to set the colours.
The finished roses with bear grass accents