Огромная благодарность
Shereen's Cakes & Bakes за Мастер-класс
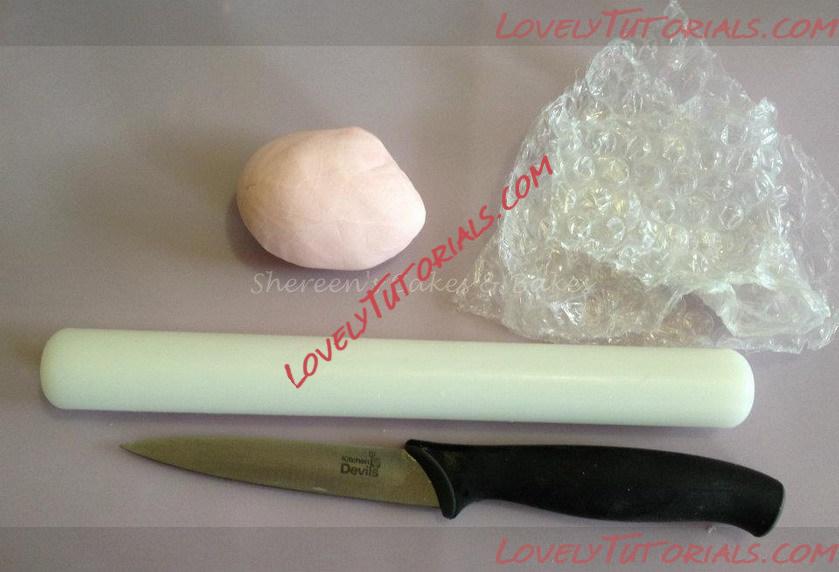
What you need: - Sharp knive, some bubble wrap or clingfilm, modelling paste and rolling pin (modelling paste - 225g fondant and 1 tsp gum tragacanth)
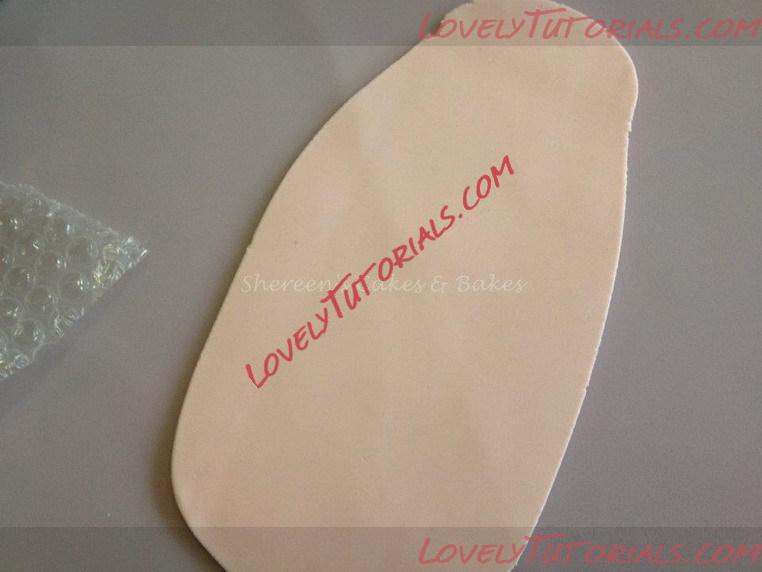
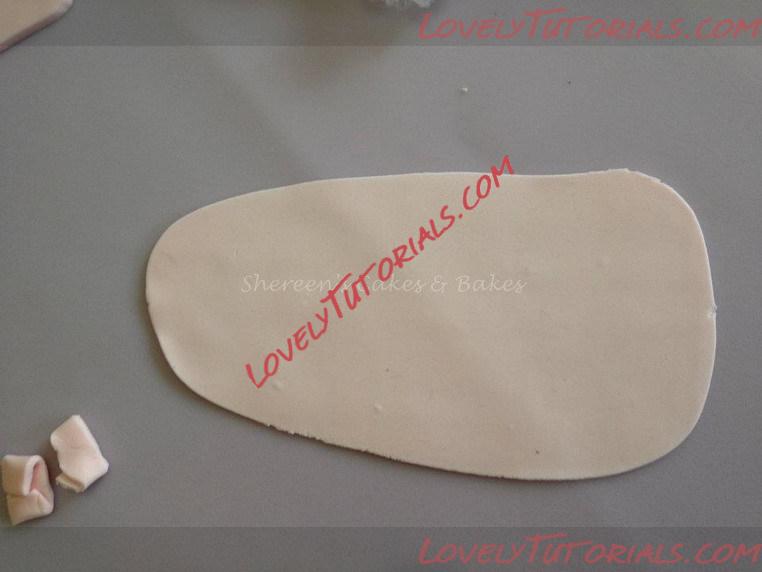
Roll out your modelling paste about 1mm thick
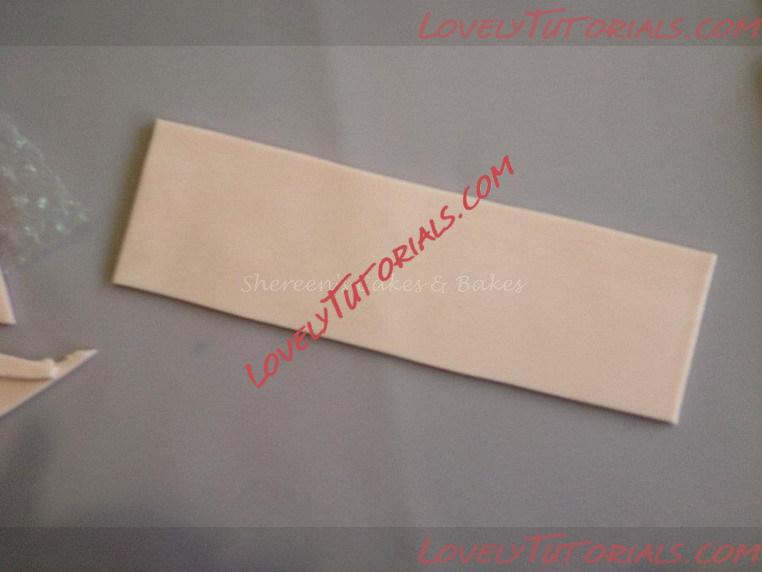
Cut the edges straight as pictured so you have a long rectangular shape
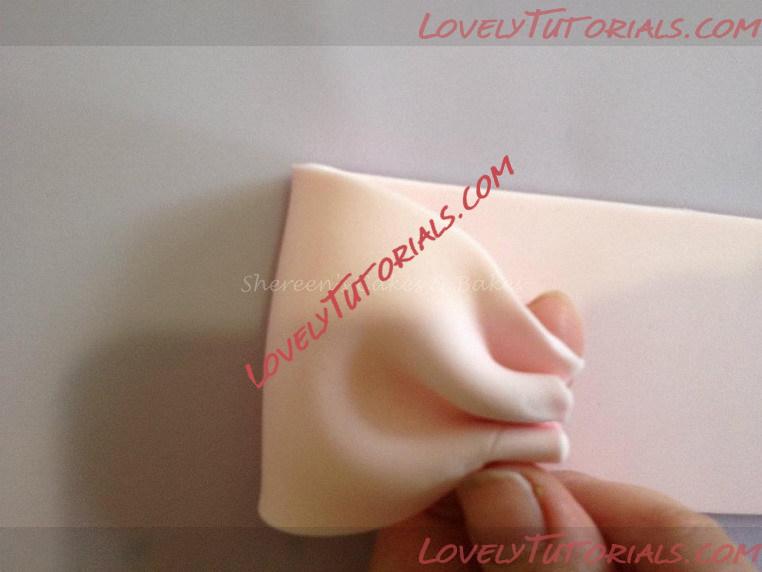
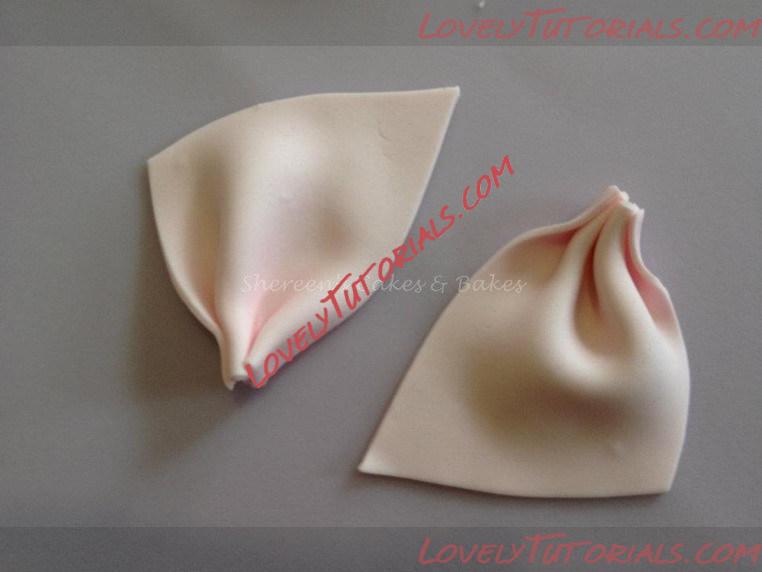
Fold the edge piece in to the middle and gather it as picutred
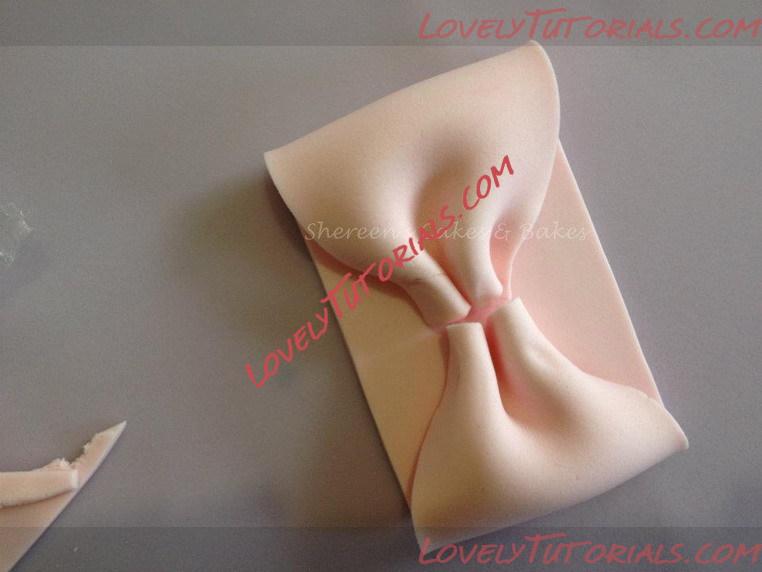
Do the same for both sides so they look like this in the middle
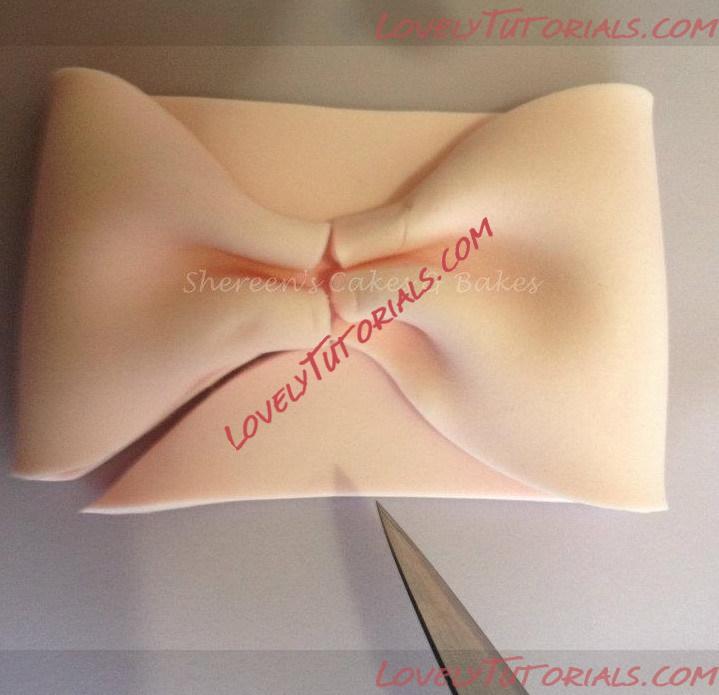
glue the middle down and hten using your knife cut around the bow to get the correct shape
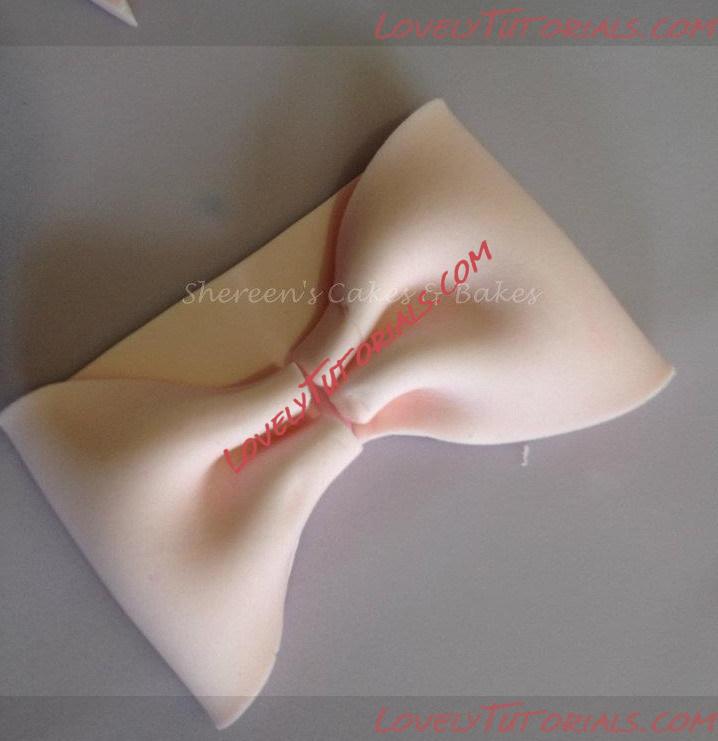
1 side trimmed and tidy
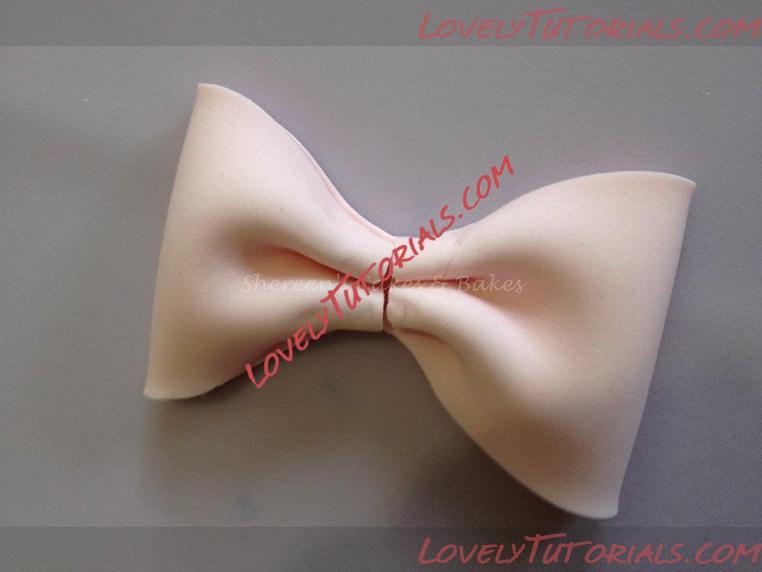
both sides trimmed and tidy
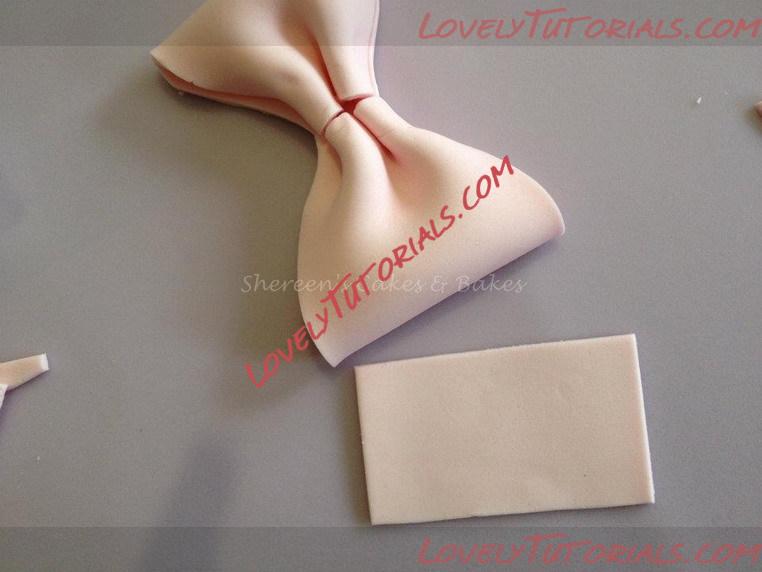
roll out another piece of paste and cut a rectangular shape, this is for the middle make this fairly thin and you are folding/gathering it too
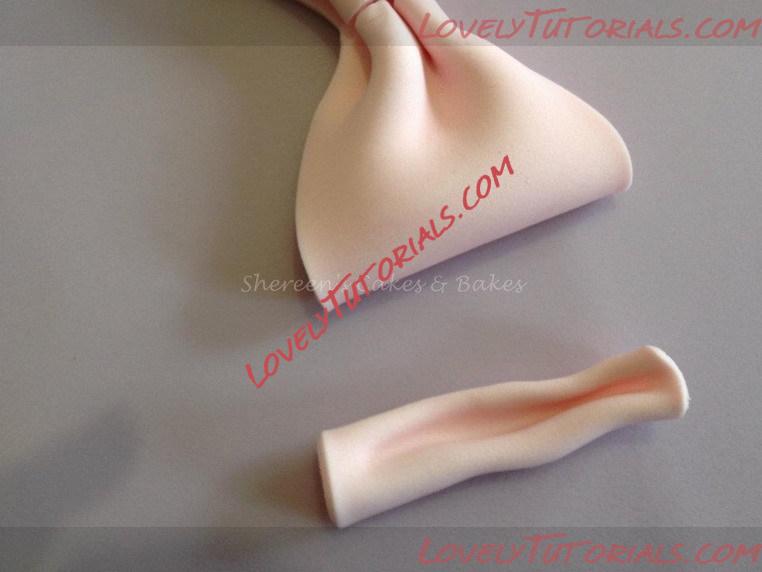
Fold and gather the middle rectangle
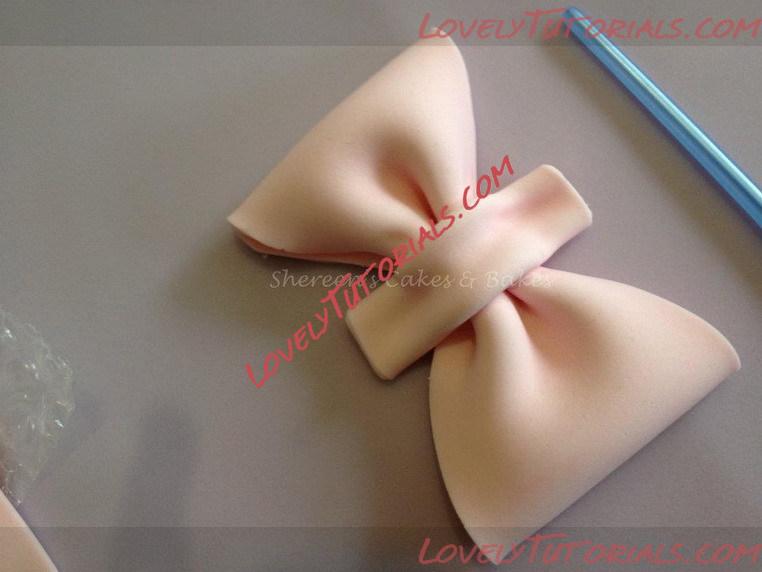
add glue across the middle of your bow and on the back of the middle piece and attach
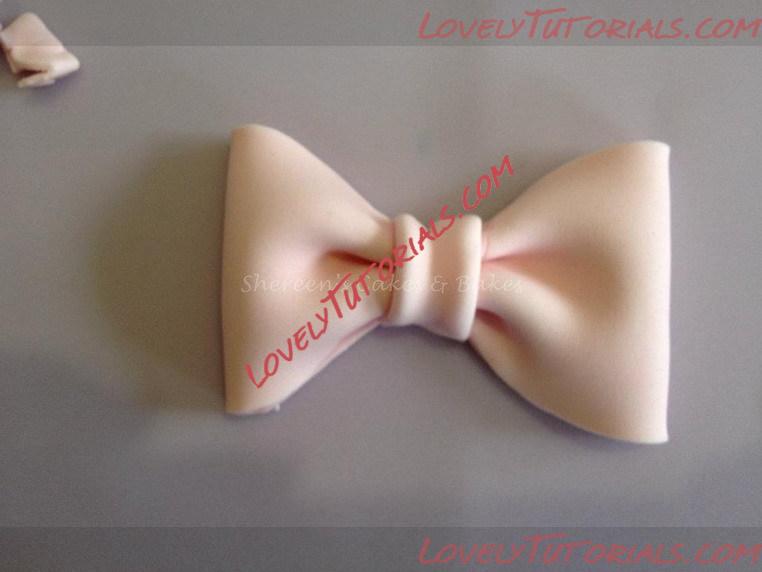
trim off the ends and press neatly into place

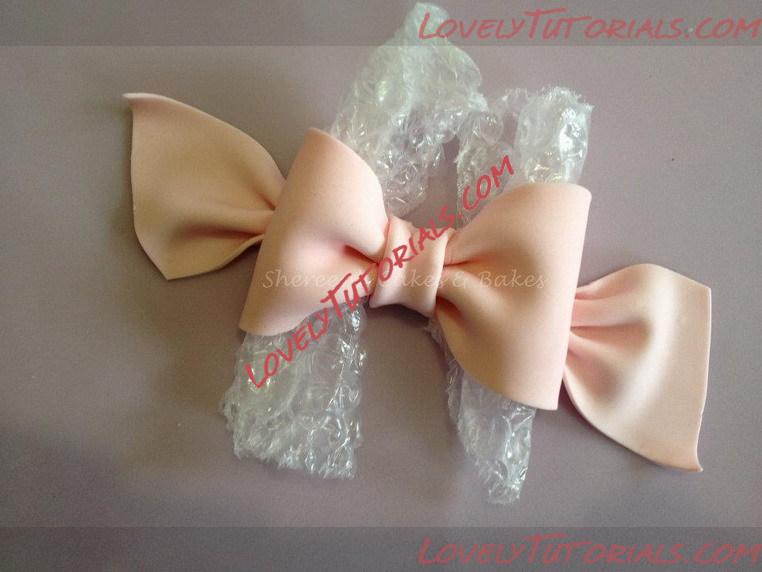
To get your bow nice and 'full' of character Roll up some bubble wrap or Clingfilm and put it in the sides to round your bow nicely, leave to dry like this
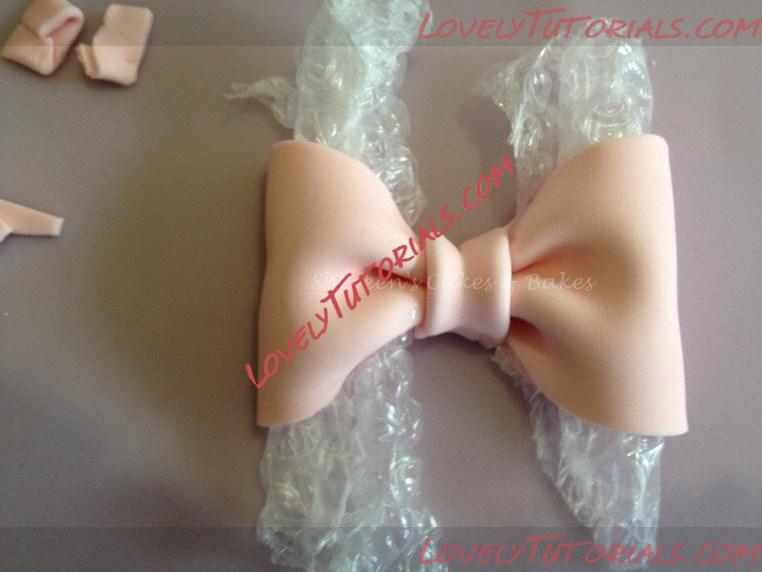
both sides left drying
Roll out some more paste, fairly thin (this step can be left until later, when you are ready to attach your bow to the cake) it shapes better stuck directly on the cake
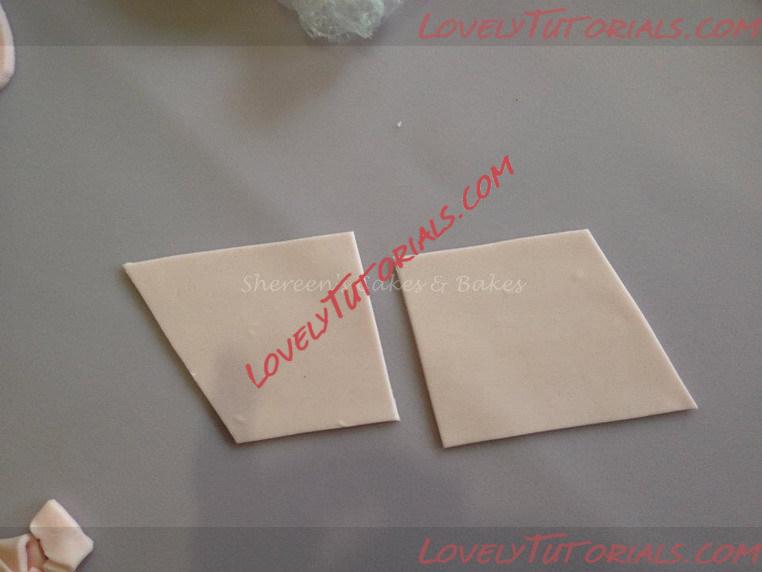
Cut a rectangle again and the cut that in half and each end cut to an angle as pictured
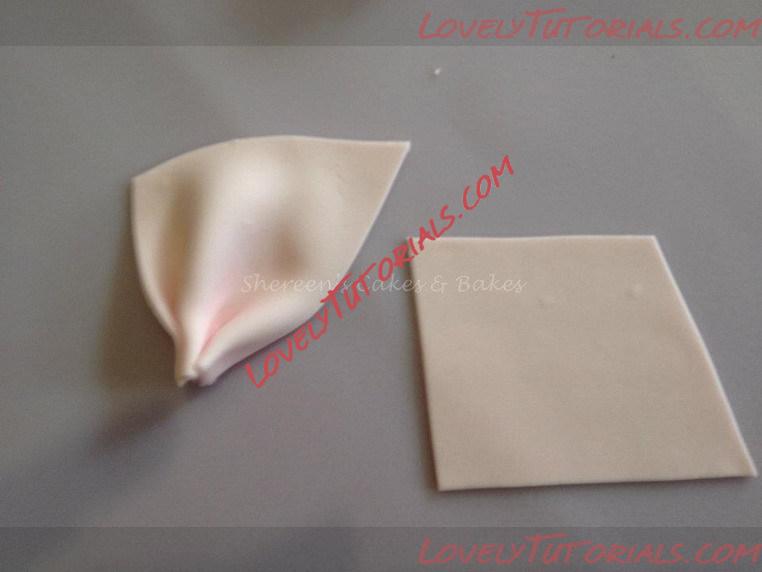
Gather the straight ends as pictured
Gather both ends of the ribbon part
Attach the ends behind the bow. I have just set these up to be pictured but the bow I made for the cake, I left the bow to dry a bit and then made the ribbon parts and shaped and stuck them directly to the cake while they were still 'wet' and then stuck the bow on top - HAVE FUN! ps ... don't forget to remove your bubble wrap or clingfilm he he he