Огромная благодарность
Louise за Мастер-класс
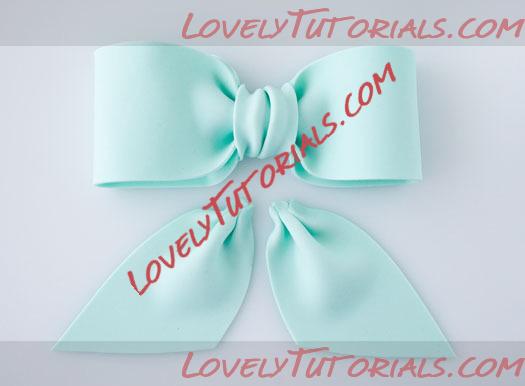
Gum paste bows are essential when making gift box cakes, but they look also pretty as a top or side decoration on other types of cakes. By using textured rolling pins, embossing tools, shimmer or lustre dusts. Can you make different looks for your gum paste bows. The bow can be made out of gum paste only, but I like to use equal parts (50/50) of rolled fondant icing and gum paste mixed together. This gives in my opinion a better paste to work with.
To prevent the “fondant gum paste” from cracking when making the bow, you need to roll it out rather thinly. A pasta machine is great help if you have one. I dont have any specific measures on how large or small the bow loops should be, when I make my bows. But you can make a paper template for the bow loops if you like. Here is my way, on how to make a gum paste bow.
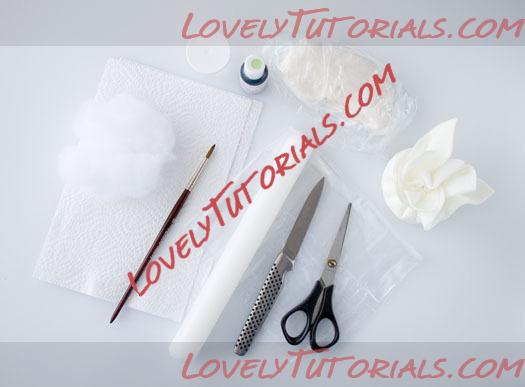 This is what I use:
Equal parts of rolled fondant and gum paste, mixed well together
Food gel paste color
Rolling pin
Small knife
Tylo glue
Small brush
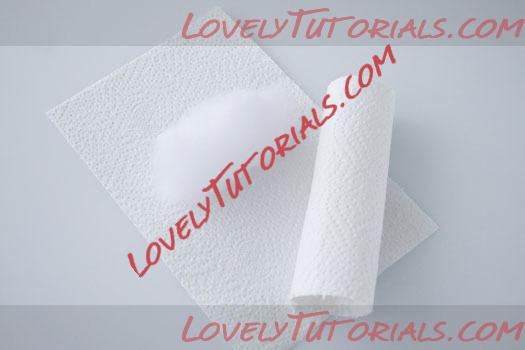
Polyester fiber
Kitchen paper
Cornstarch for dusting
1 Plastic bag
A pair of scissors
A ruler (not showing on the photo)
Optional:
Shimmer or lustre dust
Soft brush
Textured rolling pins
Embossing tools
Paper template for the bow loops
Pasta machine
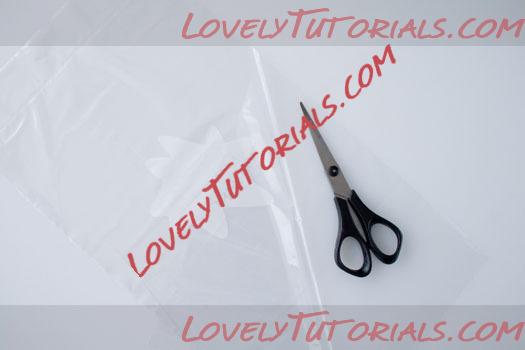
Step 1:
Take the plastic bag and cut down one of the sides with the scissors.
 Step 2:
Take some of the polyester fiber and wrap it in a piece of kitchen paper. Adjust the amount of polyester fiber to the size of your bow loops. Remember to make two of them.
 Step 3:
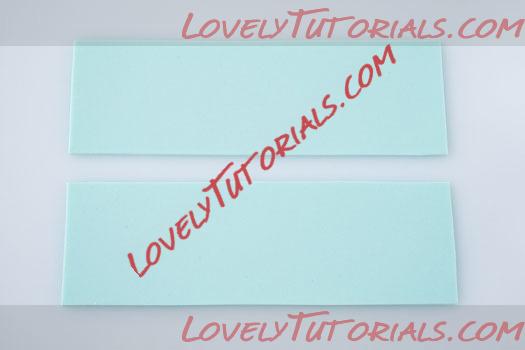
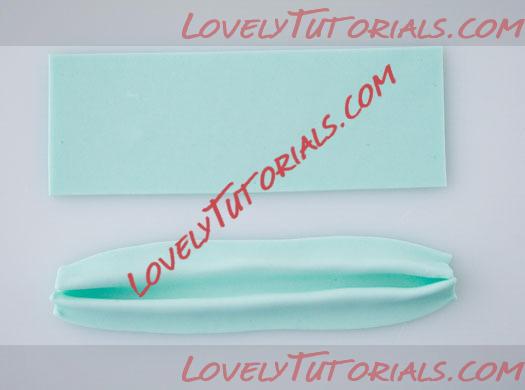
Color your paste with food gel color and roll out the paste thinly with a rolling pin (or a pasta machine). Take the knife and a ruler (or your paper template) and cut two (long) pieces for the bow loops. If you want to use a textured rolling pin, then use it when you have rolled out your paste thinly, but
before cutting out the bow loop pieces. You could also use embossing tools or brush the two pieces with shimmer or lustre dust, before placing them in the plastic bag.
 Step 4:
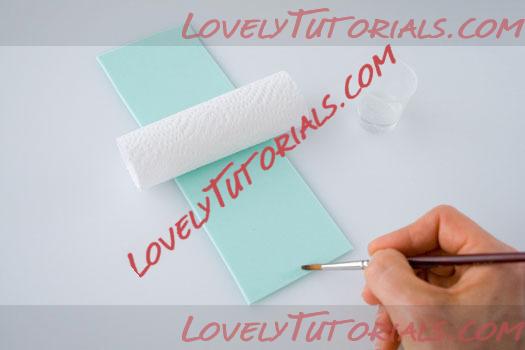
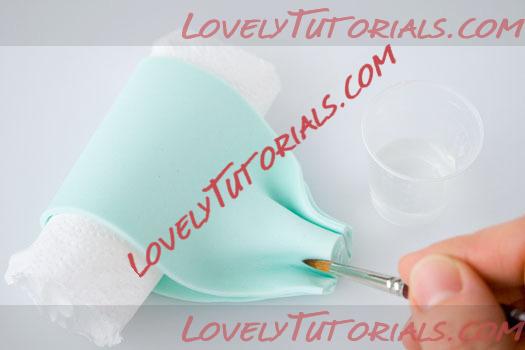
Take one of the bow loop pieces and brush a little tylo glue at one of the ends. Place one of the polyester fiber rolls in the middle.
 Step 5:
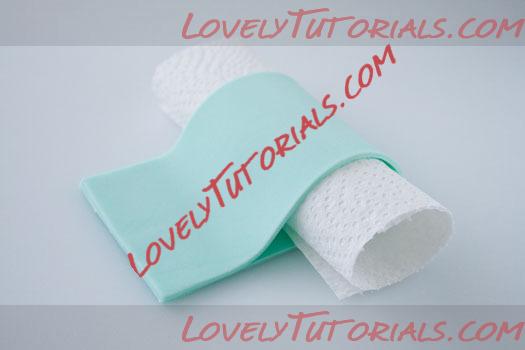
Fold the bow loop around the polyester fiber roll.
 Step 6:
Take the end of the loop and start in the middle by going back and forth to make pleats.
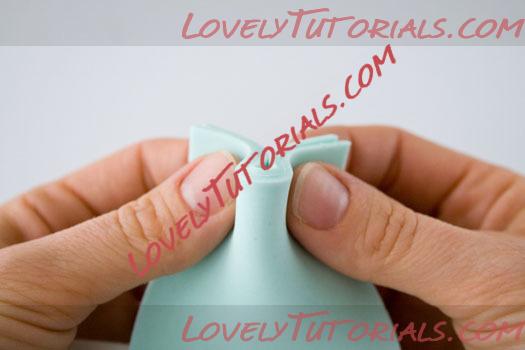 Step 7:
Secure the pleats with a little tylo glue. Repeat steps
4-5-6-7 with the other bow loop.
TIP! If you want the bow to stand up, instead of laying down. Then place the bow loops in a standing position before continuing.
 Step 8:
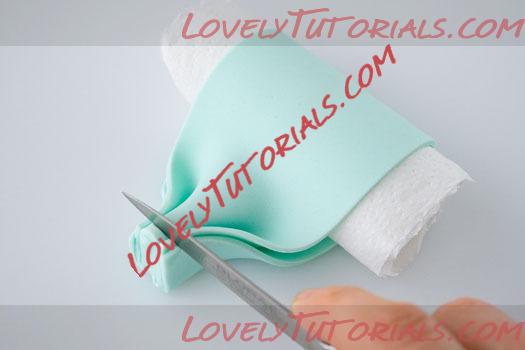
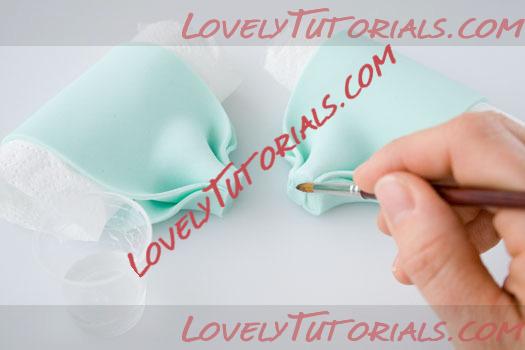
Trim the ends and brush ends with a little tylo glue.
 Step 9:
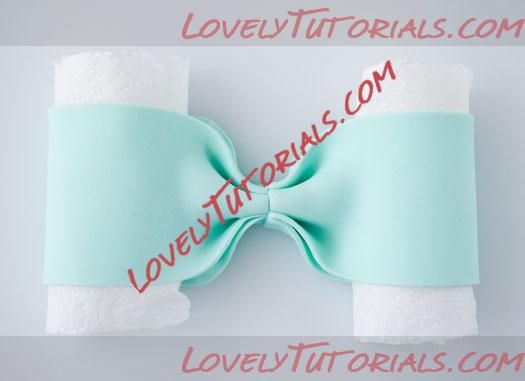
Place the two bow loops together and let them dry a bit before you continue with the next step.
 Step 10:
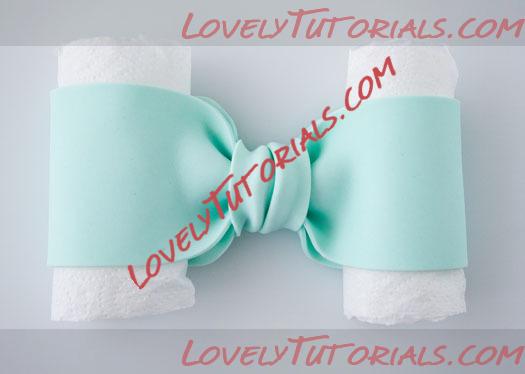
Roll out some paste thinly and cut a small piece for the middle of the bow and make some pleats.
 Step 11:
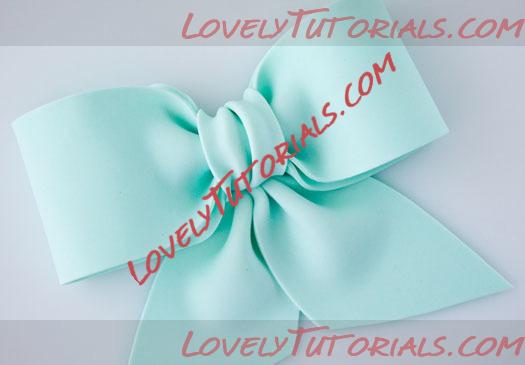
Brush a little tylo glue on the back of the piece and wrap it around the bow. Trim with the knife if necessary. Let the bow dry completely, if you are not planning to make tails for the bow.
Note: Remove the polyester fiber rolls when the bow are dry.
 Step 12:
If you want tails on your bow? Then roll out some more paste. Cut the tails in the same width as the bow loops. Pleat the ends and attach the tails with a little glue to the bow.
Note: I often wait with the bow tails, until the bow is to be placed on the cake. This makes it more easy to place the tails in the right position.