Огромная благодарность
Cristy за МК
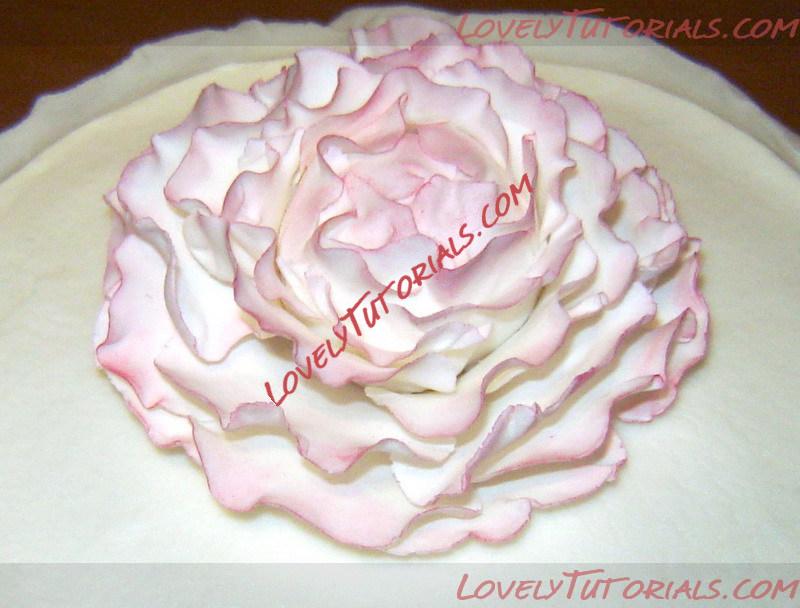
I call this a “whimsical” peony because it’s not a true peony. I did not wire the petals, use the special “peony” cutters or anything fancy like that. Basically I just winged it using the cutters and materials I had on hand.
Supplies:
Gumpaste – white
Pink or Red Petal Dust- I used Poppy Red petal dust. When applied lightly it makes a hot pink.
Stencil brush or stiff paint brush - dedicated to cake decorating
Small rolling pin
Paint brushes – dedicated to cake decorating
Pasta attachment for KA –
optional but helpful
Small Bowl
Corn starch puff
Ball Tool
Foam piece – I use the one that came in the Wilton Gumpaste flower kit
Gum glue – gumtex powdered dissolved in hot water
Instructions:
Begin by deciding what size flower you would like to make. This will determine the size of the center of your flower and which size 5 petal cutter you will need to use. In my case I used the 75 mm FMM 5 petal cutter but any 5 petal cutter will do.
Step 1: Roll a ball slightly bigger than the center of your 5 petal cutter. I accidently rolled the ball a bit too big and struggled to g
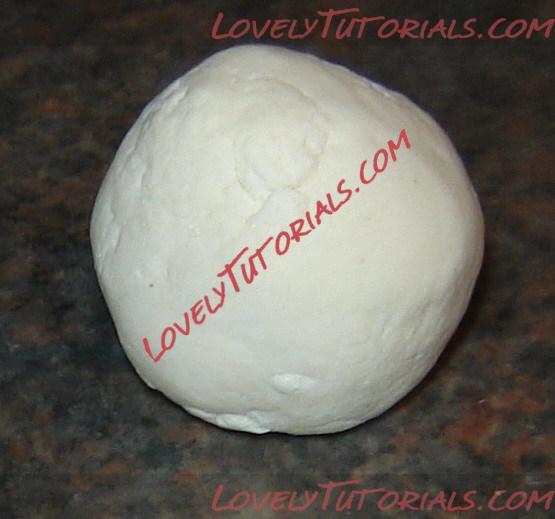
et the petals to wrap all the way around to the top (you’ll see my make shift solution to this later on). Let the ball dry. In a perfect world you would let it dry overnight. I didn’t have that much time so I used the tip below:
Tip of the week: To dry fondant or gumpaste cutouts and figures quickly, place them on a cookie sheet lined with parchment paper and turn the oven light on. The oven light makes just enough heat to dry out the gumpaste or fondant but not melt your figures. Just be careful noone turns the oven on while you’re drying your items.
While the ball

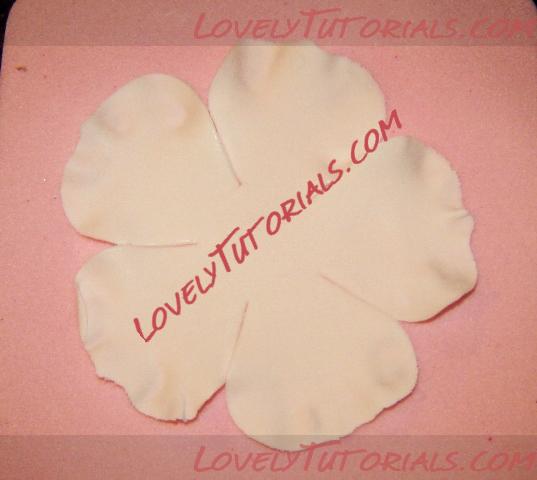
is drying, roll out a piece of remaining gumpaste very thin. I use my pasta attachment on a setting 4 for flowers. This makes very delicate petals. Using the 5 petal cutter, cut out one layer of petals and place the remaining gumpaste under plastic wrap to keep it from drying out. Place the petal cutout on a thin piece of foam, and using the ball tool thin out the edges of each petal. This is done by running the ball tool along the edge of the petal (with the ball being half on the foam and half on the petal).
If your ball tool sticks, tap it on your corn starch puff and try again. Peonies have very ragged edges so I was really really hard on the petals. I kept thinning them until they were ruffled and ragged. For the first few rounds of petals I also applied the ball tool in a circular motion, to the center of the petal cutout. This makes the petal cutout have a wider center. To attach the first layer of petals, paint a very thin amount of gum glue on the center and up the sides of each petal. Place the gumpaste ball in the middle and gently pull the petals over the top sides of the ball. Leave a little bit of the ball exposed so it looks like the Peony is opening. The petals should overlap one another in the beginning. Be gentle when pulling the petals up…they are quite thin. It’s ok it they rip because the next layer will cover most of the mistakes

Repeat the above with another two layer of 5 petals. As I continued to apply petals, I realized that my ball was too fat for the size cutter I was using. Because of this for the 3rd and 4th layer of petals, I actually used individual petals. I made them the same way as above but after I ruffled them, I cut the 5 petals apart and placed them on plastic spoons to dry a bit. This helped them hold their shape. Because they were individual petals, I could place them exactly where I wanted them to help the petals look like they were opening up. I placed them a little lower down the ball and made sure to ruffle the edges outward.

I set the partial peony in a bowl to set up while I worked on the next layers. Because I wanted the rest of the flower to be more, I created the next layers separate from the ball. Using the same petal cutter (a larger one would have been better but I didn’t have one handy), I created a new layer and ruffled the edges and expanded the center just a bit. This layer will be the bottom of the flower so I had to be more gentle. I placed that layer into a bowl that would help hold the shape of the flower. Be sure and dust the bowl with a bit of corn starch before placing the bottom petals in. Put a small dab of gum glue in the middle and apply the next layer of petals. Be su
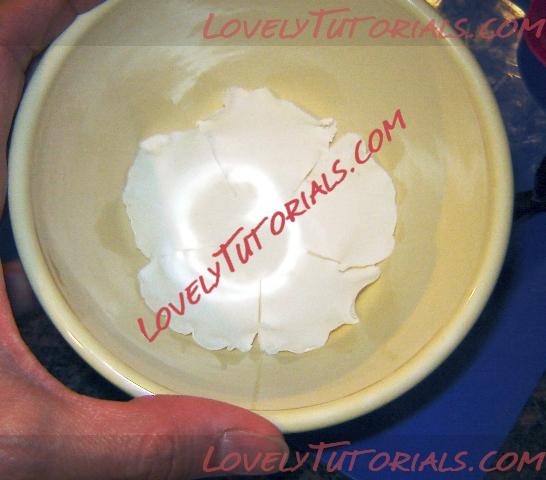
re that each layer is placed so that the new petals are between the previous petals (just like when you make roses). I applied 3 layers of petals directly in the bowl. Then applied more gum glue to the center and placed my partially complete peony into the middle. At this point the petals are still quite soft and will want to droop. Take a small amounts of wax paper, parchment paper or saran wrap and place it between the petals to give the flower the shape you want. (Don’t use paper towel or tissue as it tends to stick to the gumpaste). Leave your flower to dry overnight.
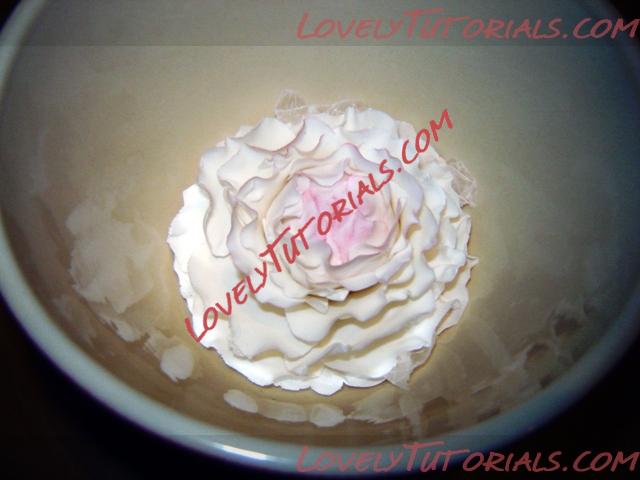
If you look closely you can see little pieces of wax paper sticking out
Once the flower has completely dried, gently remove it from the bowl.
Using a stencil brush or stiff paint brush, dip your brush into the petal dust and tap off the excess. I dusted the center just by running my stencil brush in a circular motion of the center of the flower. For the individual petals, gently scrape the edge of the petals with your brush. These petals are quite fragile so be gentle. It is better to apply multiple light coats than to have too much dust on your brush because you don’t want dust to goes everywhere. And now you have a whimsical peony.