Огромная благодарность Автору за Мастер-класс
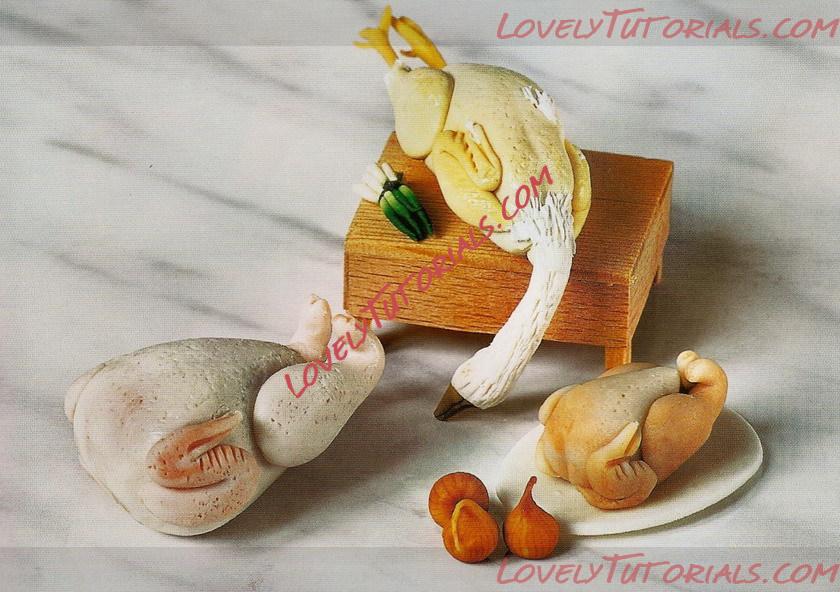
A simple cylindrical cane is the foundation for the techniques in this section, plus wrapping the canes in a thin, semi-transparent skin for added authenticity. The goose project also demonstrates how to make the separate elements in advance before assembling them into a whole.
Method
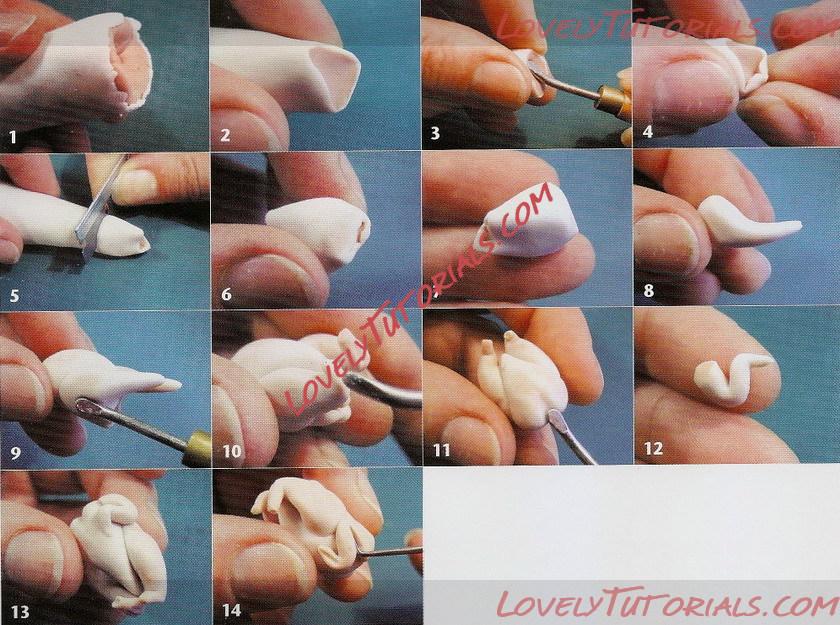
1 Make a simple cane,by wrapping your flesh pink mix with a very pale cream mix outer layer. Lengthen the cane until it is 1.5cm in diameter. Cut the cane in half and then lengthen one half until it is approximately 1cm in diameter.
2 Pinch the top end of the
cane together and the bottom upwards slightly to encourage it into a triangle.
3 Take a curve-ended tool and push it into this triangle to form a cavity.
4 Continue to squeeze the
edges together to make the opening a little smaller.
5 Cut the end of the chicken cane off at approximately 1.5-2crn
6 and 7 Gently ease the
outer skin of the cane over the other end to resemble a chicken carcass.
8 Using the narrower cane
to form a chicken leg, make a teardrop-like shape by narrowing and enclosing one end. Now cut off the cane and enclose the other end. Repeat this process for the second leg.
9 Press the leg fairly firmly
against the side of the carcass. With a curve-ended tool, press the underside of the widest part of the leg to help mount it more firmly to the body and give it a more authentic shape.
10 Bend the end of the leg
up at right angles. Score a line or two in the upturned portion of the leg for realism.
11 Press a line into the neck
cavity end.
12 For the wings, make two smaller, even-sized elongated 'teardrops'. Bend them into a Z shape.
13 and 14 Join them to the
chicken carcass the right way. making sure the widest part, the shoulder end, is at the top. As you work it, it will be quite obvious to you.