Огромная благодарность Isabel Tamargo за Мастер-класс

- Approx 250g of Saracino modelling paste for the figurine
- Approx 200g of Saracino sugar paste for the board
- Modelling tools (small size)
- Diamond shape cutters (at least two small sizes)
- Scalpel
- Rolling pin
- 18cm rounded cake drum
- A piece of aluminium foil
- A pair of toothpicks
- RKT for the interior
- Colours: apple green, milk chocolate, green, metallic green, pink, metallic grey
Step 1
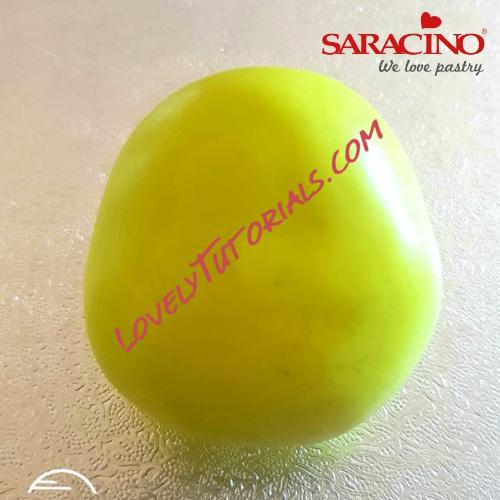
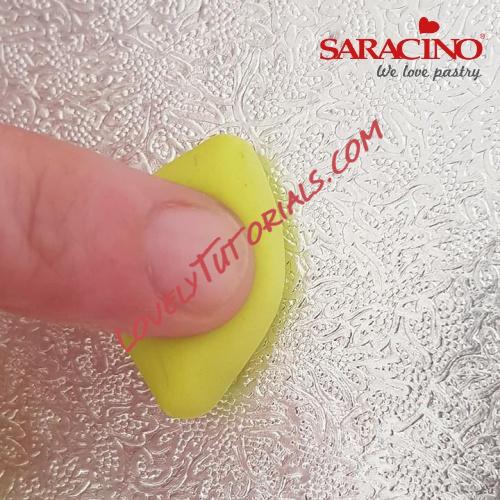
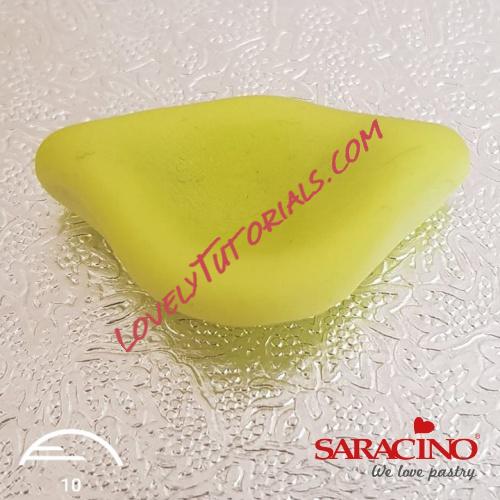
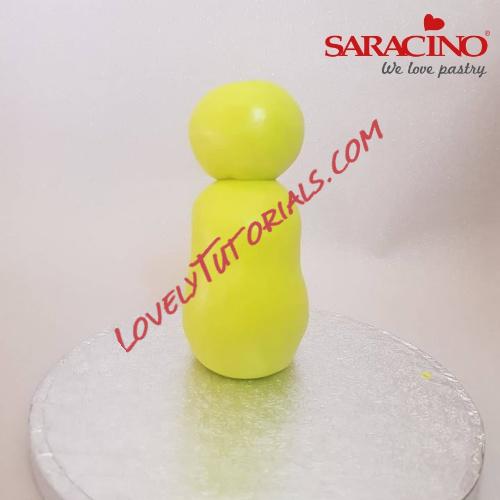
Make the shape for the body and head. You can cover a small amount of RKT if it is to be edible or cover a rolled up foil ball if you just want to make the figurine for display purposes. We will cover both elements with the modelling paste, already coloured with apple green colour.
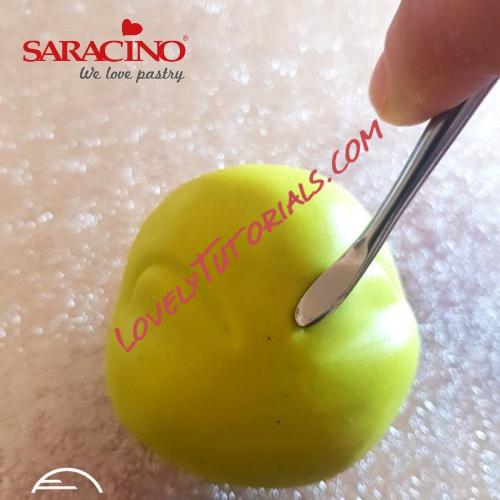
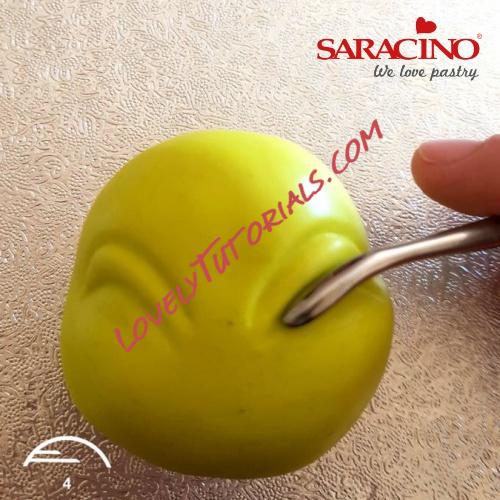
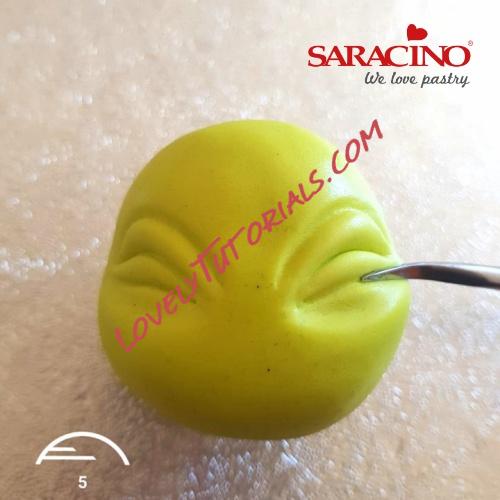
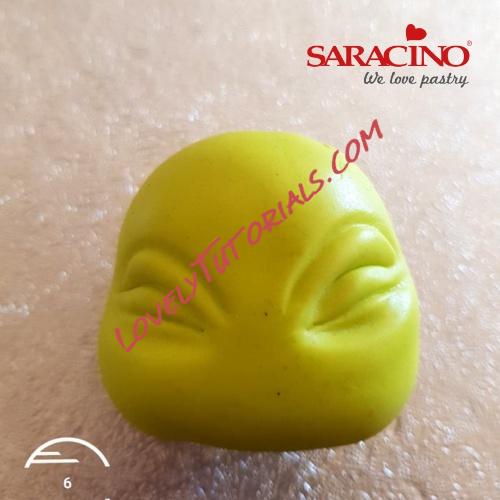
 Step 2
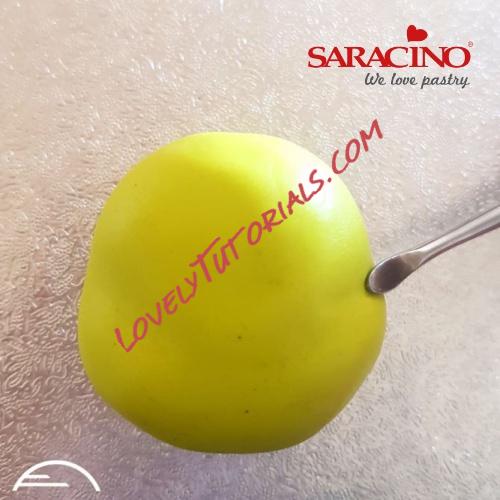
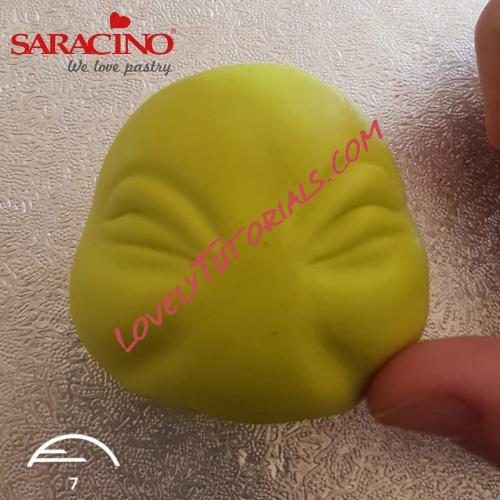
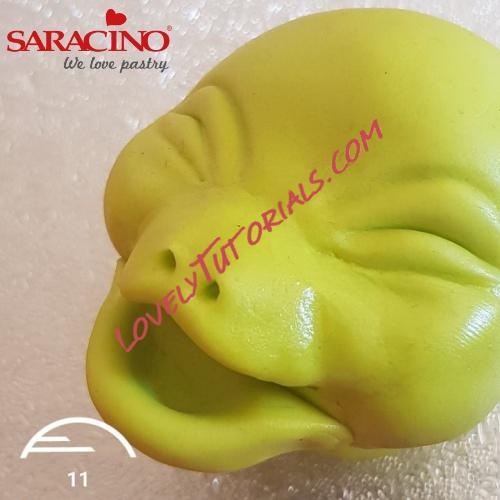
Start the face by using a ball shape. Press with the dresden tool in both sides to mark the cheeks. Make the lines of the eyebrows and eyes like in the pictures to have smily eyes. Finally mark a little more the cheeks, forming them rounder.
 Step 3
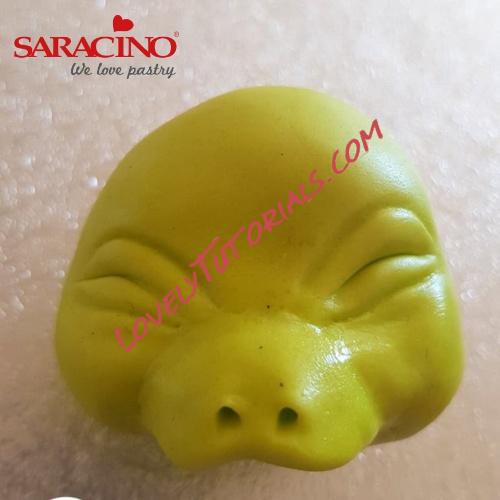
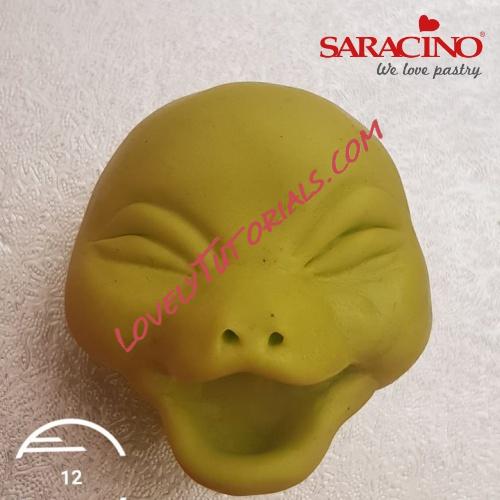
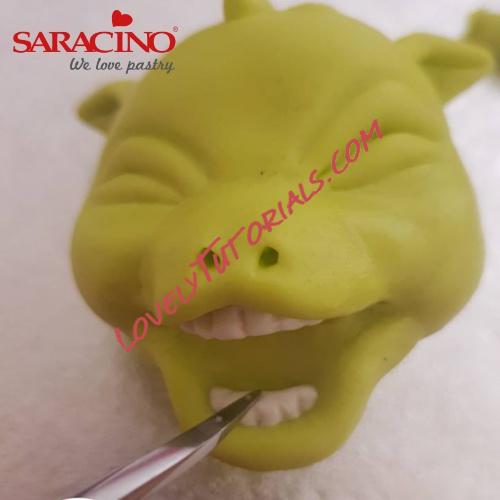
Make both nose and mouth really easy, using two small pieces of Saracino modelling paste. You can wet both pieces to fix them to the rest of the face. Make them rounded and smooth with your fingers and make two holes to form the nose. The mouth has to be open so just add the second part (jawline and chin) and fix it just as you did with the sides. You can mark the smile in the corners of the mouth with the dresden tool as you see in the pictures
 Step 4
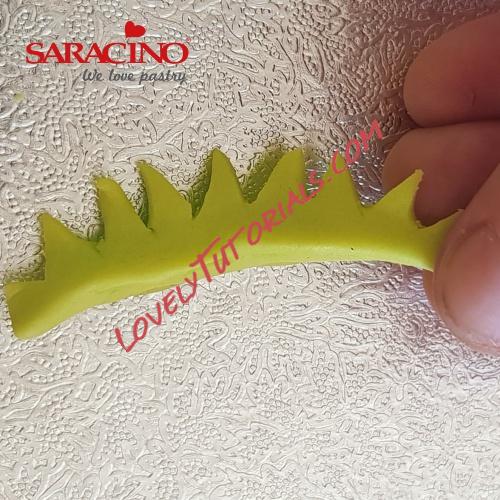
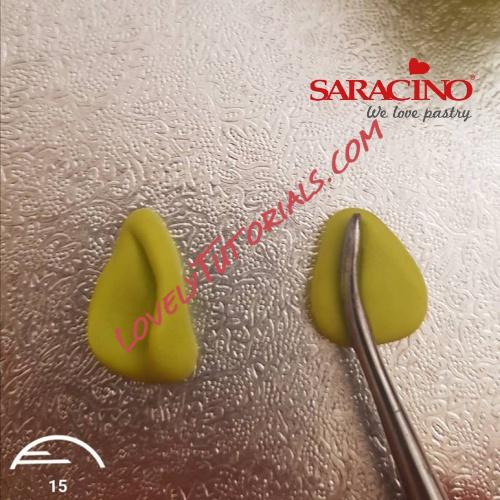
Finish the head with ears and some hair and fix them to the head with water. You can also decorate the head with some texture, making squares with your tool up to the forehead and back of the head

 Step 5
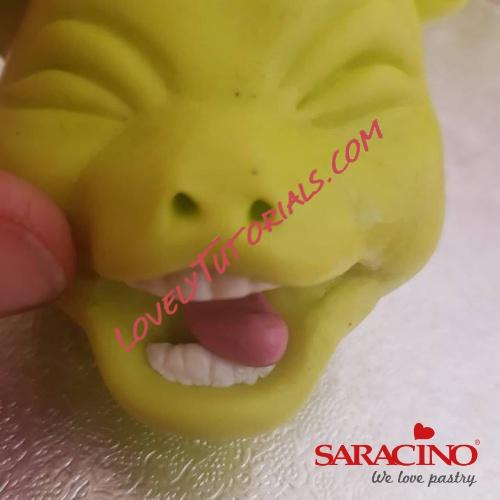
Let’s make some more details! Take a pinch of white modelling paste to create the teeth. Just fix them in the upper and inner part of the mouth and make some straight lines. We can also take a pinch of paste, dye it with pink and make the tongue coming out to have a funny expression.
 Step 6
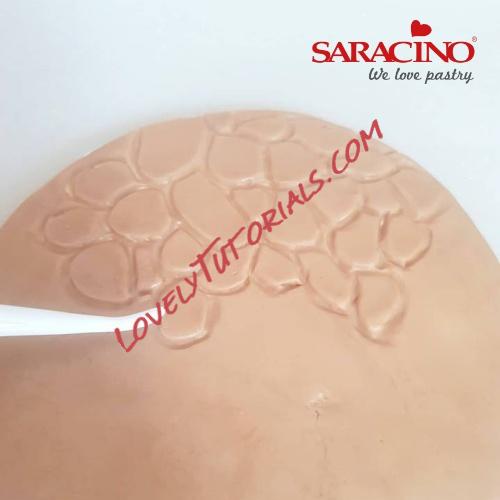
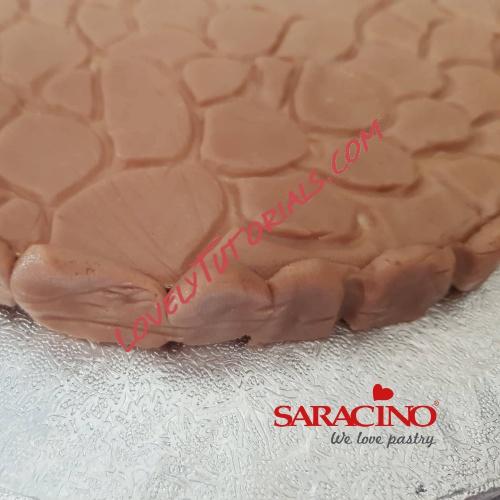
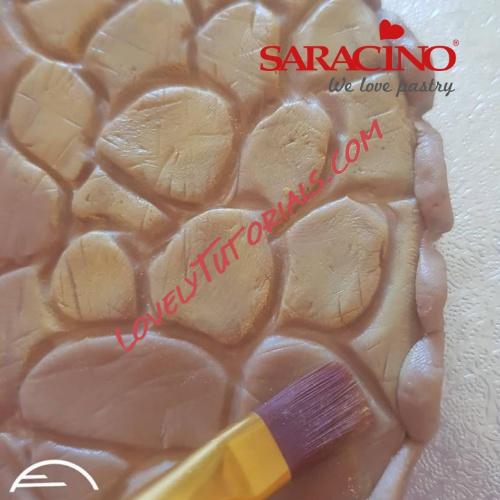
Let’s prepare the board! Knead and roll the sugar paste and cover the cake drum with a thick layer. Don’t forget to dampen the board first to have the paste stick to it. Make textures, like a stone floor with our modelling tool, I recommend the dresden tool to form the holes rounded. You can make the pattern of the stones to the size required. Take small pieces of paste and make the stones to cover the side of your drum. Dust it to add extra contrast.
 Step 7
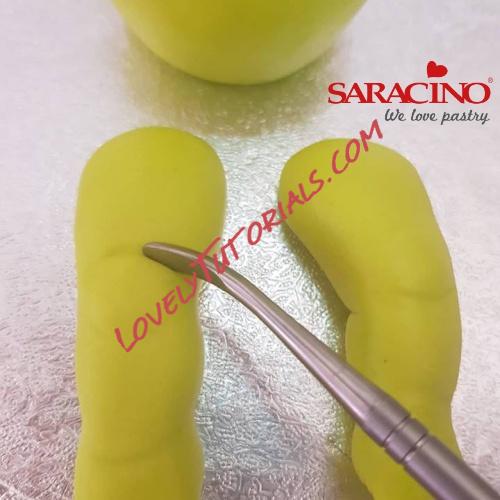
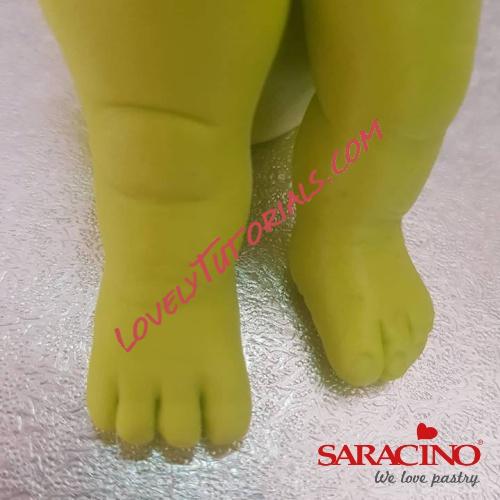
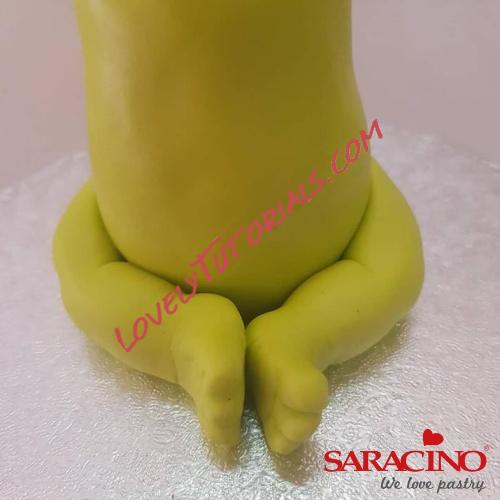
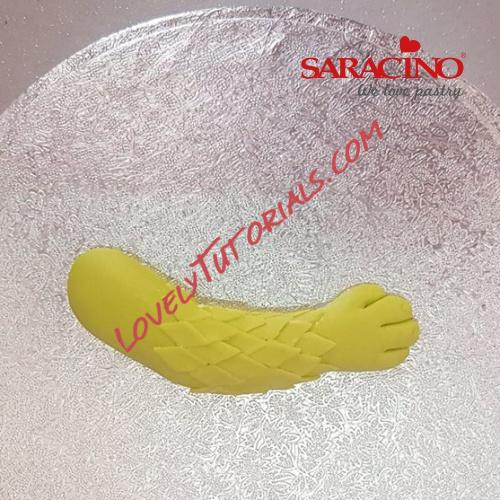
Now it’s time to make the body. We need to stick the shape we made already with the RKT to the board. Once we have the body stable, we can start forming the legs, using the dresden tool as you see in the pictures. Then stick them to the body with water and bend them like in the picture.


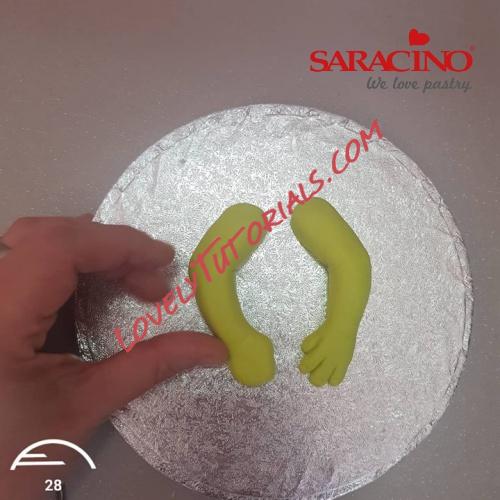
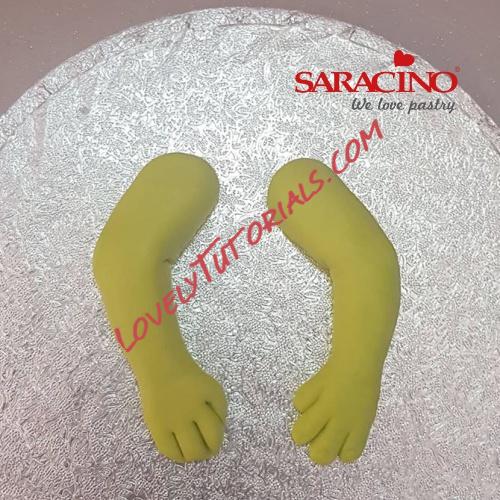
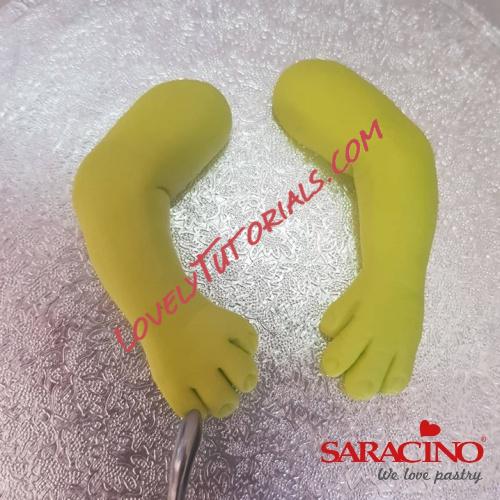
 Step 8
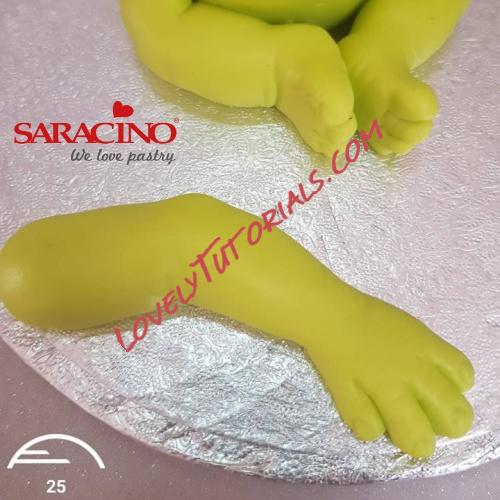
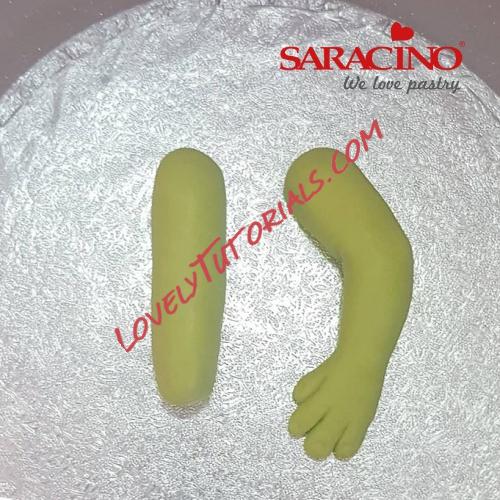
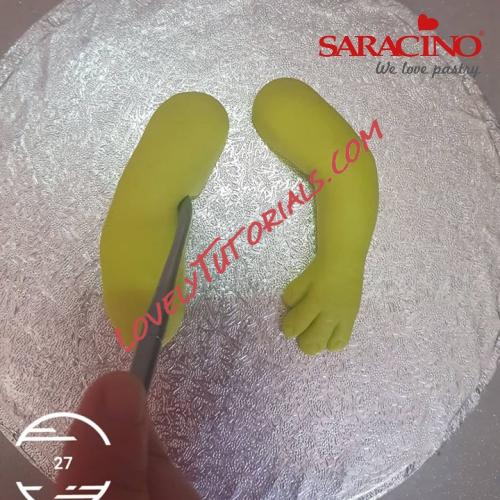
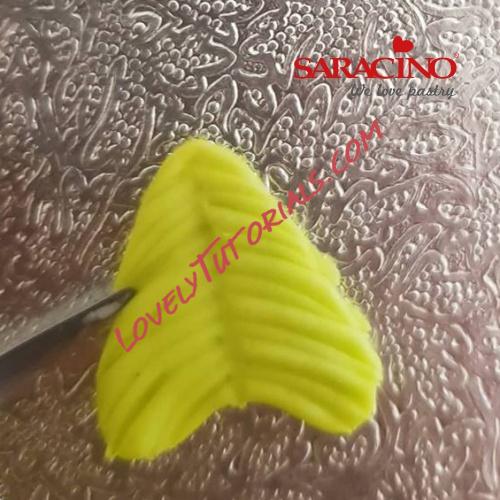
Now the arms, also with our tool, bending them a little in the middle and making some details on the hands like wrinkles and nails as you see in the pictures. You don’t have to work too much on the arms because we will cover them after with scales
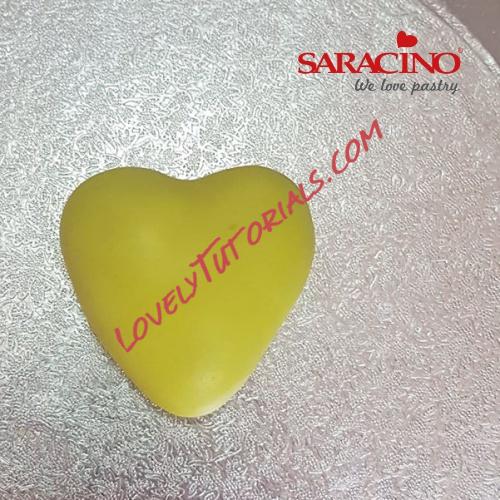
 Step 9
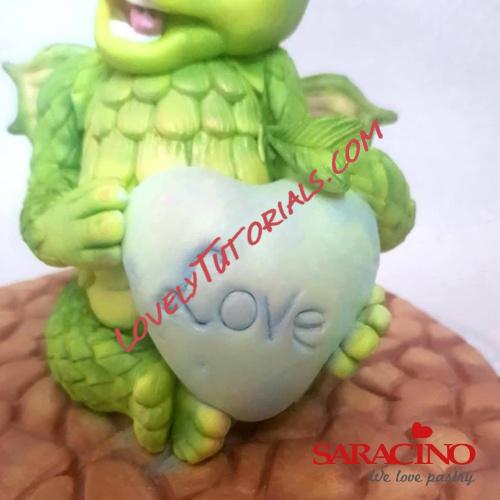
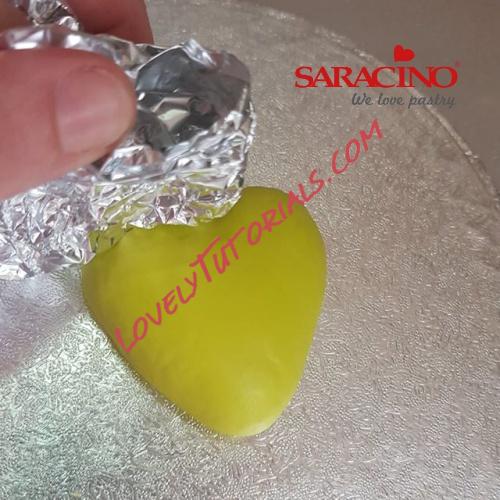
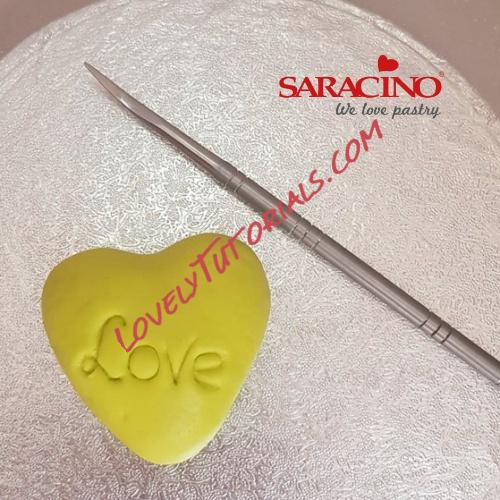
We can make the heart to let it set. It’s really easy to make the shape, just decorate it with your choice of words (“love”) written with a rounded tool and make some textures using a piece of foil.
 Step 10
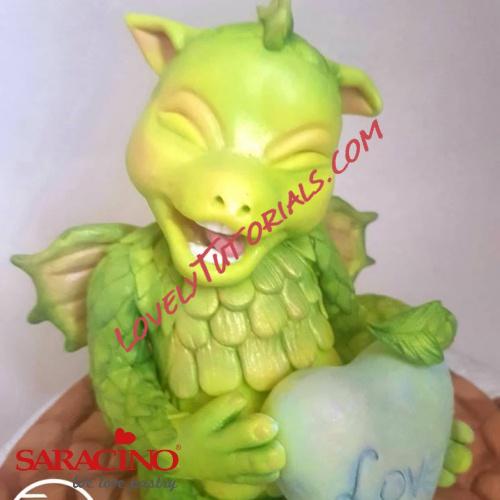
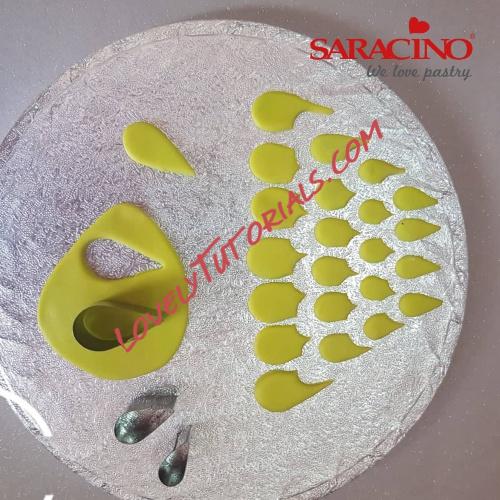
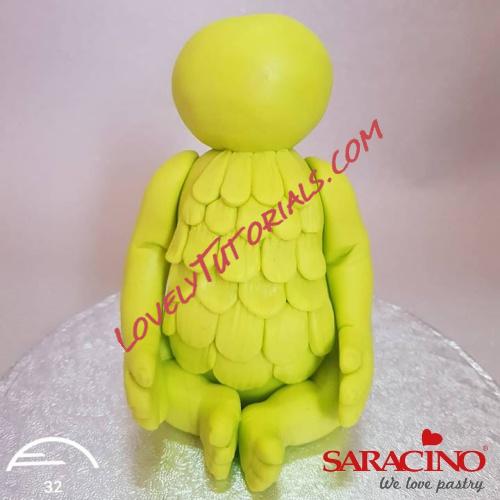
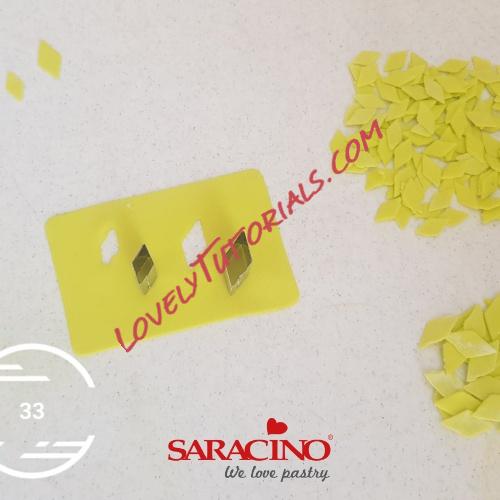
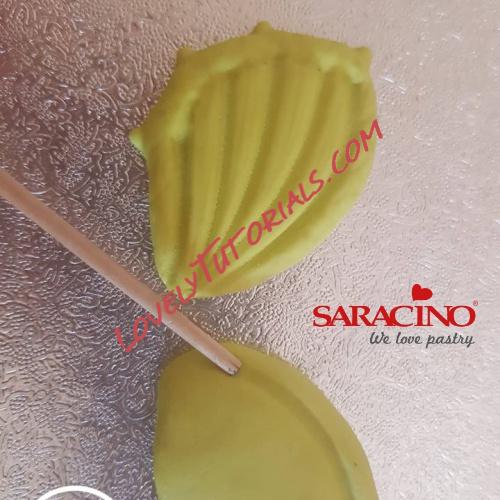
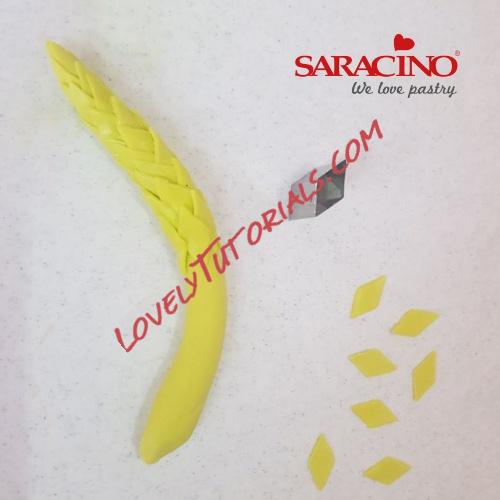
Now it’s time to decorate the body with the scales. You can shape them directly to the body after you cover the RKT but in this tutorial we will make them with cutters. For the body you can use large ones, we don’t need a cutter for that. Just try to use different sizes, make it smaller in the upper part and getting larger towards the tummy. Make small diamonds for the rest of the body and fix them with water starting always at the bottom and working up, overlapping the rows until we get to the top. Make a tail with a piece of paste, covering it with scales and put a textured heart at the top. Shape a pair of wings and allow to dry. Fix them to the back of the dragon with toothpicks and water or edible glue.
 Step 11
After covering all with the scales we can fix all the elements together. The arms have to hold the heart but all are glued to the body so it will be easy to build. Put the tail on the heart, curvy. Stick the head in the body with another toothpick and you have your dragon ready to paint!
It’s easier to paint your figurines if you work with pre-coloured paste so now you just have to apply shade and colour as you wish. Use the darker colours for the inners parts, depressions and holes and metallics for the rest, applying carefully with a brush. Also with the board, you need the cream colour for the centre of the stones and a darker brown for the holes to create the texture effect.
And it’s done!