Огромная благодарность The Sweetery Bakeshop за Мастер-класс


Prepare a guide. You want the circular paper to be around 2" larger than your cake. Draw a circle on the paper with diameter that's the same as your cake. This will make the next step easier.
Divide the circle depending on how many swags you want, and draw linesup to the edge. For this tutorial, I made 6 swags on my 8" cake.
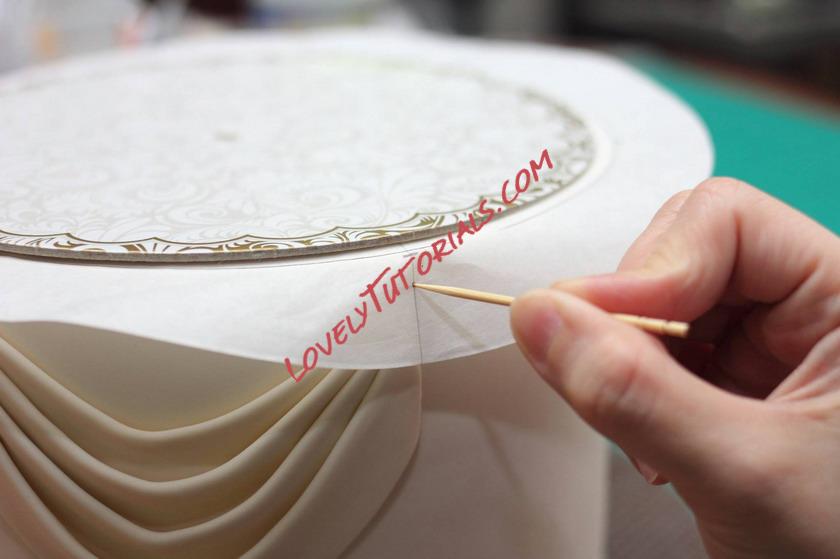
Place the guide on top of the cake. Align the smaller circle that you drew in step1 to your cake. You may want to put something a bit heavy on top of the guide to avoid movement.
Make sure the paper doesn't move so that your marks are accurately placed.
Fold down the excess part, then mark the positions where the swags will meet. This should align with the divisions of the guide.
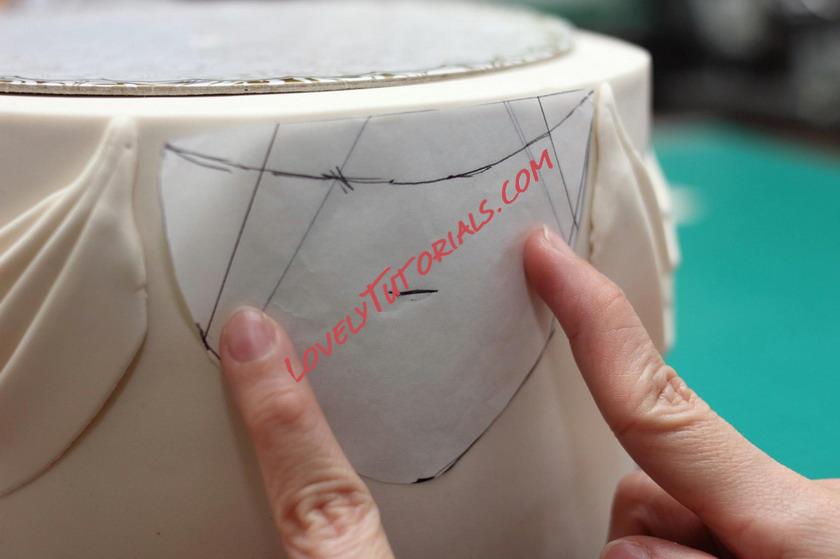
You may also want to make a guide for the swags' shape so that they are uniform.
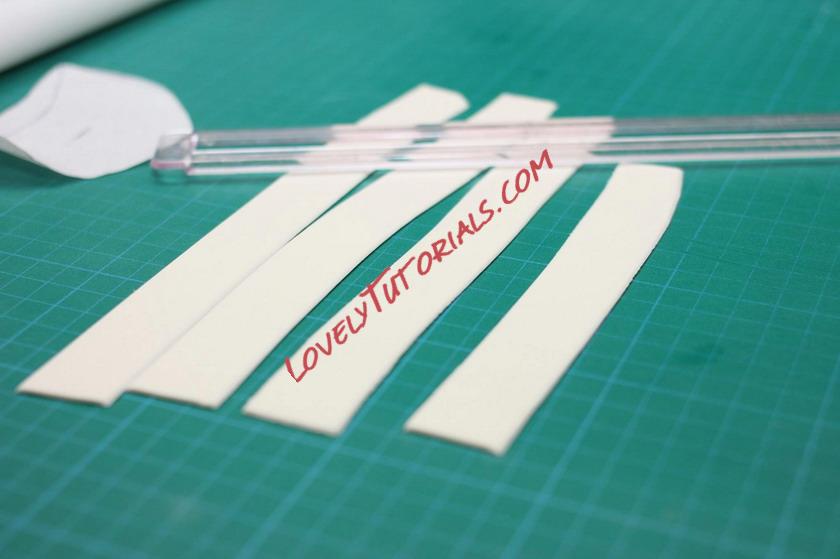
Now, it's time to make the swags. I started by making about 1" wide strips. Here, i used the tappits strip guide.
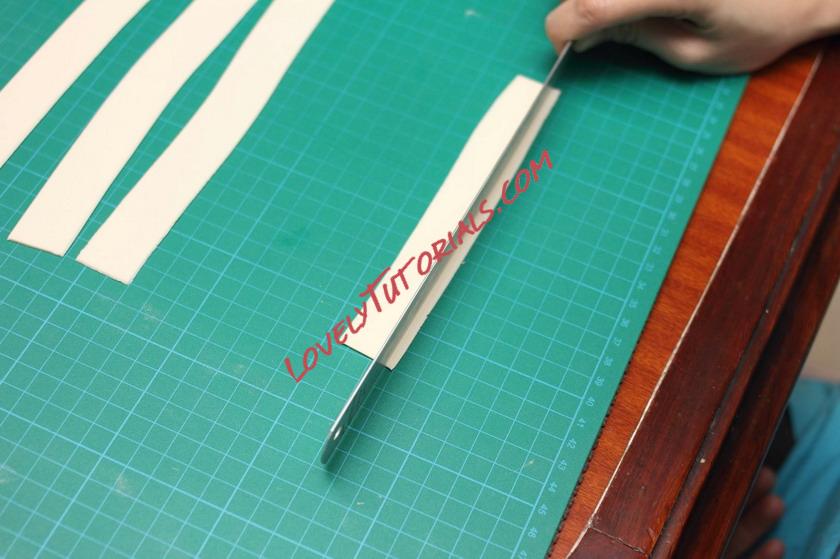
Make a mark on the lower part of the strip, around 1/4" from the edge.
It should make a shallow crease on the fondant. This is to make folding the edge easier and straight.
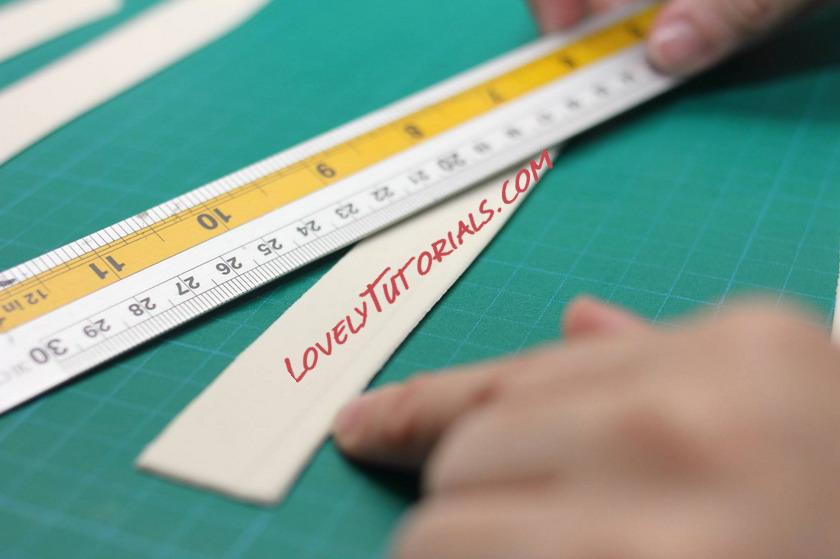
Fold the edge upwards along the crease that you made. Fold it just about halfway through.
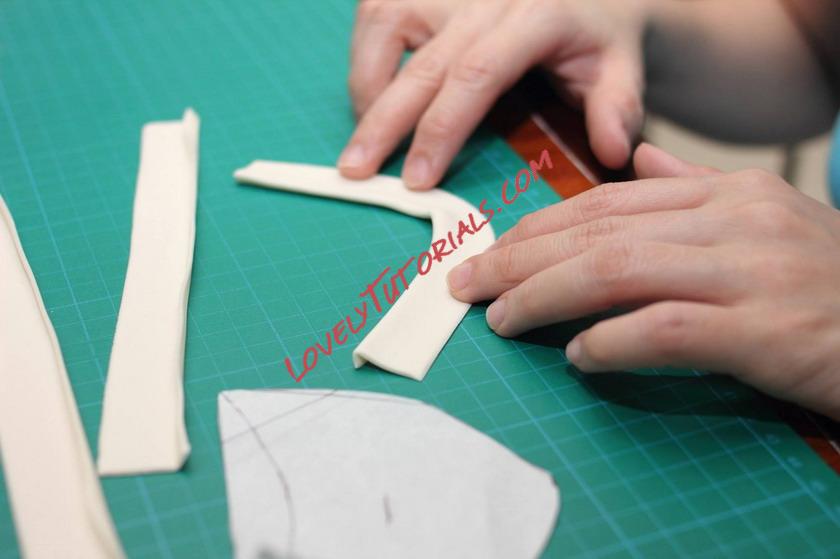
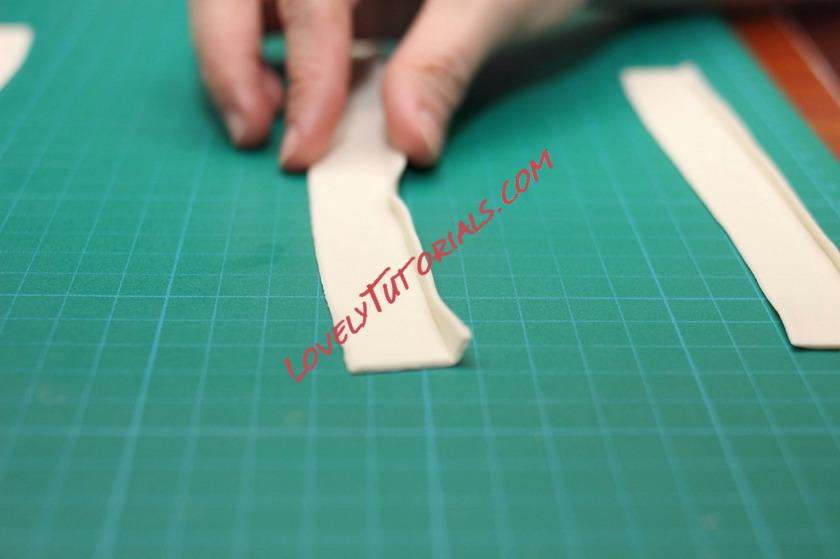
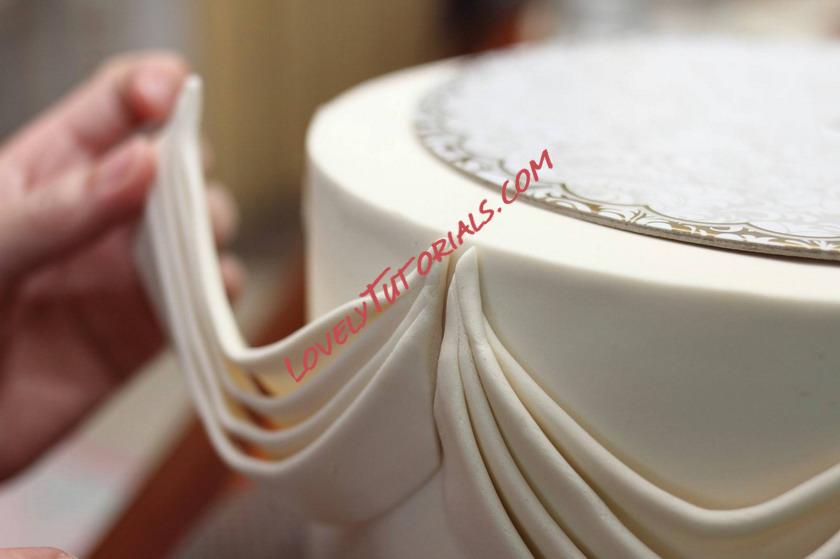
Curve your swag, with the folded edge at the inside of the curve.
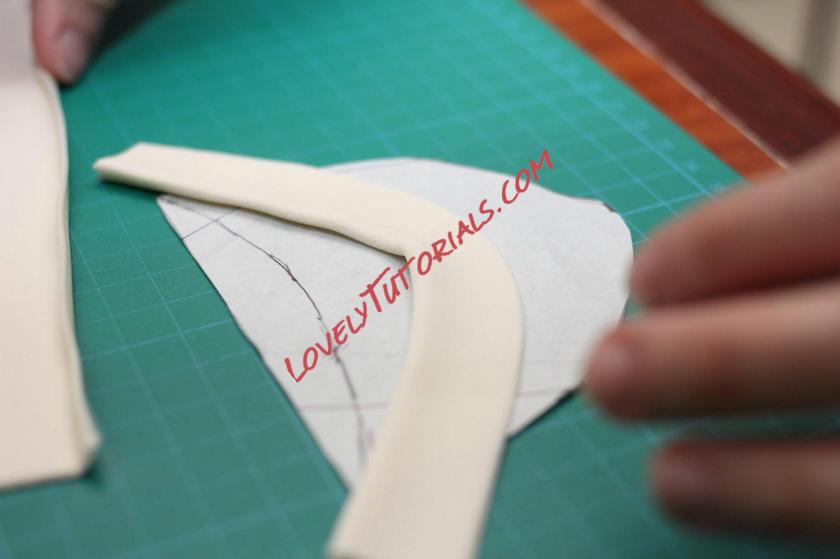
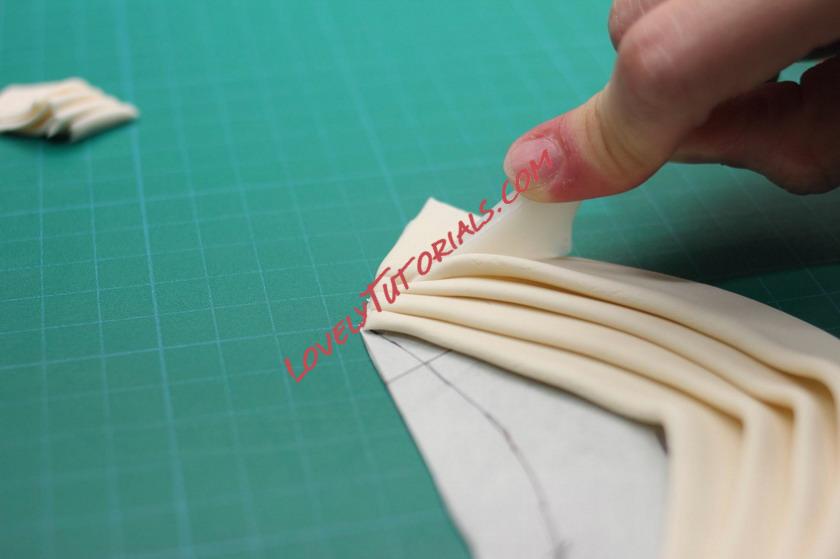
Use the guide to bend the swag to the correct shape. Work from the top going down, overlapping the strips making it look like a swag.
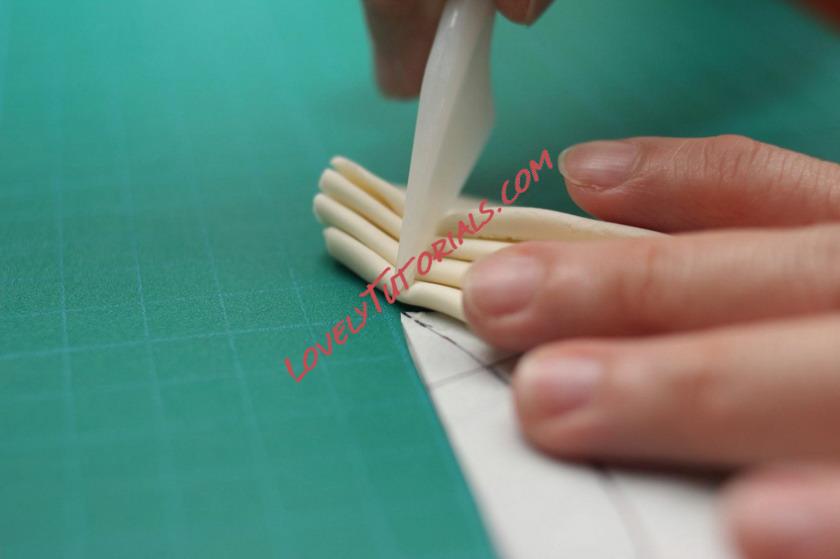
Cut the ends of the swag according to the guide,algining the topmost strip first and cutting outwards.
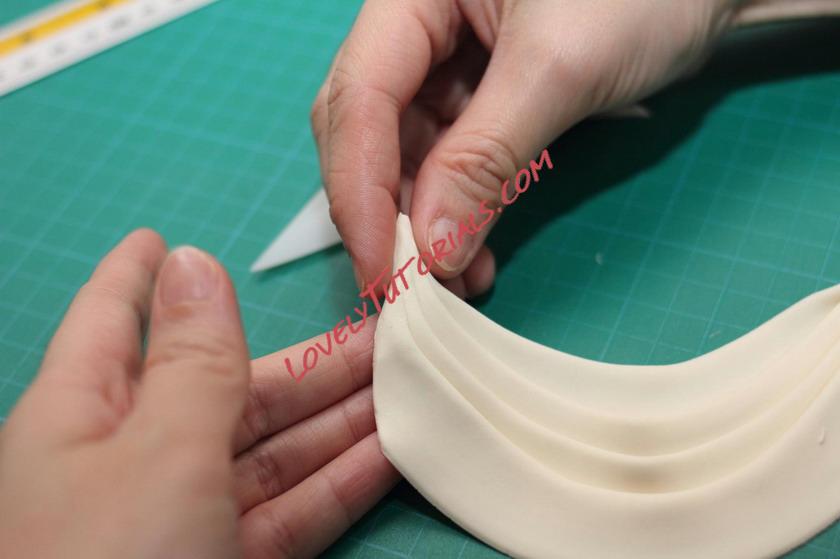
Crimp the ends lightly so that they stay in place.
Make the final cut. It shoud be vertical so that there wil be no overlaping with adjacent swags when you put on the cake.
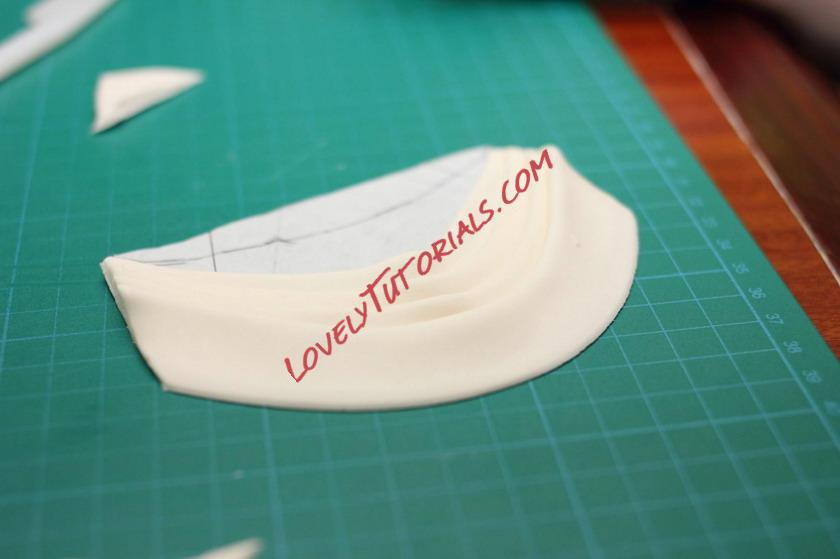
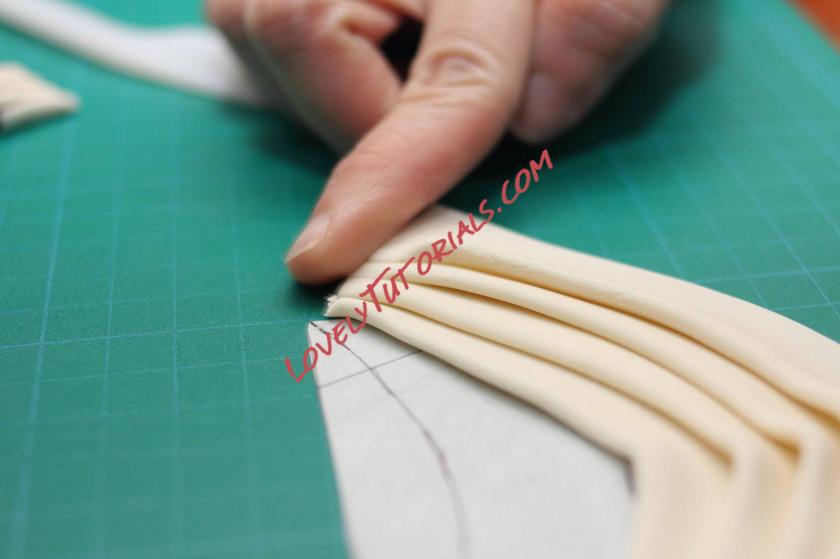
The swag should already look like this.
Crimp the corners more so that the strips look like a single piece that was tied at the end.
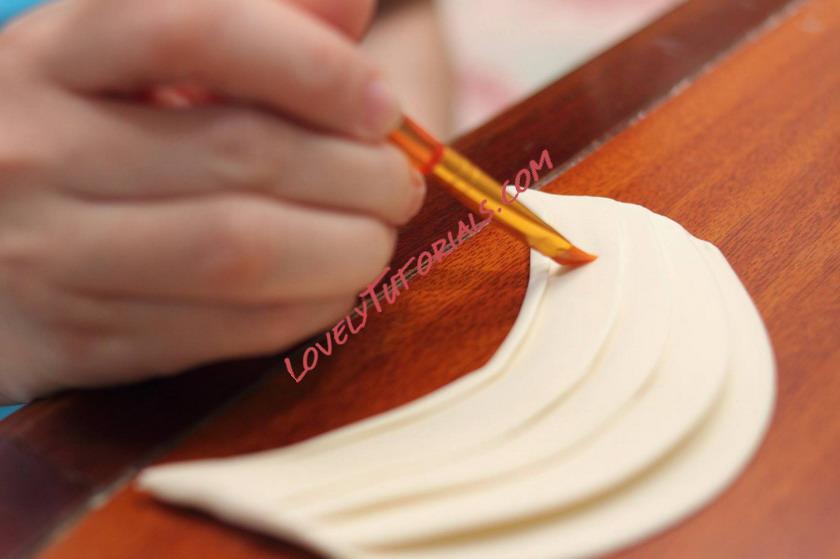
Apply your edible glue on the inside part of the swag
Stick the swag to the cake. Place one end of the swag on a mark you made earlier, and the other end on the adjacent mark.
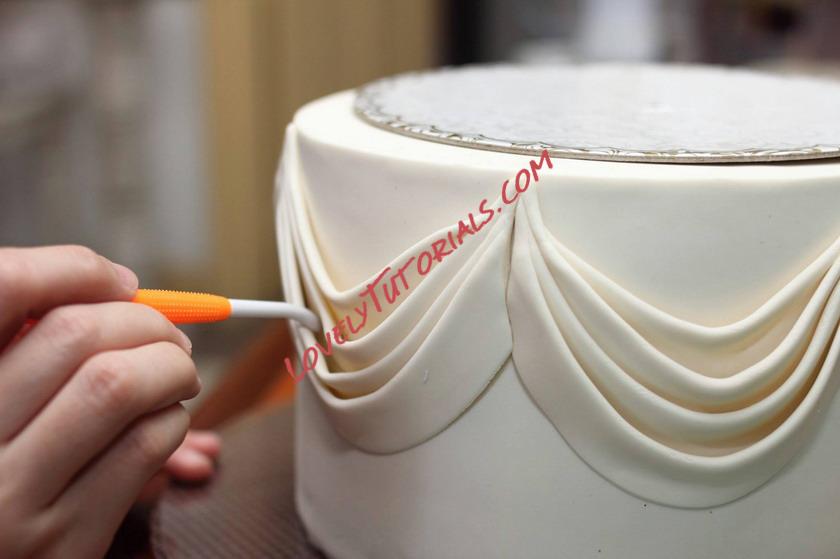
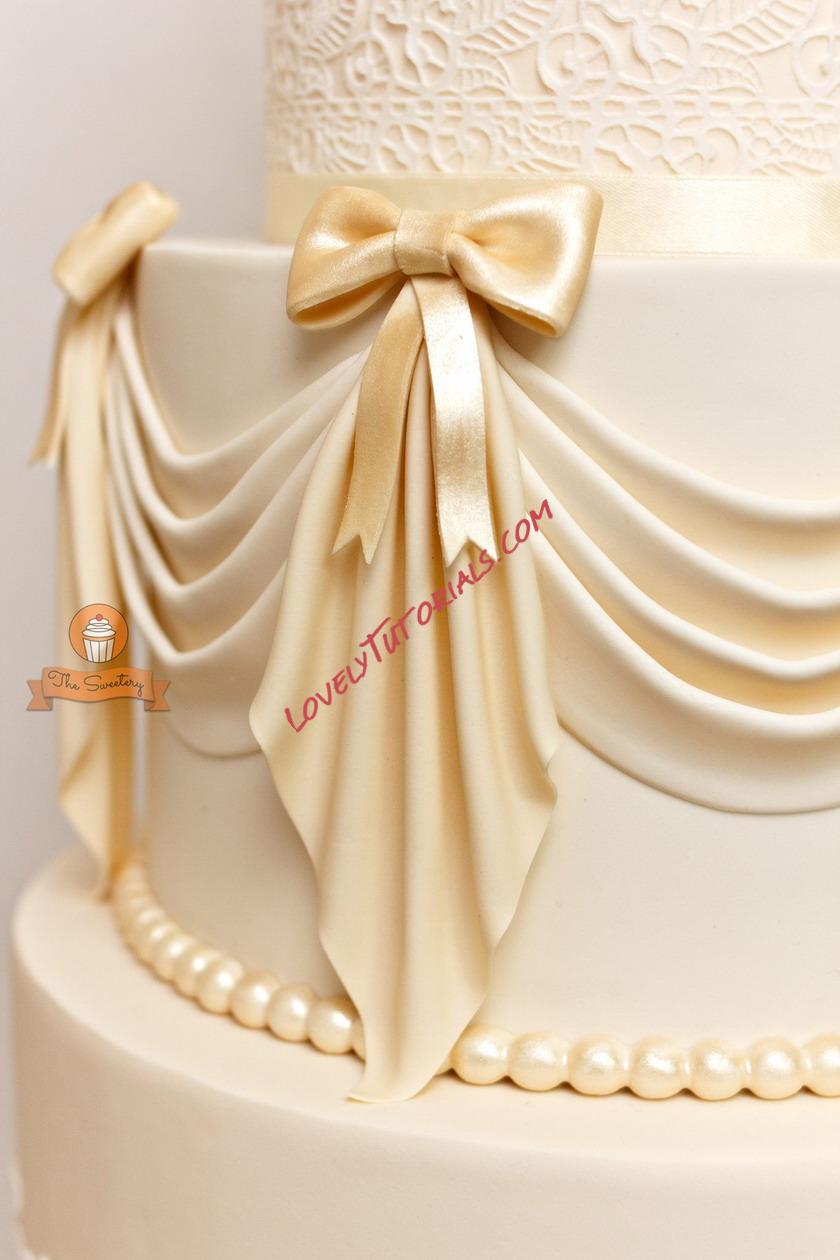
You may want to separate each strip a little to give it a more realistic look. You can put some decorative fondant gems, bows, drapes to cover the part where the ends meet.