Огромная благодарность Lyndsay Sung за Мастер-класс
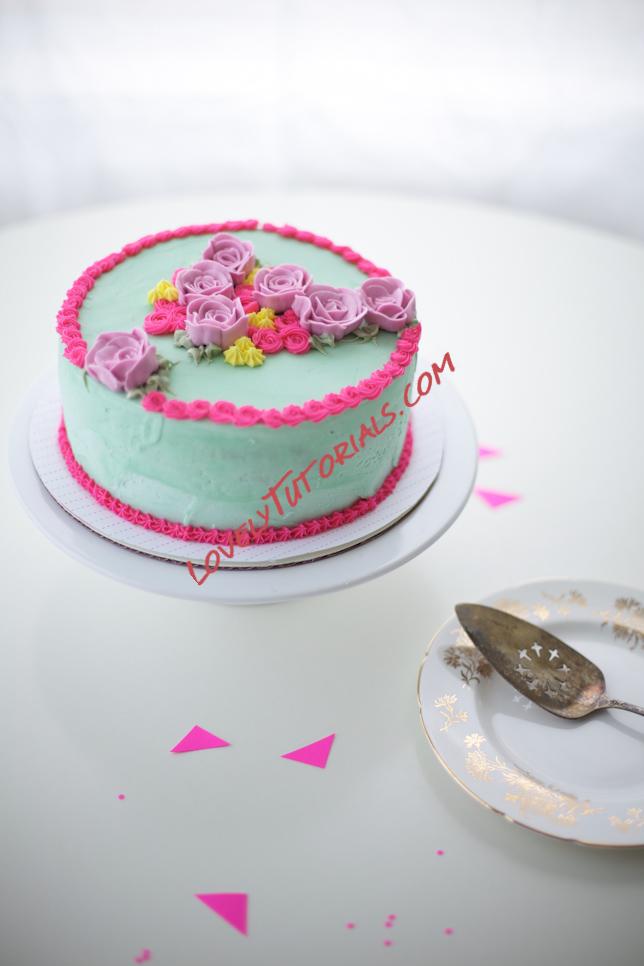
Mini rosettes, drop stars and buttercream piped roses top this brightly colored floral-topped cake! Learn how to make a bouquet cake using buttercream that will sit pretty until eaten — lovely for a bridal shower or tea party birthday!
All photos via Lyndsay Sung, Coco Cake Land
Stop and smell the roses with this buttercream bouquet cake tutorial
 You will need:
- A baked and cooled cake, frosted in colored buttercream of your choice.
- 3 additional cups of buttercream, divided into four bowls.
- Gel food colouring in lemon yellow, fuchsia pink, purple and green
- Four piping bags fitted with various tips of your choice. I used Wilton #16 for the mini rosette and rosette border, Wilton #104 for the buttercream rose, Wilton #2010 for the drop star flower and a leaf tip for the green leaves.
- A flower nail and parchment paper or wax paper squares for piping the buttercream roses
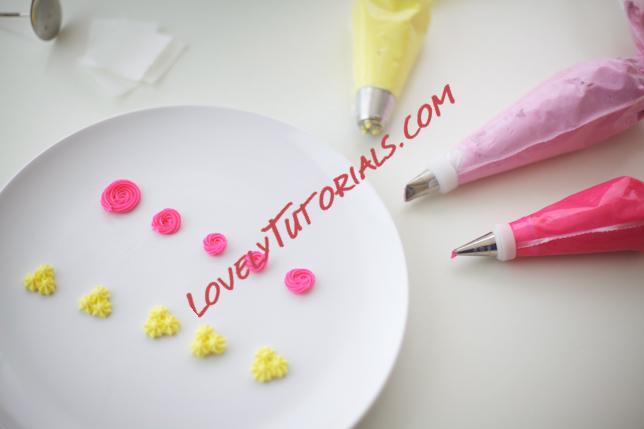
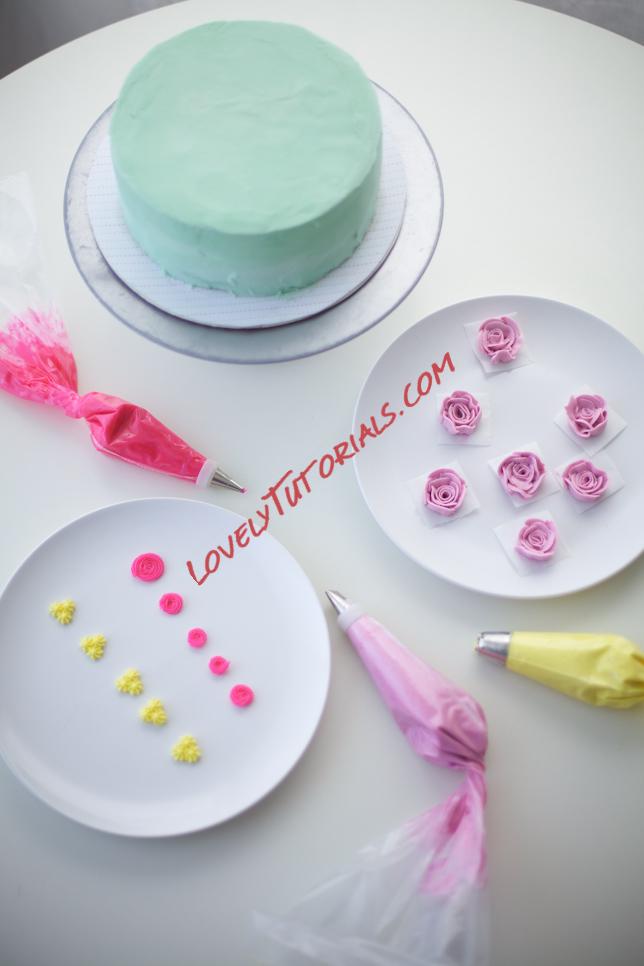
 Cake decorator’s tip
: I often practice by creating little patterns on a plate or piece of parchment paper before applying to the cake.
Let’s make roses!
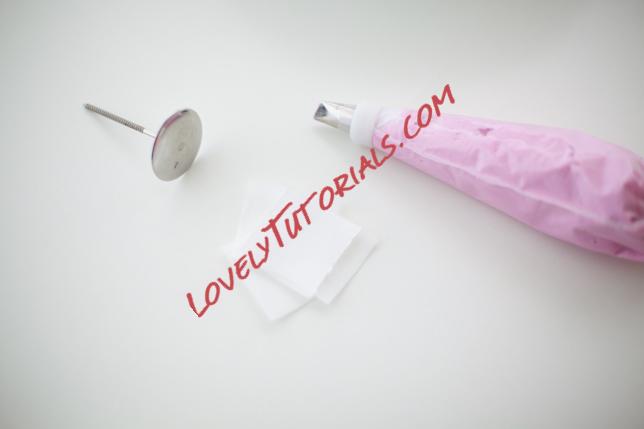 Step 1:
Fill your piping bag fitted with a #104 rose petal tip. Apply a tiny amount of buttercream onto your flower nail; adhere the parchment paper square to the nail.
Step 2:
Holding the flower nail with your left (or non-dominant) hand, with the piping tip in the thin-side-up position, pipe a ribbon of buttercream while turning the flower nail, creating this little ribbon center. Practice a few times if you need to!
Step 3:
Pipe petals around the center ribbon — squeeze out piping bag and a “rainbow” shape forms, slightly overlapping each petal.
 Step 4:
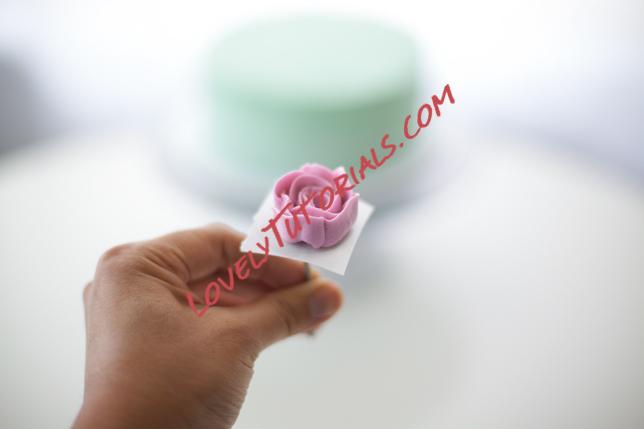
Continue to pipe another row of petals until you are happy with your rose! Carefully remove parchment paper with the rose on top, setting onto a plate. Keep piping more buttercream roses. Once you have a plate full of roses, place in freezer for 15 minutes to set.
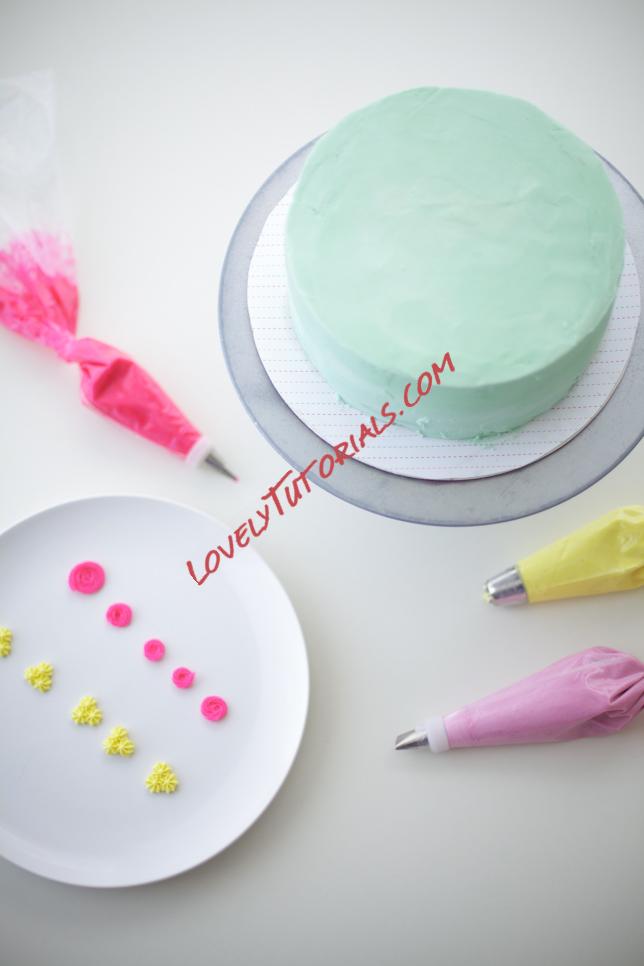
 Now it’s time to decorate our flower cake!
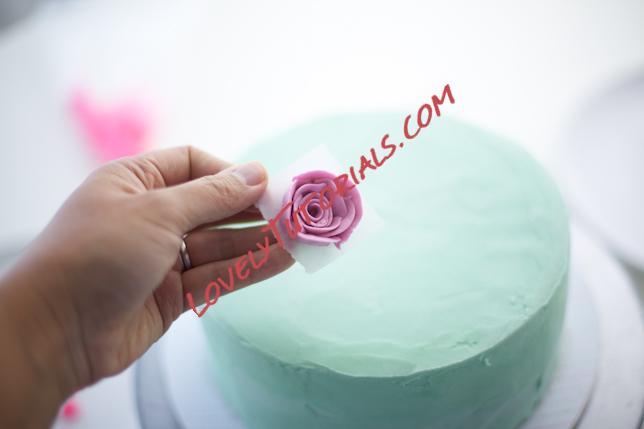 Step 5:
Remove the chilled buttercream roses from the parchment paper and place onto your cake.
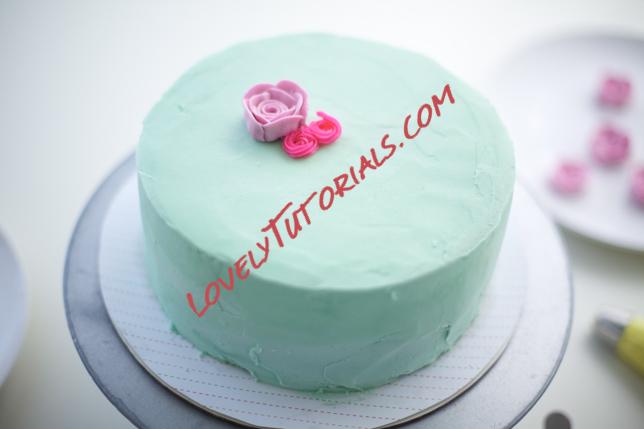 Step 6:
Using your piping bag fitted with the fuchsia buttercream and the #16 small open star tip, pipe rosettes by piping outward in a counterclockwise motion.
Step 7:
Keep placing the chilled roses onto the cake, adding the yellow drop stars and more rosettes wherever you like!
Step 8:
Using your leaf tip, add some leaf foliage to your roses. Then, pipe a mini rosette border on your cake by piping tiny rosettes all along the top edge of your cake using the same piping outward counterclockwise motion.