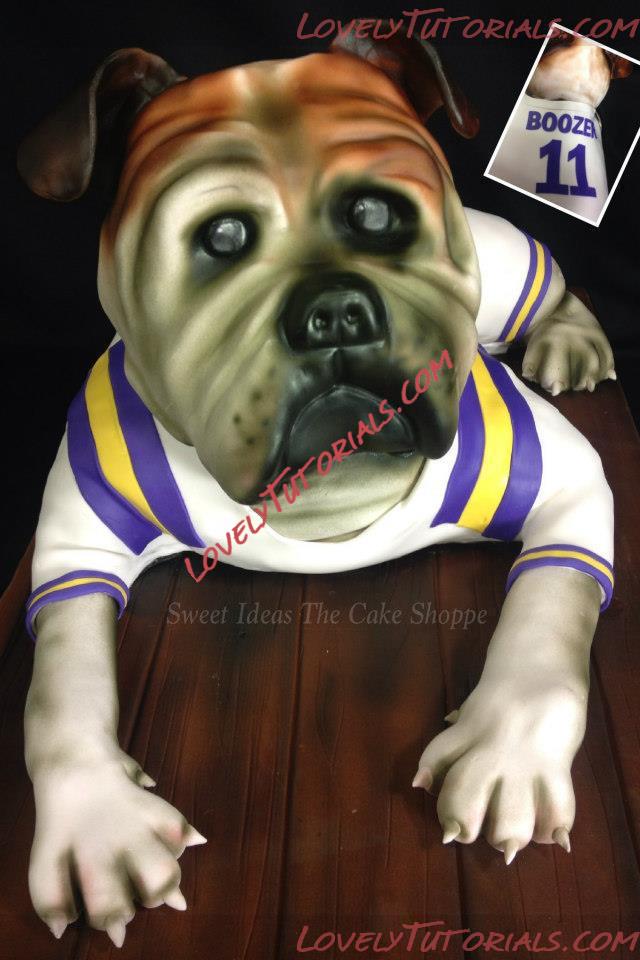
Огромная благодарность Автору Sweet Ideas The Cake Shoppe за Мастер-класс

Have your subject photographed from all angles and some really sharp knives.
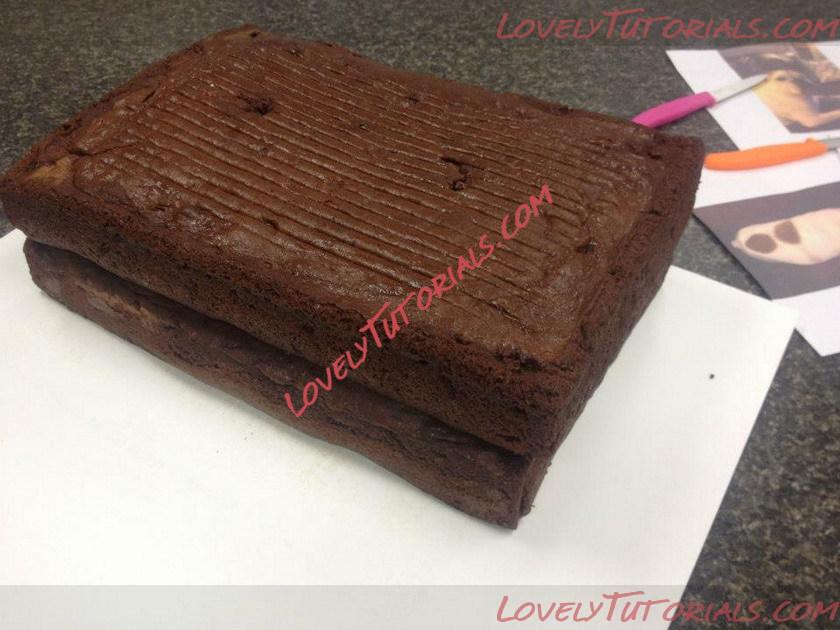
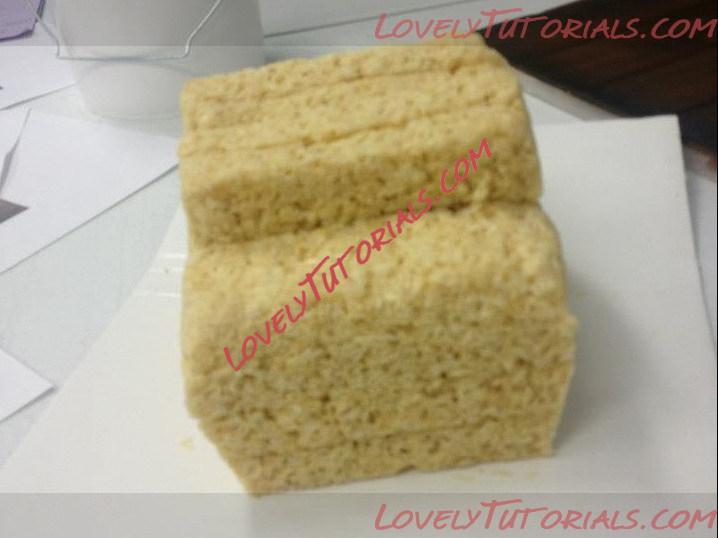
You'll need some good sturdy (DURABLE) cake. Start out with more than you need. I needed 50 servings so I baked two 10X15s. I have it on a piece of 1/2 inch foamcore for support.
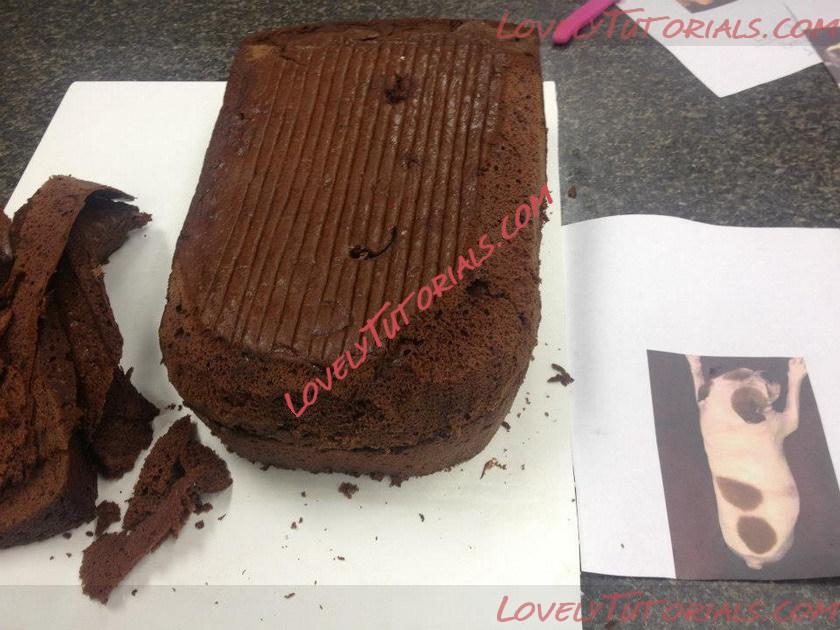
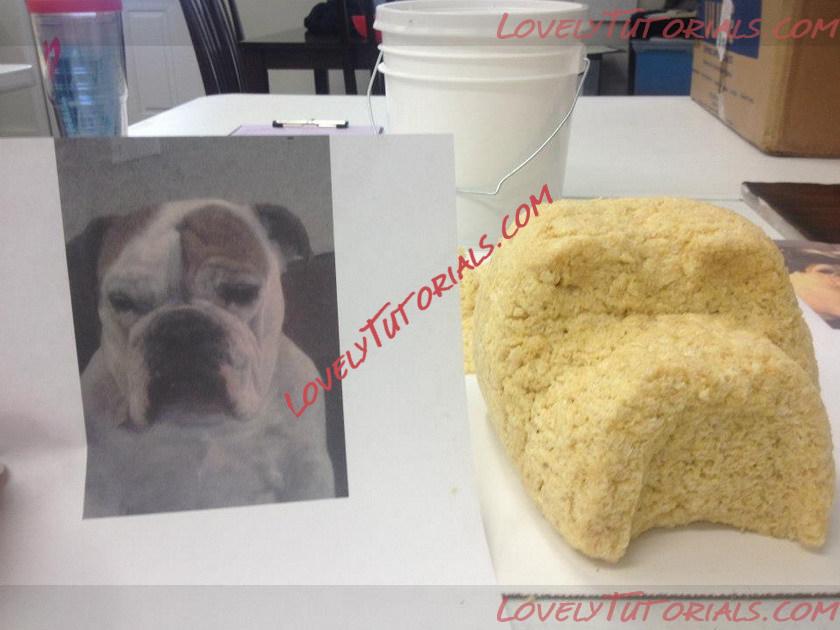
Carving out a general shape. You can see from the photo I'm working on one side at a time.
Still carving the general shape. Remember when you are shaping it up that you want to take off a LITTLE bit more than what you want the final size to be due to the icing and fondant that needs to also be layered on.
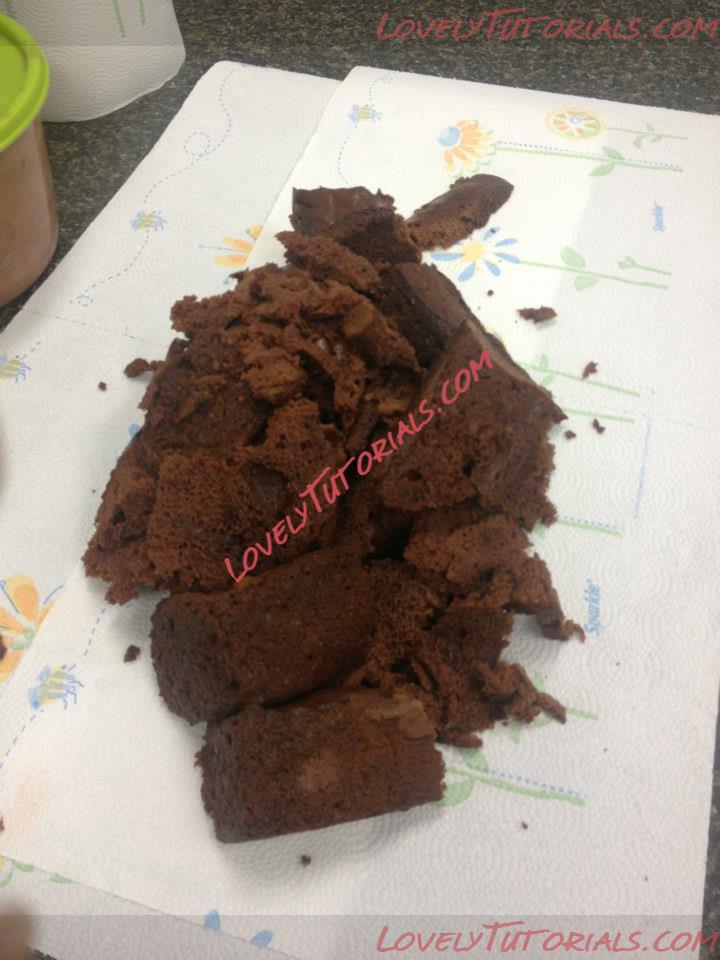
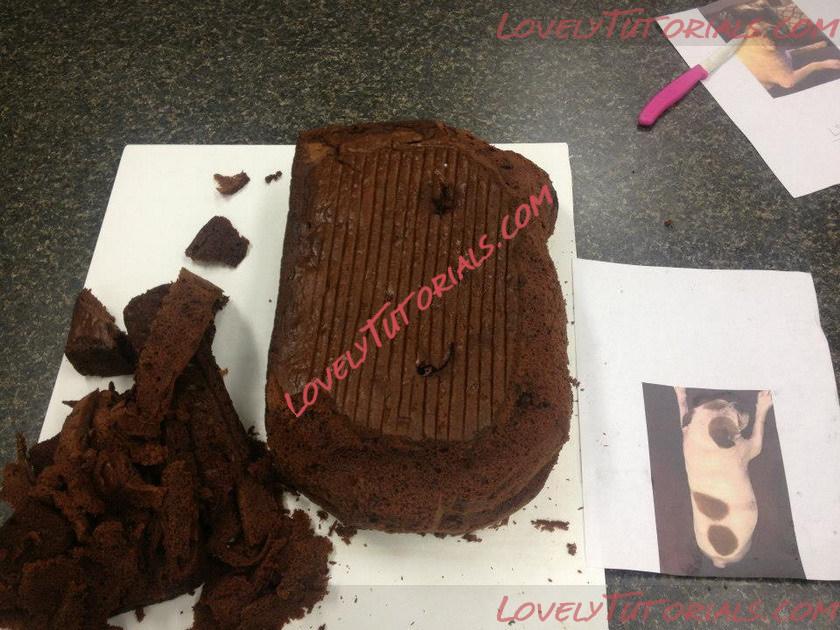
Carved cake scraps..DO NOT THROW THEM AWAY. Trust me, if you pitch them you will need them. Ask me how I know.

The biggest pieces of the scrapes will be his elbow, shoulders and hind leg.
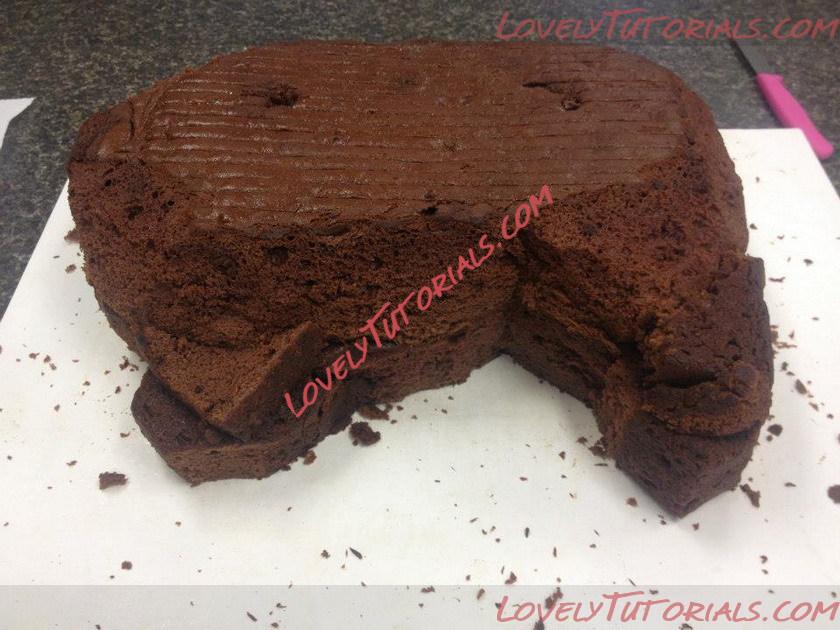
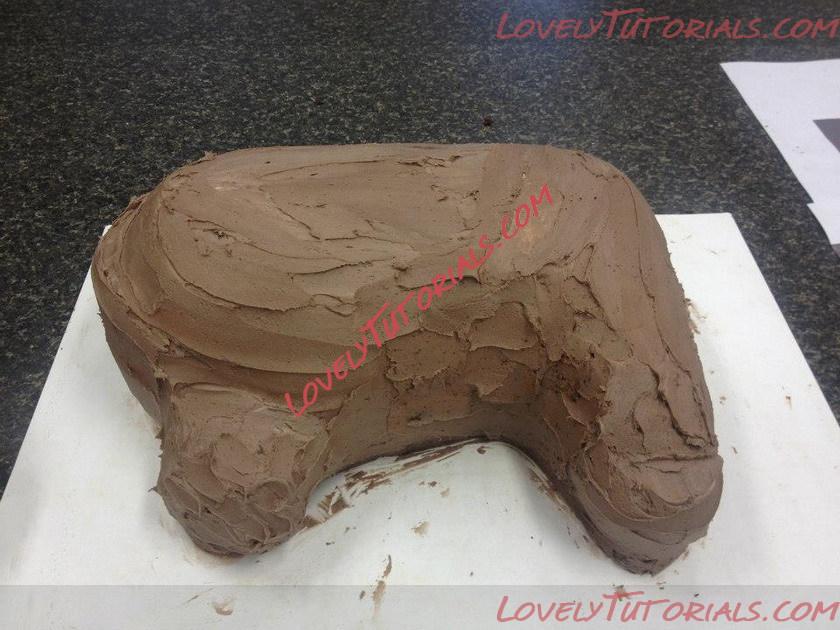
General shapes, that's what you are going for here. So my pup is laying on his side with the other hind leg tucked up under him.
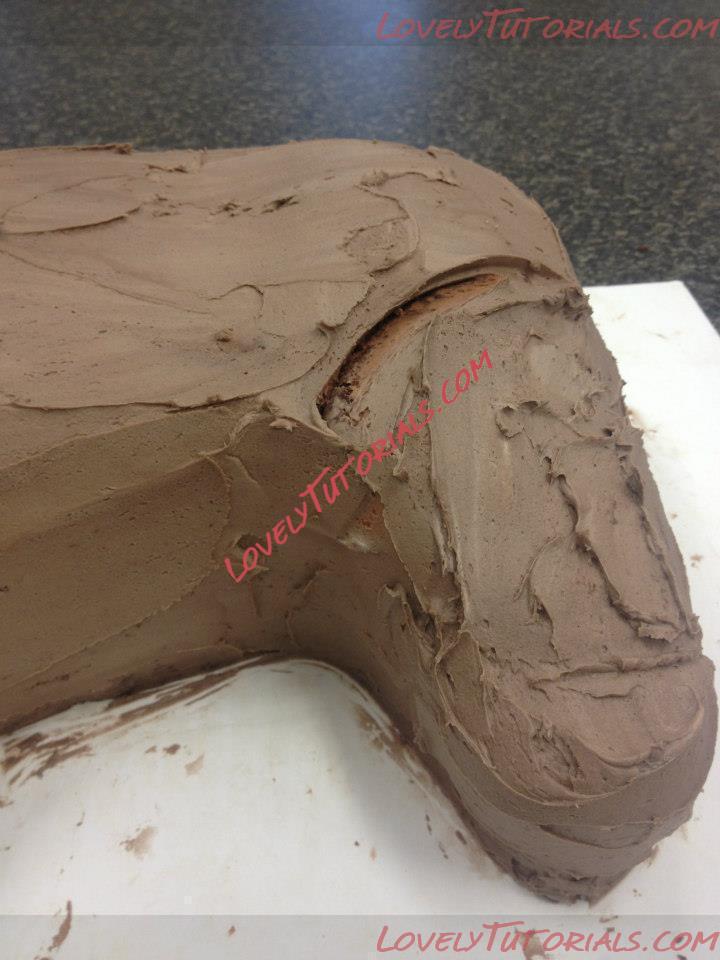
Crumb coating helps me "see" that this area of his hind leg isnt shaped like I want it.
So I cut more out. and reiced it.
I added more icing than a crumb coat on each leg area (its kinda like his shoulders in the front and his knee in the back) And also on the front of his chest. Bulldogs have alot of wrinkles and folds and having "mushy" icing under the fondant will help me create them.
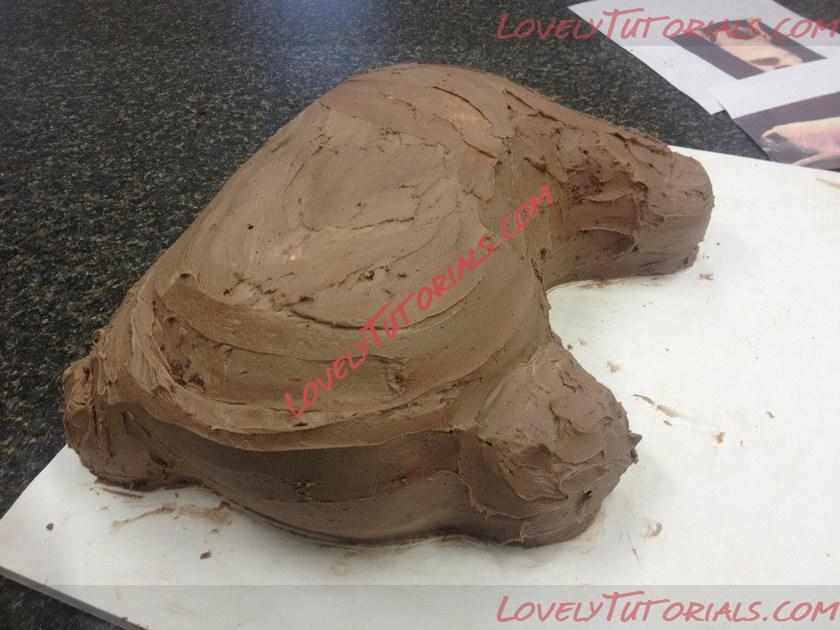
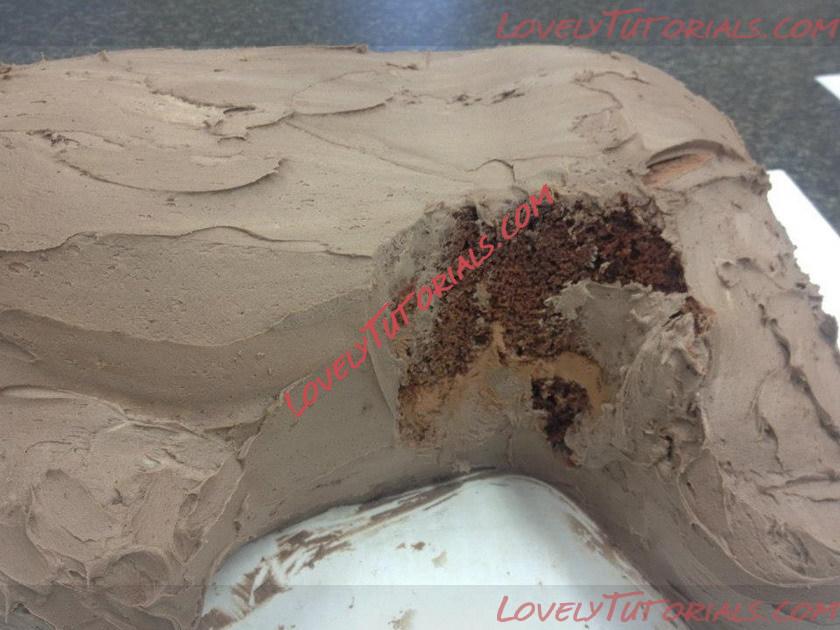
He's all crumb coated here and looks really weird. I guess at this point he could be a turtle even.
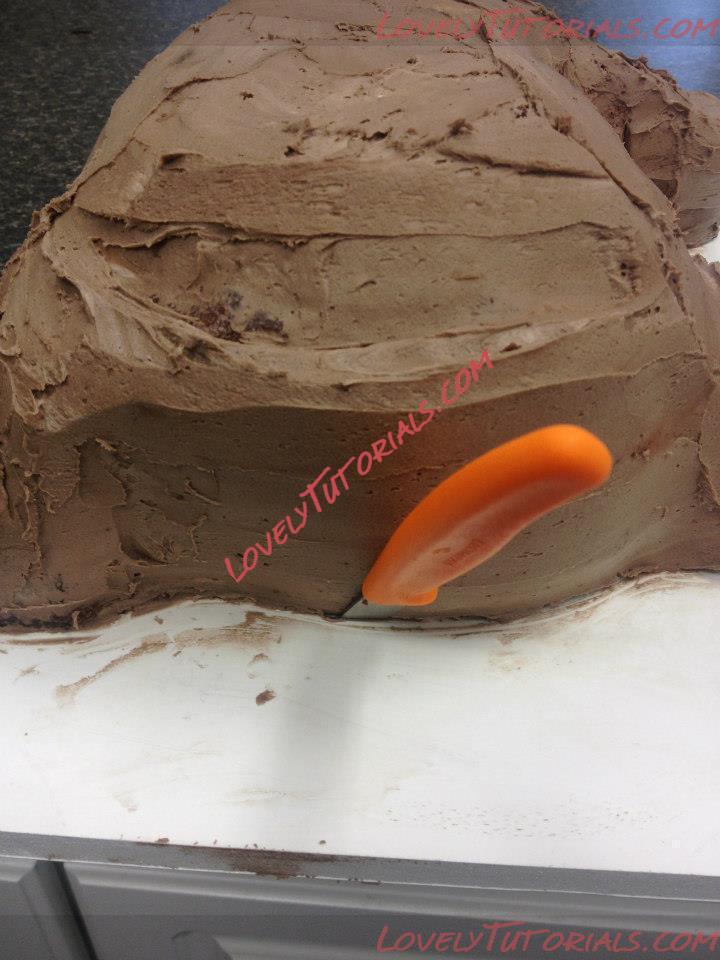
OK, ready for the tricky part? Take a sharp knife and cut right under the cake all the way around to remove the excess foamcore. You will need to bring the edge of the board to the edge of the counter to cut through it. An exacto won't work even thought its sharper. You need that long knife blade to saw thru and not have the handle gouge out your cake.
Important: only bring a small amount of cake over the edge of the counter...make sure you are aware the whole time how much is hanging over..cause it could very well fall off and ruin everything you just did. Ask me how I know THAT!
Here you can see the angle I was cutting at. This means that the board left under the cake is less visible and less you have to try to cover up.

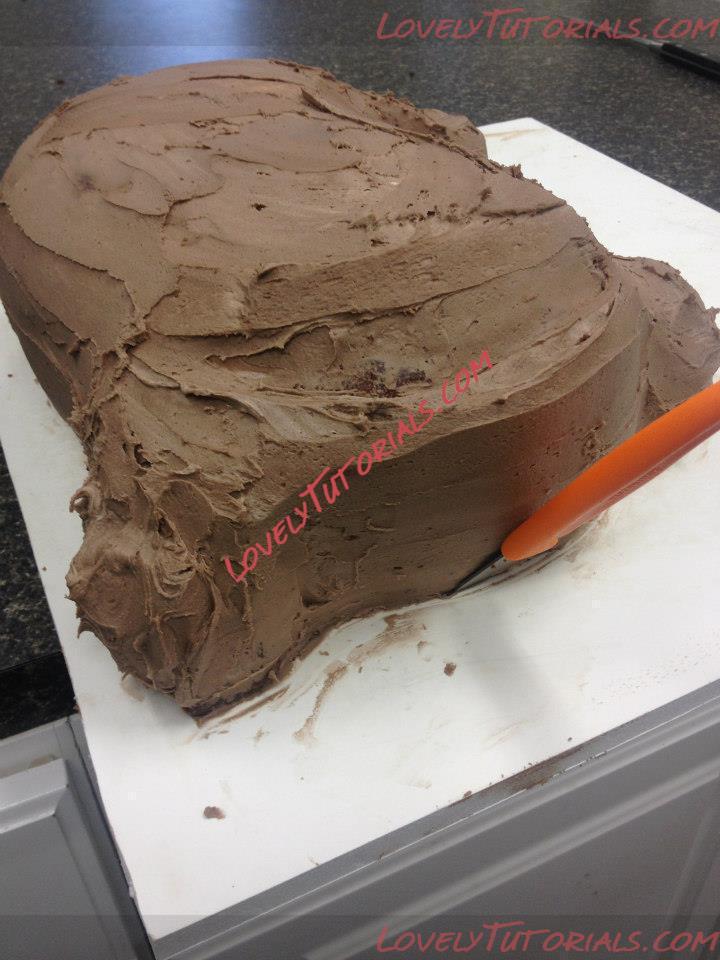
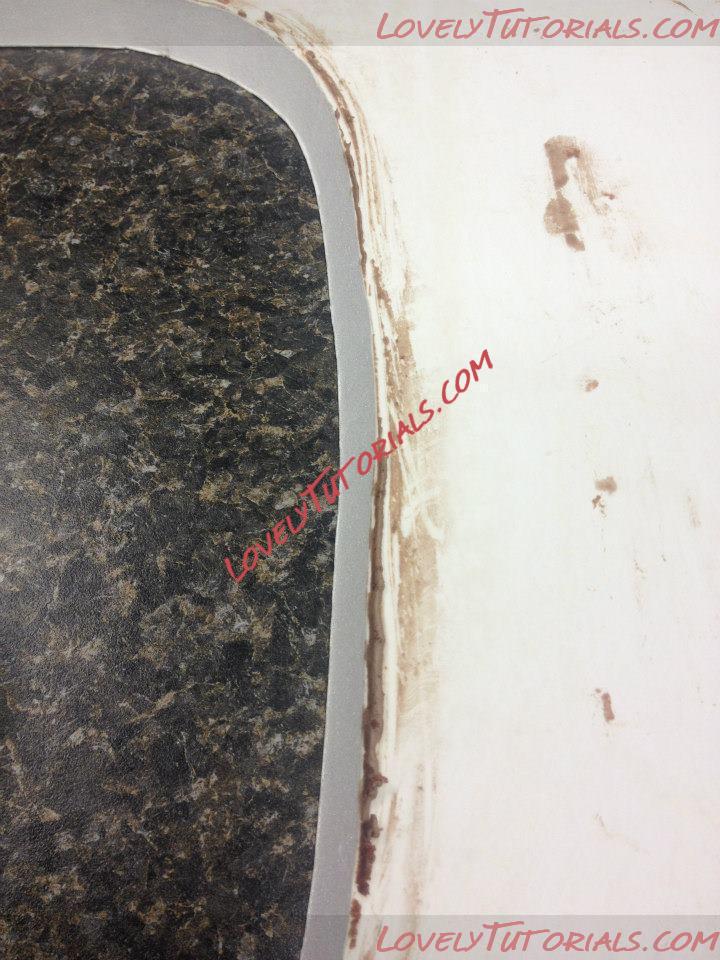
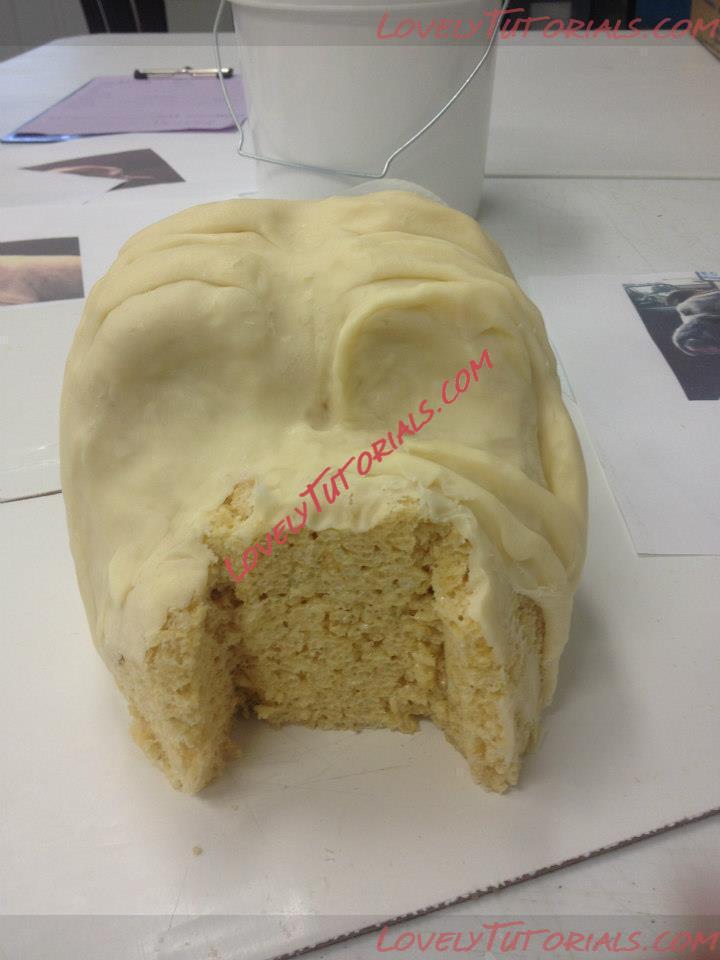
Since I have parts (legs) that needed to be attached to the cake but were not on their own board I choose to move the cake to its final board. Notice what I forgot to tell you to do earlier?? That's right smooth the crumb coat with viva! You want it smooth...what's under fondant is what the fondant will look like.
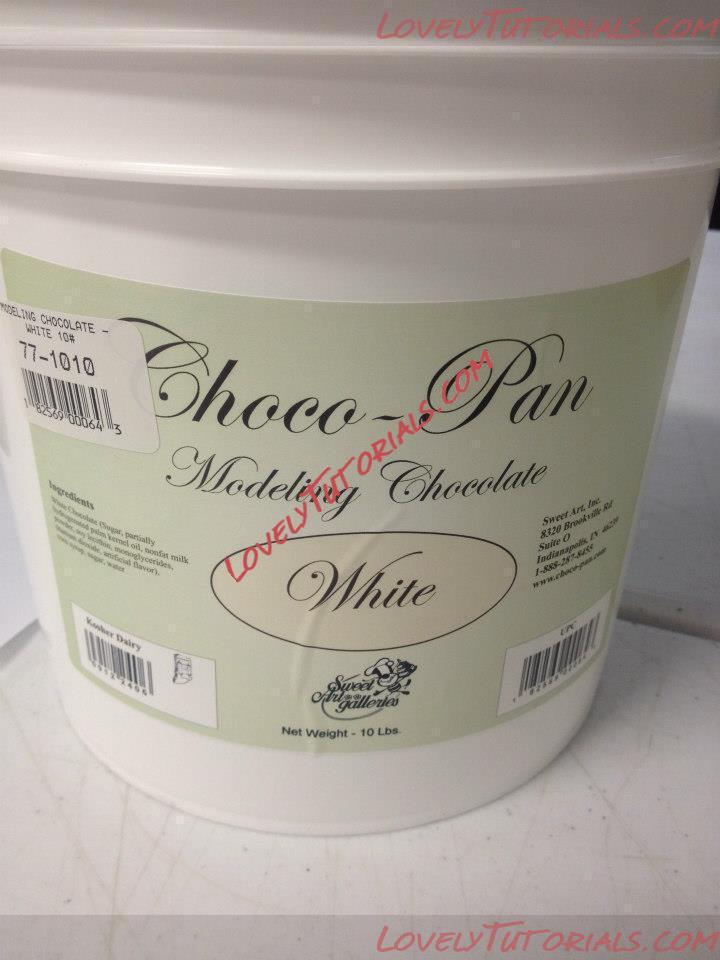
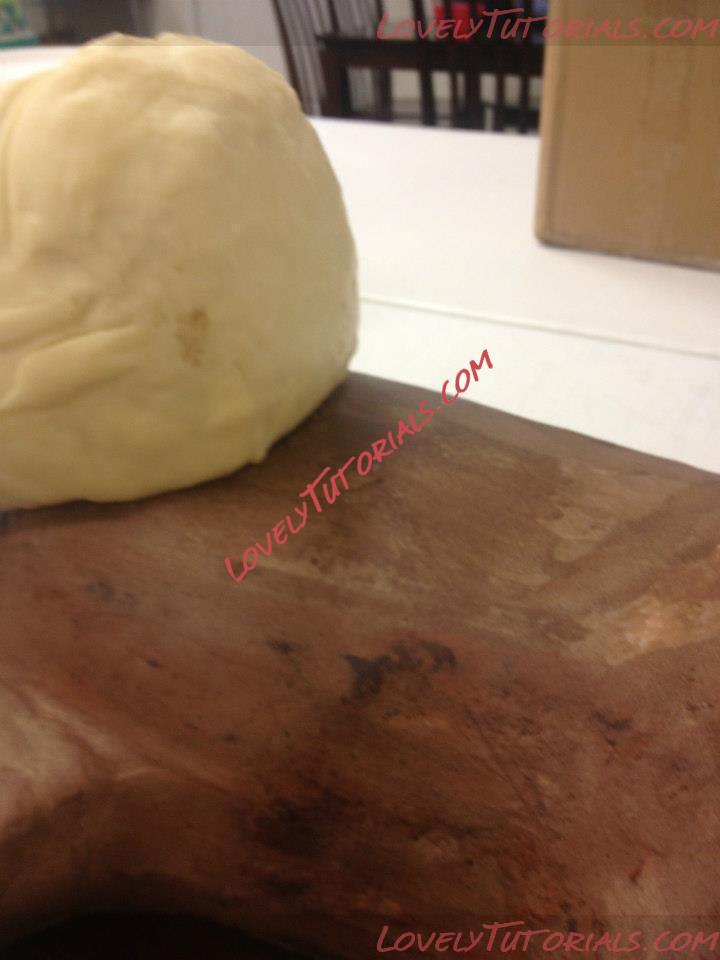
Modeling Chocolate. I tried to type out how much I love this product but there's not enough room. If you havent worked with it you are MISSING OUT!!! You will know why in a minute.
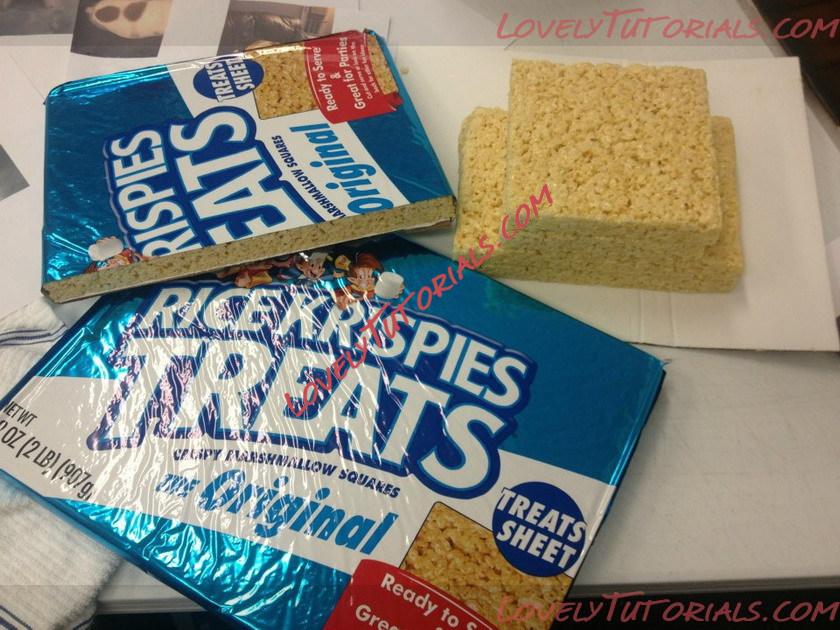
AND another product you are gonna want to play around with. I get these from a restaurant supply store but I have seen them at Sam's and I think even Walgreens.
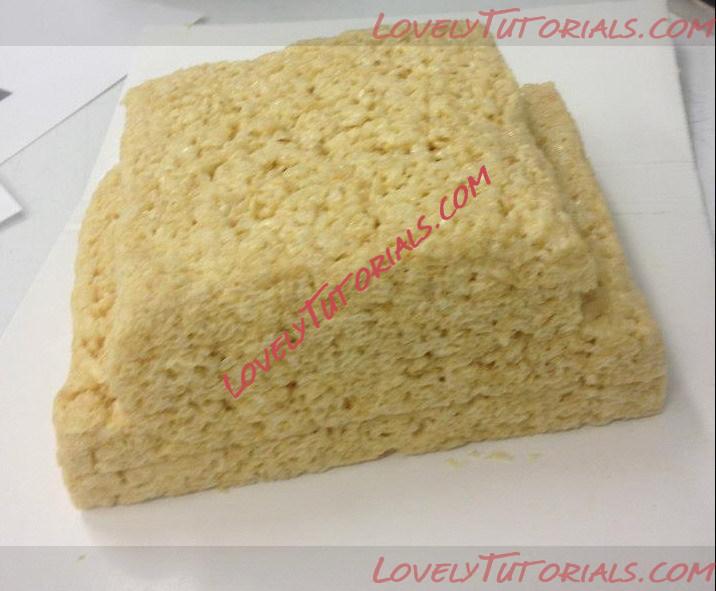
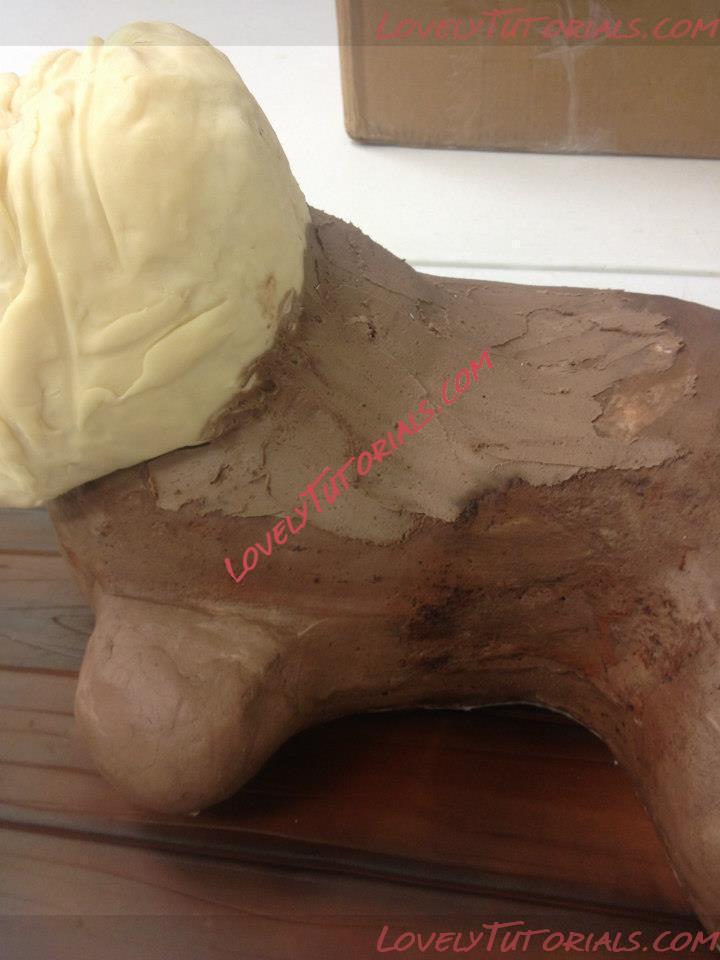
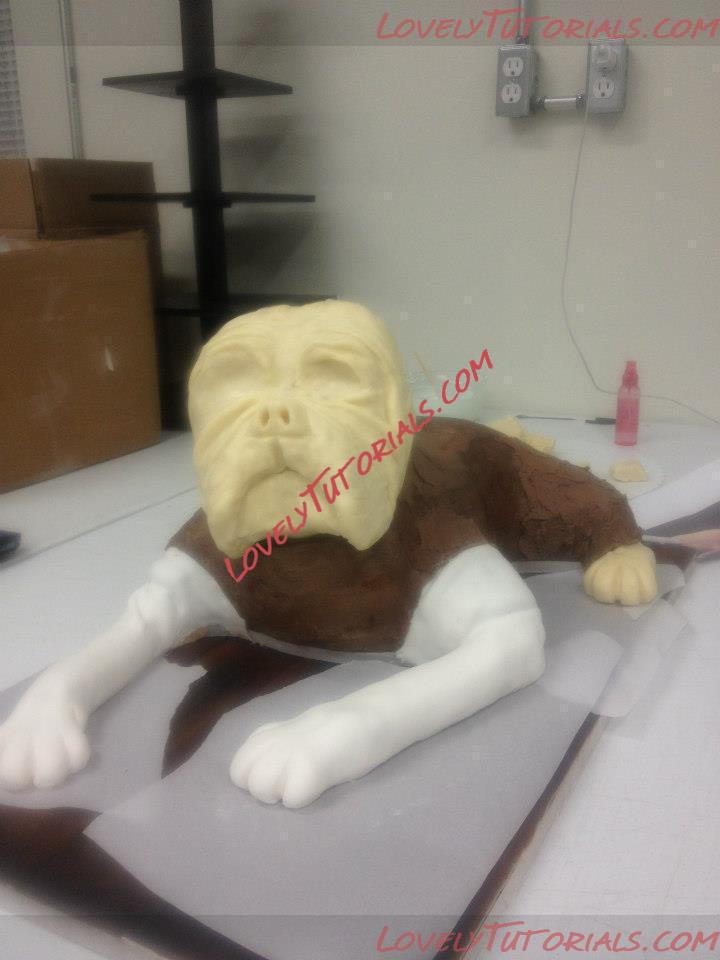
These three pieces are going to be Boozer's head. Since it was my first dog and I wasn't sure about the support for cake I went with what I know would hold up.
Carving a general shape. Remember we started with more than what we will need in the finished product.
Using a picture for guidance. The best thing about RKs is if you carve off too big a piece you can just stick it back on!

A sheet of modeling chocolate (I'm going to start calling it MC to help with typing) over the whole head. Then strips of MC to make the wrinkles of his face.
I have him propped up on a small tubberware container so the jowls can hang down.
This part is part of how I work...Once I was adding on his wrinkles and I looked at the picture and realized that his snout was too long. I removed as much MC as I could and carved out some more.
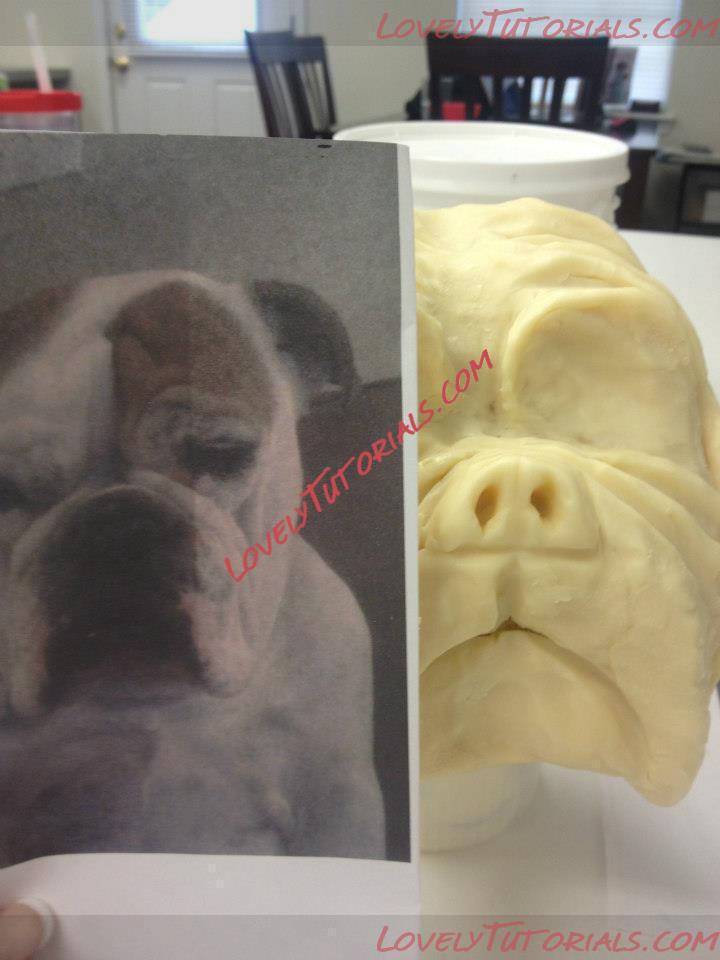
There that's better.
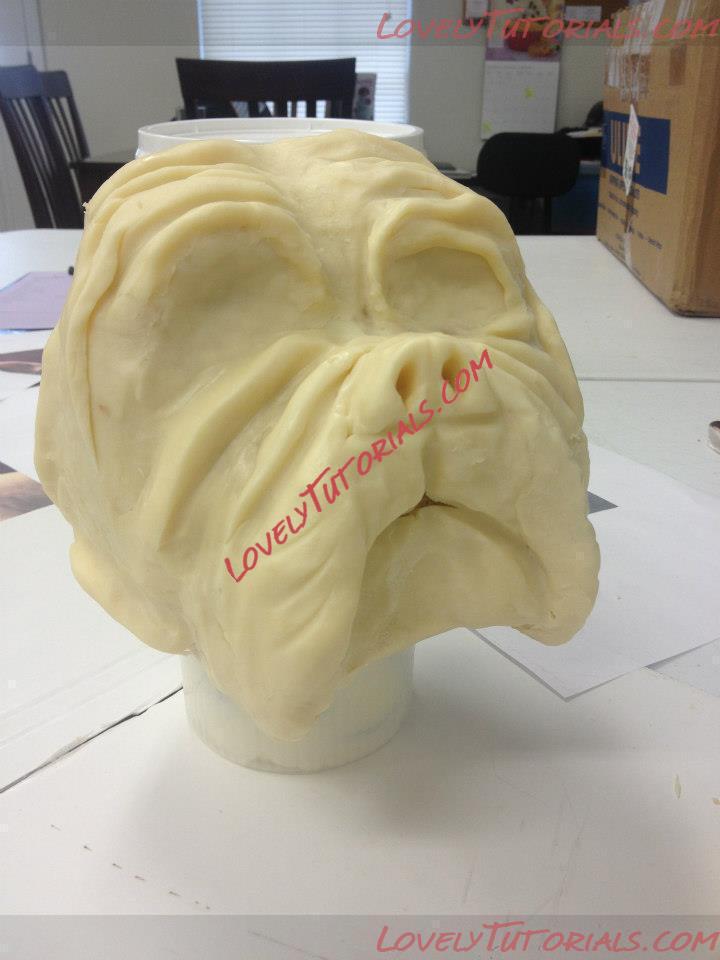
Working from one side of his face to the other with the wrinkles. His nose is a big piece of MC also. This whole process took around an hour or so. With MC that doesn't dry out and crack this is possible.
I didnt get pictures but there are 4 dowel rods in the cake under the RK head. I also have 3 sharpened dowels from the top of his head thru to into the board. Something is Weird looking right around here...
I had to look up online what was missing...his neck....remember those cake scraps? Yep, told ya.
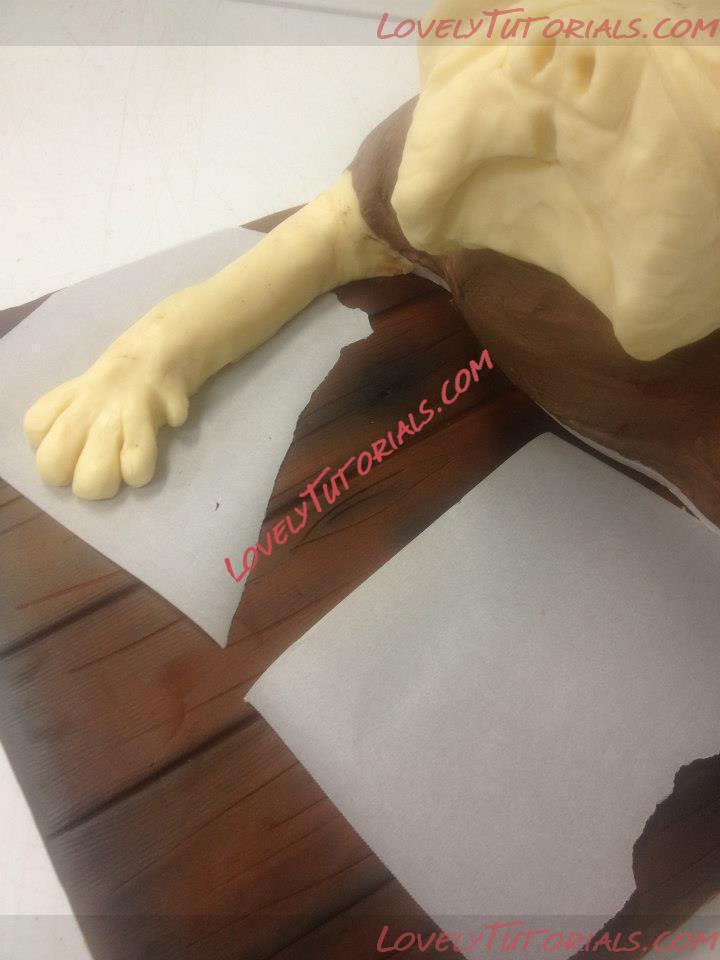
a piece of parchment paper under the MC leg and paw. Its just a long sausage with a bigger piece on the end that gets cut into smaller sausages.
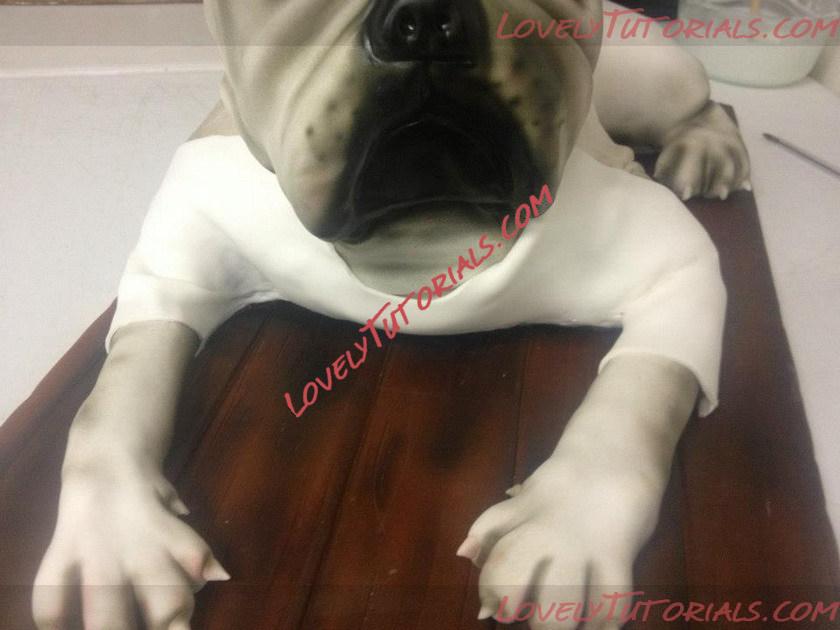
Both legs covered in strips of fondant. Use the pointing end of a cell pin to push the fondant under the legs and to go into the creases of his paws.
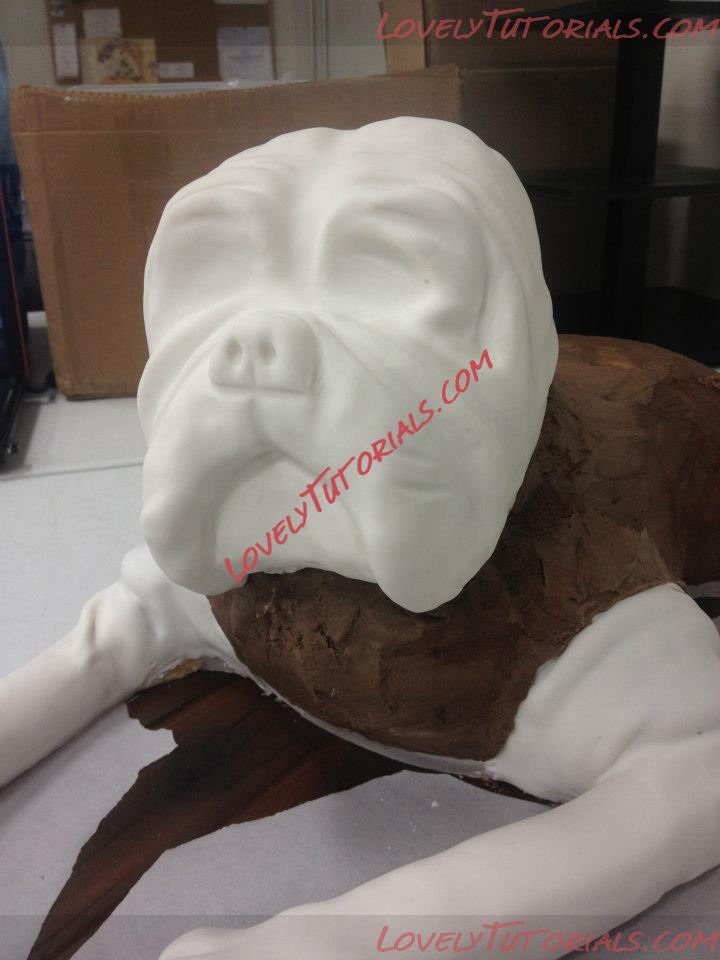
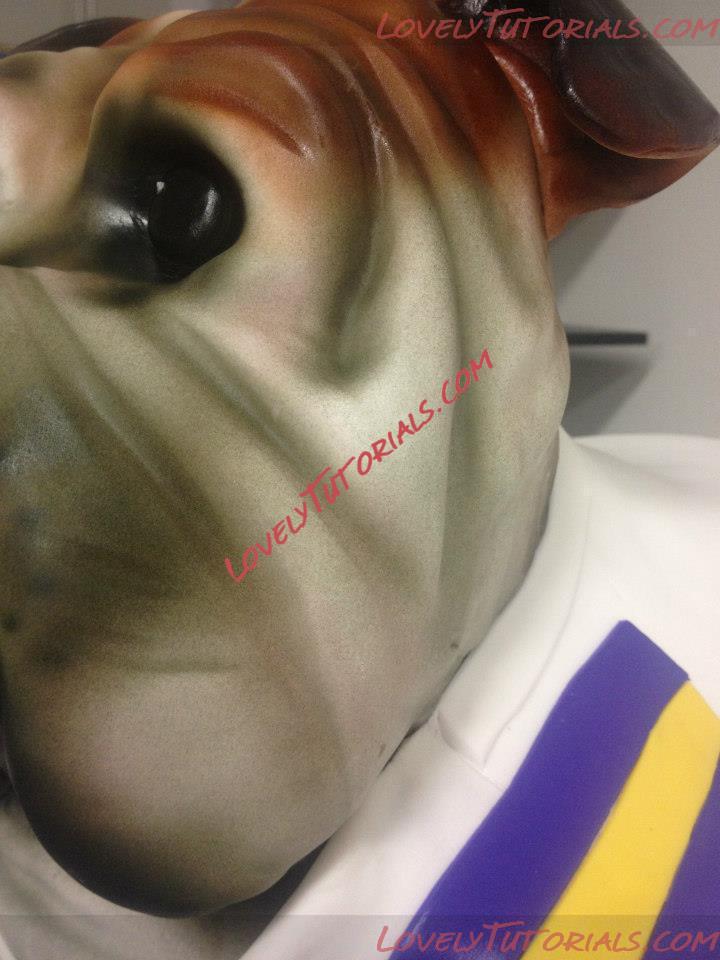
Another sheet of fondant covers the face and head. You have to put fondant over MD because its really hard to airbrush or color MD due to the oils in it. Use the cell pin or any other tool you have (fingers!) to get in all those wrinkles and eye sockets and nose.
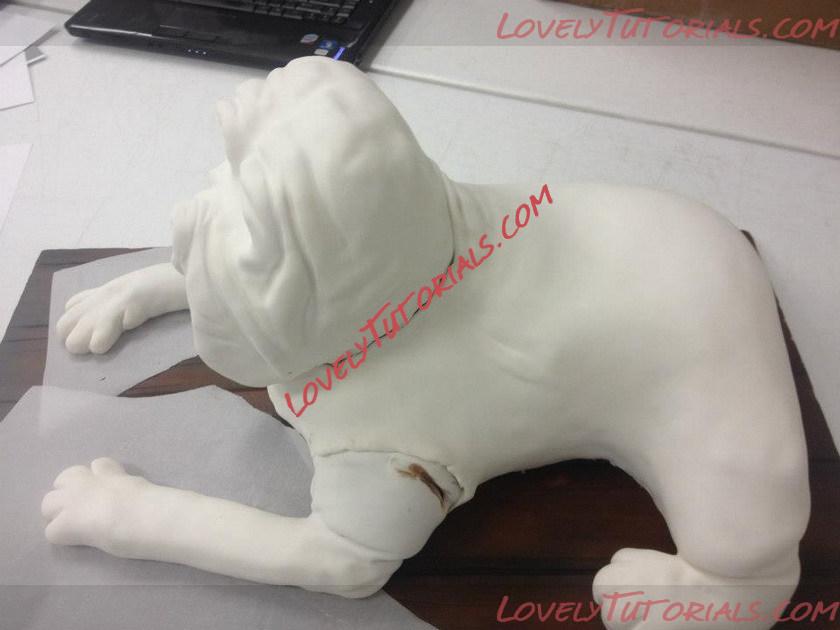
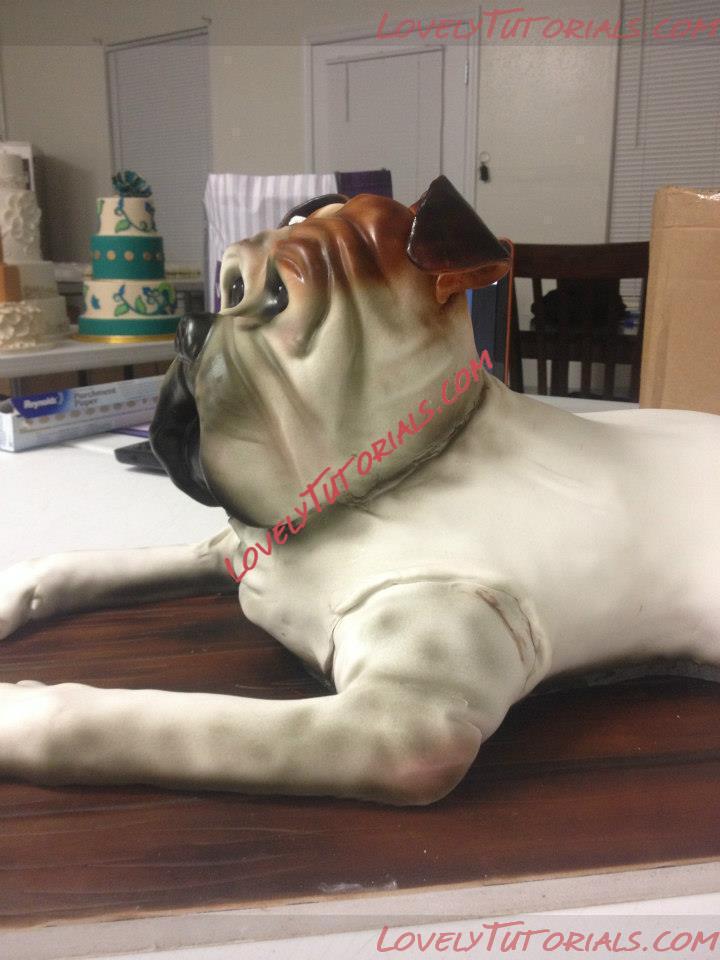
Sheet of fondant covers his body and his back paw. I didnt worry about doing THIS one in sections since I knew there would be a Jersey going over it to cover the seems. On any other dog/animal I would cover all the paws and the body THEN put the head on so the body is all one piece
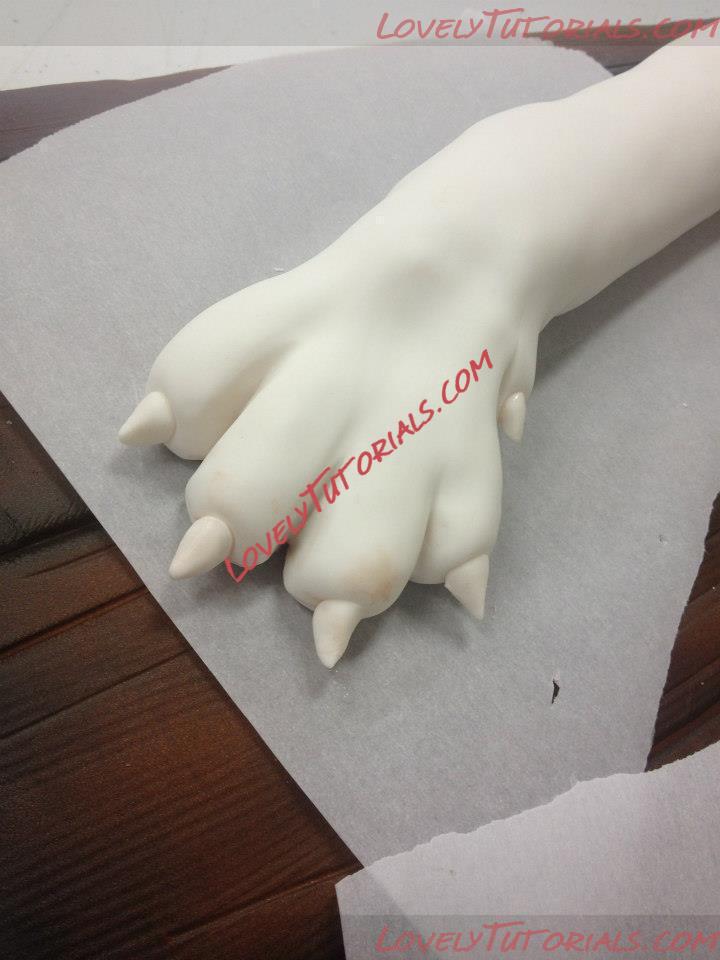
Back of the cell pin makes an indention and lil triangles of fondant make up his toenails...my favorite part!
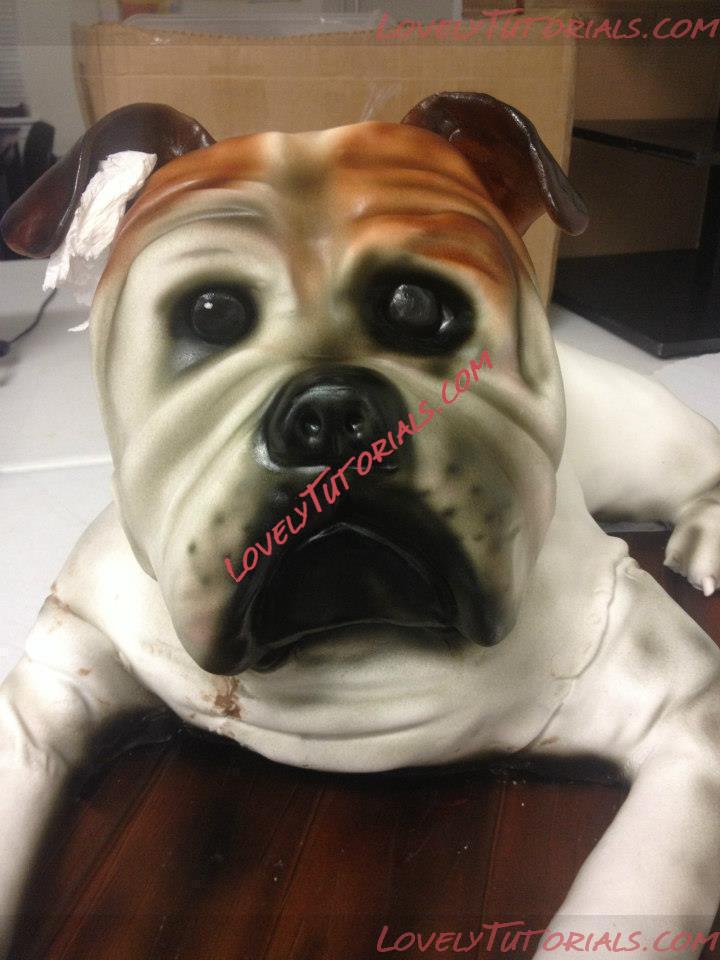
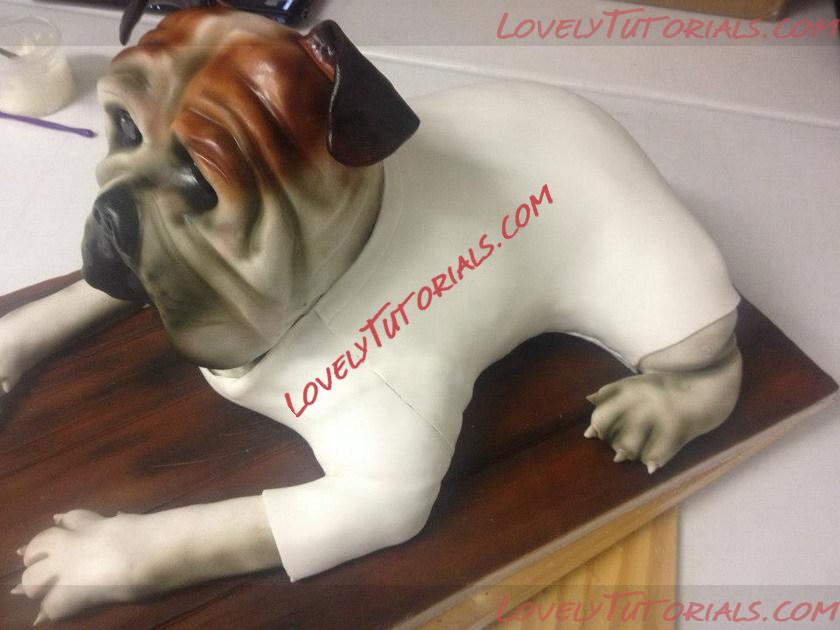
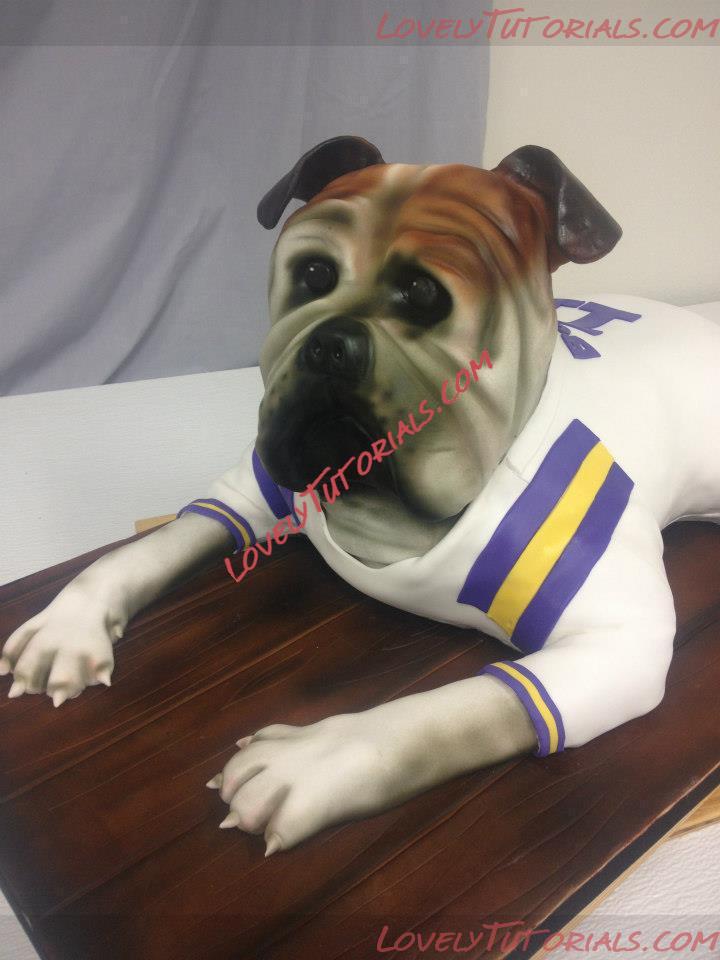
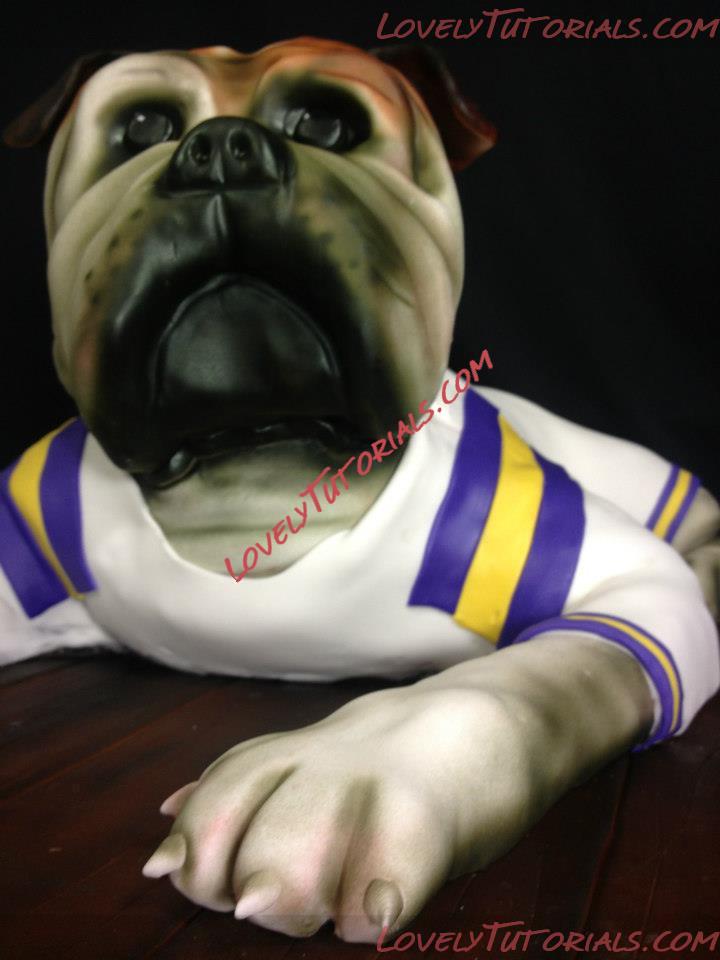
(once it got past 11pm I started forgetting to take pictures) Here is his face airbrushed..black with a lil brown for the muzzle, warm brown for his spots. His ears are triangles of MD covered in fondant (fondant has tylose added to it) I used a paper towel to prop the ears up. It only took about 10 minutes to set up.
extreme light mist of black/brown for the spots on his legs. and even some pink where his skin shows through.
Here is thin piece of fondant for his jersey. Yes, this took three tries to get right.
Make sure you wait for all the airbrush colors to dry before this part.
Rest of the jersey
adding some purple and gold stripes and a thin white strip for the collar

stripes for his sleeves, white strip, see it way in the back for the hem of his shirt. It helps finish it off and covers any areas that the foamboard might be peeking through.
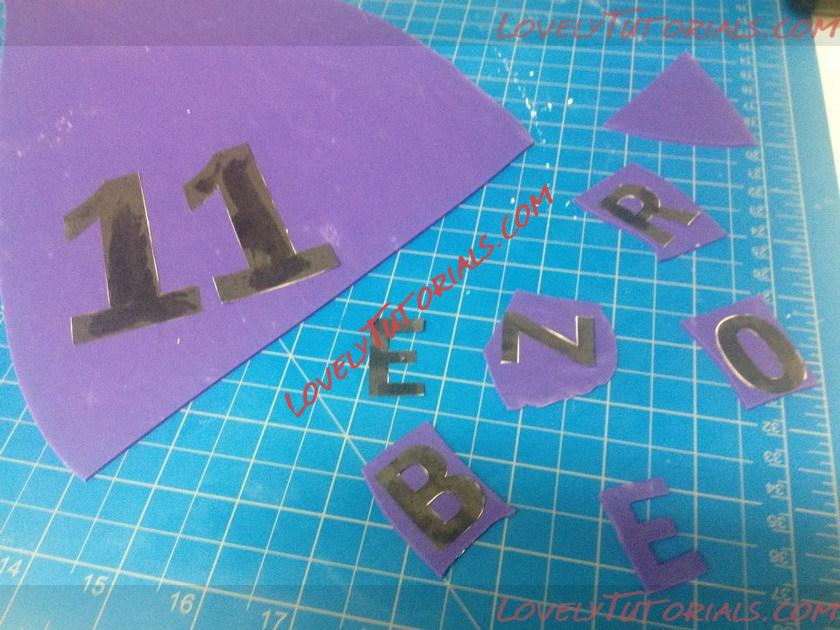
Use printed letters in the size you want for templates. Roll out your fondant and let it sit for a few minutes so it is dry to the touch.
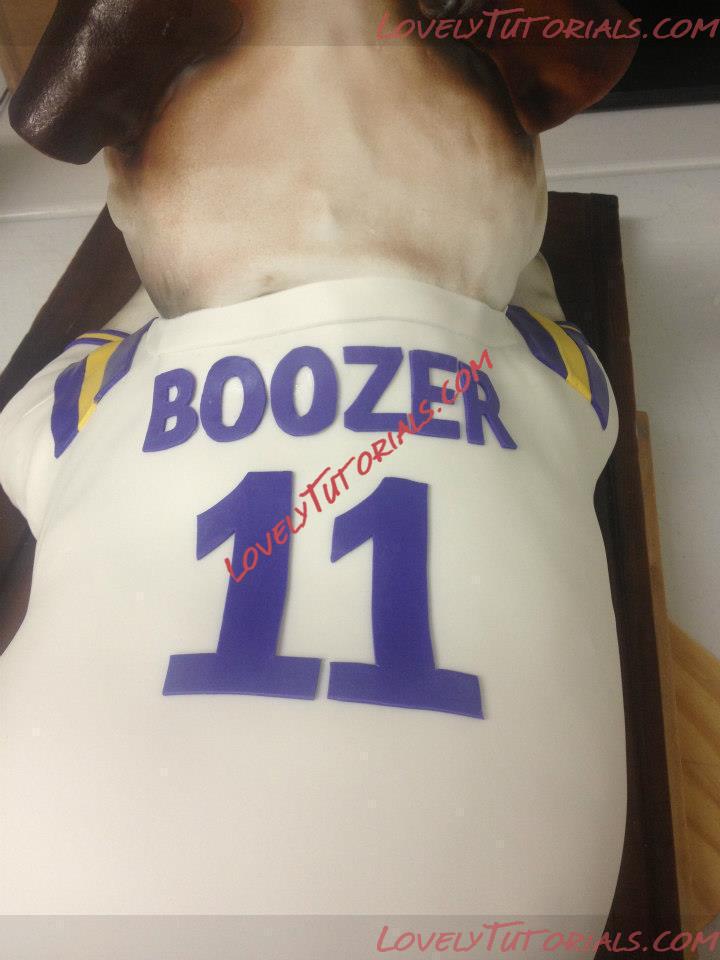
Apply letters with a tiny bit of water or piping gel
Add a black ribbon around the edges of the board for a cleaner finished look
THIS is called...ATTITUDE.