{Making the Lid}
I made the lid in and around making the rest of the cake, but you could make it ages in advance if you wanted to, itвАЩs not edible anyway so itвАЩs not going to go off.
YouвАЩll need:
~ ¬ЊвАЭ thick polystyrene
~ Craft knife & cutting board
~ Ruler
~ Sandpaper
~ Fondant tools вАУ rolling pin, smoothers, knife, etc..
~ For the rose вАУ flower making toolsвА¶ ball tool, foam pad, wire, sugar glue, plus flower formers or soup spoons for drying the petals
ItвАЩs up to you whether you want your lid to taper or not, I decided that I did, coz I like to make things more difficult for myself. If you donвАЩt want it to taper, just cut out a piece of polystyrene the same size as the top of your box.
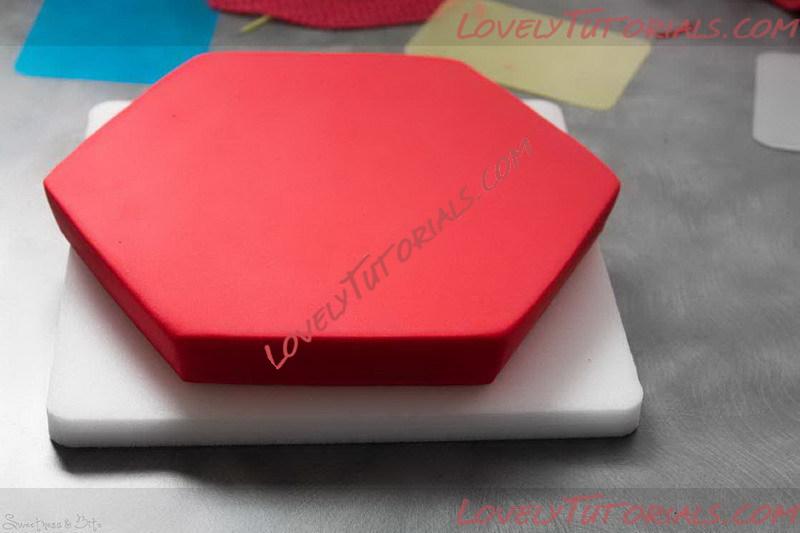
To make a tapered lid, cut out a hexagon that is around ¬ЉвАЭ bigger than the top of your box. On one side, measure in ¬ЉвАЭ (or trace around board #2, or one of those templates if youвАЩve kept them). Use a craft knife to cut around the lid, from the mark on that side, to the edge of the other side, creating a slant. Use sandpaper to refine the edges. Since youвАЩre not actually placing the lid onto the top of the cake, if itвАЩs a bit off size-wise, itвАЩs no big deal.
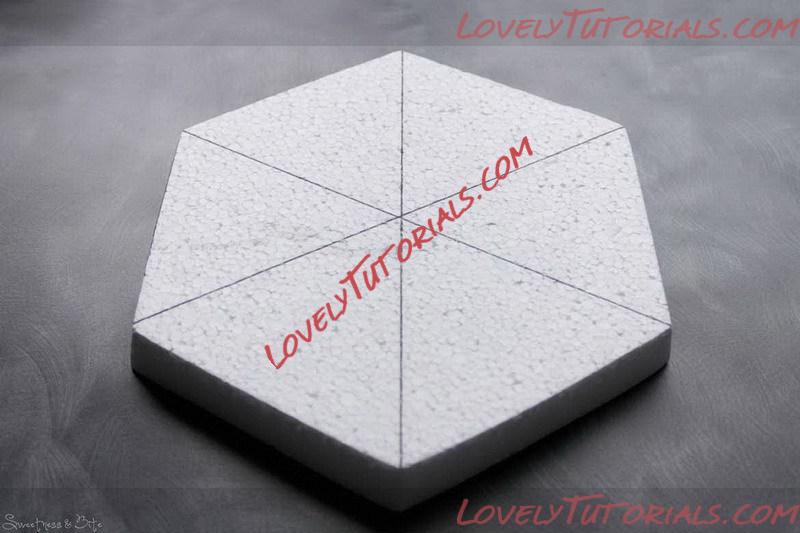
Cut out the hexagon, then taper the edges.
*
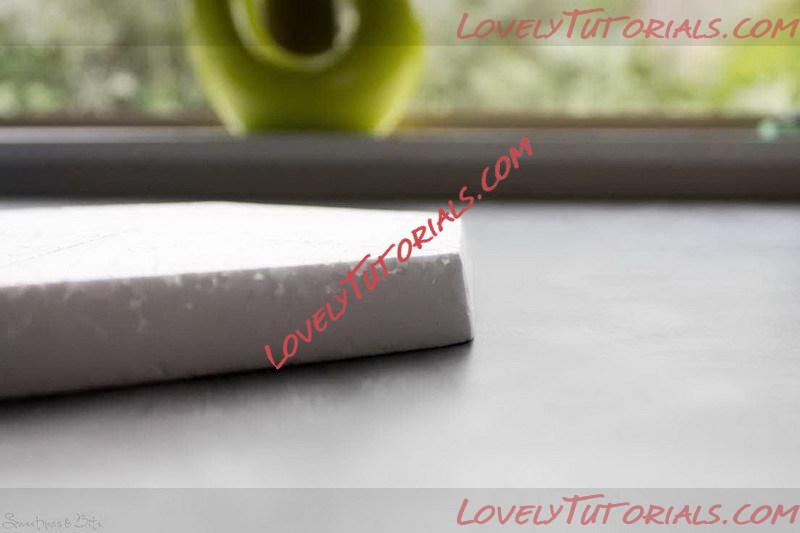
Use fine sandpaper to smooth the edges and refine the taper.
Brush the smaller side of the lid with vodka and cover with fondant or gumpaste. Trim around the edges and then leave to dry. I pressed a texture mat into mine after covering, but you can leave it plain if you want.

Press a texture mat into the white gumpaste. This is the inside of the lid.
*
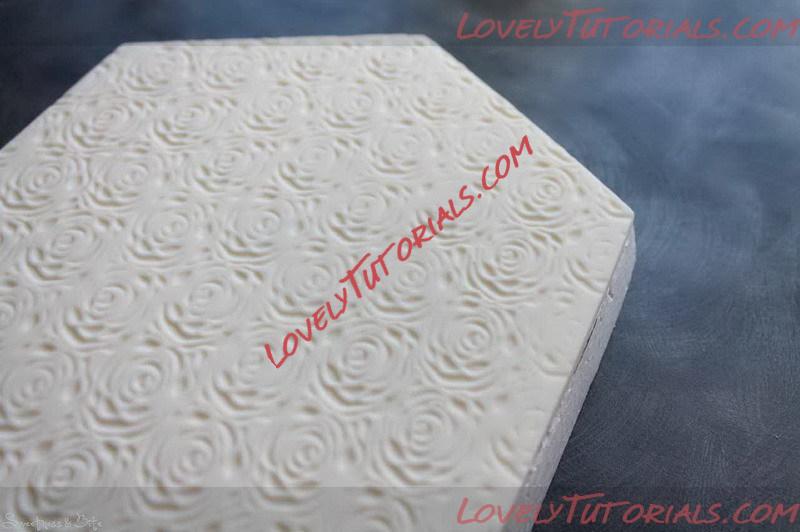
Adding the texture to the inside isnвАЩt necessary, but itвАЩs veeery pretty.
Cover the top of the lid, gently easing the fondant down over the edges. YouвАЩll need to work quickly to get the paste down over the corners of the polystyrene and tucked down into the taper. It took me two goes to do this, the first time I was too slow and the edges cracked. Flip the lid over onto a piece of baking paper and trim the excess paste carefully with a sharp knife, scalpel or razor blade.

Cover the top of the lid and trim the edges.
If you end up with some coloured paste from the top on the white, leave it to dry and then gently scratch off the coloured bits.
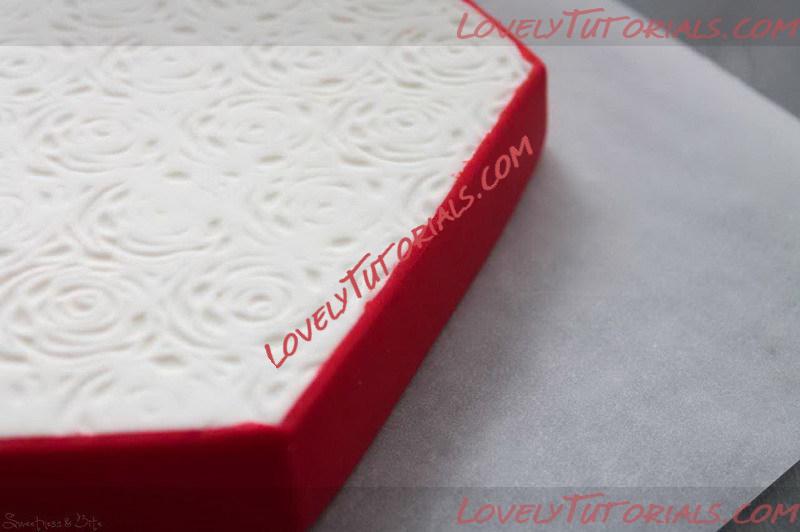
These rough bits of red fondant on the white are easily scratched off with a scalpel or razor blade once the fondant is dry.
Leave the lid to dry so you donвАЩt dent it while you do the rose.
Time to dry
*
{Making the Rose}
I wonвАЩt tell you how to make a rose, coz IвАЩm totally unqualified to do that. This was only the third rose IвАЩve ever made, and I wasnвАЩt 100% happy with it. I followed instructions in
Alan DunnвАЩs Wedding Cake DecoratorвАЩs Bible, but there are plenty of online tutorials on making roses. Luckily for me, as this is a decoration on a вА?boxвАЩ it doesnвАЩt need to look botanically correct. At least thatвАЩs what I kept telling myself.
Basically for this, you want to start by making an almost-full rose, (on a piece of thick wire, I used 18 gauge, or you could use a toothpick) and then leave it to dry.
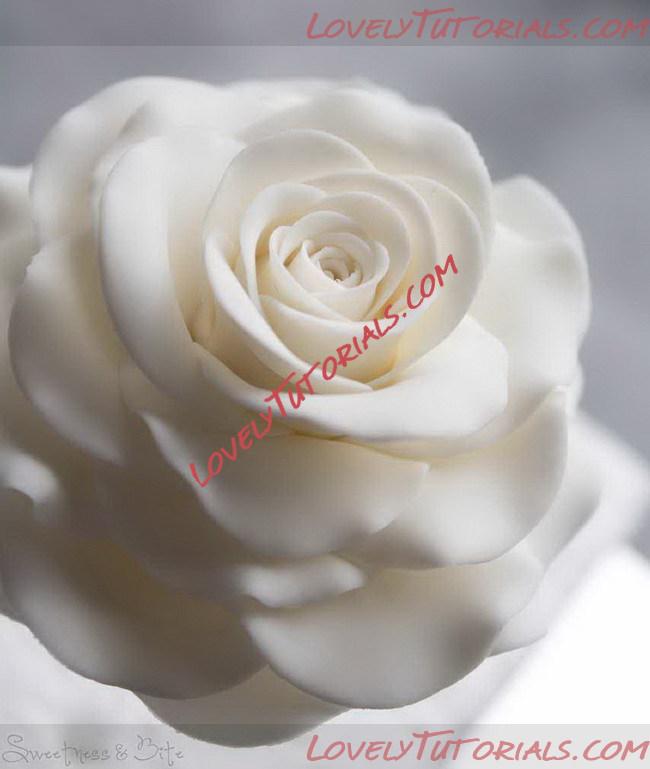
My almost-full, non-botanically correct rose.
While the rose is drying, make a template for the top of the lid (or recycle one from earlier, it doesnвАЩt have to be exactly the right size, youвАЩll see mine was a bit smaller) Fold the template to find the middle. Decide how far in from the edges of the lid that you want your rose to reach. Draw lines around it. Find something round to draw around that fits close you where your lines are. Centre it and draw around it, then cut the circle out.
Place the two pieces of template onto the lid, and push a pin through the centre to mark it onto the fondant. Remove the circle, leaving the outer piece.
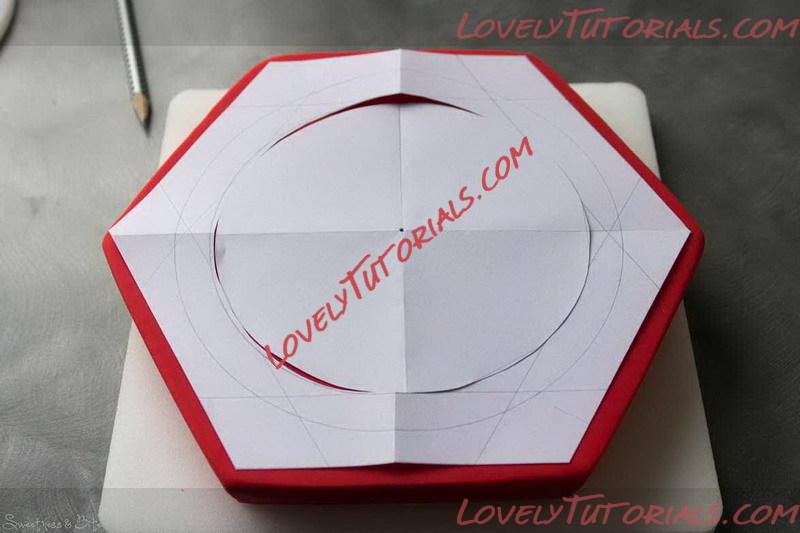
Lid template.
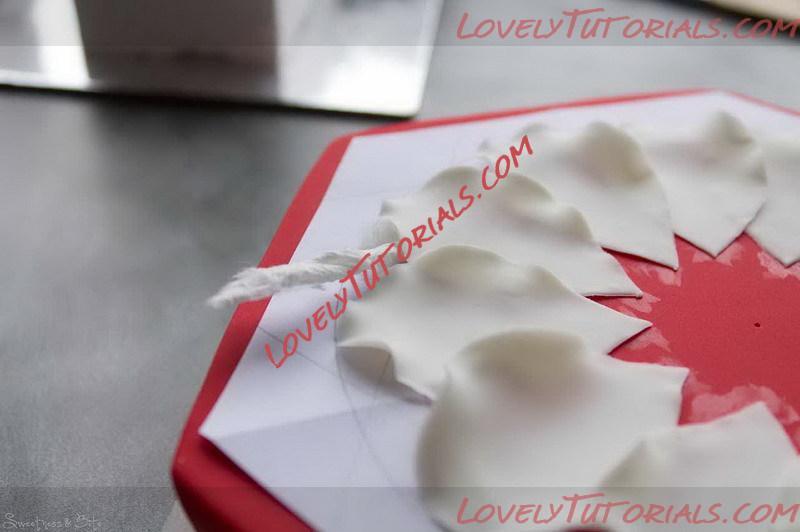
Start making your petals, exactly as you did them for the rose, and leave them to dry slightly with the edges curled back. I used some plastic flower formers, and also some soup spoons to dry my petals. You need to let the petals dry just enough to keep their shape, but still be slightly flexible. Place your first row of petals around the edge of the template, overlapping each piece slightly. Once youвАЩve got them where you want them, stick them in place with a little edible glue.
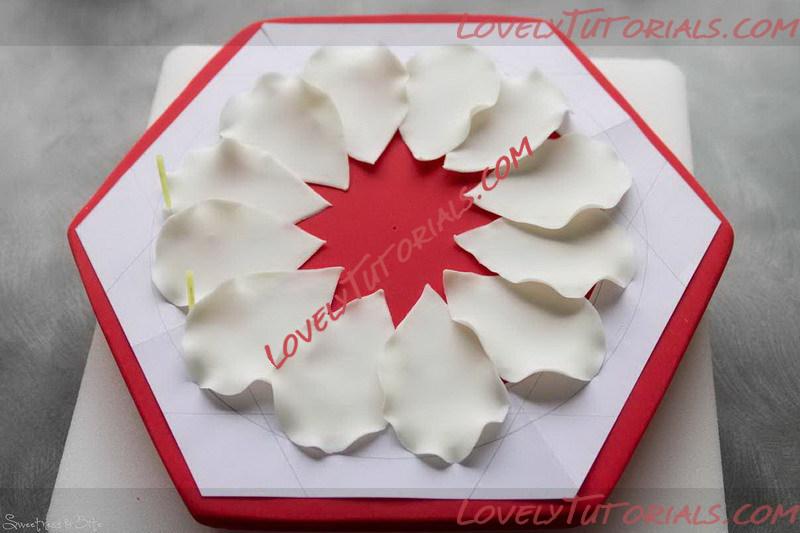
The first layer of petals. You can see on the left that I held the template in place with some acupuncture needles.
If any pieces sit too flat against the lid and you want to curl them a little, place small rolled up pieces of paper towel under them.
Use pieces of twisted paper towel to prop up droopy petals while they dry
Allow this layer to dry for 10 minutes or so (itвАЩs fine for the other petals to keep drying on their spoons while you wait).
Lay out your second row of petals, overlapping them, and aiming to place the petals over the joins of the first layer. These petals should be a bit drier, and curve upwards slightly from how theyвАЩve dried in the spoons. You can glue these ones as you go, and slide them into place if you need to. Prop up any pieces you need to with paper towels as before. Do the third row of petals the same way.
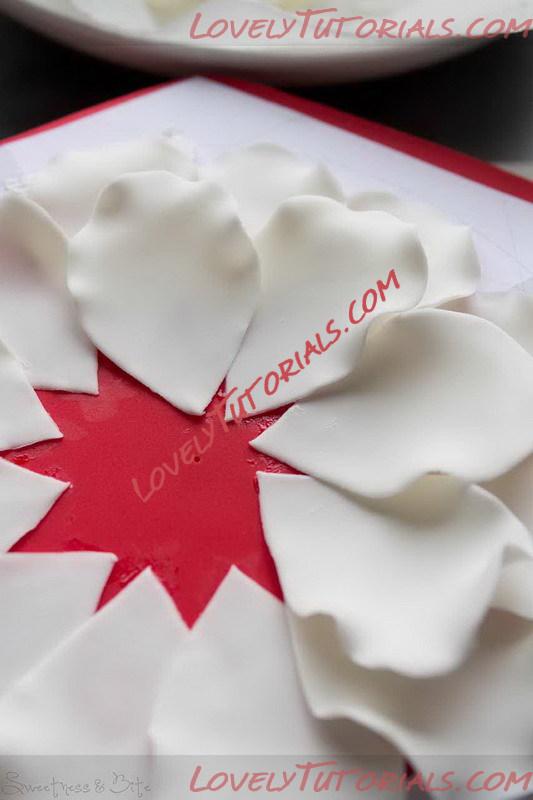
Placing the second row of petals. These should sit up slightly above the first layer.
*
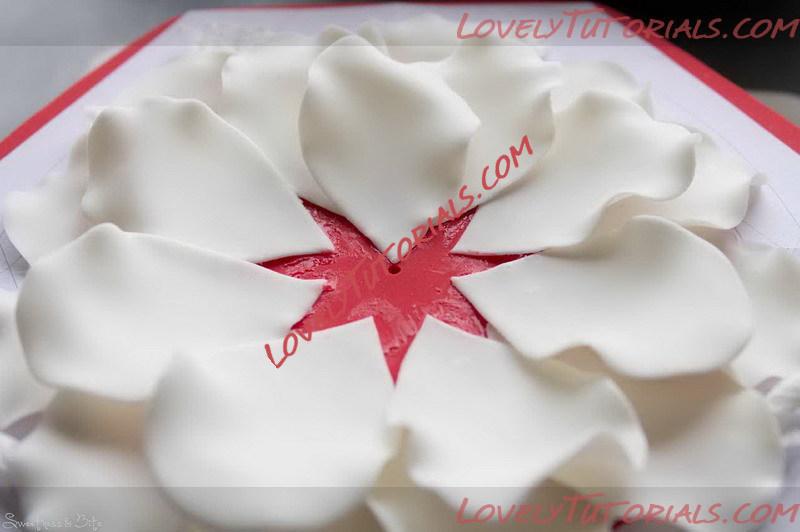
Starting the third row of petals. The points should reach the centre mark.
*
Third row of petals completed.
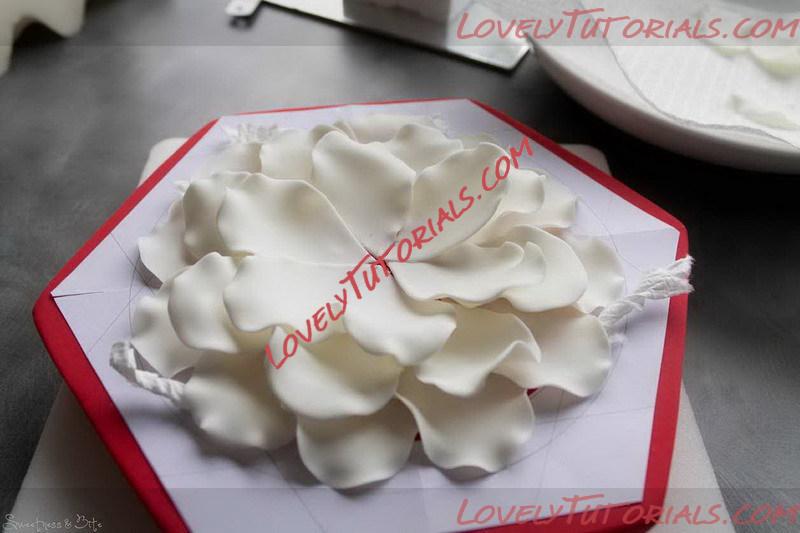
Take your dry-ish rose, and add one more layer of petals to it. Hang the rose upside down for a little while until those petals dry slightly.
Carefully trim the wire of the rose slightly shorter than the thickness of the polystyrene lid. Brush the centre of the petals attached to the lid with a little edible glue, and then very gently push the rose into the centre. Tweak the petals if you need to, using a paintbrush. Cut through the paper template with small scissors and gently slide it out from under the petals. Let the rose dry for a couple of hours or, ideally, overnight.
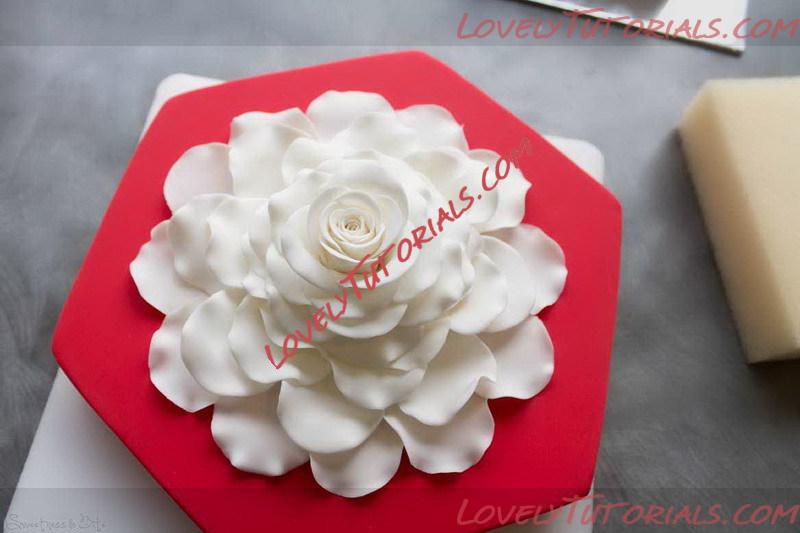
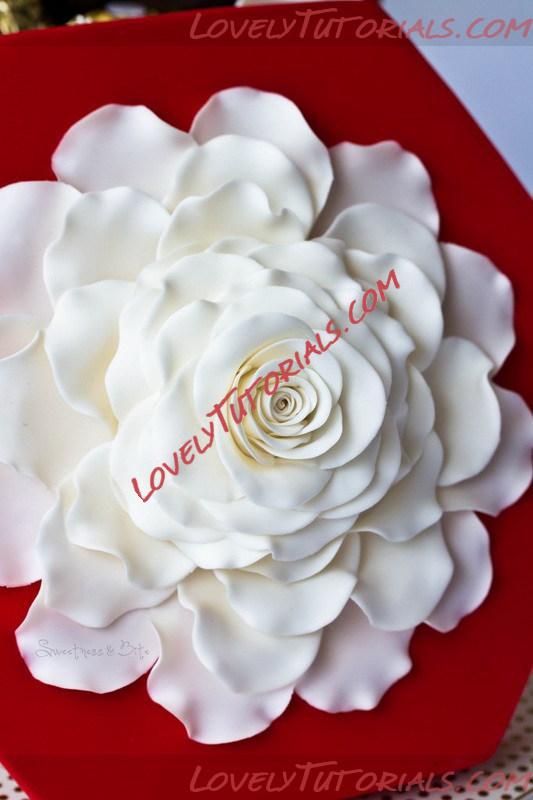
Completed rose.
So there you have it, one chocolate box cake with rose lidвА¶.
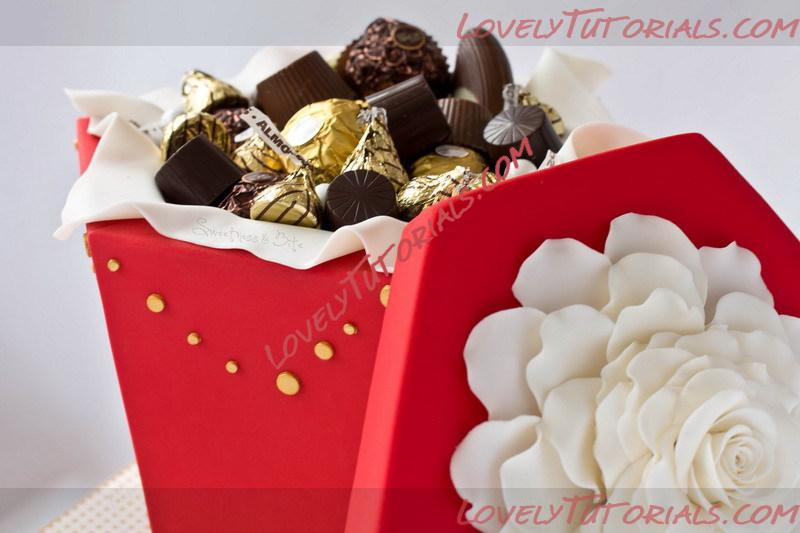
*
*
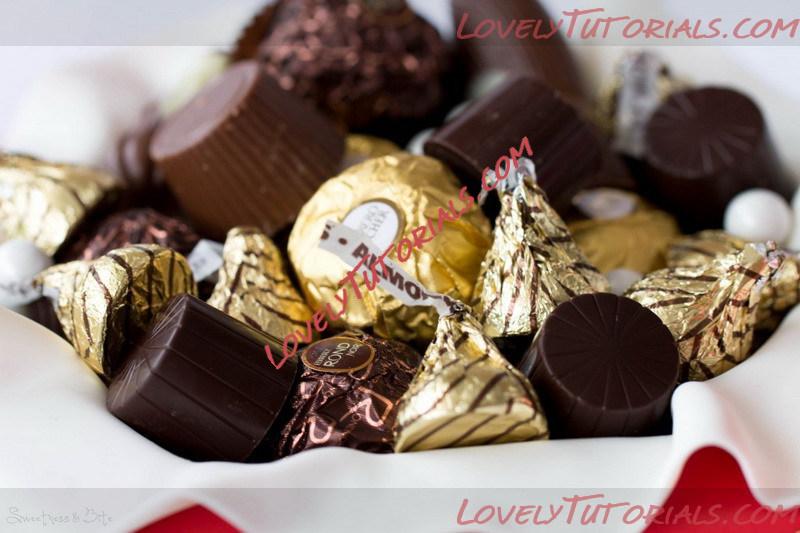
I filled the cake with almond kisses, ferrero rochers, ferrero rondnoirs, sixlets, praline seashells and praline filled dark and milk chocolates.
*
*
And here is my original cake from last year, made for my good friend Robyn, who has a love of junk foodвА
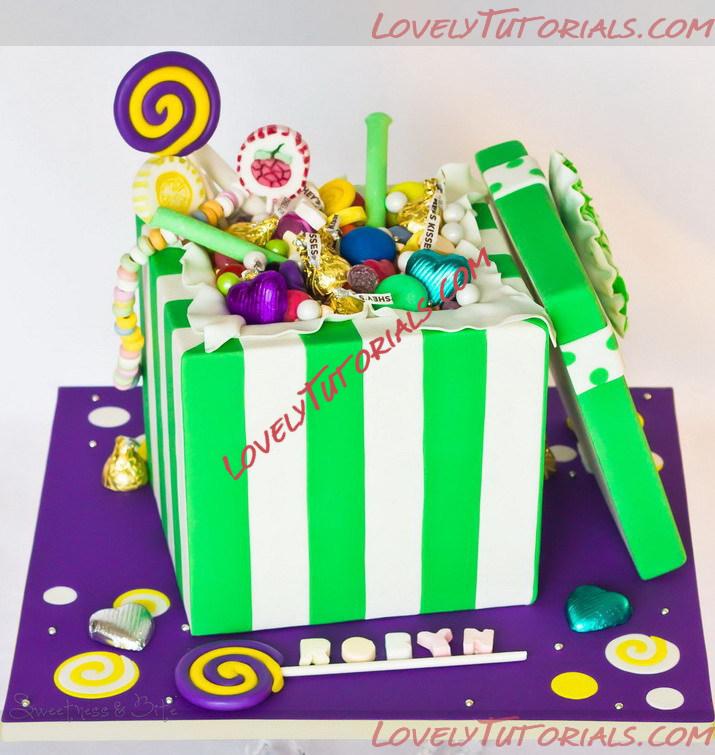
Cake filled with jelly beans, lollipops, chocolate hearts, HersheyвАЩs kisses, jelly hearts, fizzy letters, fruit tingles, tiny jubes, giant smarties, green and white sixlets, candy necklace, spearmint & peppermint pencils, and handmade modelling chocolate вА?lollipopsвАЩ
*
