{Ganaching the Cake}
You can ganache the cake whichever way you prefer; this is just the way I do it. Ganaching a hexagon is a lot like ganaching a square cake {which I’m actually not very good at, but surprisingly this one came out ok} I start by smearing a thinner layer of ganache to seal the crumbs in, then spread a thicker layer on and scrape the excess off with the scraper pressed up against the two boards. Rinse the scraper under hot water and dry between scraping. To get sharp corners, scrape in one direction, smoothly taking your scraper past the corner. Then repeat in the other direction for the same corner. If the ganache is too soft and just smooshes (technical term) pop the cake in the fridge for a couple of minutes to firm the ganache up, then continue.
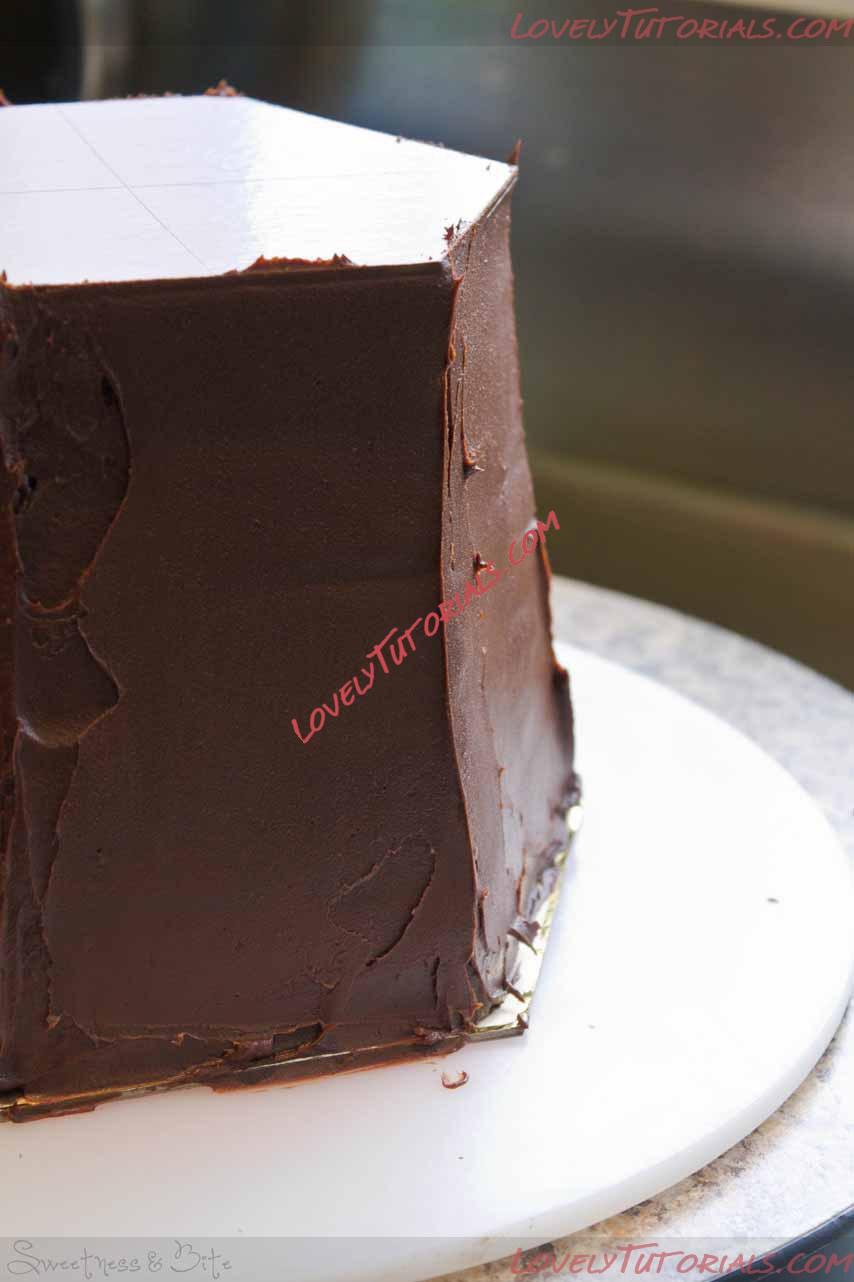
Start slapping on the ganache, filling the gap between the board and the cake.
*

Keep adding ganache, then begin scraping the sides.
*
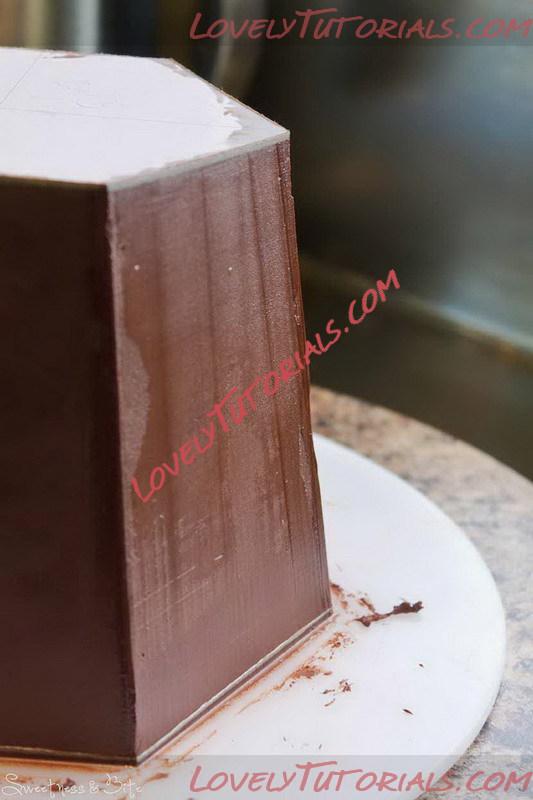
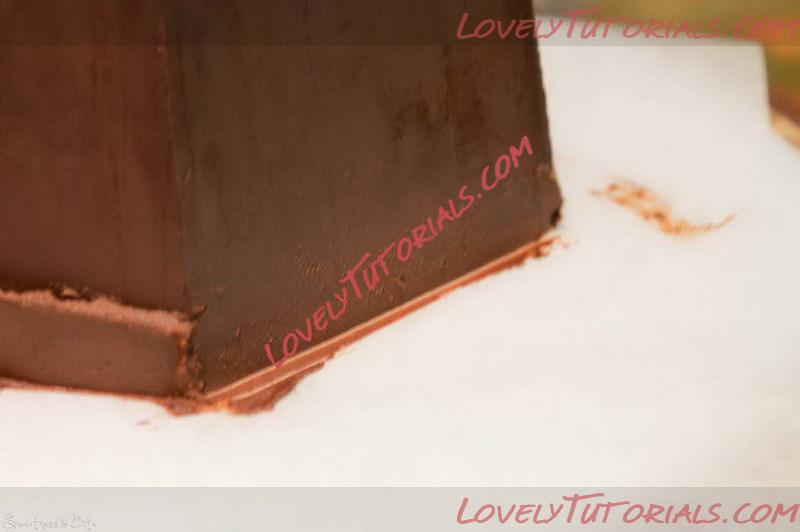
Scrape the sides, with your scraper pressed against both boards.
*
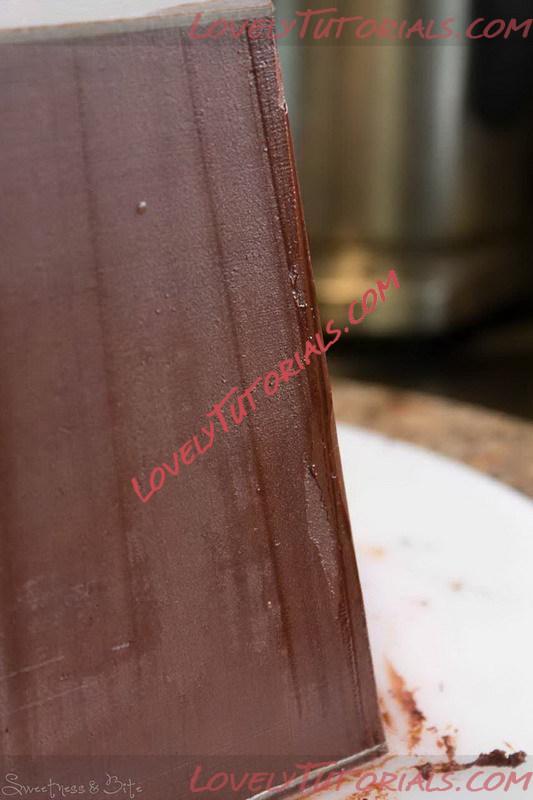
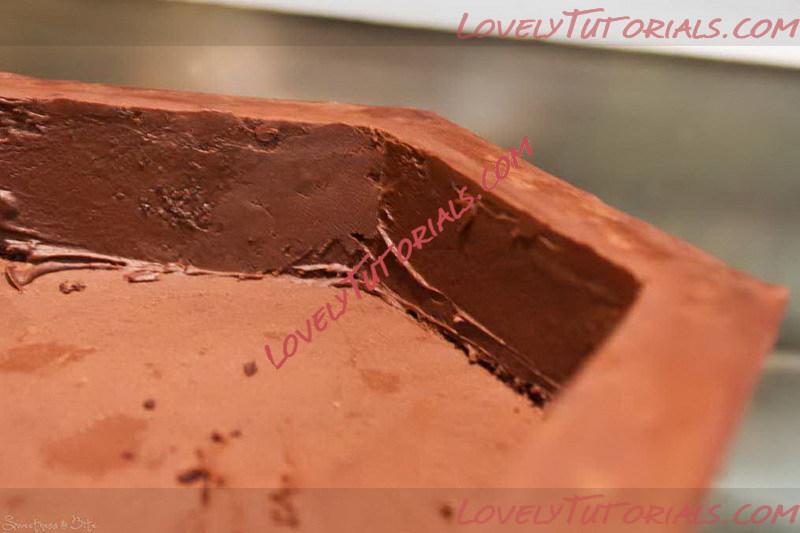
See the corner is still a little rough? I chilled it for a few minutes, then used my scraper again to smooth up to the corners.
Continue until the sides of the cake are smooth, and the corners are as sharp as you want them. Put the cake into the fridge until the sides have set firm.
Flip the cake over onto another setup board with a piece of non-slip mat on it. Gently run a warm metal spatula around under the board (#1) and flick it off. If the baking paper doesn’t come off with the board, then gently peel it off. Spread ganache over the top of the cake and smooth it as best you can. Place a square piece of baking paper over the ganache and smooth the paper down and remove most of the air bubbles (I sometimes use a fondant smoother to do this).
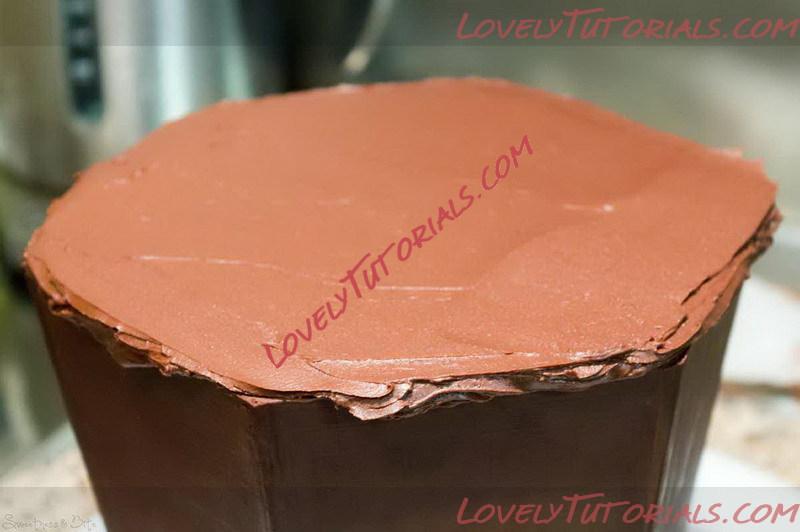
Spread ganache over the top and past the edges, then place a piece of baking paper on top and smooth.
Place the first setup board on top of the paper, and flip the cake over. Place a level on the cake, and press down gently until the cake is level. Use your scraper, pressed gently against the cake, to scrape away the ganache that has been squeezed out. Make sure you don’t angle the scraper inwards when you do this, or you will lose the straight top edge of your cake.

The cake is flipped over again, and pressed down until level. Add more ganache to any bits that haven’t had lots of ganache squeeze out.
*
Scrape the excess.
Once it’s smooth, place the cake back in the fridge for around 30 minutes, until the ganache has set. Then flip the cake back over and carefully peel back the baking paper. Fill in any little holes around the edge with ganache, but don’t worry too much about the middle of the cake, as we’re about to cut that out. Put the cake back in the fridge while you make a guide to cut the indent.
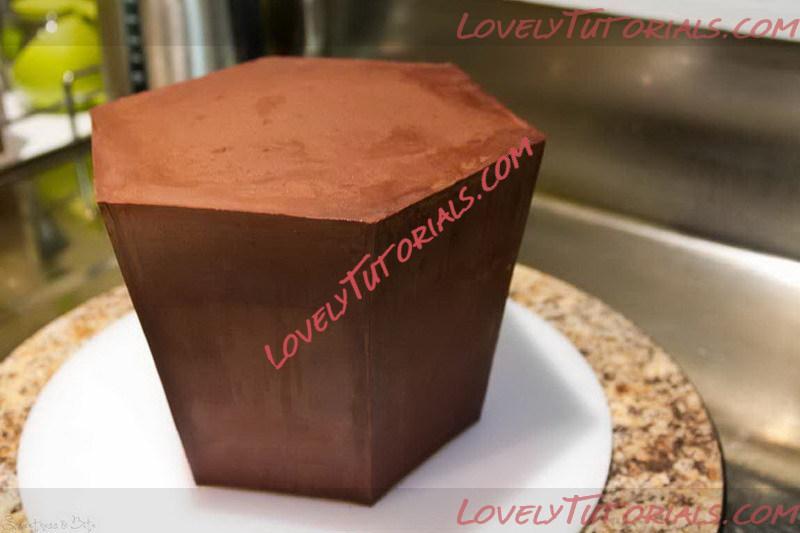
Flip the cake back over, peel off the baking paper and fill in any holes around the edges with a little more ganache.
Take the piece of paper that you drew the outline of board #1 on at the start, and measure in ¾ of an inch (depending on how thick you want the �?walls’ of your box) around the edge of the hexagon. Cut out the shape and put it onto the top of your cake. Use a knife to score around the inside of the shape.
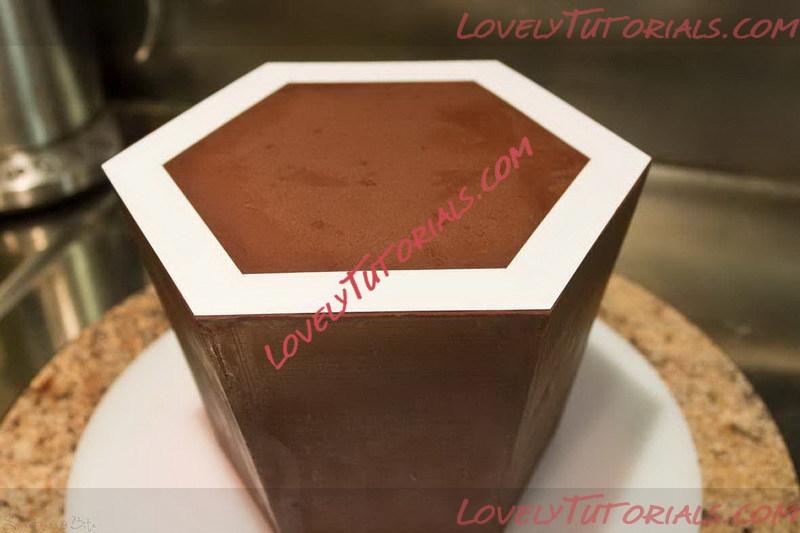
Cutting guide.
*
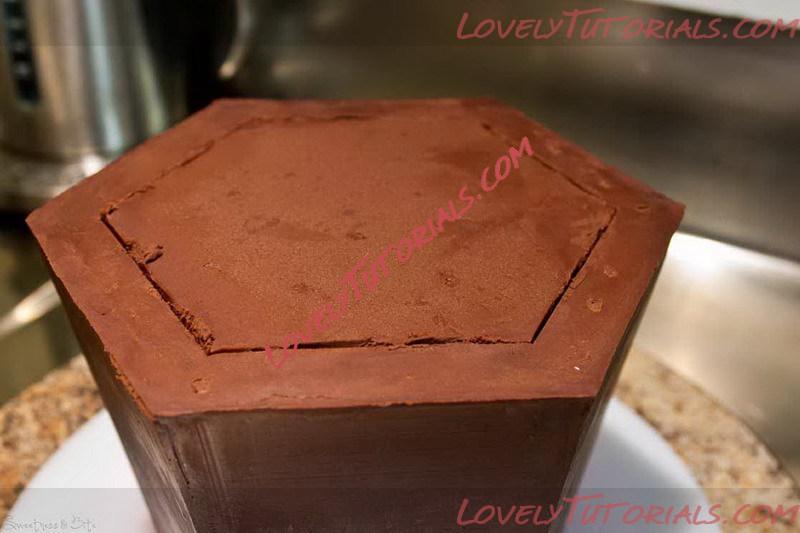
Cut down until you reach the baking paper.
Using a small, sharp serrated knife, cut straight down through the ganache along the lines. You should feel the knife hit the baking paper, but try not to cut through it. Once you’ve cut the whole way around, begin carefully prying the cake out. When you’ve exposed the baking paper, cut through so you can get a grip on it, then gently pull it out. It may be tucked between the cake layers, so be careful not to pull too hard or you may rip it.

Start removing the middle, the ganache will probably come off first, then carefully pry out the cake.
*
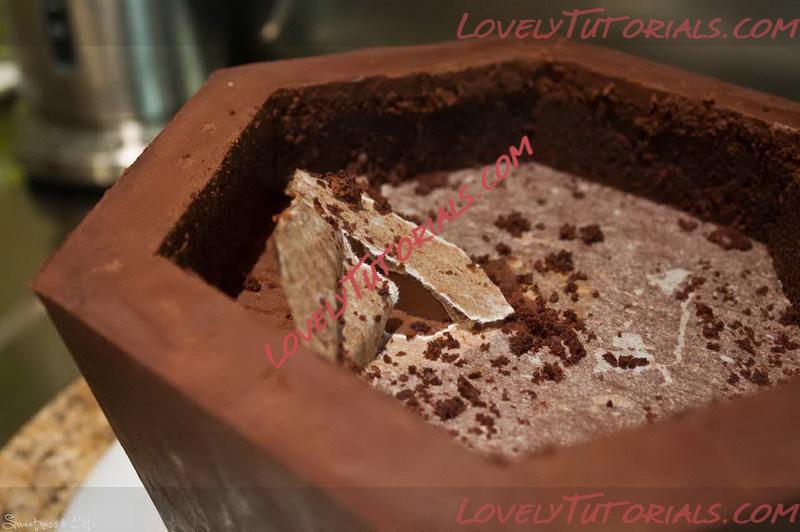
Carefully pull out the baking paper.
Using a small spatula (I use a small wedge-shaped spatula that artists use) ganache the inside edge of the box. You don’t have to be too fussy, as any lumpy bits will be covered by the �?tissue paper’, but you do want to make sure the cake is sealed. Go around the whole cake with a hot metal spatula, smoothing out any rough bits.
Ganache the exposed insides.
I decided the indent was a bit deep (due to my thick cake layers) so I warmed up some ganache and poured it in, letting it pretty much self-level, making the indent a little bit shallower.
Leave the ganached cake to set overnight.
*
{Covering the Cake}
You’ll need:
Fondant-ing paraphernalia
~ Rolling pin and/or pasta machine
~ Fondant smoothers
~ Cornflour/icing sugar shaker
~ Sharp knife and/or razor and/or scalpel
~ Vodka (or sugar syrup, but vodka dries faster and leaves less of a mess on the edges of the cake)
~ Paintbrush.
The easiest way to cover this cake is with panels on each side of the hexagon. I chose to make a template to make it even easier, although some trimming is still required. To make the template, measure the top and bottom width of a side of the cake, and the height. You need to add a couple of inches to the top of the template, and about half an inch at the bottom. My template didn’t give me quite enough excess at the top, but if you’re putting the piece of fondant “tissue paper” into the indent, then this isn’t a big deal as it will be covered.
If you’re not confident you can quickly place the piece in the right place, then add a little extra to the sides of your template as well. The key to getting nice, neat, sharp corners and top edges on this cake is quick placement and trimming of each piece. The good thing is that the last piece you attach is the best side to be the front (it’s the only side with no exposed fondant edge), so you will have practiced all the way around before you come to what will be the front. Make sure you’ve got all your fondant-ing bits and pieces handy, this makes it easier to work quickly.
Place the cake on a smaller cake board, or as I did, a tin of cutters. This raises the cake up so it’s easier to trim the bottom of the fondant neatly. Use a couple of bits of grippy mat to hold everything in place.
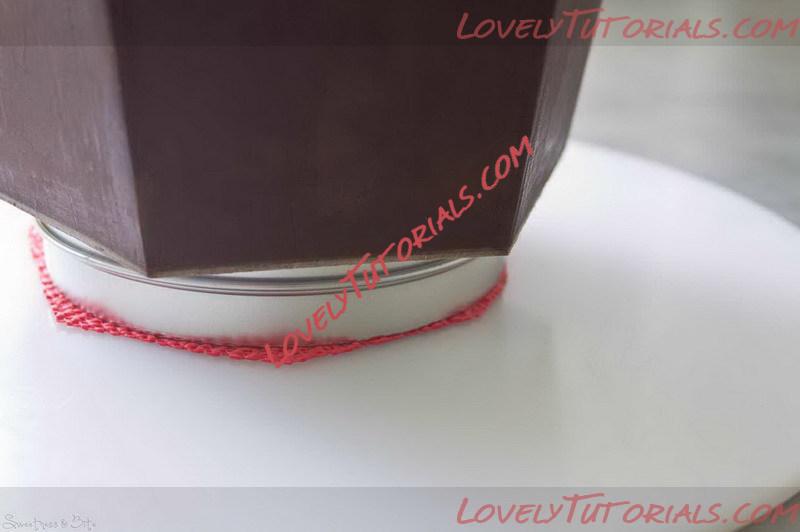
Raise up your cake so you can easily trim the bottom of the fondant.
Roll out your fondant (I used my pasta machine to roll out the strips to ensure even thickness, #2 on my machine was perfect) then place your lightly cornflour or icing sugar dusted template on top. Cut around the template, (I found it easier to use a big kitchen knife so I could cut each side in one cut, saves dragging your knife through the fondant.)
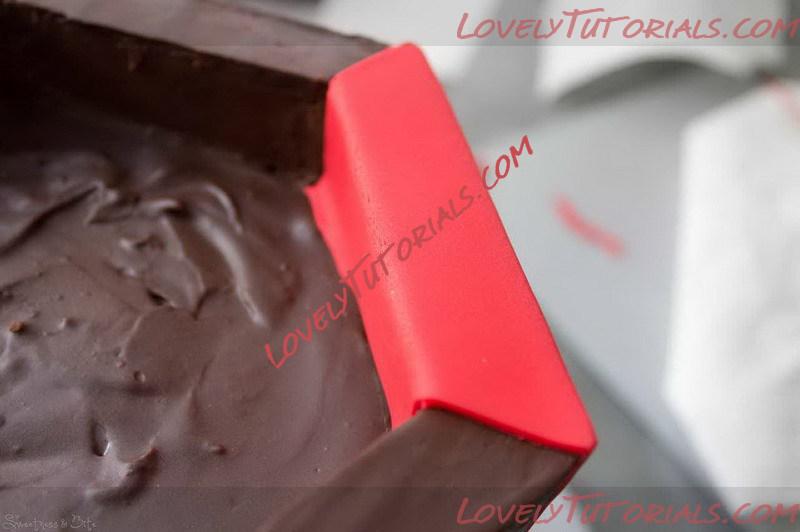
Brush one side of the cake with vodka, making sure to brush right up and over the top edge of the cake and into the indent, and position your piece of fondant. I find it best to line up the left hand side of the fondant with the edge of the cake, and then I only need to trim the right side. Smooth the fondant against the cake, pushing out any air bubbles. Run your finger and thumb along the top edge to make sure it’s attached and to stop any cracking on the edge.
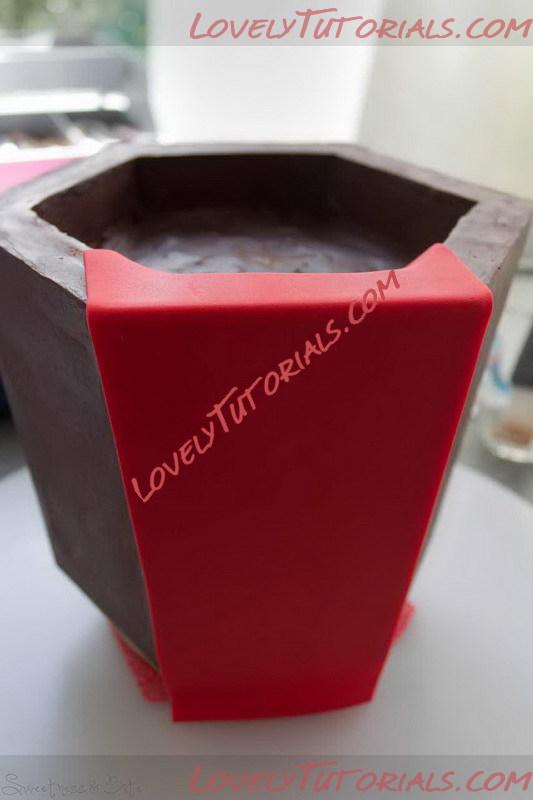
Smooth out any air bubbles, or prick any stubborn ones with a fine needle. Make sure you secure that top edge quickly.
Fold the top of the fondant gently down into the indent. It won’t fit completely in the corners, so trim them carefully up to the top, and then cut on an angle from the inside corner of the top edge to the outside. Cut the same angle on the other side.
Cut the corners on an angle.
Trim down the right hand side of the fondant, trying to keep your knife flush with the side of the cake (I used a razor blade for this) and trim the bottom of the fondant, holding your knife against the cake board under the cake, to get a nice straight cut. Use two smoothers, one on top and one on the side of the cake to sharpen the top edge and smooth the edges.
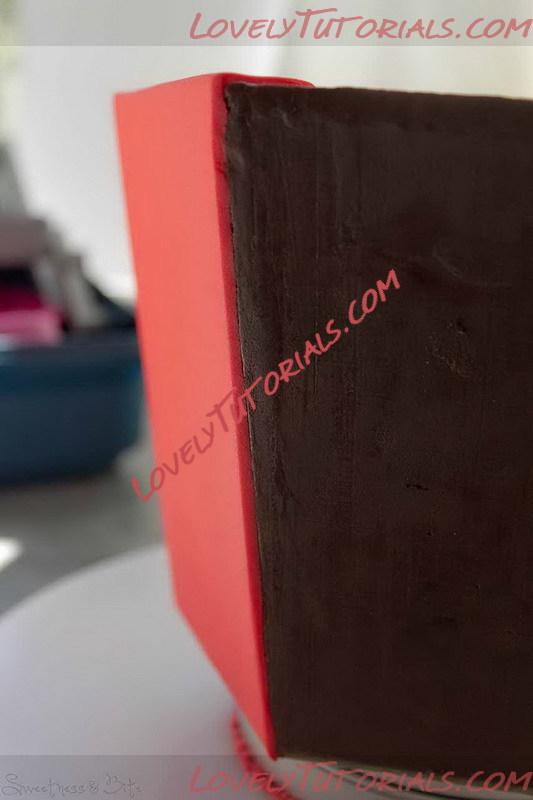
Cutting the right hand side, try to keep the knife flush with the cake.
Repeat the above steps to place the second piece. When you brush the side of the cake with vodka, make sure you carefully brush the side of the first piece of fondant. Hold the brush flush (haha) with the side of the cake to make sure you don’t get vodka on the front of the fondant. When you smooth the piece of fondant over the top of the cake, press it gently up against the first piece, to help you see where you will need to cut along the top where the pieces will join. Cut this first, smoothing the pieces together.
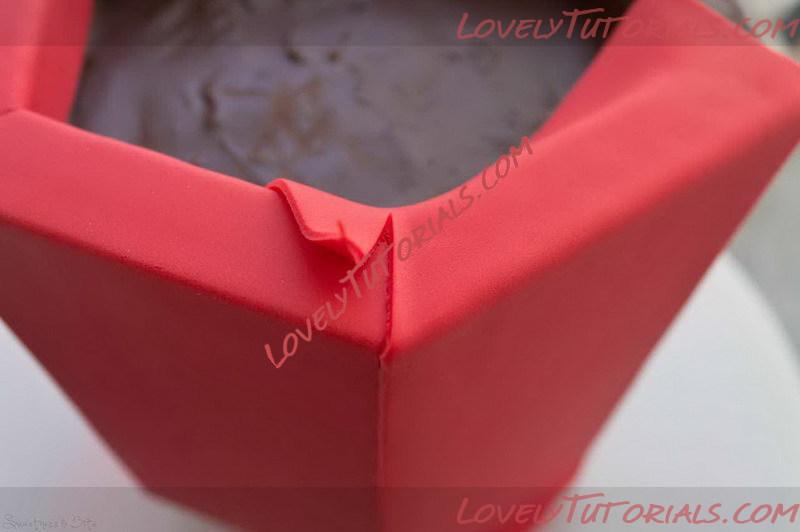
Trim the corners and smooth the join.
Trim along the right hand side as before. Do the next three sides the same way.
The final piece is a little trickier, to keep things neat you want to avoid needing to do much trimming on either side. If you’ve noticed how much you’ve trimmed from the right side of each other piece, then cut that much off the piece of fondant before you place it on the cake. (You could have done this the whole way around, but as there can be some variance in the sides, I found it easier to do each piece slightly bigger and trim.) If you need to trim the final side, do it carefully and with a sharp knife so the cut is neat, because you won’t have another overlapping piece of fondant to help hide any messiness.
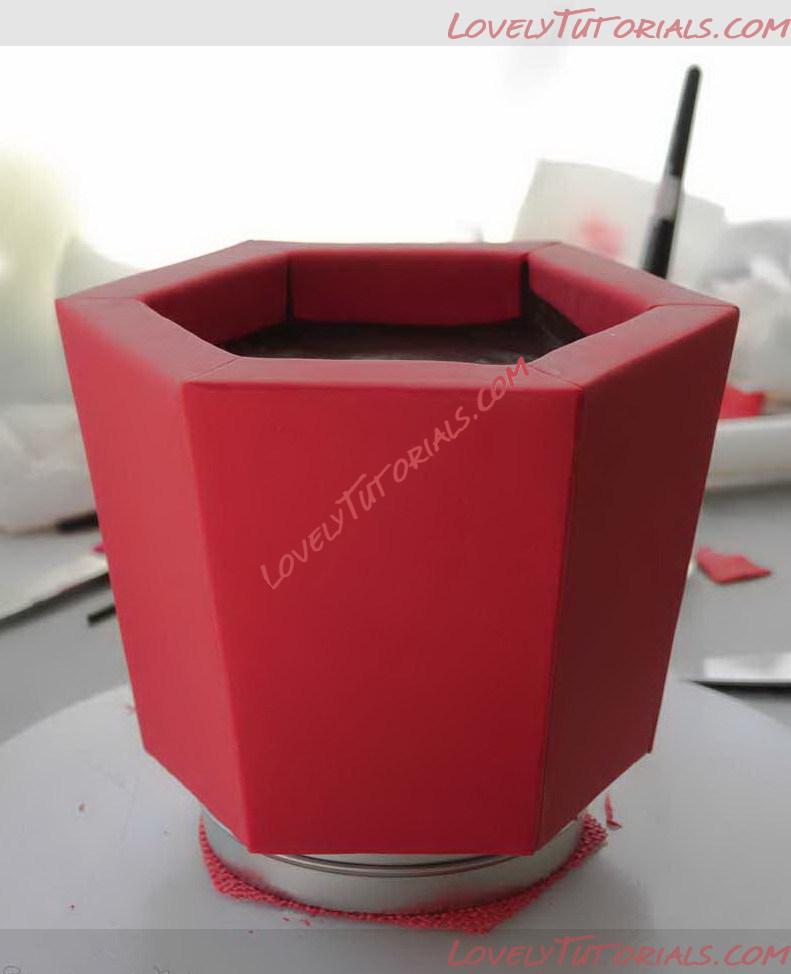
All covered.
Gently lift the cake off the tin and place it on another board (I put a piece of baking paper underneath to make sure the bottom of the fondant doesn’t stick to the board.)
To make the tissue paper piece for the inside you’ll need that second piece of paper with the tracing of board #1. Thinly roll out some fondant, or gumpaste, or a mix of the two (which is what I used). Place your template on top, and cut around it, about another 1” out from the template. How much extra you cut is up to you, 1” will give you quite a bit of “tissue” sticking up above the sides of the box, if you don’t want it up so far then you can cut it a little closer to the template. Working quickly so the paste doesn’t dry out too much, either use your fingers to smooth and thin out the edge, or place the piece on a piece of foam and thin the edges with a ball tool.

The cut out piece, with the edges thinned slightly. Doesn’t matter at all if the edges aren’t straight anymore.
Place the piece into the indent of the cake, and press gently into the corners. It doesn’t have to fit perfectly; you’ll be filling it up with goodies so you won’t see it. Arrange the edges of the paste however you want, but as my mother tells me, “don’t tu-tu too much”, it will look more natural the less you mess with it. Make sure that the “tissue” doesn’t hang too far over on the side where you want your lid to sit. Note: If you’re planning to add decorations that go up over the edges of the box, do this before adding the tissue. I was only adding dots, so I did the tissue first.
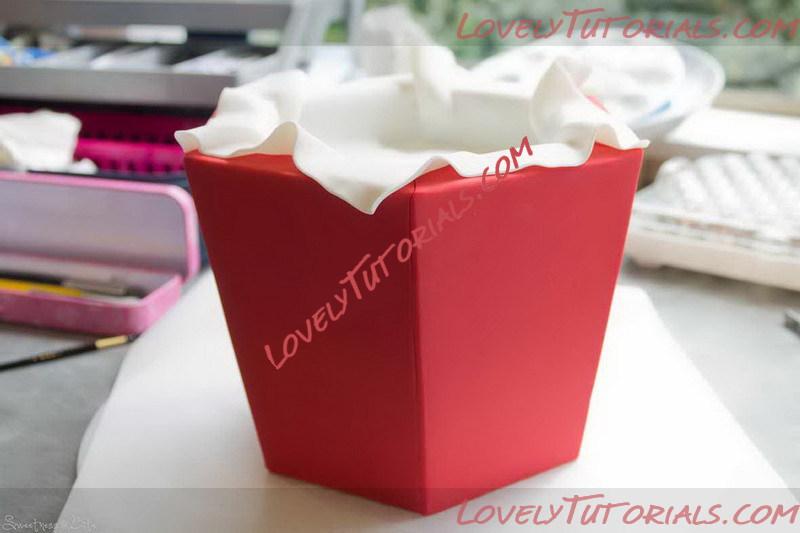
Arrange your tissue, tweaking the edges til they sit where you want.
Decorate the box however you want, I just added gold circles in a kind of rough pearl-drape pattern, and leave the fondant to dry (overnight is best, but an hour or two is ok.)
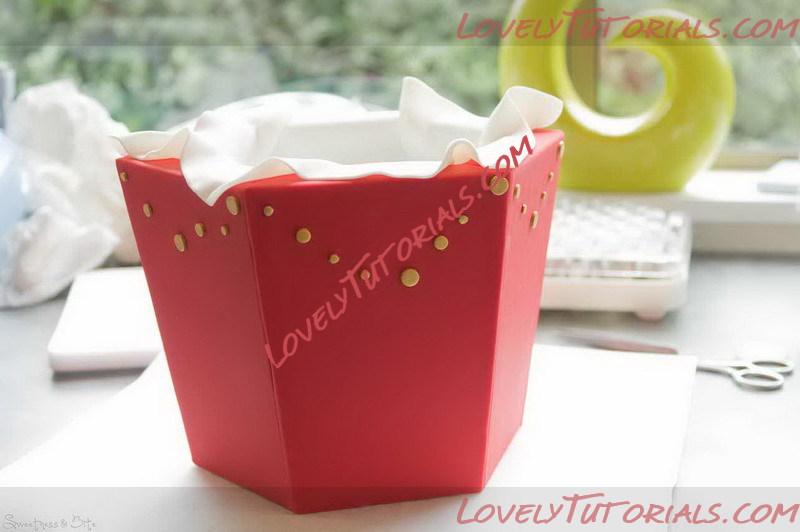
Time to decorate!
Carefully place the cake on your display board, and fill with lollies or chocolate. Prop the lid against the box. If you need to travel with the cake, I would suggest either leaving the lid separate and just placing it on when the cake gets where it’s going, or you can attach it to the board with royal icing or edible glue.
Shall I tell you how to make the lid as well? Why not, don’t think I’ve talked enough yet at all….
*