Огромная благодарность Автору sweetnessandbite(Ann) за Мастер-класс

Mmm, chocolate
I based this cake on one filled with lollies that I made last year for a friend of mine, and I wanted to share it here because it’s such a versatile cake. Who wouldn’t love a cake filled with sweets or chocolate?! {“Someone on a diet” you say? Well don’t say it, I hate being wrong…) The colour scheme, lid decoration and choice of fillers can be changed however you like. It doesn’t have to be girly, you could totally bloke it up for a man. And you can change the shape, too; the first one I made was a square, but I wanted to change it up for this cake so I went with a hexagon shape, and tapered the bottom slightly for a mand stretch the ore elegant look. If you want to make a square or round cake, just follow the instructions using square or round boards. If you don’t want the taper, use boards that are all the same size.
I’ve tried to break down the instructions into sections, with the bits and pieces you’ll need listed at the start of each section. Best to read right the way through before you start.
After writing all out all of the instructions, I’ve realised that I am quite… wordy (ahem, bossy) I apologise for that, I can’t help it, I must like telling people what to do or something. I’m making it worse now, so we’ll just get on with it, shall we?
*
Hexagon Chocolate Box Cake
{Cutting the Boards}
What you need: (For a hexagon cake)
~ 4 round cake boards - two that are the same size as your round cake, and two that are 2” smaller
~ Compass
~ Ruler
~ Pencil
~ Craft knife and cutting board
Check out this page on
how to draw a hexagon . I’ve written in out in my own words below, but the pictures in the link are super helpful. (Instead of drawing a circle like in the article, you’ll be doing the steps using the round cake board)
Grab one of your larger round cake boards, and find the very centre. Place the needle of the compass on your centre mark pencil end out to the edge of the board. Without altering the distance between the needle and the pencil, place both ends against the edge of the board. Use the pencil to make a mark on the edge of the board. Now, again without adjusting the compass, place the needle end on the mark you just made, and mark the board again. Continue doing this the whole way around, until you have 6 evenly spaced marks.
If you find they’re not evenly spaced, then either you’ve accidentally moved the compass, or your board isn’t completely round, so you’ll need to adjust things until the marks are as evenly spaced as you can get. Unless you’re making the cake for a geometry teacher, don’t worry too much if one section is slightly larger than the others.
Take your ruler and draw a line from one mark to the next, all the way around to get the hexagon shape. Use the ruler and craft knife to cut out the hexagon. We’ll call this board #1, and this the board you will use as a guide when you ganache the cake.
Now grab your other larger board, and draw around the hexagon board onto the round board (this just saves going through the compass process again). Use the ruler to measure in approximately 5mm/ ¼” the whole way around the hexagon, to make a smaller hexagon, and cut this out. This is board #2, and will be one of your carving guide boards. We want this smaller board for carving so you know you’ll get a good 5mm thick layer of ganache around the cake to help support it. Wipe the boards with a little vodka or cake decorator’s alcohol to clean the edges.
Follow these same steps with the smaller two round cake boards, making the hexagon shape (board #3), and then the smaller hexagon (board #4). Board #3 will be the final board that your cake stays on, and board #4 is your second carving guide board. Still with me?
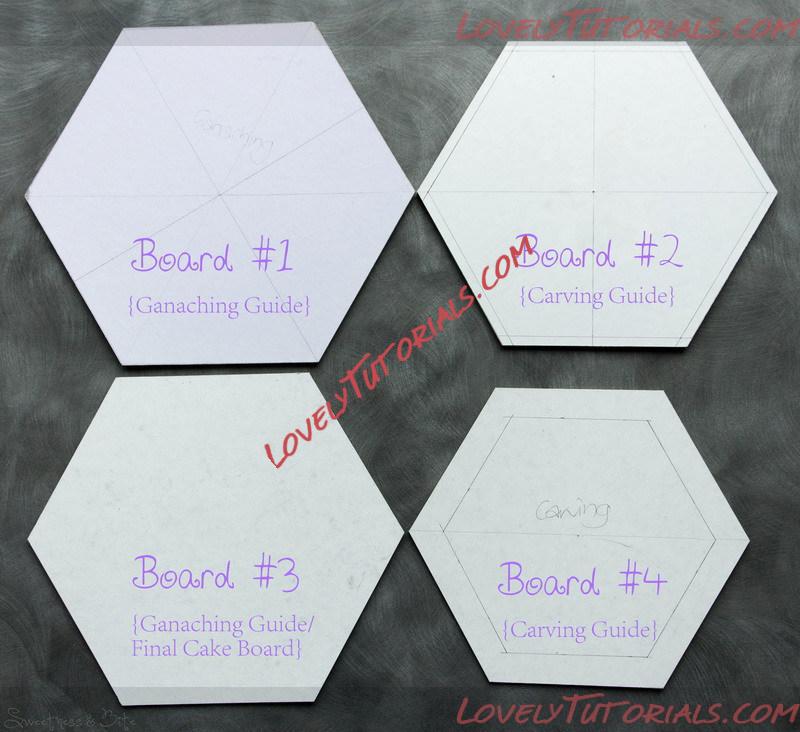
The four boards
(Ignore the extra pencil marks on my boards, they were experimental lines)
Onto a piece of baking paper, trace around boards #2 and #3 and cut them both out. Trace around board #1 onto
two pieces of thick paper or thin cardboard and cut them out.
*
{Carving The Cake}
While you’re carving and ganaching the cake, it may help to remember that you’re basically making the cake upside down. With the taper it is much easier to work with the larger side (what will be the top) on the bottom. If you’ve decided against tapering your cake, then you can ignore the section on carving the cake and go straight to the ganaching. And if you’re not tapering the cake, you can ganache it right side up.
What You Need:
~ Cutting boards
~ Cake leveller or knife
~ Turntable
~ 2 ganaching boards/large cake boards
~ Non-slip mat
~ Sharp, long, non-flexible serrated knife (a sturdy bread knife is good)
~ Short, pointy serrated knife
~ Spatula (straight or off-set, whichever you’re comfortable with)
~ Ganache scraper – your scraper needs to be at least the height of your finished cake, my cake was 6” high and my scraper is 8”
~ Small spirit level
~ Ruler
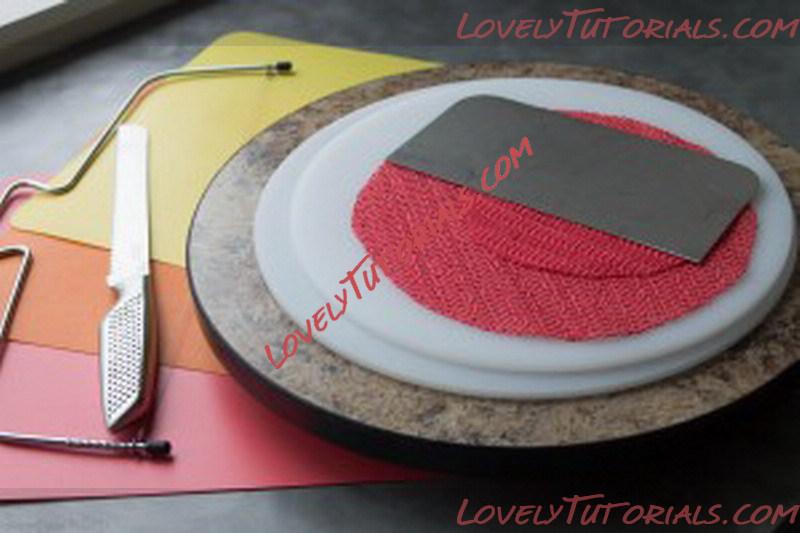
Some of the bits and pieces you’ll need, turntable, cutting boards, ganaching boards, grippy mat, knife, cake leveller.
Cake – Use a sturdy cake that will hold up to carving. Mud cake is ideal, I used
gluten free devil’s food cake which isn’t particularly ideal, but since I’m used to working with it, it worked out ok. How high your cake needs to be depends on how high you want your box. I used two cakes that were each 3” high and split them into 3 layers each. I only ended up using 5 layers. Better to have too much cake than too little.
Ganache – Dark, milk or white chocolate ganache, I used dark as it sets the firmest.
*
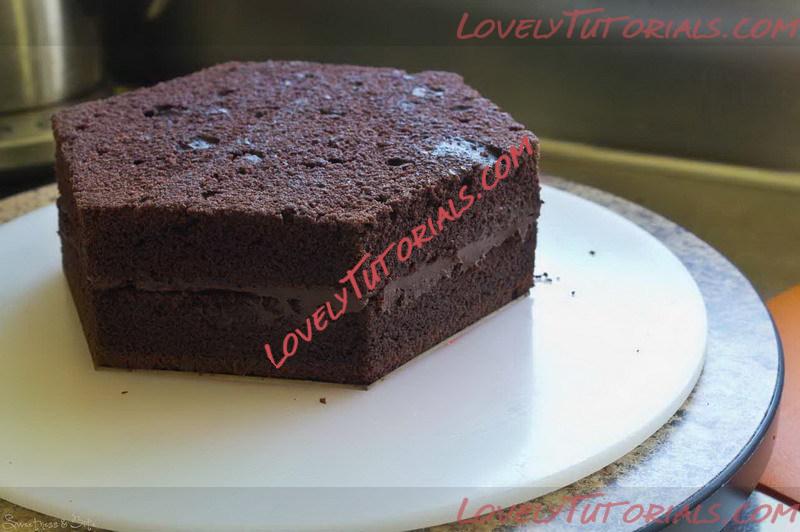
Split your cakes into even layers, whichever way you prefer. I used a wire cake leveller, and split my two cakes into three layers each. As they were thick layers I only ended up using 5 layers of cake, and I ended up with a finished cake about 6” tall.
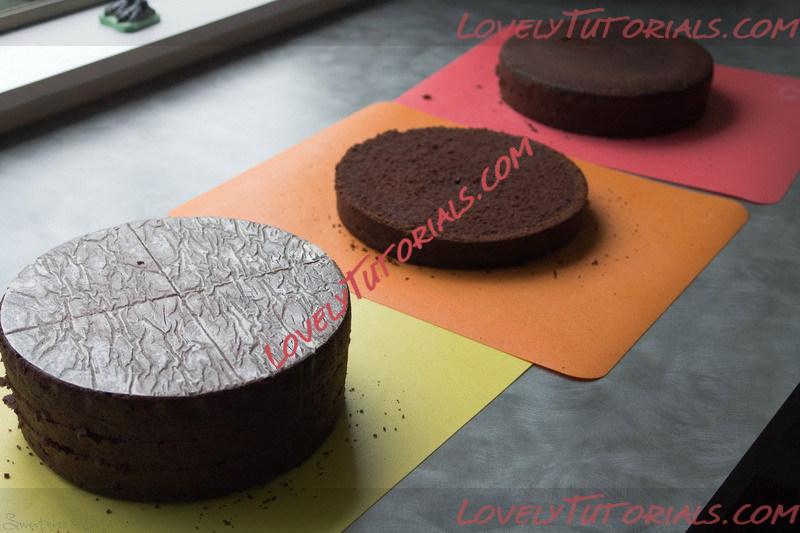
Cake layers, I split my two cakes into 3 layers each.
Take one layer of cake and place board #2 on top. Cut around the board, trying to keep your knife as straight as possible. Repeat for all your layers of cake.
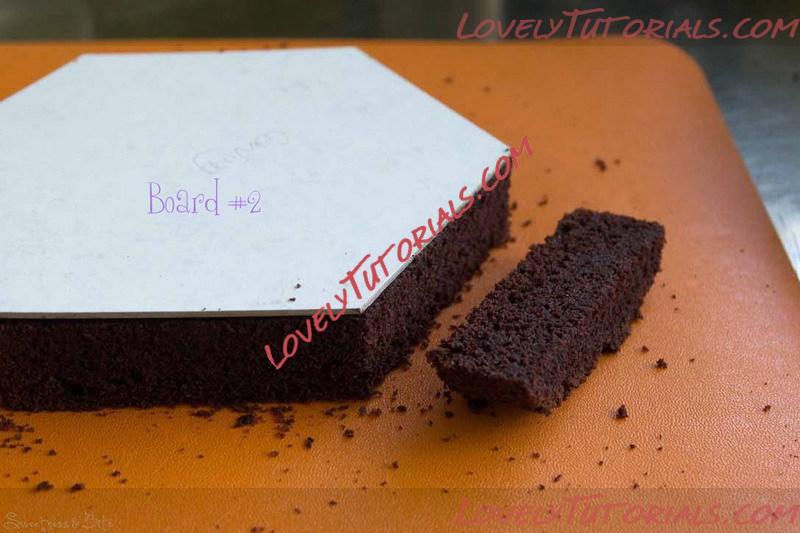
Trimming the round cake layers into hexagons
*
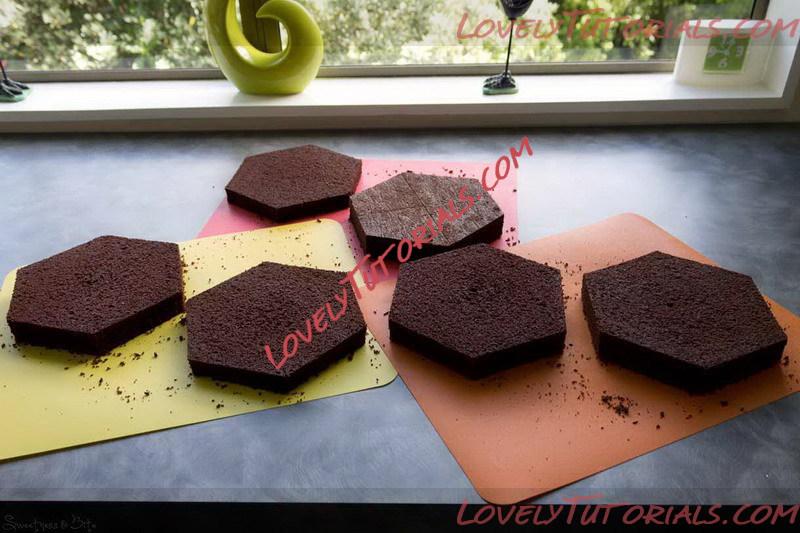
All trimmed up with somewhere to go…
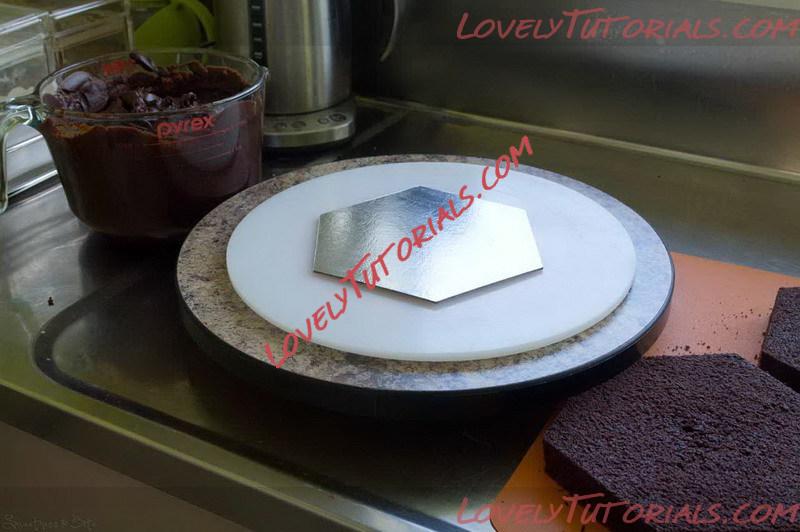
Place a piece of non-slip mat on your turntable, and put your setup board on top. Take the same board that you used above, board #2, and place this on a small piece of non-slip mat on your setup board.
*
*
Dab a little ganache on the board before placing your first cake layer on top.
*
First cake layer
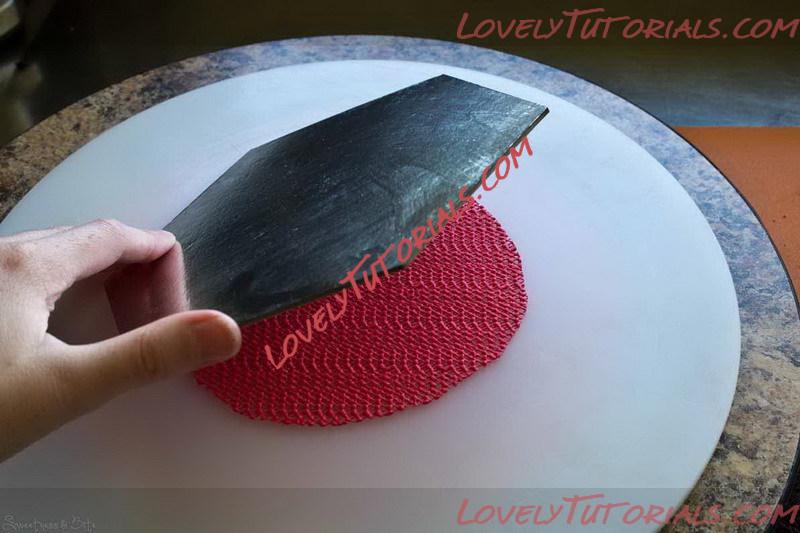
Smear a little ganache on the board and place a layer of cake on top. Set this aside for a minute. Spread an even layer of ganache onto another layer of cake and place the smaller baking paper cut-out onto the ganache. This will help when it comes to cutting out the indent in the cake that you will fill with goodies later. Take your cake layer that is attached to board #2, and flip that piece of cake over and onto the baking paper covered layer.
Now flip them both back over, so the board is on the bottom, and place this back on the non-slip mat. Note: I did it this way because I was using gluten free cake that was a little bit fragile. If you’re using mud cake, or another sturdy cake, you should be able to safely flip the baking paper-covered cake layer over and onto the other layer.
Flip the two layers back over so the board is on the bottom again.
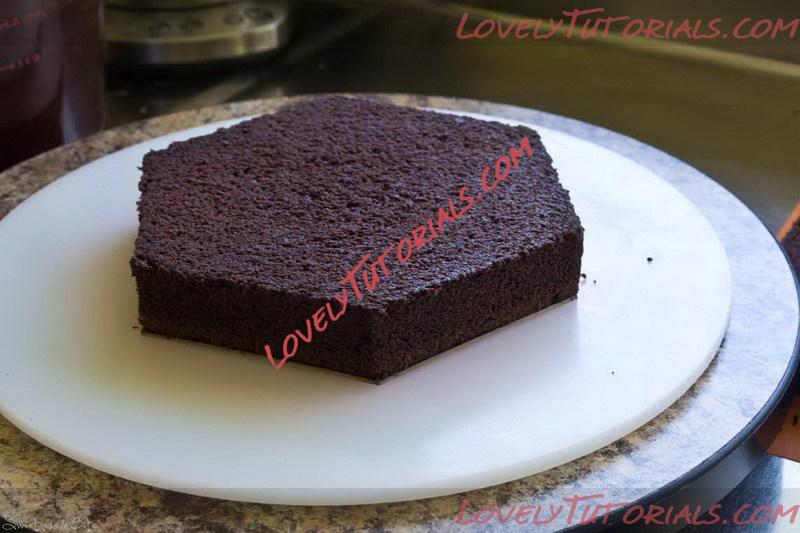
Spread ganache onto the top of the layer, and continue filling and layering up your cake. Be careful to make sure your layers line up.
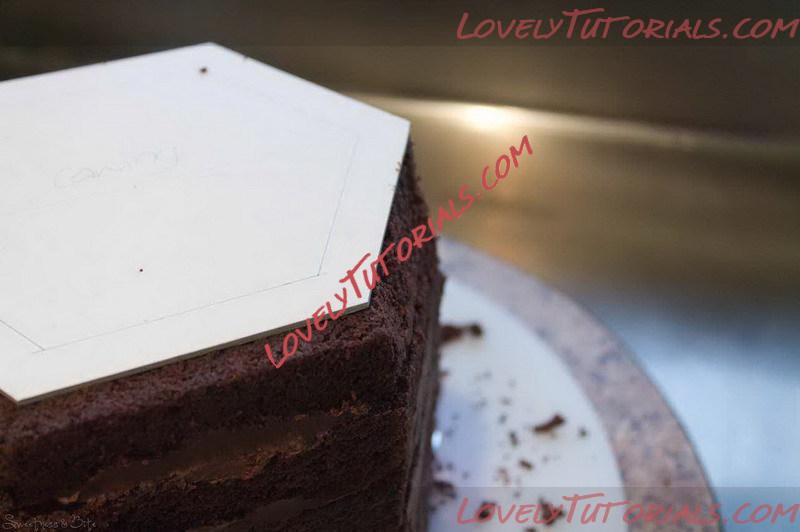
Smear some ganache into the middle of the top layer of cake, and place board #4 on top. Use your ruler to check the board is centred, and to check that the points of your hexagon line up. Pop the whole cake into the fridge to let the ganache set.
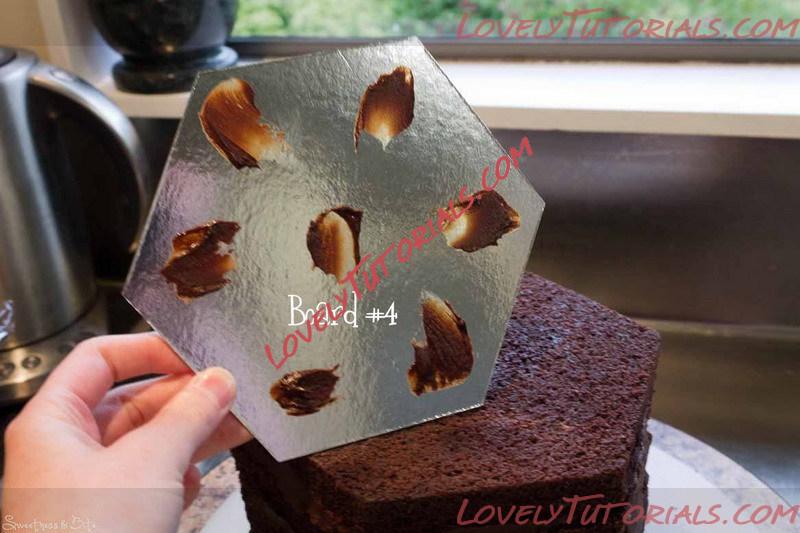
Attach board #4
*
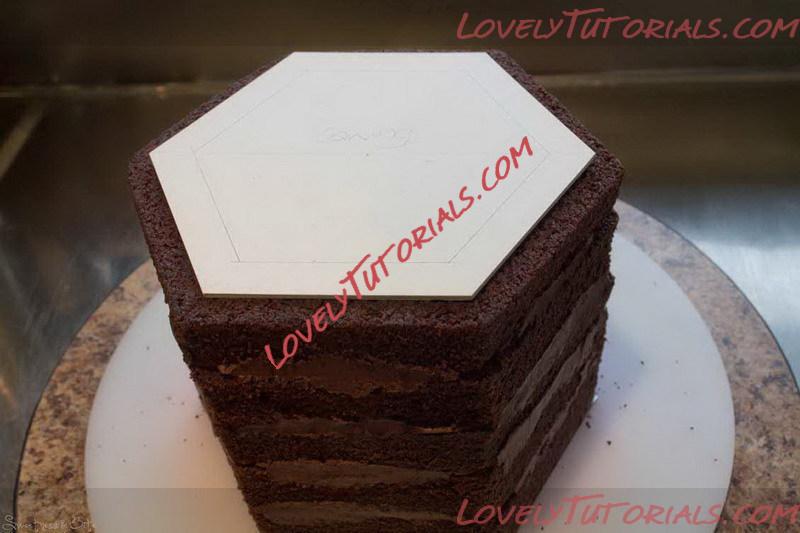
Cake all layered up, with board #4 attached. Now fridge it!
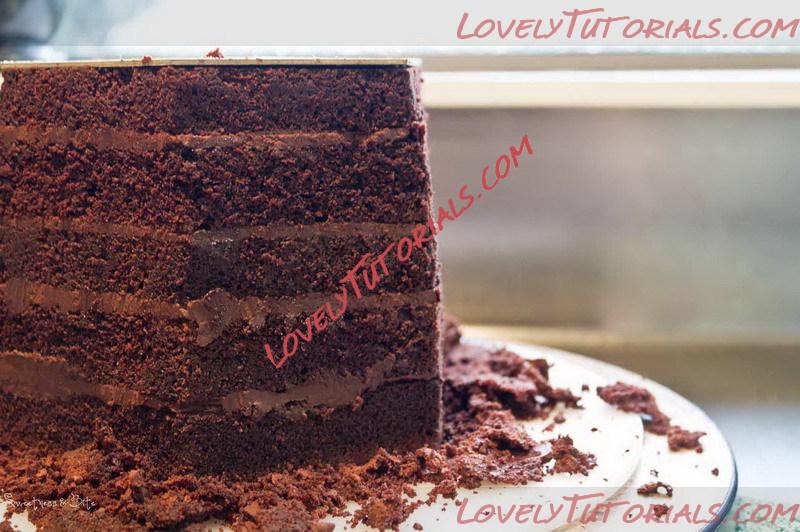
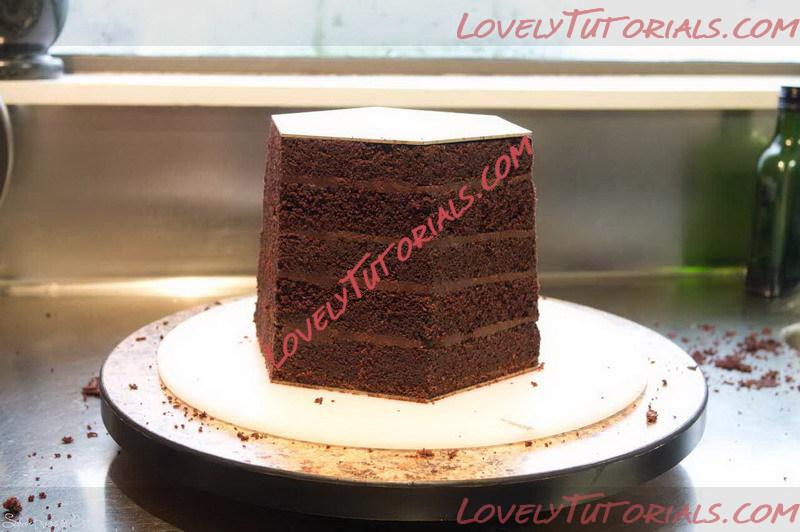
Time to hack at some cake! {You’ll have to excuse my pictures of the carving and ganaching, a big storm came in from the south as I was carving and even with the lights on it got so dark in our south-facing kitchen. I should have gotten out my tripod to avoid blurry, grainy pictures but, well, I didn’t. Anywho…}
If you’re not confident at carving cakes, then it’s fine to start with baby steps. Cut around each side of the hexagon, aiming your knife out at a slight angle. Cut down gradually, and check your progress by leaning the knife against the cake. You’re aiming to be able to touch the knife to both boards at once.
Start carving away the cake at the top, angling the knife out.
*
Work your way down the cake.
Once you’ve cut most of the cake away, start scraping away the last bits of cake, with your knife pressed up against both boards.
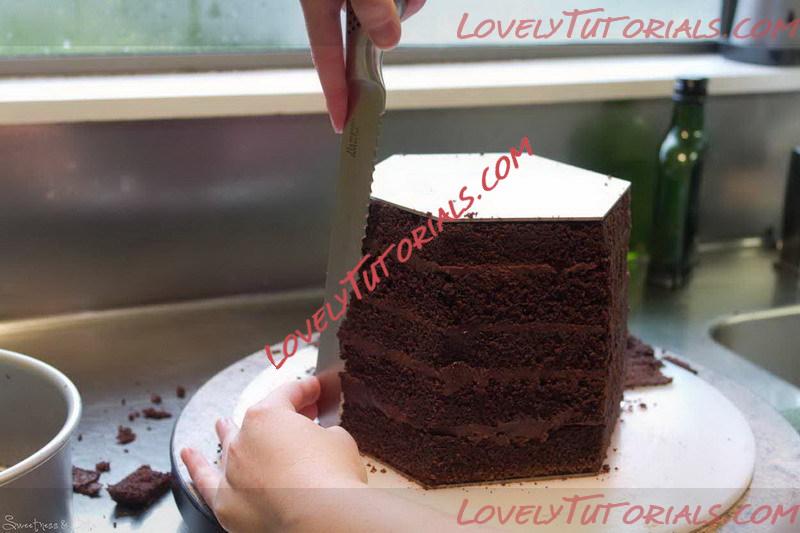
This is why you don’t want a flexible knife. Press the knife against both boards to shave away the cake.
*
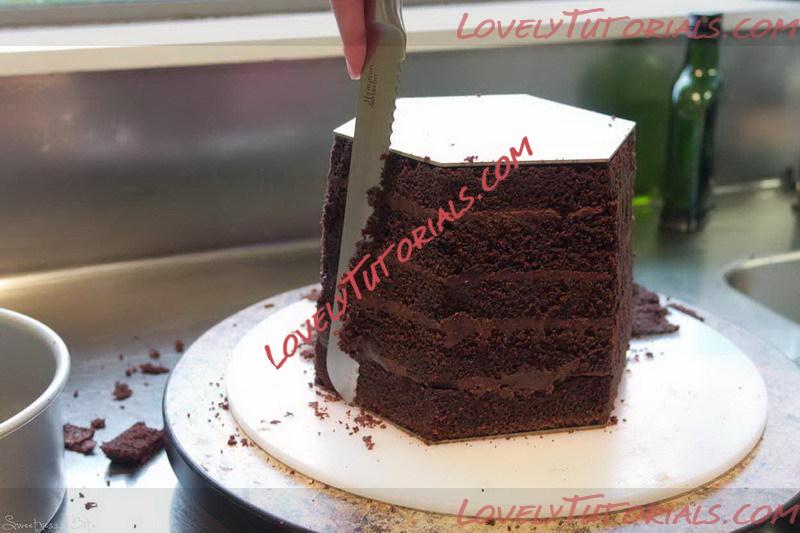
Keep scraping away the cake til the sides are smooth.
When you do the corners, you need to come at them from one side and then the other. Aim to drag the knife past the corner, sawing gently up and down, to prevent pulling any chunks of cake away. If you do accidentally take a chunk out then it’s no big deal, you can fill it with ganache, but if you take out too much it can make the edges less stable and harder to ganache sharply.
Can you see the lumpy bits on the corners? Needs a bit more work, gently scraping til the corners are smooth and sharp.
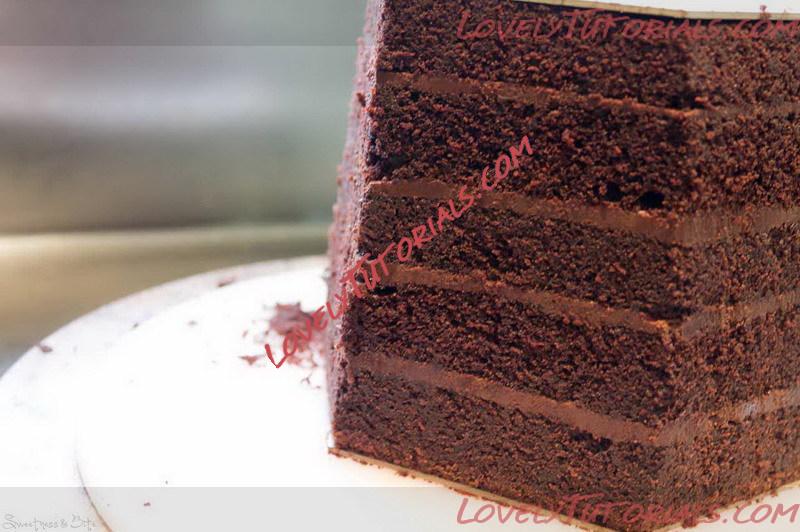
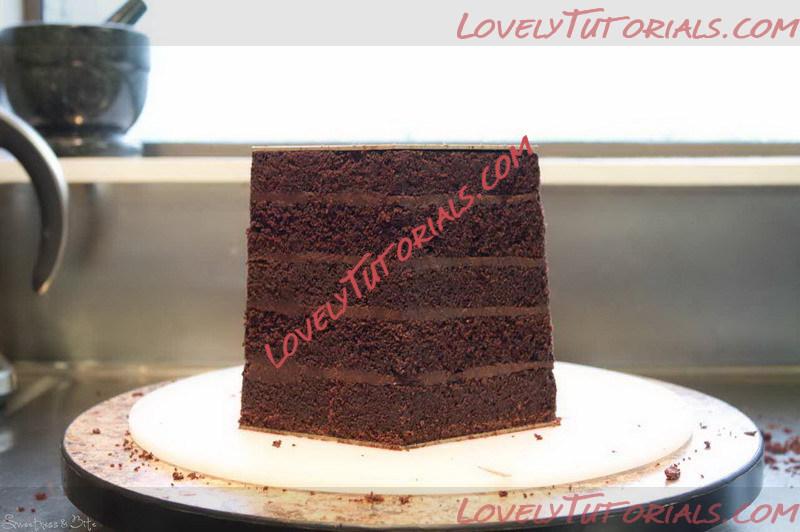
Keep scraping the cake away until the sides are straight and the corners are reasonably sharp and smooth. That totally makes sense.
Smooth sides.
*
Not enough taper

Now, you may notice in my pictures than there doesn’t seem to be much of a taper to the cake. That’s because I started with smaller boards that were only 1″ smaller, which means a taper of only ½” on each side. After flipping it over to check, I decided I wanted more taper so I cut myself some more boards that were 2” smaller, and carved the cake again.
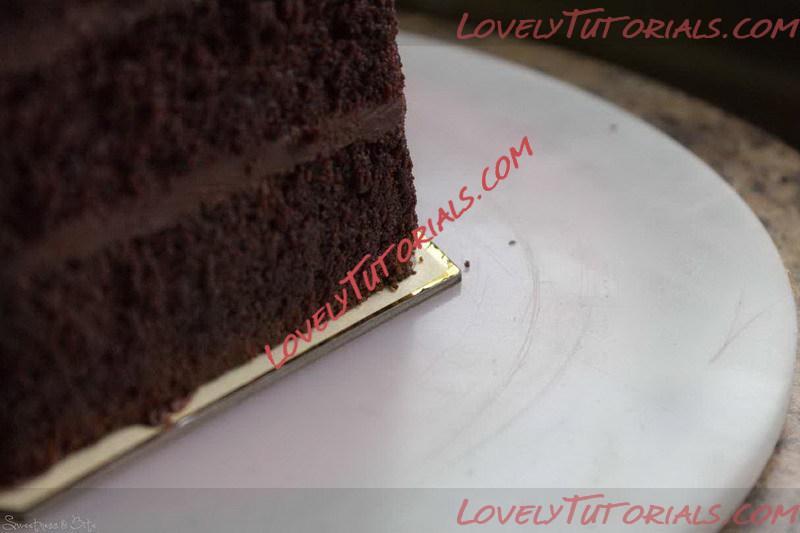
Once your cake is smooth all the way around, and you can see the edges of the boards, it’s time to ganache. Using a spatula, carefully lift off the top cake board. Replace it with board #3, sticking with some ganache.

Flick off board #4 from the top of the cake, and replace with board #3.
Flip the whole cake over, and remove the bigger board. Take board #1 and use dabs of ganache to attach the bigger piece of baking paper that you cut out earlier.
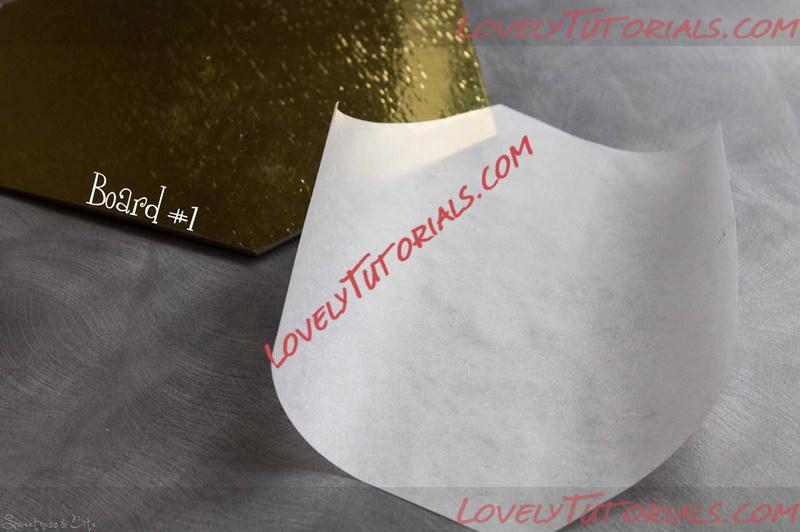
Board #1 and baking paper cutout
*
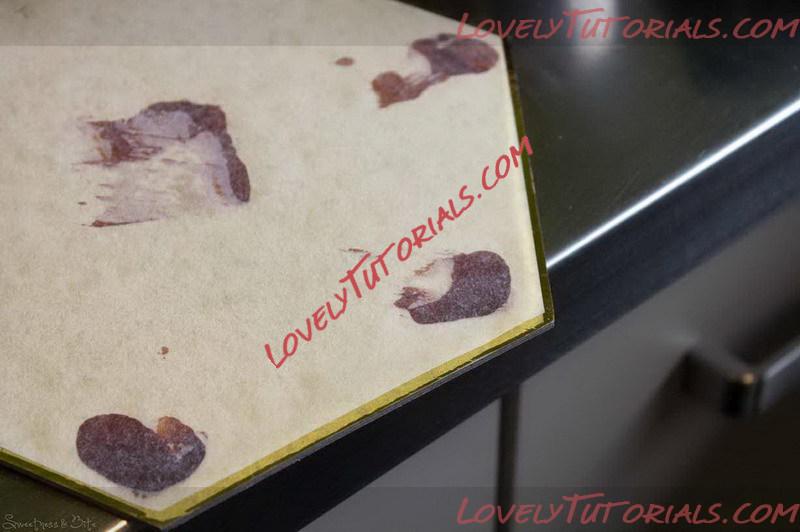
Use ganache to attach baking paper.
Dab some more ganache on top, flip the board over and attach it to the cake. Make sure the boards are centred, with an even amount of board showing the whole way around. Flip the cake over again, so the smaller side is back on top again.
Check that both boards are centred, with an even amount of space the whole way around.
*