
I then filled each layer with jam and buttercream
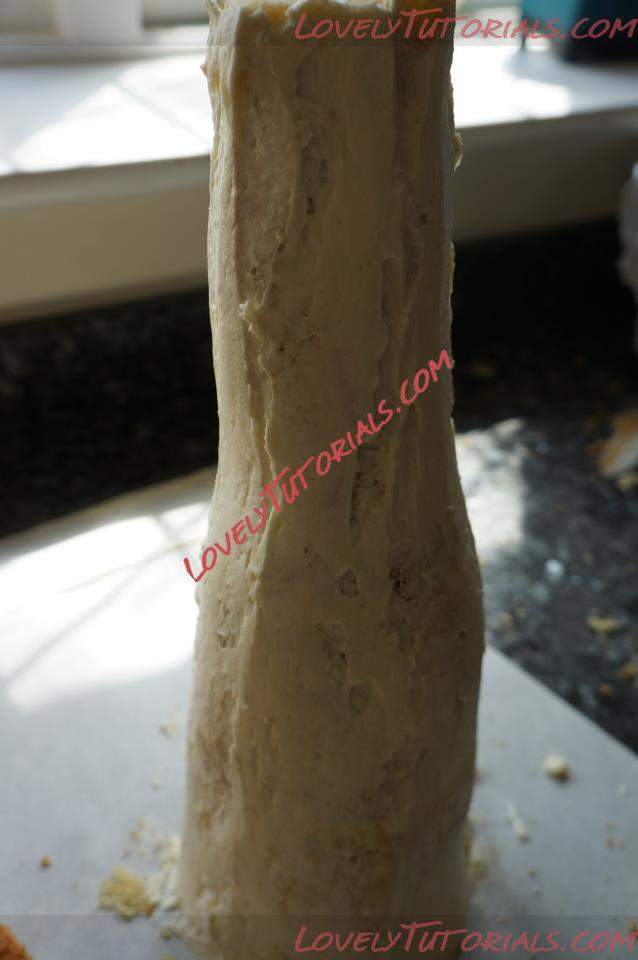
Apply a thin layer of buttercream to the cake
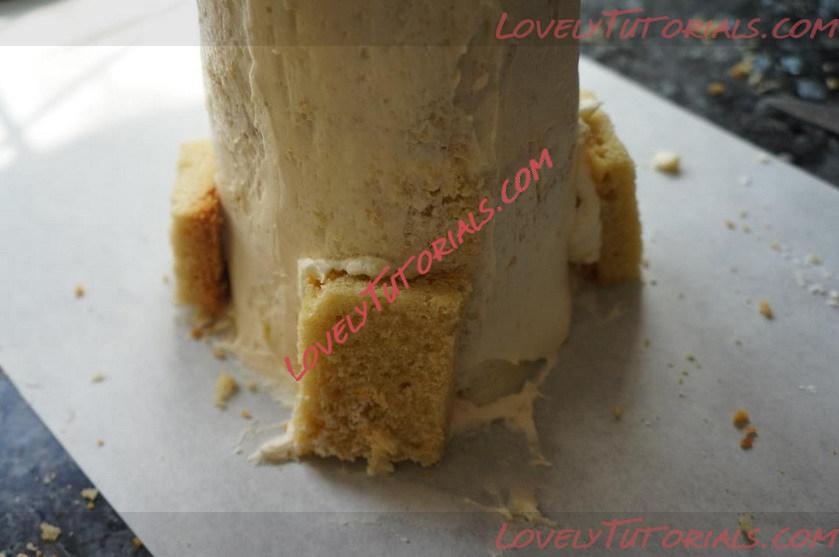
Using some of the off cuts of cake, place four pieces around the base of the cake
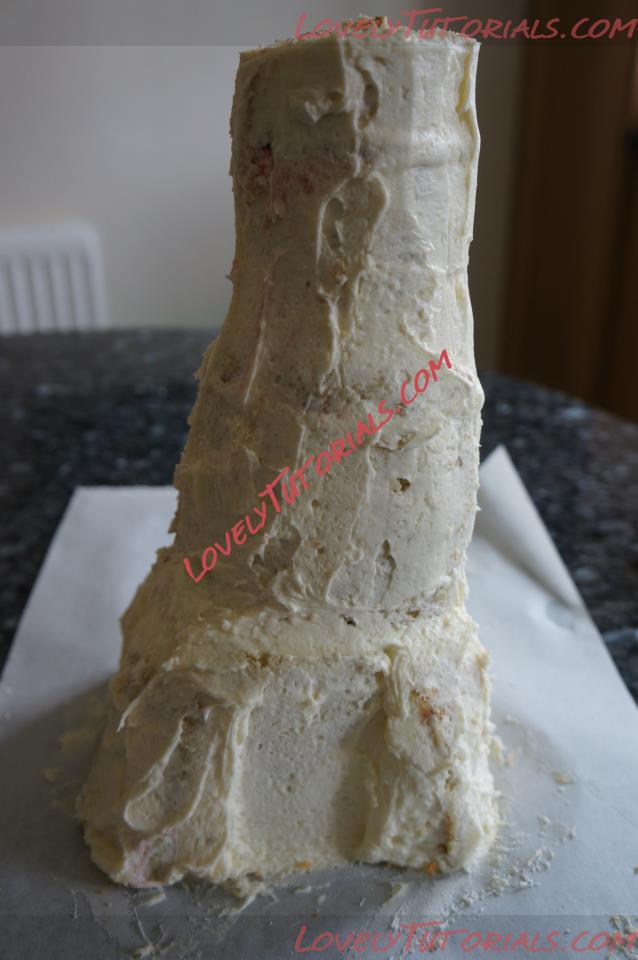
Apply another layer of buttercream to the base of the cake
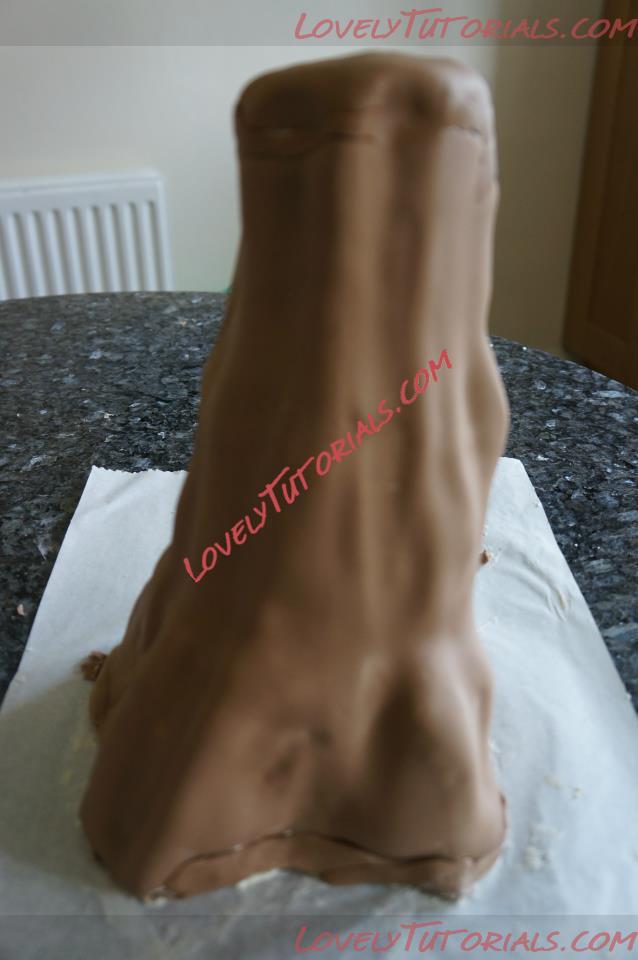
Cover the cake with brown fondant. To do this a rolled the fondant and cut into a rectangular shape roughly the same height as the tree and then wrapped around the cake. Smooth into the areas at the base of the trunk carefully and trim away the excess fondant with a sharp knife. It doesn't have to be perfect as adding texture to the trunk will cover any imperfections! Cut a circle of fondant to fit the top of the trunk and smooth the join with your fingers
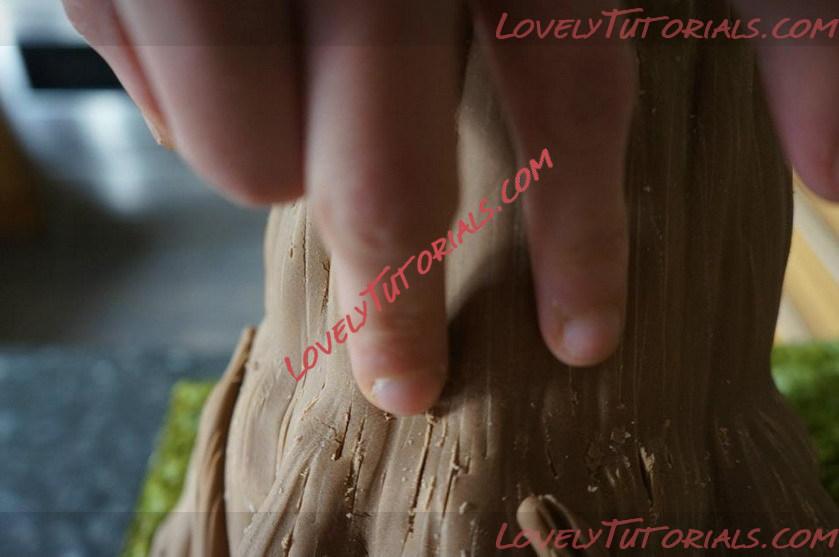
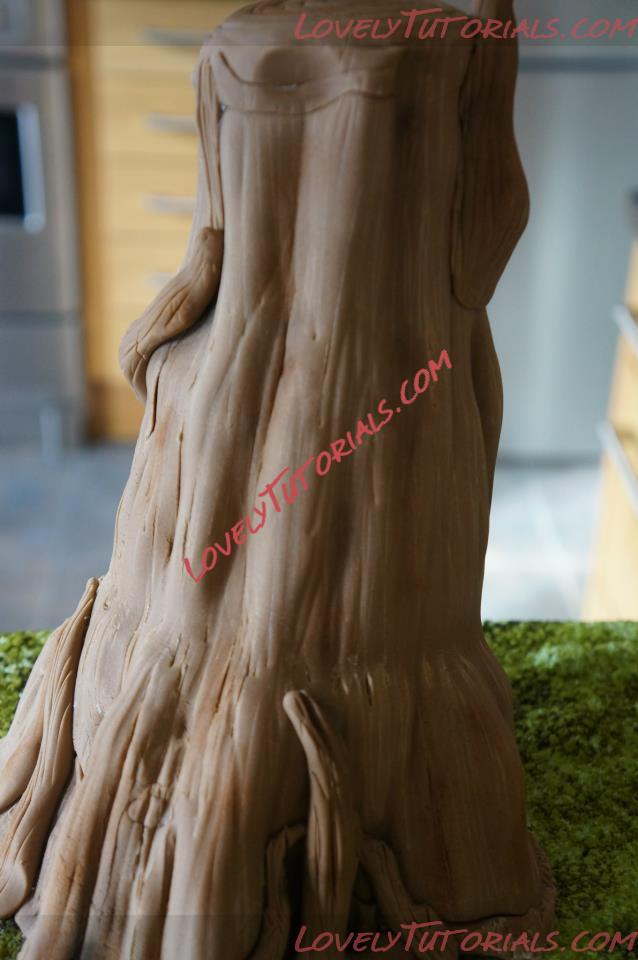
Use your fingers to go up and down the trunk to make some areas more raised than others
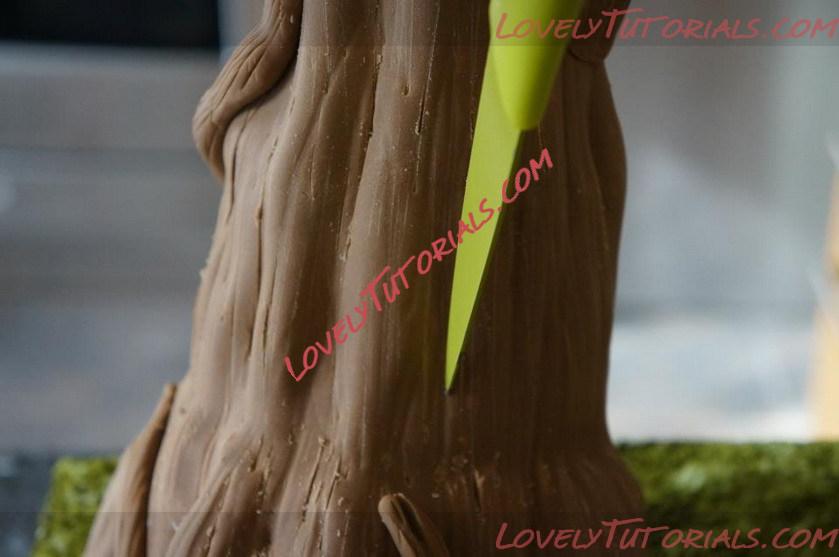
I used a knife to score the fondant and add detail
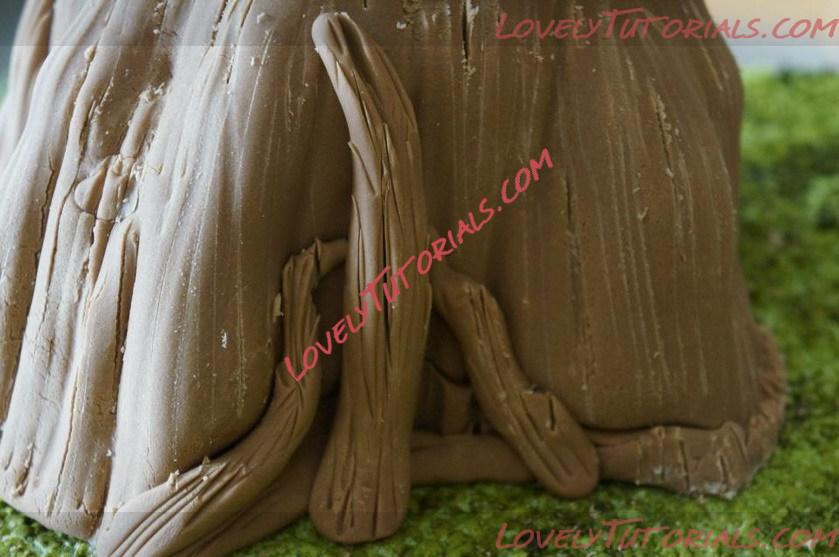
You can know add branches to the base and top of the cake
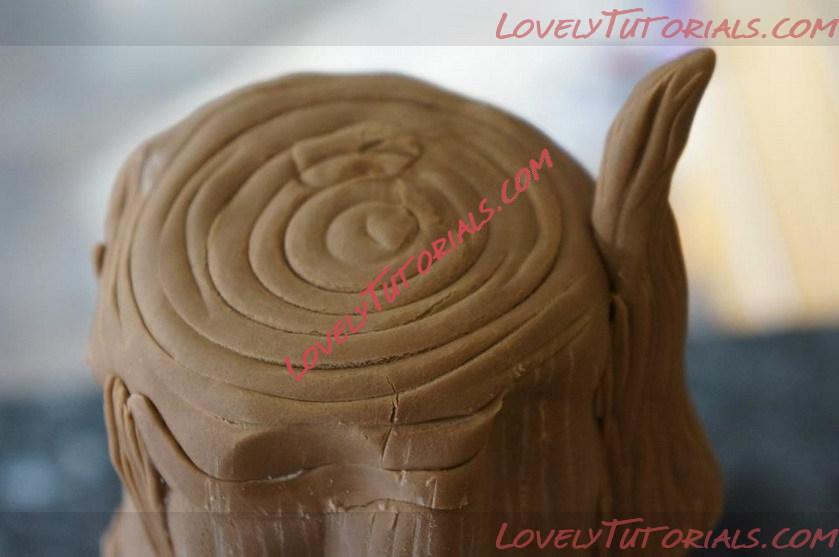
I used a series of circle cutters to add detail to the top of the trunk
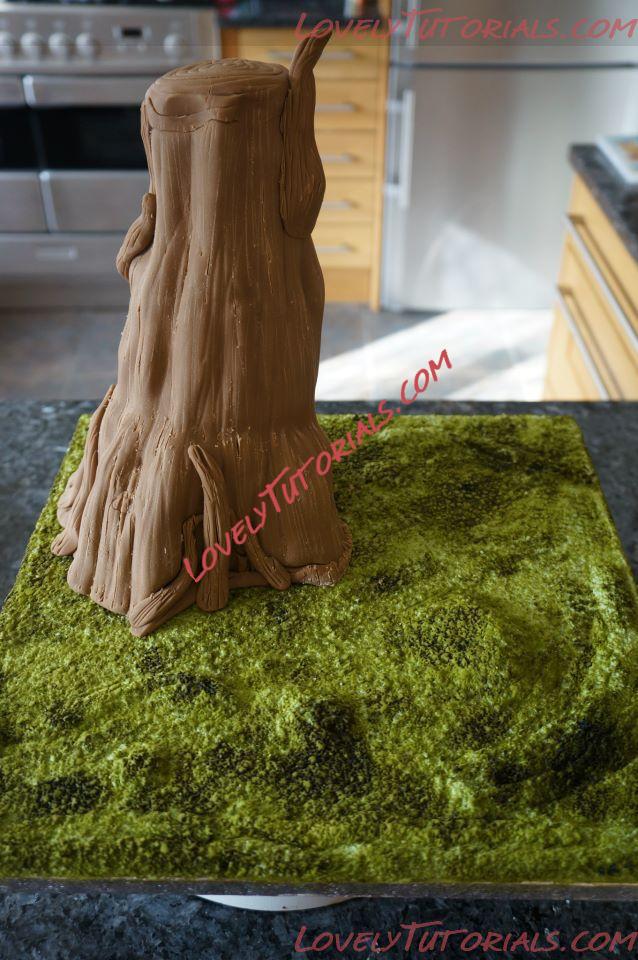
The finished trunk! Now time to add some detail with blossom tints
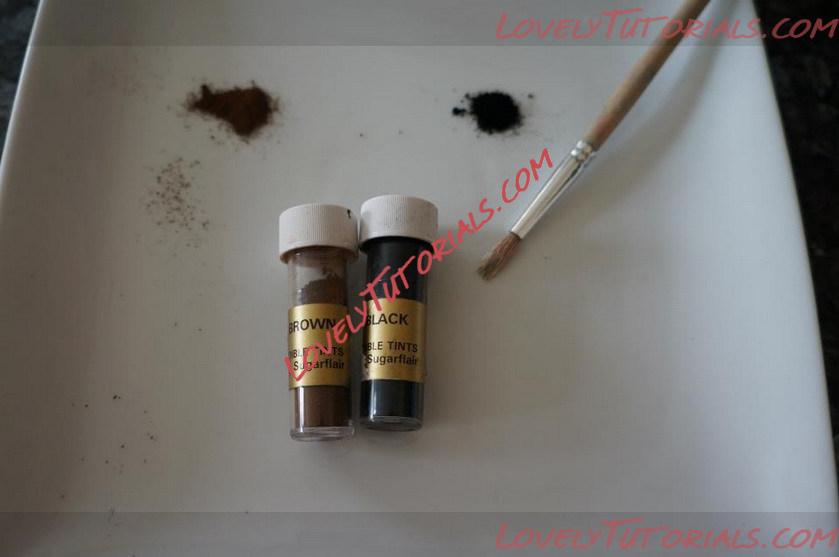
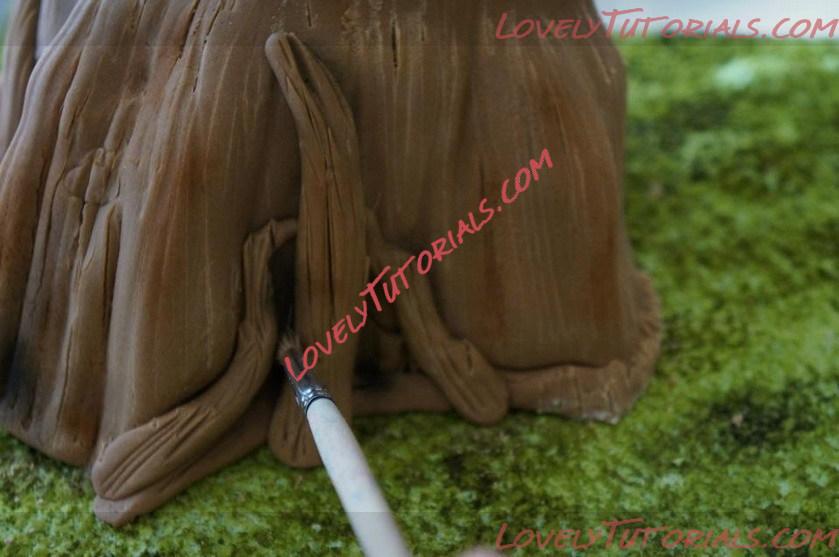
I used brown and black blossom tints and a soft brush to add shading to areas of the tree
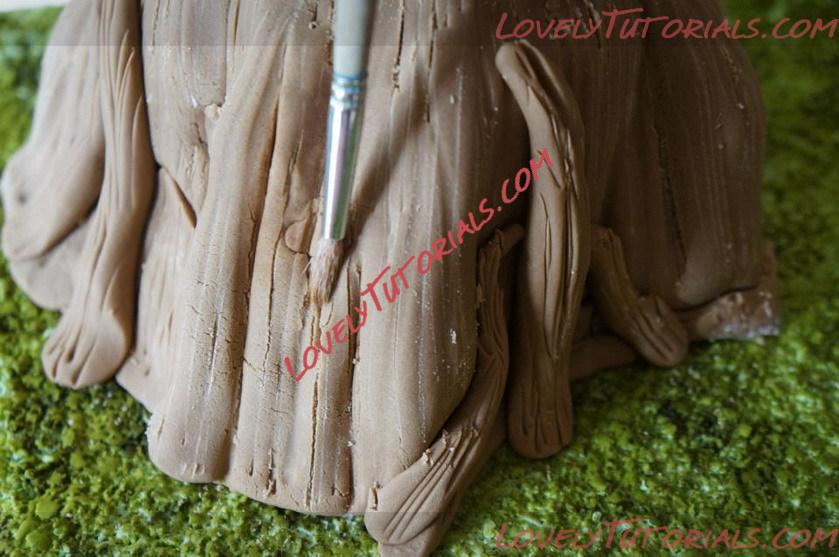
I paid particular attention to any recesses, so these would stand out more
The finished dusted tree....
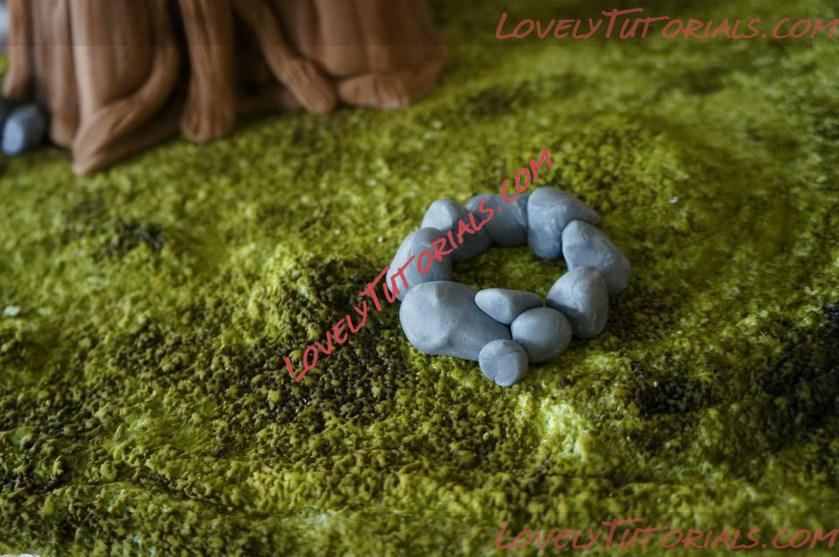
To make the base of the fire, I shaped small pieces of grey marbled fondant and secured to the board with edible glue
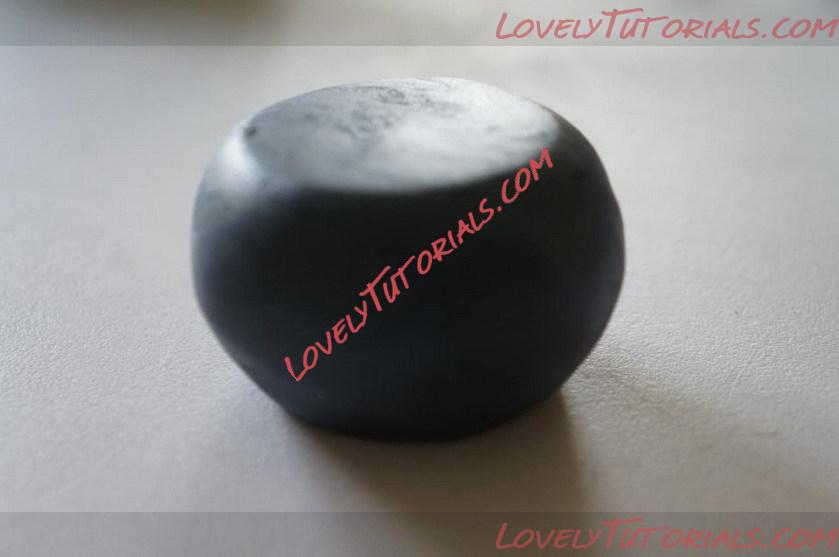
Shape some black/grey fondant for the cauldren
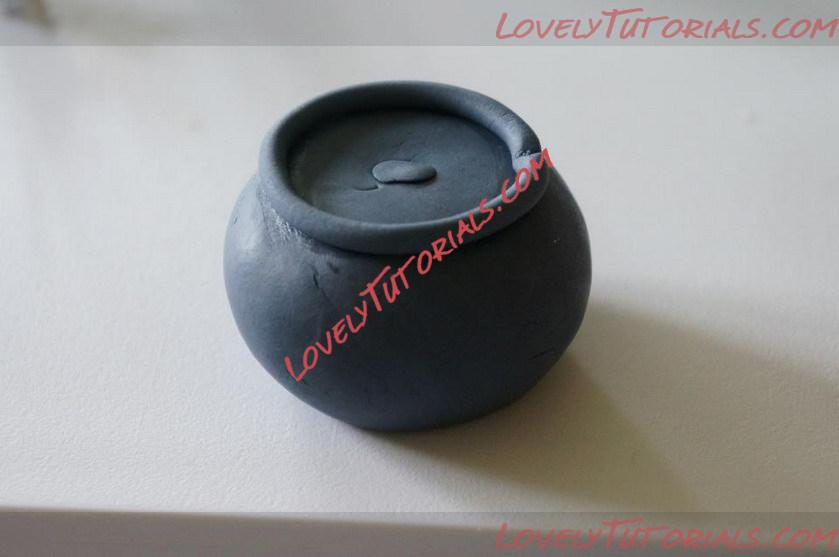
Add a sausage shape to the top
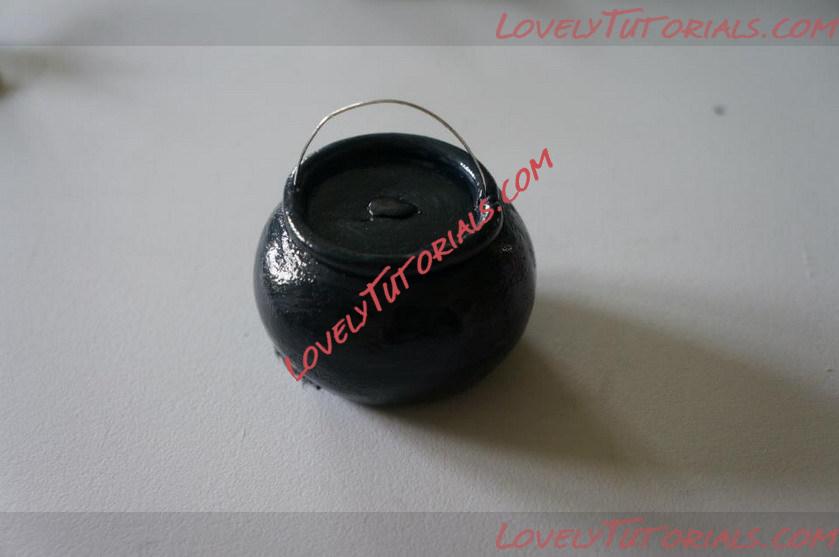
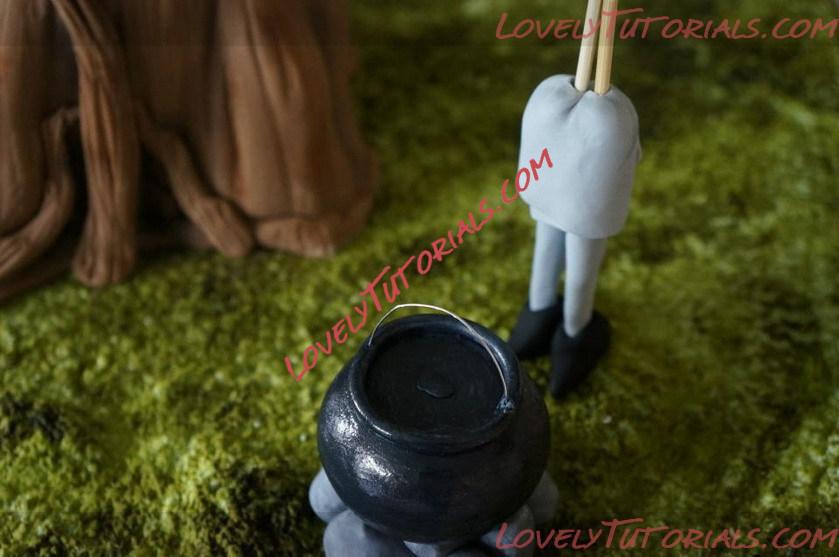
I used silver florists wire for the handle and then painted with black blossom tint mixed with vodka
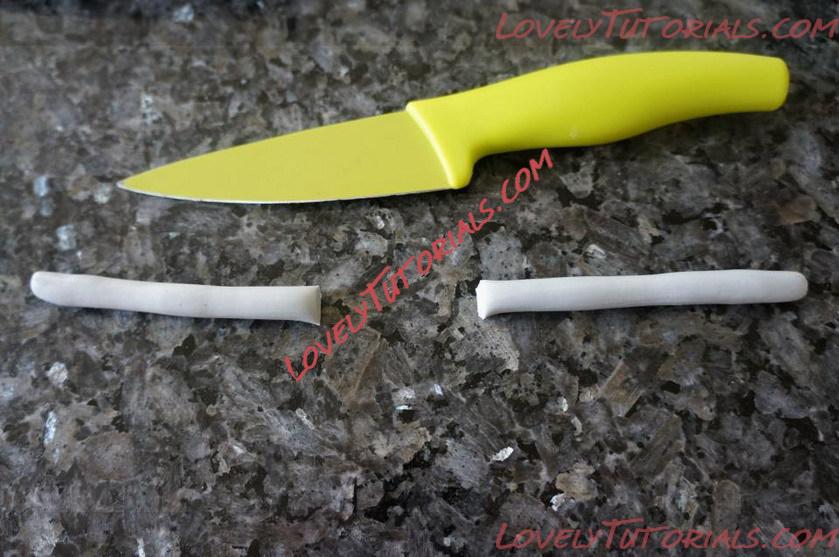
To make the witch roll to sausages of light grey fondant. For all my figures/toppers I always strengthen the fondant with tylose powder, about 1/2tsp per 250g fondant
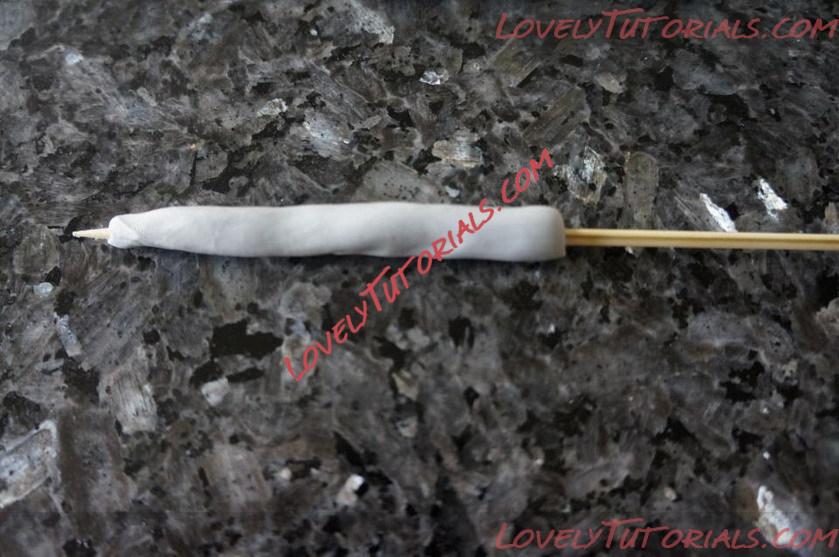
Insert a wooden skewer into each leg for support
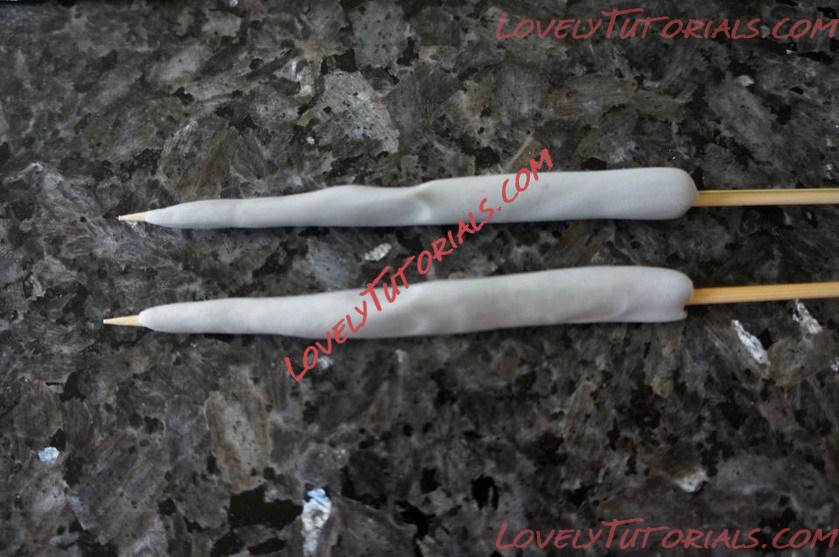
Shape the legs to a point at one end for the ankles
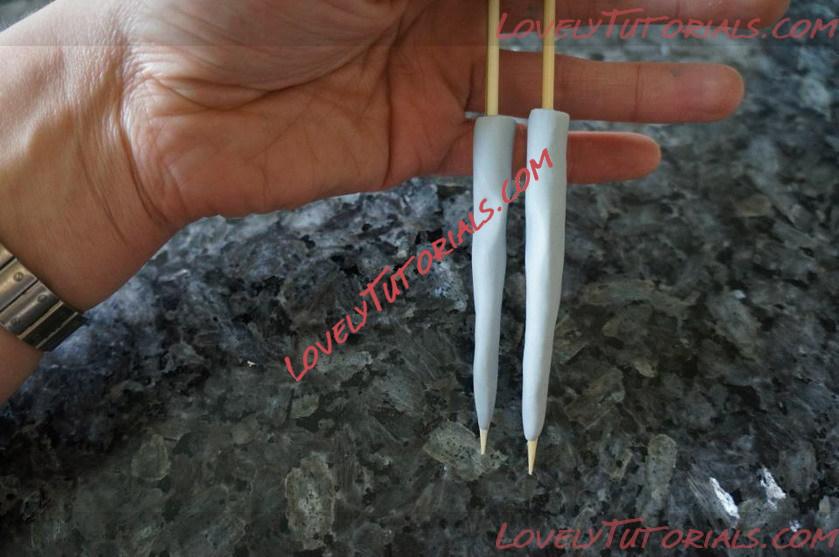
Set aside the legs
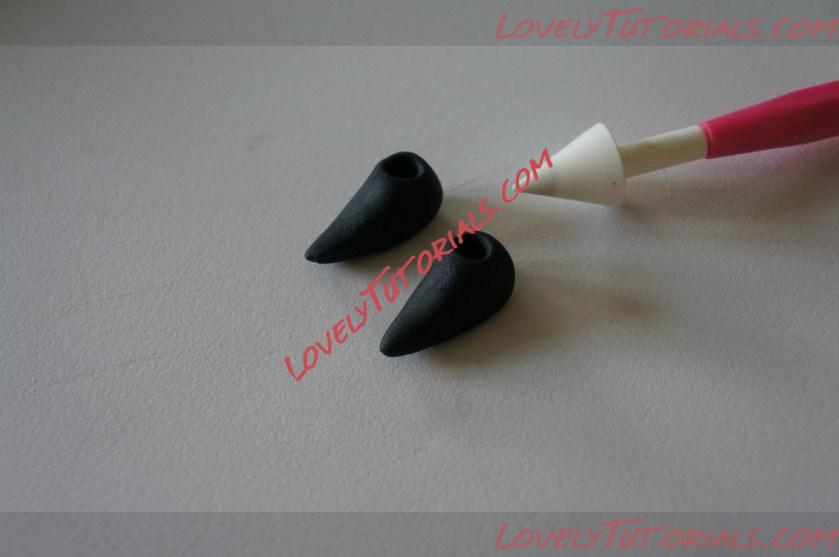
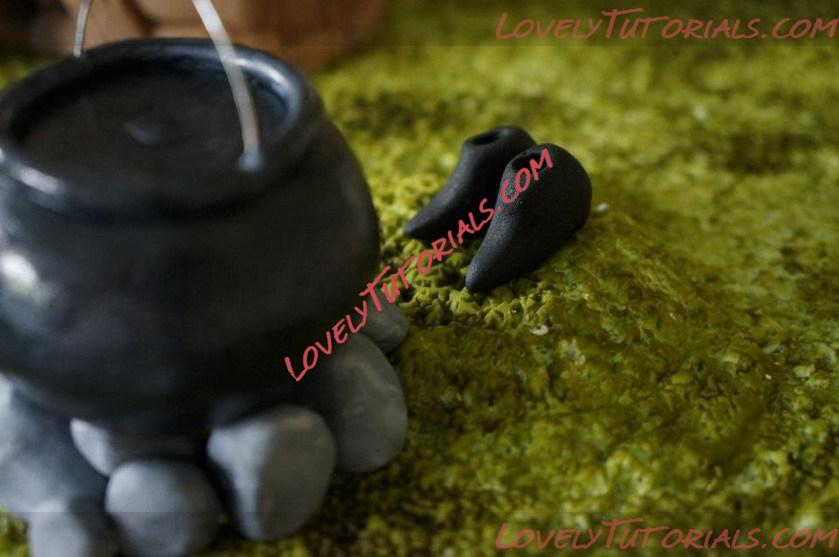
To make the boots, shape some black fondant into cone shapes, and flatten at the pointy end. Insert the cone tool into each boot to attach the legs
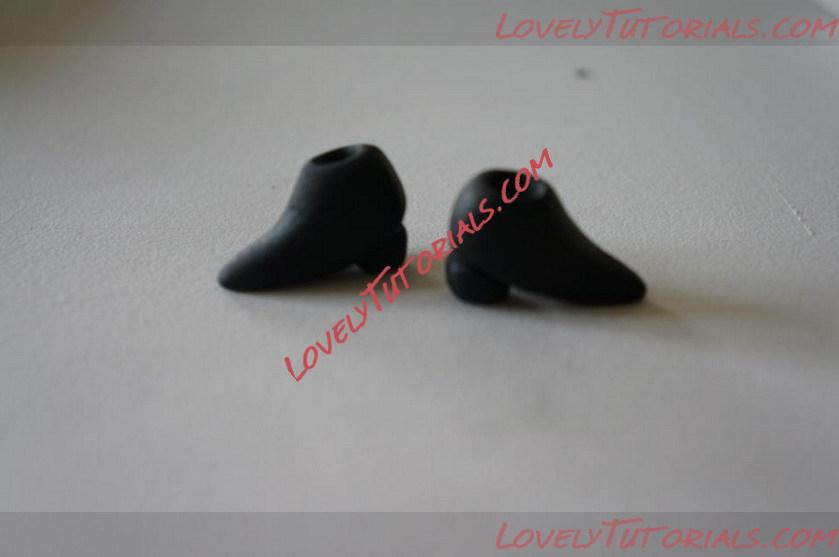
Add a little heel to each boot and set aside to dry
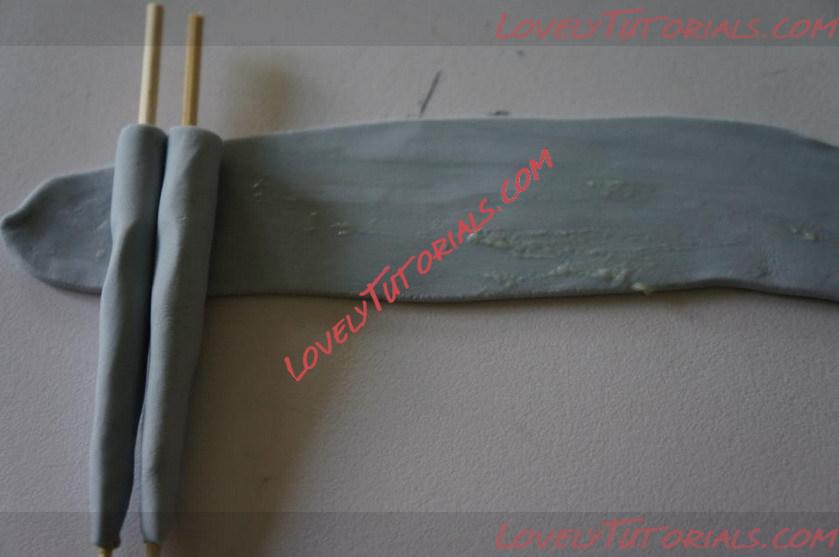
To give a little more width to the top of the legs, I rolled a strip of fondant to wrap around

This doesn't have to be perfect, its just so the witches skirt has something to stick too
When the boots have firmed up secure to a 'bump' in the grass. I attached with royal icing
Insert the legs into the boots, the skewers should go right to the base of the board

Roll out some purple fondant to around 1mm thick and cut a rectangle shape for the skirt. Check around the witches legs for length/width and trim down to size
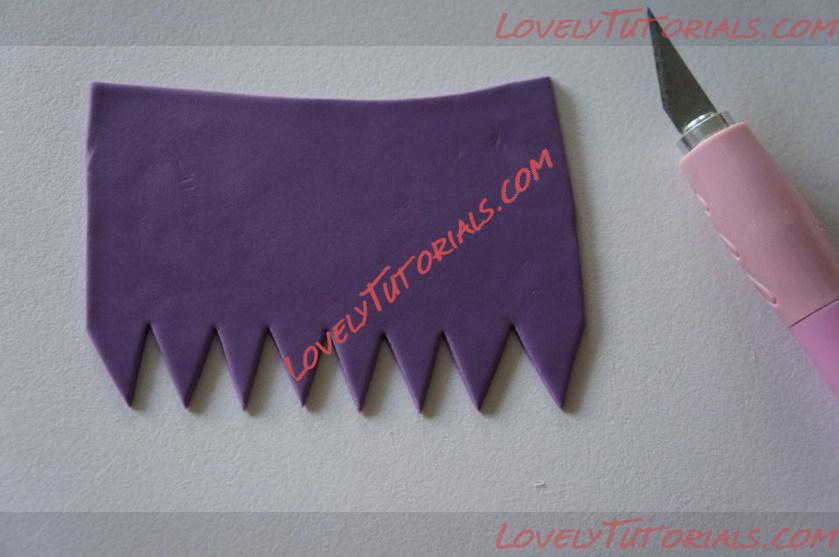
When you have the right size, cut triangles from the bottom of the skirt