I made this Titanic cake a few years back and it has been the most viewed of all of my posts by far. Also, a few people have asked me for more detailed instructions. So here is how to make a great Titanic cake:
Materials:
5 - 6 sheets of cake - rectangular (you can use box cake if you like - I use my own recipe)
Buttercream icing in red, white, black, brown and yellow (for my recipe click here) - Medium consistency
First bake your cakes and let them cool down on a rack. Once they are cooled, cut any bumps from the top so they are flat on both sides. This is very important as you need a sturdy structure.
Make your buttercream icing, you will need about 2 or 3 batches of my recipe. If you buy store made icing, you will need about 8 to 10 cups. You will need approximately 2 cups of black, 1.5 cups of red, 1 cup of brown, 1/2 cup yellow and 4 cups of white. To color your icing you will need paste colors not water based ones as this will water your icing. To color icing black and brown, and use less of the paste color, start with 3 cups of white icing and put some cocoa powder to it until is nice and dark brown, reserve 1 cup of brown and add black color paste to the rest. These will be a chocolate buttercream - yum!
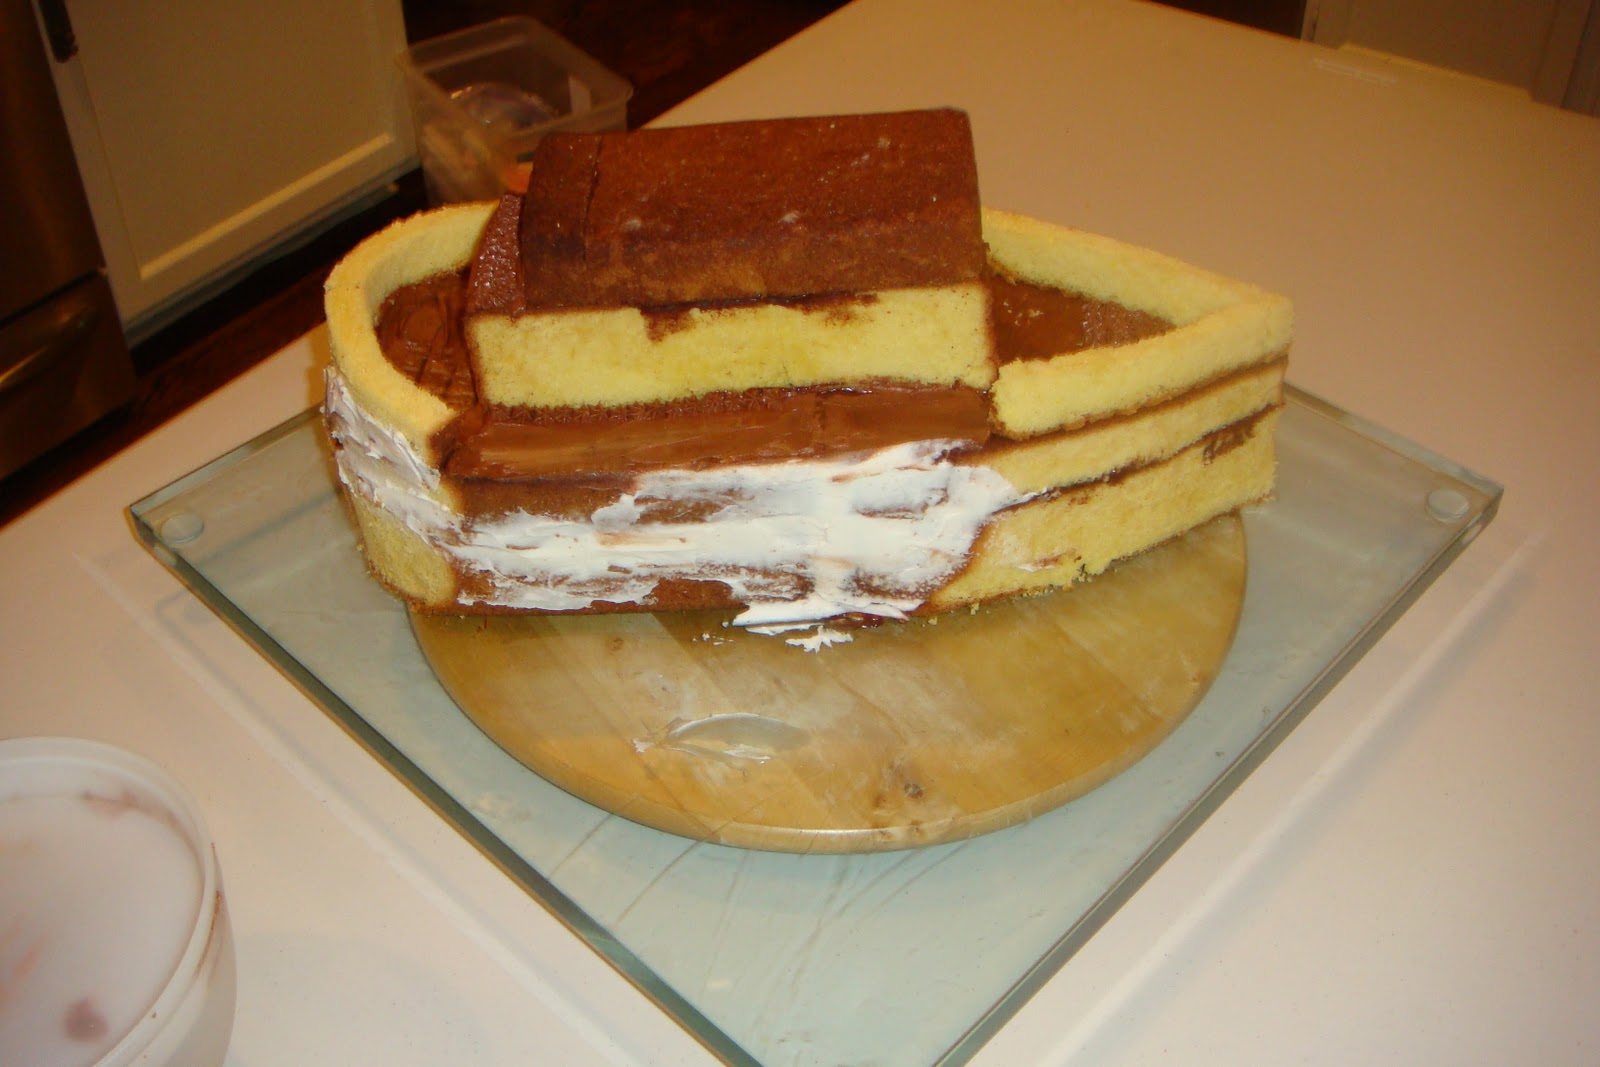
Stack 3 of the cakes on top of each other, using some white buttercream in between layers as a filling. I start with the bottom cake with the flatter surface down, then put some buttercream, then the middle cake, more buttercream, and finally the top cake with the flatter surface up. You will end up with a tall pretty smooth rectangular cake which will be the base of the Titanic.
With a very sharp knife you will carve the Titanic from here.
To do the front of the Titanic: Find the middle point on one of the short sides of your rectangular cake, mark it with a tooth pick. From the same end of the cake now go to the longer side and measure about 3 -4 inches from the end of the cake and put a tooth pick there too. Do this on the other side as well. Now cut your cake from the middle tooth pick to the other, the piece you are cutting will look like a triangle and the cake will start looking like an inverted V shape wedge. Do one side at a time removing a small triangle first, then do the same on the other side. Once you have the right shape, you can do small carvings on cake to make it more curvy.
To do the back of the Titanic: Remove the corners of the other short side of your rectangle, you can cut a small triangle of about 1 inch . Then with small carvings, make your cuts rounder.
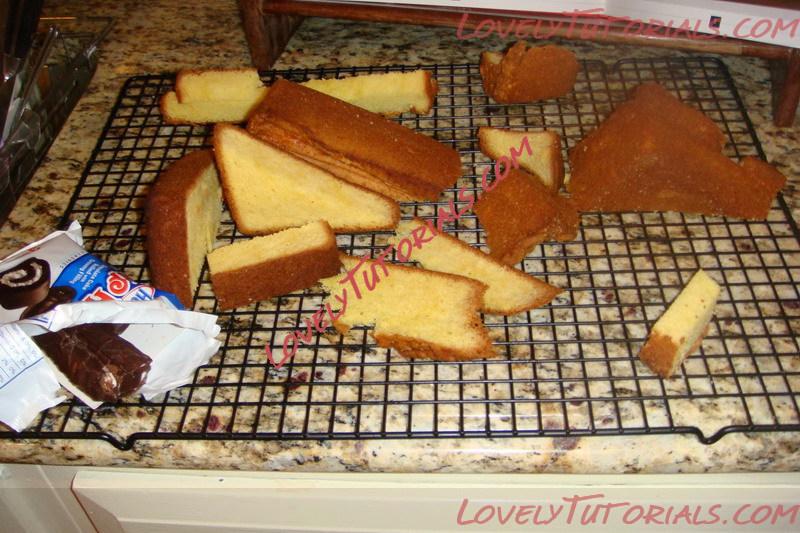
You now have the base of the boat. Do not discard any of the cake pieces that you cut out of your cakes, you will need those big triangle to make your iceberg!!
Now you need to do the middle of the boat. Take one of your cakes and cut it into 3 rectangles of equal size (vertical cuts). Depending on how tall is your cake pan, you will stack 2 or 3 of these together as you did with your base. First stack 2 and measure against your base boat so you get your dimensions right. I only needed 2 of the pieces. On the top piece, make it about 1 inch shorter than the bottom piece so you can have the back balcony of the boat. You will stick this structure to the base boat with buttercream on the middle but a bit to the back (keep looking at the picture of the final cake for perspective). In order for the cake to be stable you will need to insert a skewer or two all the way from the top of the cake to the bottom - going through all 5 layers of cake. If your skewers are longer that your cake, cut the reminder skewer so it does not show.
With the final cake pieces you will make the railings. Cut small strips of cake (little rectangles) of about 1/2 inch thick. Make sure they are the right size and shape for the cake. Place around the cake securing with spaghetti pieces (NOTE: you can also use toot picks, but if you will serve this cake to kids, I do not recommend using tooth picks. No matter how well you look, you do not want to risk a child biting into one)
Now it is time to start icing your cake. We will start from the top down. First remove all crumbs from around your cake and make sure the cake is on its final place as you will not be able to move her after the icing is on.
Do the deck with brown icing. you can cover the whole deck with the icing and spread thin with a spatula, or fill it in with stars as you did the outside of the boat. I used the spatula. To do this, thin your icing with a 1/2 spoon of milk, mix well and spread the icing with the spatula. I did stars for the small deck on the second floor.
Then with white icing, cover the walls with stars until all your top walls are covered. Once this is done, you can put the windows using chocolate chips.
Then you do the bottom of the ship. Start with Red icing -With a start tip #16 start covering the bottom of the cake. Make sure all your stars are close to each other, you will do this in lines all around the base and go up. Ice about 1 inch of the cake in red.
As you did with the red, start covering the next line in black stars (using same size tip #16) until you are about 1/2 inch from the top.
Now do yellow and do 2-3 lines of stars in yellow (using same size tip). Finish with 2 -3 lines of stars in white. Continue with white starts until you cover the outside of the rails.
Then we need to add the funnels, get 4 cake rolls like Ho Hos, cut their ends on a diagonal so the lean back and put them on top of the upper deck securing with buttercream and a skewer inserted diagonally.
Now ice the funnels, with the star tip, do the bottom of the funnel with yellow icing and the top with black.
Write the name of the boat R.M.S Titanic with yellow icing and a writing round tip #2 or #3.
Take 2 skewers and the wool thread and insert them in the cake as shown in the picture for the masts.
To make the iceberg, put some of the cake pieces that you cut off together using white buttercream - I like to use the triangular pieces sticking up. Covered completely with white icing using a spatula so it looks rough like ice. you can color some white icing with a little blue tint (baby blue) and make some color effects around the iceberg.
To make water use the piping gel. The piping gel is clear so I color it with a little blue (use gel colors not liquid colors) and mix it only a little as it is nice to have swirls of different blues and clear. Put around the bottom of the boat and the iceberg with a spatula, lifting the spatula up after you put the gel so it looks like waves.
To get the best icing you need to take into account a few things: the weather and how nice you want it to taste! The best tasting icing is done with 100% butter (no shortening at all) however, if your cake will be in a hot place the icing will melt fairly quickly. I will give you here a variation of a Wilton recipe that I use a lot - it is 100% butter as I do care a lot about taste. If you are in a really hot place, please substitute half the butter for shortening.
How to make icing?
Ingredients:
• 1 cup (2 stick) butter softened
• 1/2 teaspoon clear vanilla extract and 1/2 teaspoon of butter flavor extract
• 2 tablespoons milk (or water - but milk is more tasty)
Makes: About 3 cups of icing.
Instructions:
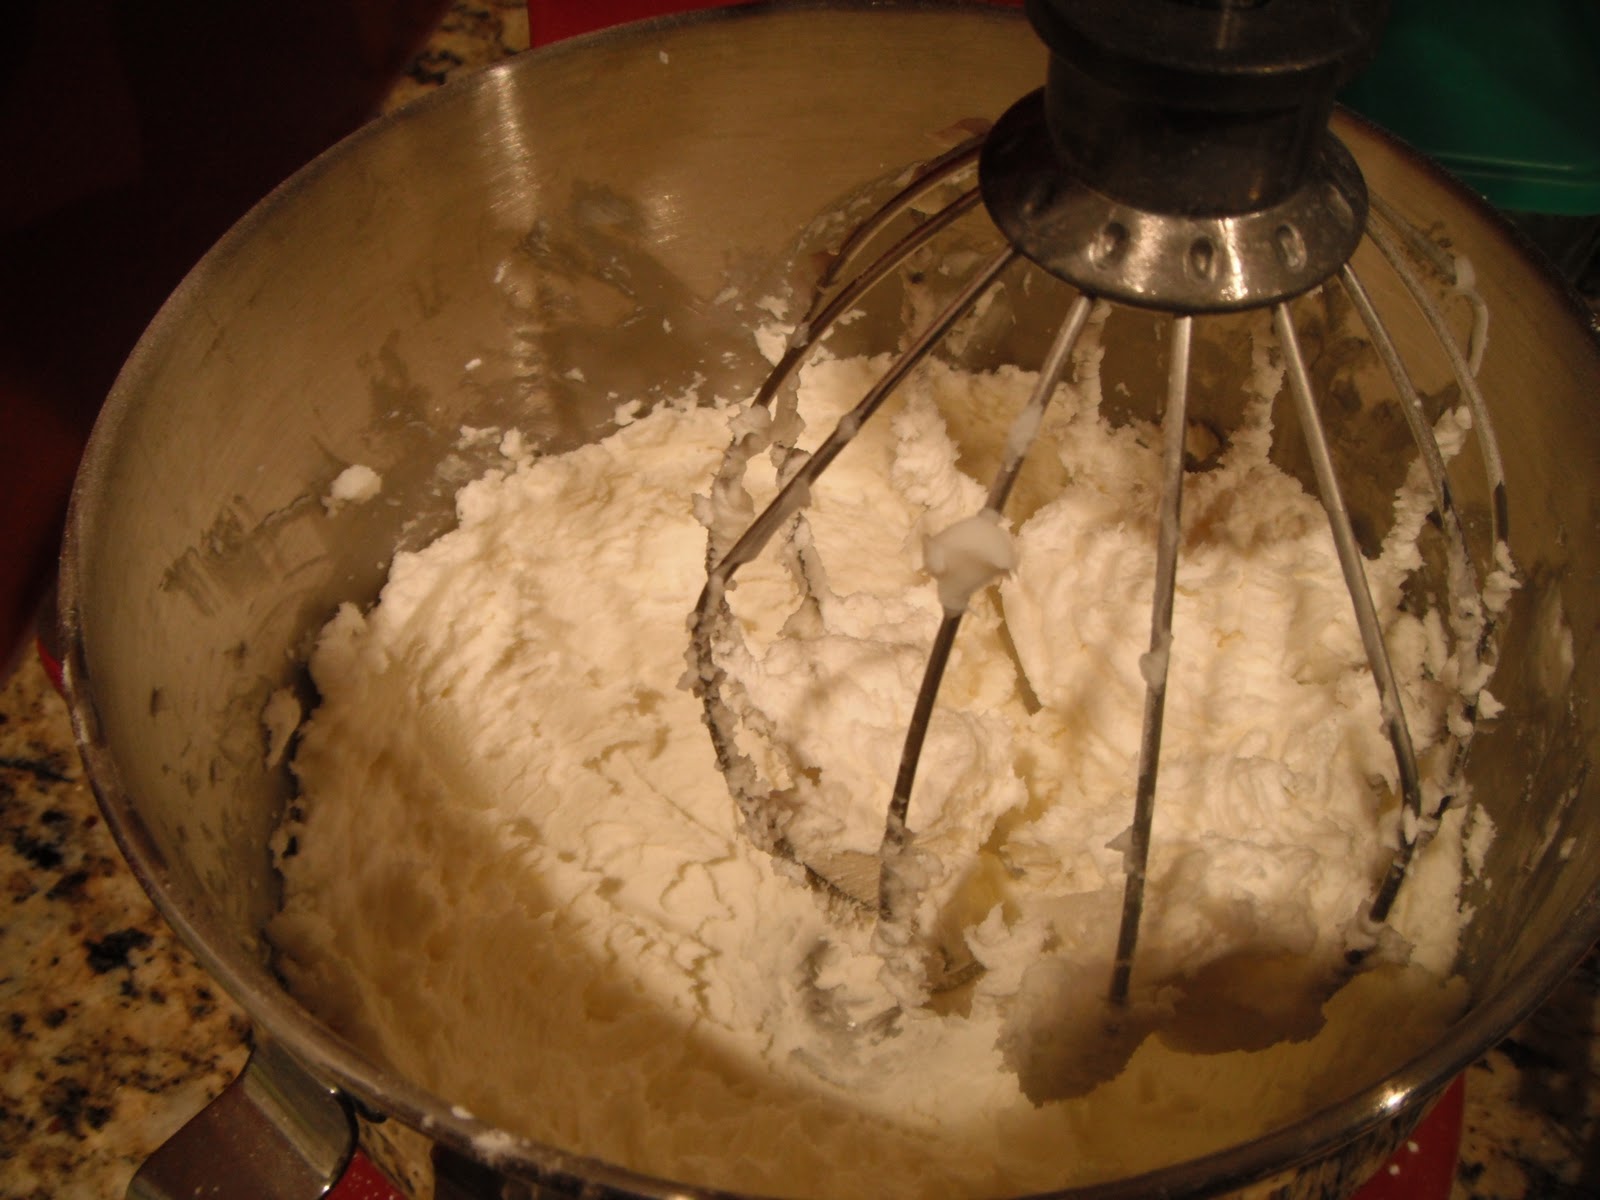
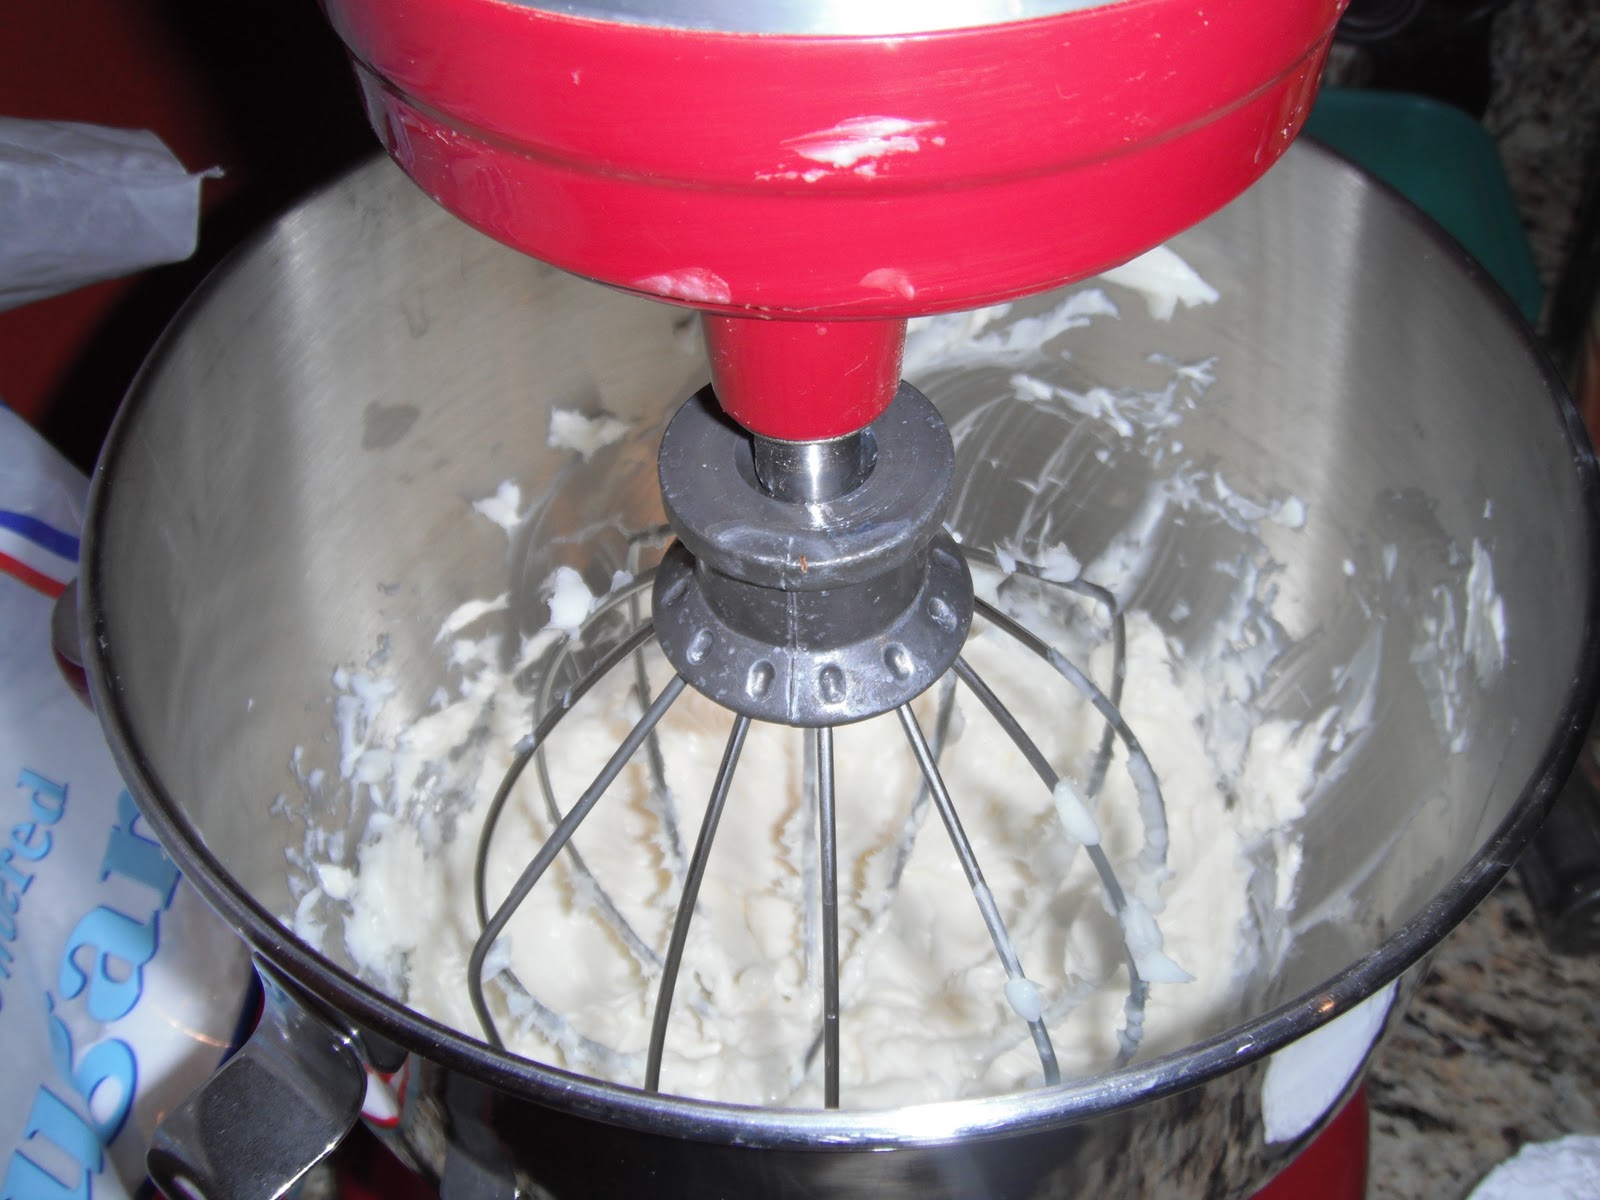
In large bowl, cream butter with electric mixer. Add vanilla and butter flavor.
Gradually add sugar, one cup at a time, beating well on medium speed. Scrape sides and bottom of bowl often. When all sugar has been mixed in, icing will appear dry. Add milk and beat at medium speed until light and fluffy.
Keep bowl covered with a damp cloth until ready to use or place on airtight container.
For best results, keep icing bowl in refrigerator when not in use. Refrigerated in an airtight container, this icing can be stored 2 weeks. Re whip before using.
For thin (spreading) consistency icing, add 2 more tablespoons milk.
Once it is done you can color it. Use paste or powder food coloring as it will not water down your icing.