Огромная благодарность Автору Jennyfer Mancino за Мастер-класс
How to: Rouching!
Rouching is a technique used to get a billowy fabric feel out of fondant cakes. I learned the basic technique from a TLC show featuring Swank Cakes. I used larger dowels, mixed with my finger-smoothing technique and came up with this method for rouching fondant.
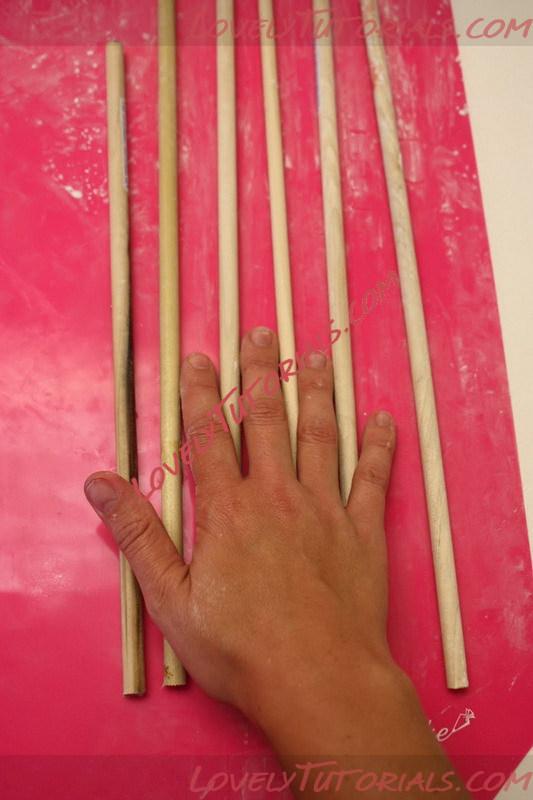
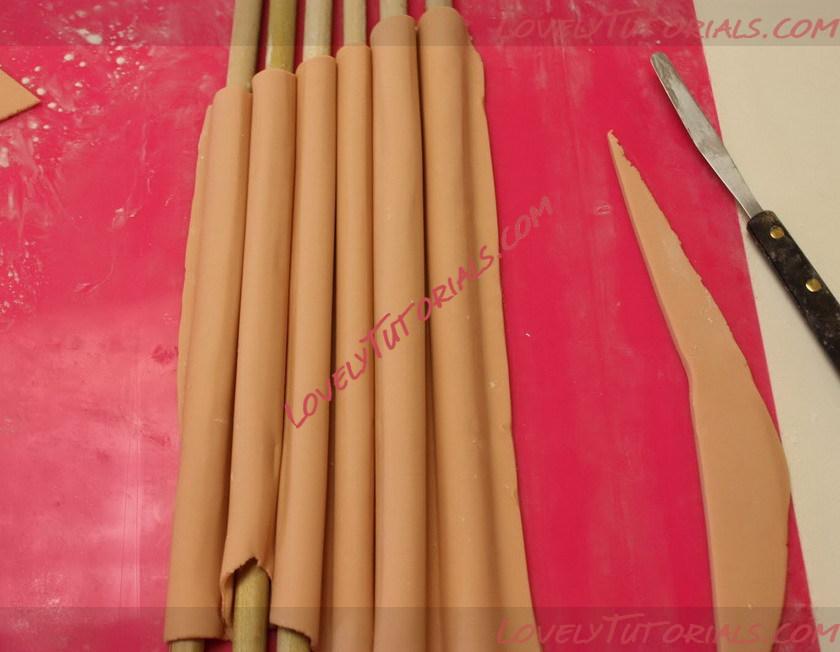
Start with 6 dowels (the orange width, 3/8") and place them finger width apart.
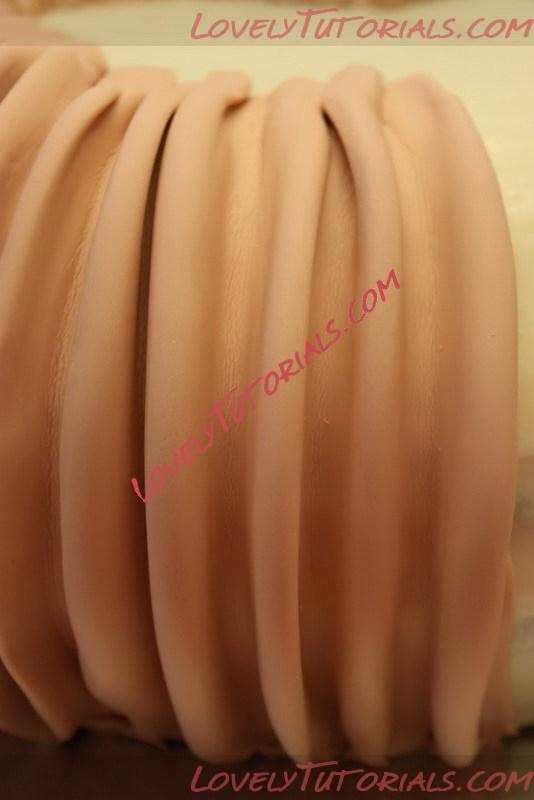
Next, roll out a piece of fondant at least 8" tall, and long enough to cover all 6 dowels. Lightly dust your fingertips with cornstarch and gently press them in the gaps between the dowels. Run your fingers up and down the gaps, gently applying more and more pressure until the fondant molds to the dowels and forms even pleats.

After achieving the desired shape, take the ends of the dowels not covered by fondant and slowly pushed them closer together. Its important to ensure that all of the pleats remain somewhat even in this phase. Also, touching the dowels instead of the pleats will keep your work neat and wrinkle free.
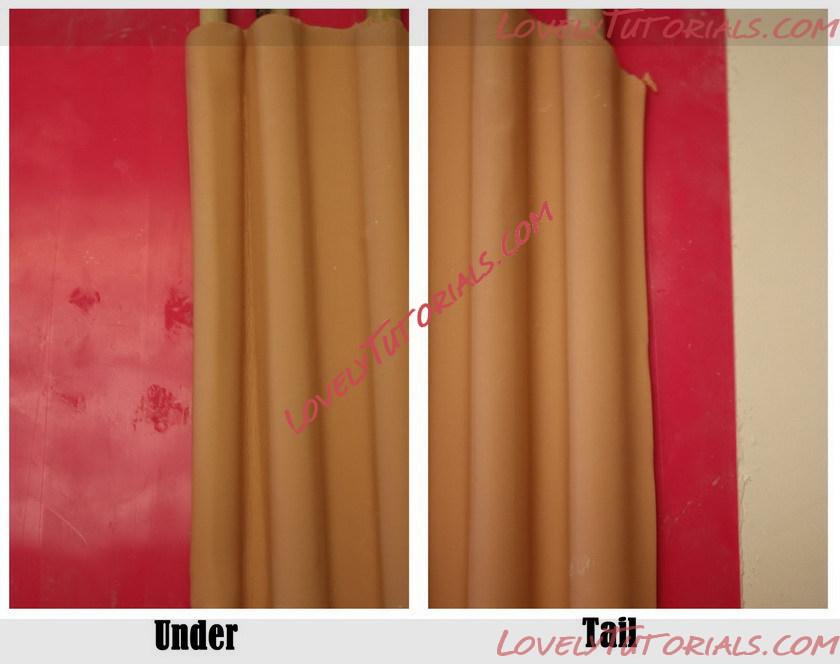
The fondant will be placed on the cake in panels. In order to hide the seams, we create an "under" and "tail" system to interlock the panels. On the left, you will see the tube is trimmed to end "under" the pleat. On the right, the pleat ends in a small "tail."
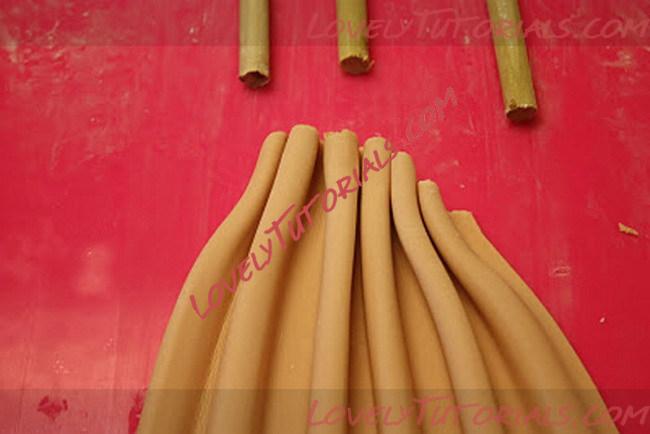
Remove the dowels and pinch the top end of the fondant together. This is also a good time to trim the top to make an even edge.
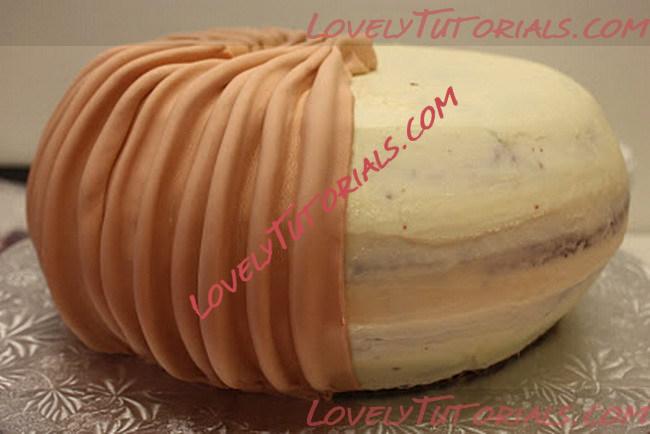
Place the panels on the sculpted cake, left to right. Once on the cake, you will need a little extra finessing of the pleats to get them into a straight and even position. Always make sure the inside of the pleat is firmly secured to the cake. To trim the bottom, firmly secure the fondant to the under belly of the cake and cut excess fondant with manicure scissors.

To measure how far up the cake the rouching should go, I use a board the size of the next tier to estimate where to place the dowels.
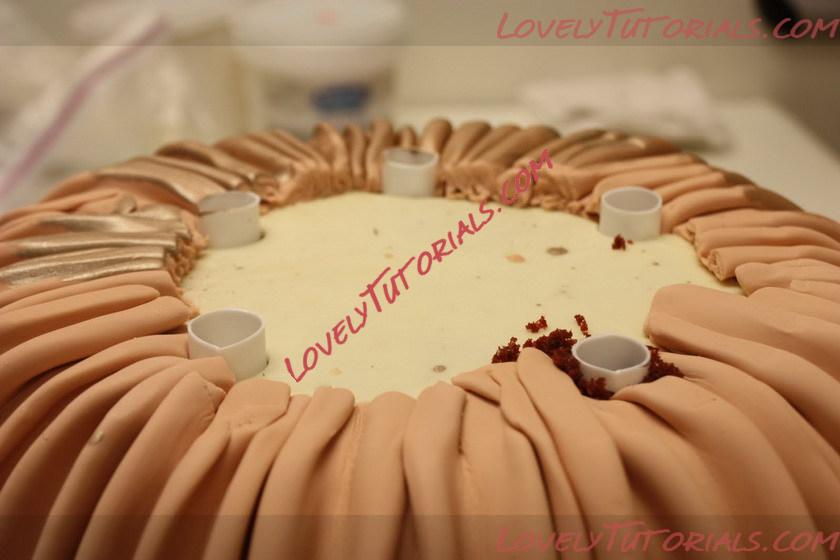
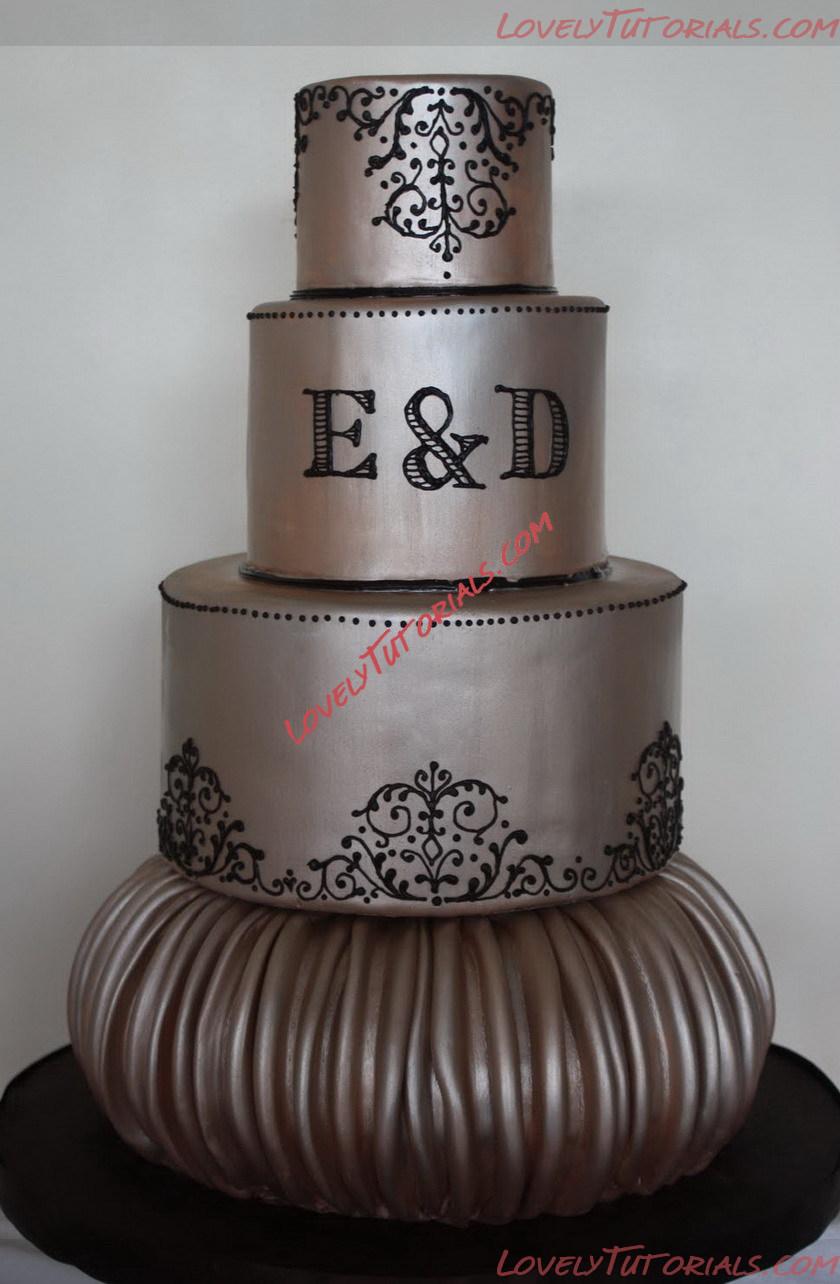
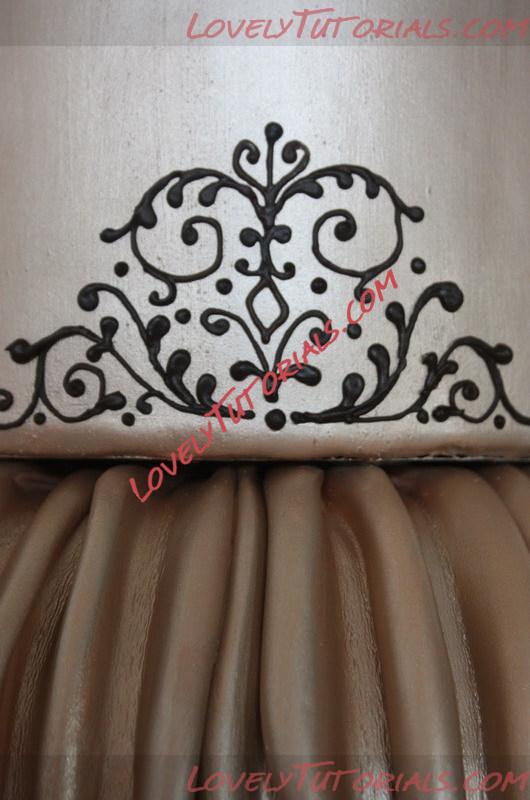
Pay special attention to the bottom edge of the tier above your finished cake. There is no border with which to cover any imperfections, so we take the fondant all the way to the bottom and even tuck it partially underneath. This cake had a metallic final coat in a silvery gold.
Here is the finished cake that was delivered to The Winter Park Farmers Market.
To see the entire wedding, visit Orlando Wedding Pix
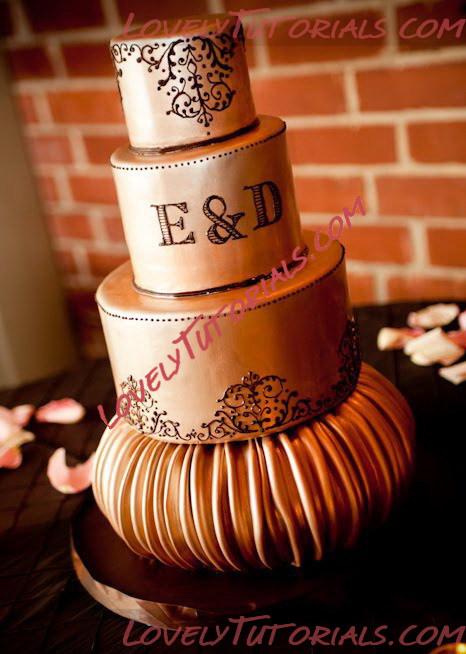
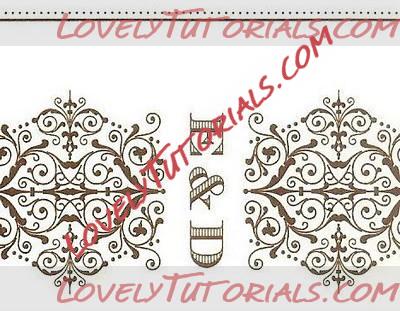
The design was inspired by the couples invitation.