
25.07.2011, 20:05
|
|
Администратор
|
|
Регистрация: 07.09.2010
Сообщений: 7,940
|
|
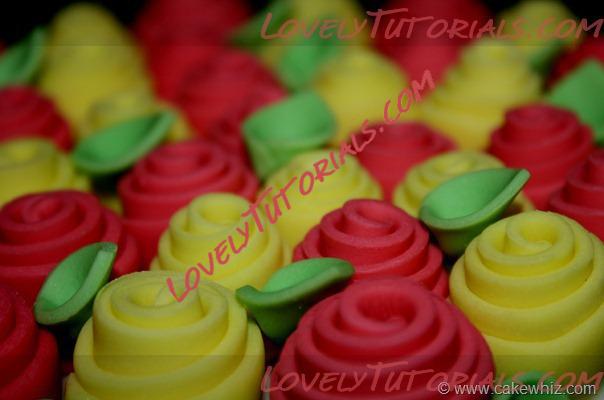
 роза из ленты-Ribbon rose
спасибо огромное Abeer за МК
слова и фото автора
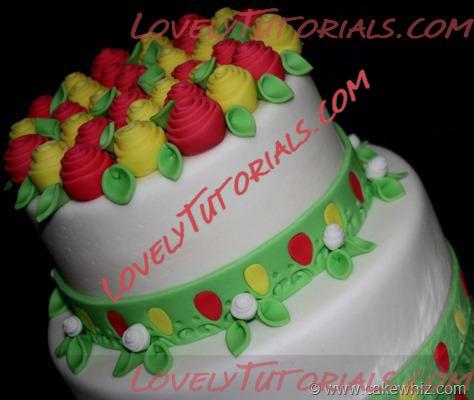
The cake is today’s posting is decorated with ribbon roses. I used to make these roses out of actual ribbons and glue them onto gift boxes. When I tried making these roses with fondant, it worked just as well and looked just as pretty! Try them out ….
 Ribbon rose
These roses can be made with fondant but that takes fairly long to dry. I suggest using a 50/50 mixture which dries faster. To make this mixture, mix half gum paste and half fondant and knead well and it is ready to use.
Step 1:
Ribbon rose
These roses can be made with fondant but that takes fairly long to dry. I suggest using a 50/50 mixture which dries faster. To make this mixture, mix half gum paste and half fondant and knead well and it is ready to use.
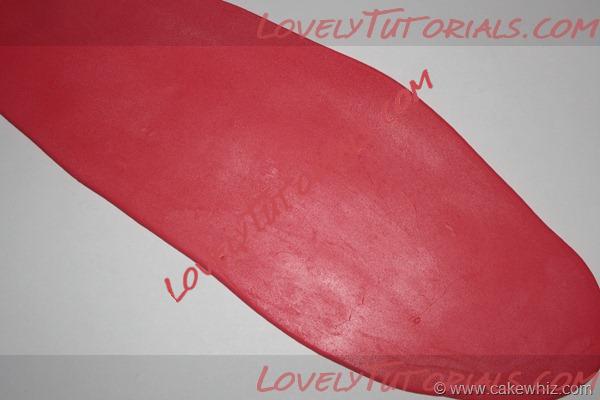
Step 1:
Roll out fondant or 50/50 mixture.
 Step 2:
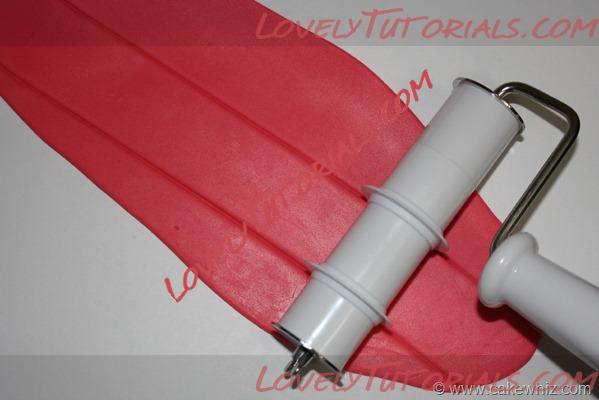
Using a pizza cutter or a fondant cutter, cut ribbons which are 1 inches wide and 8 inches long. If you want to make smaller roses, cut strips which are thinner and shorter.
 Step 3:
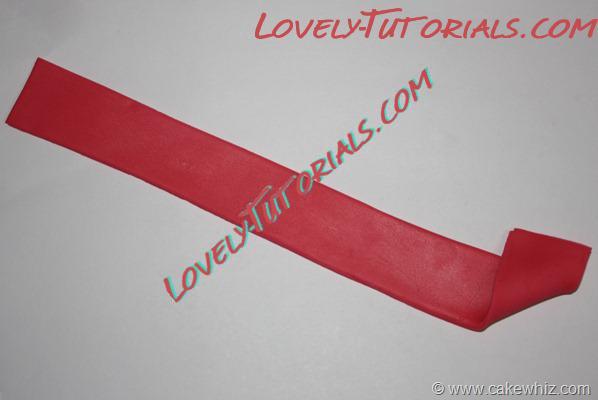
Fold over one corner of the strip.
 Step 4:
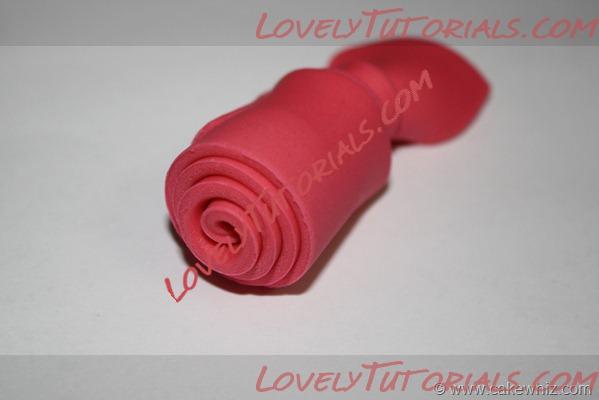
Start rolling and continue all the way to the end…
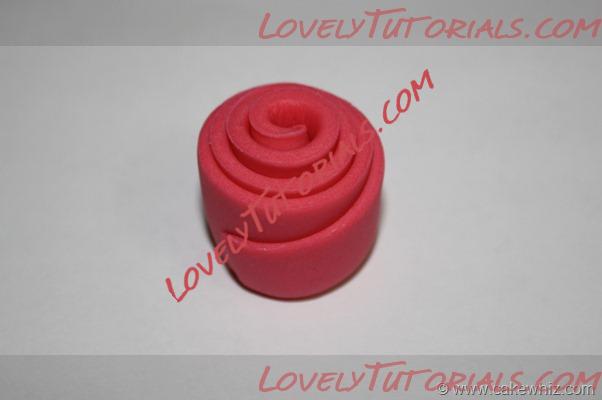
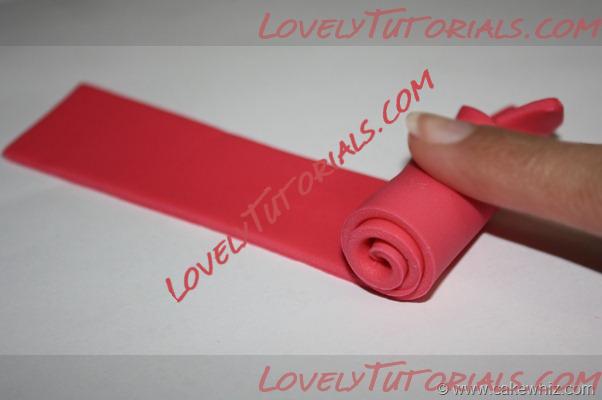 …until it looks like this.
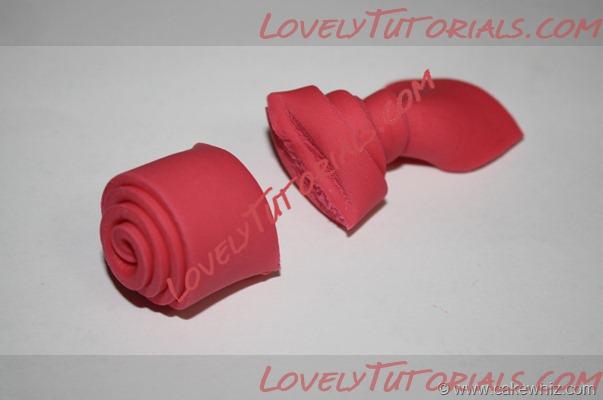
 Step 5:
Cut the end of your rose with scissors.
 Step 6:
Discard the end.
 Step 7:
Smooth out the bottom of your rose using your fingers.
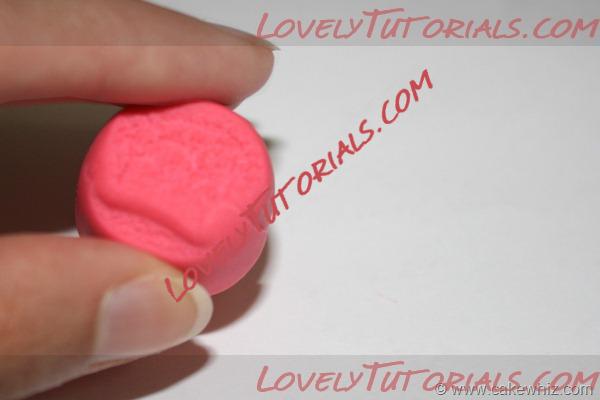 Step 8:
All done! Let these dry overnight.
 Leaves
You can make leaves using leaf cutters. But, if you want to make leaves seen in my cake, follow these steps:
Step 1:
Leaves
You can make leaves using leaf cutters. But, if you want to make leaves seen in my cake, follow these steps:
Step 1:
Roll out green fondant.
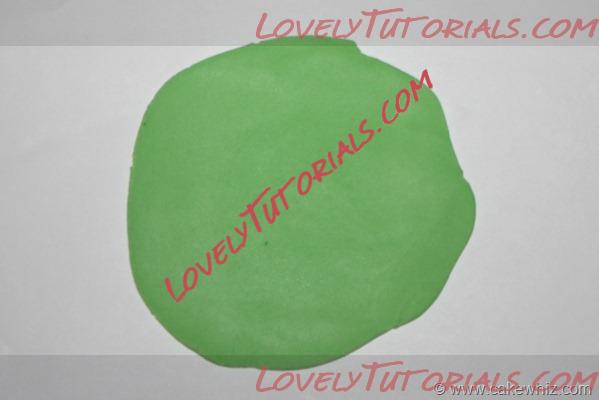 Step 2:
Cut out circles using a medium circle cutter from the Wilton circle cutter set.
 Step 3:
Using the same medium circle cutter, cut out two halves of each circle…
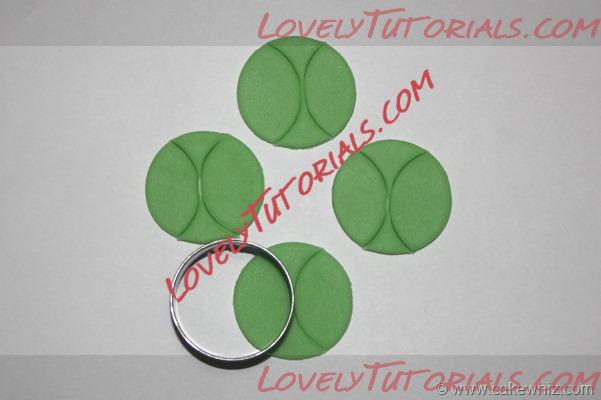 …and you would end up with these leaf shapes. If you wish, you can stop here and actually use these as leaves for your cake OR you can continue with the rest of the steps…
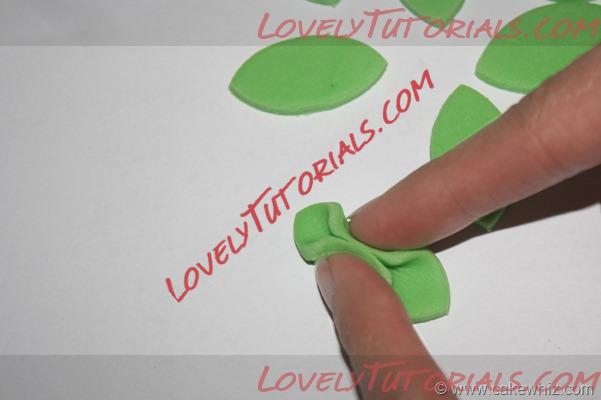
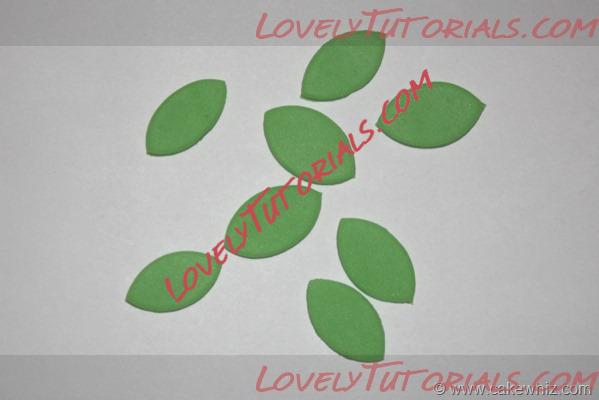 Step 4:
Pinch the center of each leaf until the ends stick together.
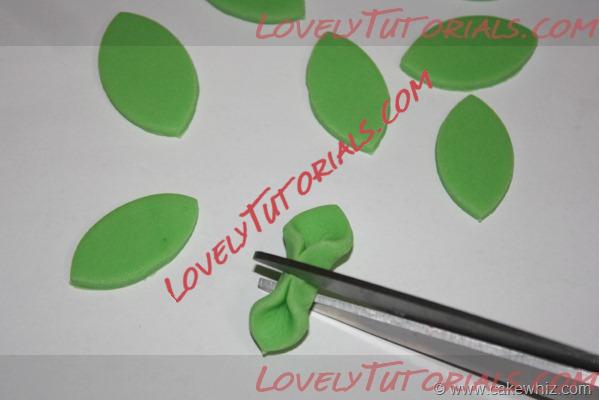
 Step 5:
Cut the pinched center with scissors. You now have two leaves.
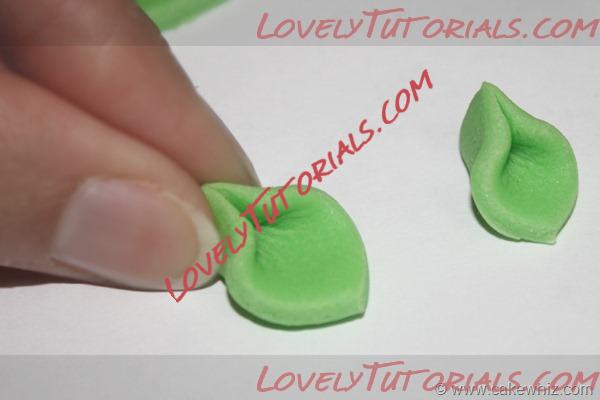
 Step 6 :
Smooth out the ends of of leaves with your fingers.
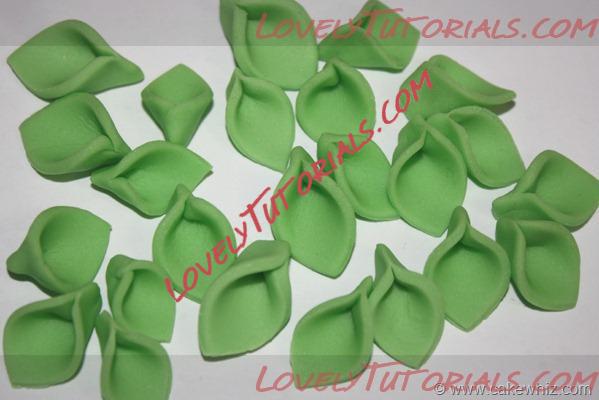
 Step 7:
All done! Let them dry overnight.
 Now that you know how to make ribbon roses and leaves, have fun with it! Try making different colors of roses or different sizes. Use them to decorate your cupcakes , cakes, petit fours and even cake balls/ cake pops…

|