Get comfortable...this post is a bit of a beast! It's long and detailed...so thank you ahead of time for sticking around to the end!
Alright...with all of your hydrangea flowers made and dried, it's time for Part Two of the tutorial, including coloring and arranging! Just so you know, I do all of my coloring by hand with petal dusts and brushes. I know a lot of fabulous sugar artists who use an airbrush effectively and end up with beautiful results. I don't have enough experience with an airbrush (yet!) to create the effect I like on my flowers, so this tutorial will only cover using dusts.
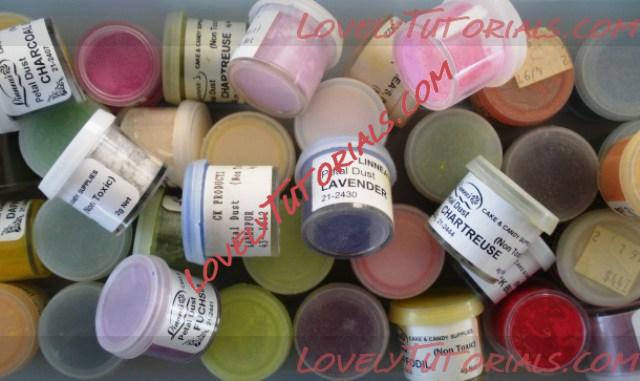
SOME NOTES ABOUT PETAL DUSTS: There are many different brands of dusts on the market, and I haven't used all of them, so I will only be featuring the brands I have used with success here. I rarely use a color straight out of the jar, except for very small accents on particular flowers...I frequently blend them, or make them lighter or darker before using. Also, I always have greens and yellows on hand, as they both bring life and brightness to any flower. I suggest playing around with color variations as much as you can...it can really make a big difference in your final product!
Below are the brands of petal dusts I have used. I buy the Linnea's petal dust at my local cake decorating store, and the rest I have found online. If anyone has used additional brands they really like, I'd love to hear from you!
*Sunflower Sugar Art
*CK Products
*Linnea's Inc.
*Squires Kitchen
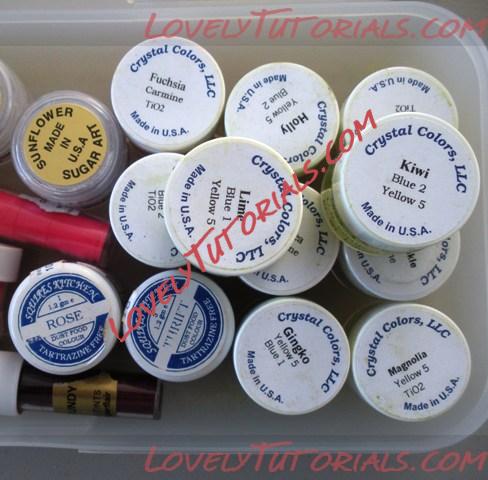
*Crystal Colors
*Sugarflair
 SOME NOTES ABOUT THE COLORING PROCESS:
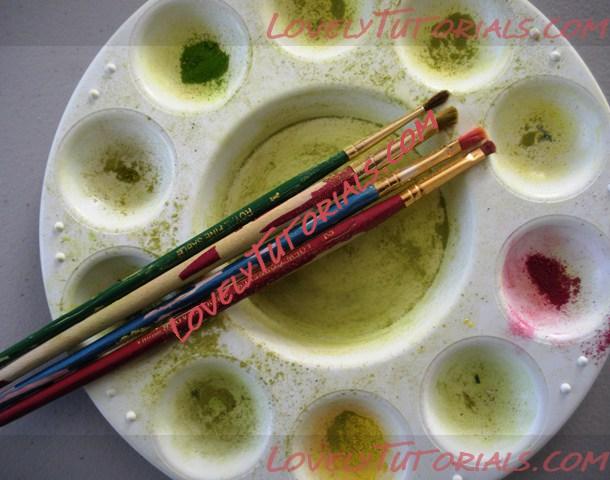
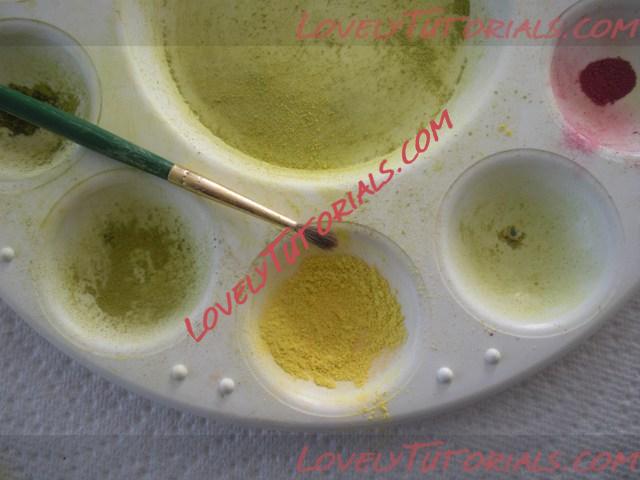
 A tip that has helped make coloring easier for me is using plastic paint palettes (seen in the first photo of the post), or plastic lids from containers, for mixing and saving colors of petal dusts. I have separate palettes for different color families (one for greens, one for pinks, one for purples, etc.) so that I don't accidentally cross colors AND so I can save custom colors that I really like. I simply cover the palette or lid with foil, label it, and save it for the next batch of flowers. I can always add a different hue or lighten/darken the colors before I use them again, so I know the dusts won't be wasted. As an example, I make so many green hydrangea that I have a palette just for those colors...it's a great time-saver. Brushes are the same way...I have different jars for my color families so that I don't accidentally brush a dark mossy green on my pink peony. Finally, I usually approach my dusting as an assembly line...dust all my centers first, move on to do all the base color, add the highlights, then apply pearl dust to all the flowers as the last step.
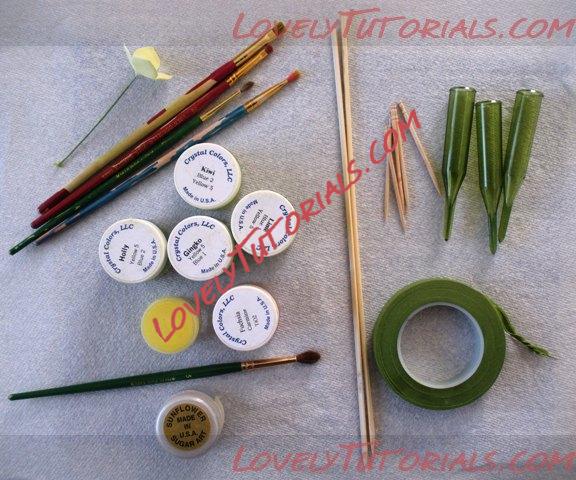
Here are the tools I use when coloring and arranging my hydrangea:
*Dry hydrangea flowers
*Petal dusts
*Pearl dust
*Brushes (two types: soft brushes in small and medium sizes...and firm/flat brushes in small sizes)
*Palette, plastic lid or paper towel for mixing colors
*Moss green florist tape
*Toothpicks or wooden skewers
*Plastic floral tubes/water picks
 COLORING HYDRANGEA:
Step 1:
COLORING HYDRANGEA:
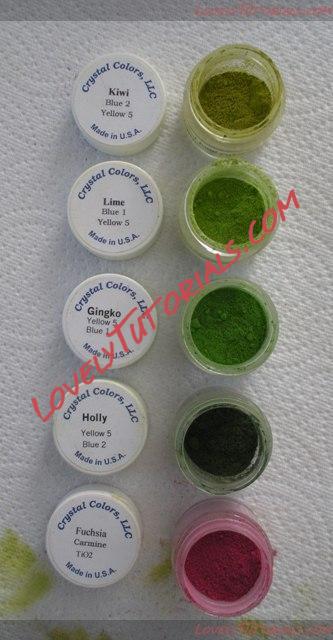
Step 1: Prepare your colors. For this tutorial, I used the following colors:
*Crystal Colors in "Kiwi" (added white and pale yellow for BASE color)
*Crystal Colors in "Lime" (used as is for edges only - see below)
*Crystal Colors in "Holly: (used as is for edges only - see below)
*Crystal Colors in "Ginkgo" (used as is for edges only - see below)
*Crystal Colors in "Fuchsia Carmine" (used as is for edges only - see below)
*Sunflower Sugar Art Pearl Dust in "Super Pearl"
As well as:
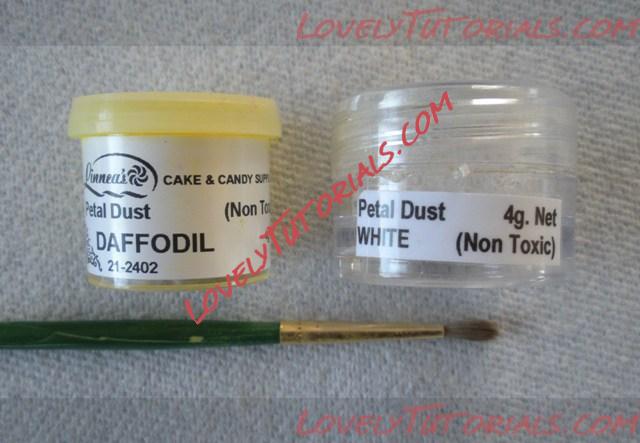
*Linnea's "Daffodil" (added white to make a soft lemon yellow for the centers)
*Sunflower Sugar Art in "White" (to lighten the other colors as needed)
 Step 2:
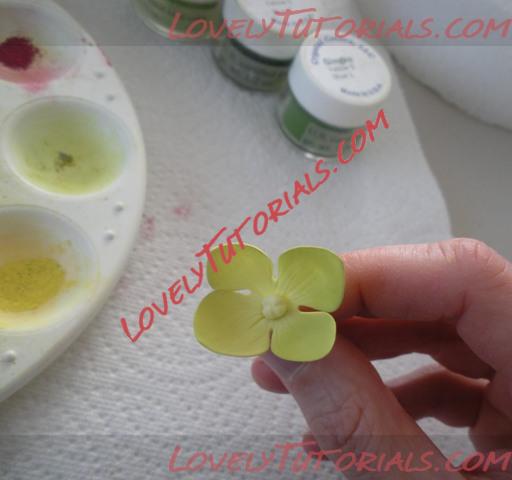
 With your colors mixed, use a small, soft brush to dab the hydrangea center with pale yellow. Don't cover up those gorgeous little white centers you made...just use a touch of the yellow to add some brightness:
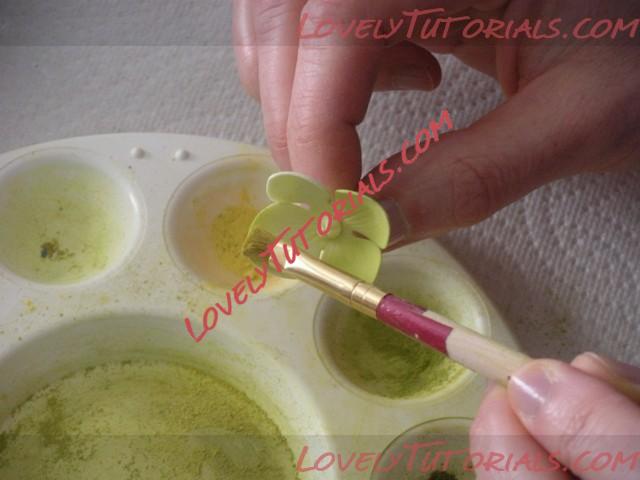
 Step 3:
 With one of your flat brushes, dust the front of each flower with your base green color, starting at the edge of the petals and working towards the center. I do not color all the way to the center...I think leaving a little ring of the pale green gumpaste visible is really pretty:
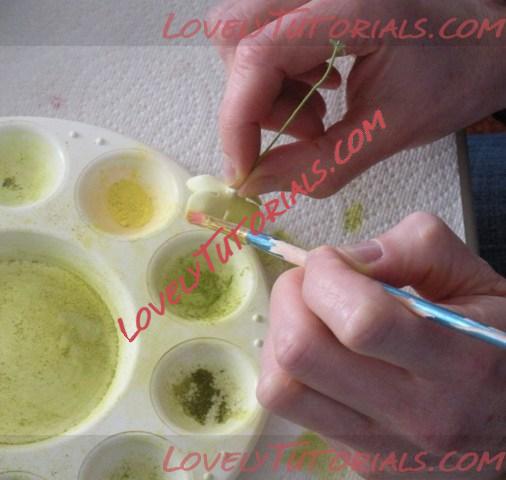
 Step 4:
 With your same base green color, turn the flower over and dust the back of the petals, again working from the edges towards the wire. Don't worry about completely covering these petals unless they will be seen. I usually dust about half way down the petals:
 Step 5:
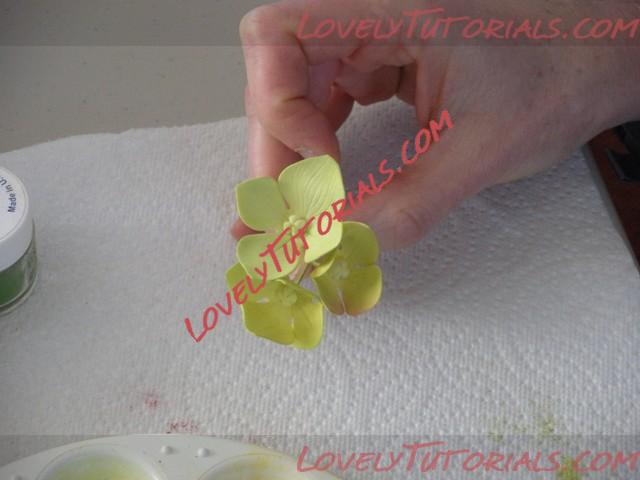
 OK...so here is one of my BEST tips for hydrangea! Once all of your flowers are dusted with your base color, divide them into four equal groups. Pick three new colors of green dust, and a pink dust as well. Pick the first group, and using a flat brush, dust
only the edges of the petals of each flower with your first new green color. Try to vary the number of petals you dust so they are not all exactly the same. Finish the first group, then change green colors and start with the second group. Change green colors again and continue with the third group, and then use your pink dust on the fourth group. You are using only ONE new color on each group of flowers, not all four (that would take forever)! AND, you are only dusting the edges of the flowers, not the petals. In this photo, one flower has edges with a lime green, one has edges with a grass green, and one has edges with pink:
And here is a larger group...nice variation in color, and all of the flowers look a little bit different:
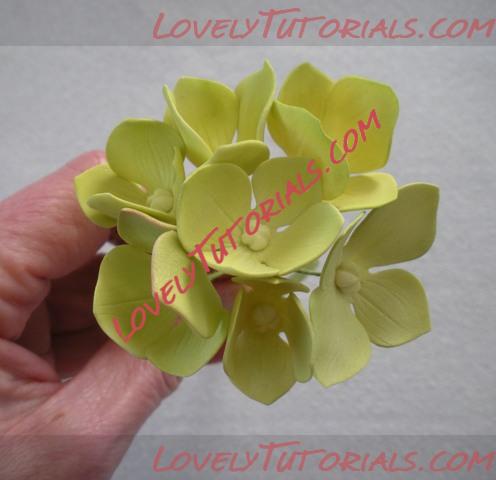
The little extra touch of the different colors will really make the final bouquet look beautiful! This technique can also be re-created when you make the other colors of hydrangea...just pick a variety of colors that are in the same family of your base color and use them on the edges of groups of your flowers. I use a touch of green dust when making all other colors of this flower (white, pink, purple, blue) so that some of the petals still look like they are young and in bloom.
Step 6: Once all of your flowers are dusted with color, use a medium-sized soft brush to dust them
lightly with pearl dust, front and back. This will help soften any harsh brush lines, blend the variations in color, reduce the powdery look after dusting, and give the flowers a very delicate and natural appearance:
 NOTE:
NOTE: Please do not be heavy-handed with the pearl dust...if your flowers look frosty or shiny, then you have used too much. We're going for a soft glow! Steaming is another option here...it can be a great way to set and deepen your colors. I prefer the look of the light pearl effect most of the time, but will occasionally use the steaming process. If you want to know more about steaming your flowers, OR you use steaming frequently and love it, please contact me! I'm happy to share my experience, and I'd love to learn more!
ARRANGING HYDRANGEA:
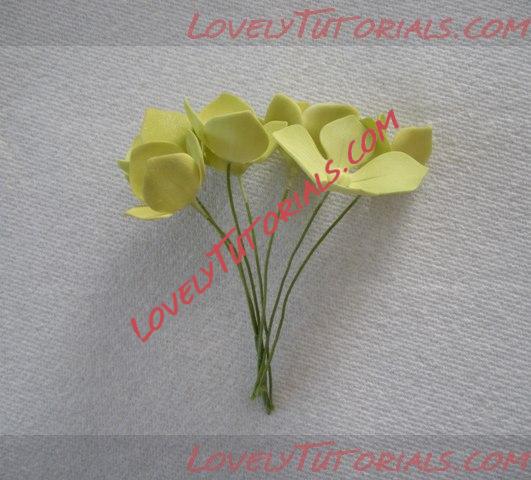
Step 1: Gather a small group of your completed flowers. I always use mine in odd numbers. Due to the different shapes and sizes of your flowers, move them around a bit until they fit together nicely like puzzle pieces. Because they are all individually wired, you can also gently twist and turn the actual flowers as needed.
Also, group your pink-edged flowers together - it will look like a section of your bouquet is in the middle of changing colors!! Your other green-edged flowers should be mixed randomly for the best overall effect:
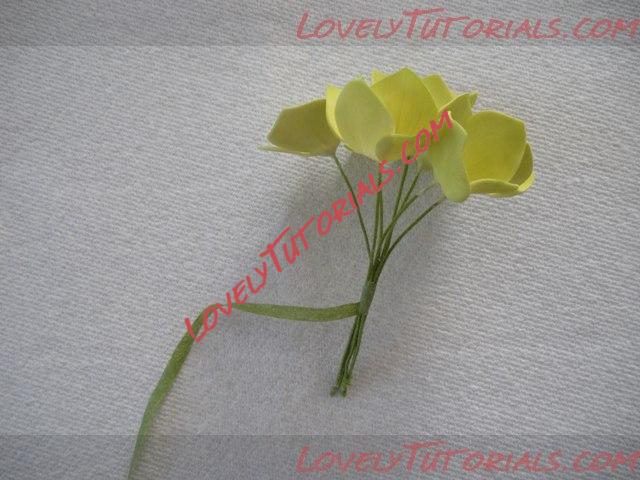
 Step 2:
 Begin taping the bottom third of the wires together with your green florist tape. Leaving the top two-thirds of the wires loose allows you to move the individual flowers around easily in a larger bouquet and fill any small openings or holes:
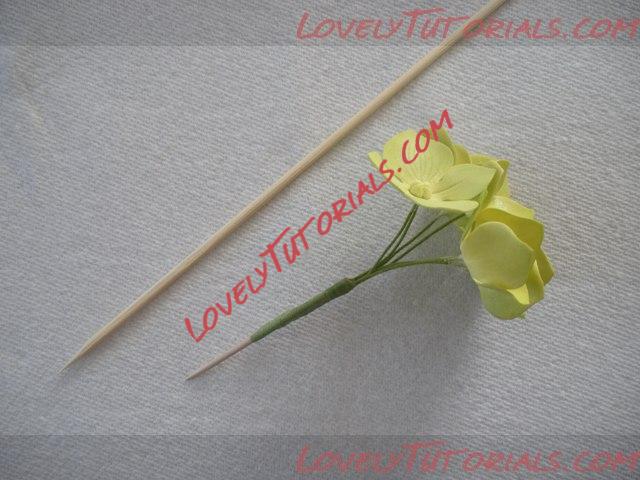
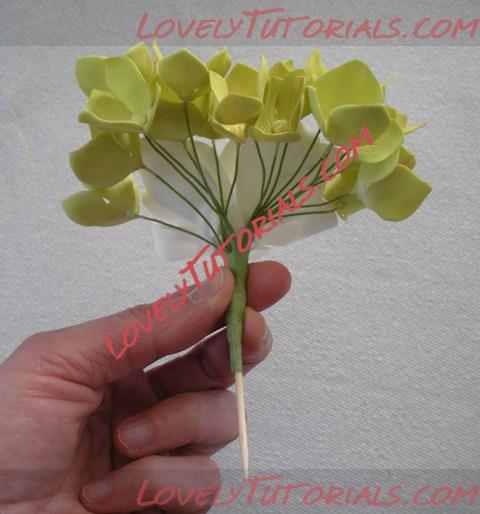
 Step 3:
 Once you have the taping started, you can add a toothpick or skewer (if you are using the flowers on a cake), and finish taping by covering the ends of the wires:
 Step 4:
 To arrange hydrangea around another flower, make several small groupings as outlined above, but omit the toothpick until you have all of the hydrangea wires attached to the central wire of your main flower. Once you have your bouquet made, you can tape on a toothpick or skewer as needed:
Here is the bouquet from the top...and with the flowers being on individual wires, I was able to turn and bend some of them in different directions to fill the spaces around the gardenia:

If you are making a large bouquet, another great option is to arrange and tape your flowers, and then insert the thick stem of taped wires into a plastic floral tube. This tube can be inserted into your cake:
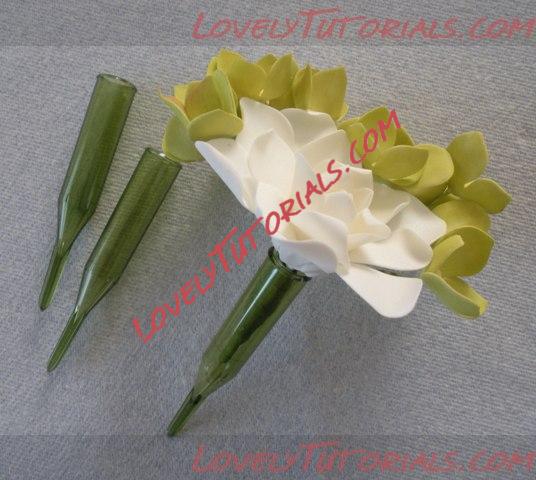
If the bouquet stem is smaller than the floral tube and rattles around in it, you can put some fondant down into the tube and then press the stem into the fondant...it surrounds the stem and keeps it firmly in place.
We're done! For those of you who made it here to the end...thank you for your time!! Please enjoy, and be sure to let me know if you have any questions! Oh...and is anyone interested in hydrangea leaves?