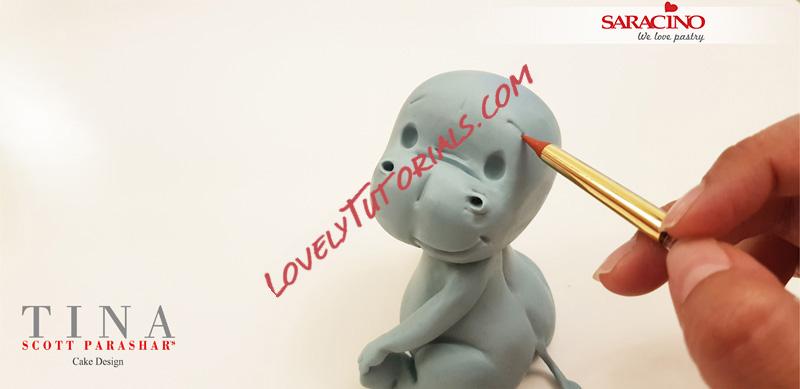
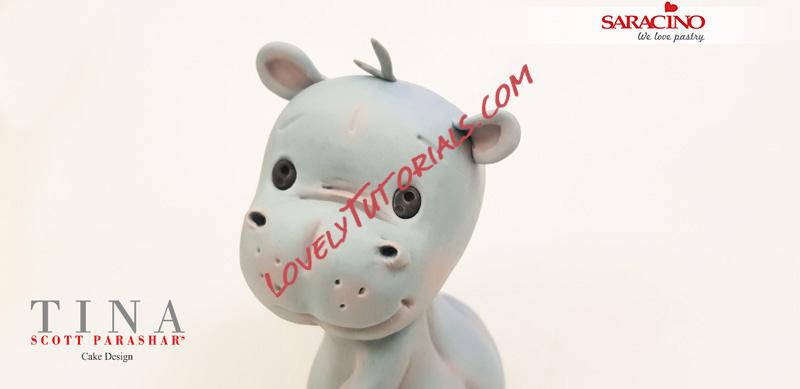
 Step 23
Mark the eyebrows. We will paint it later, but it helps to first mark it so that you are happy with the placement of the brows.
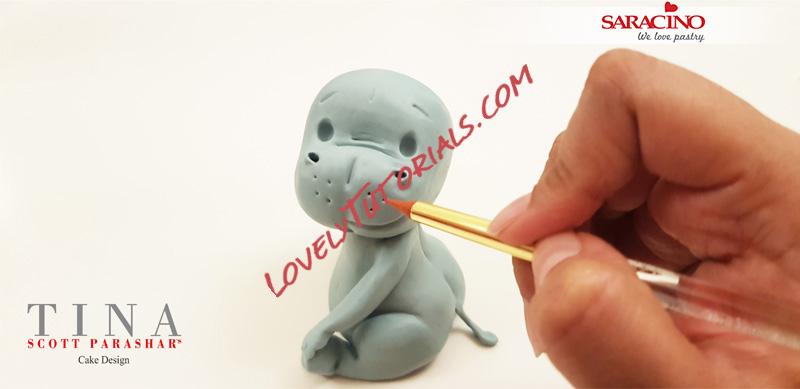 Step 24
Mark little dots above the mouth.
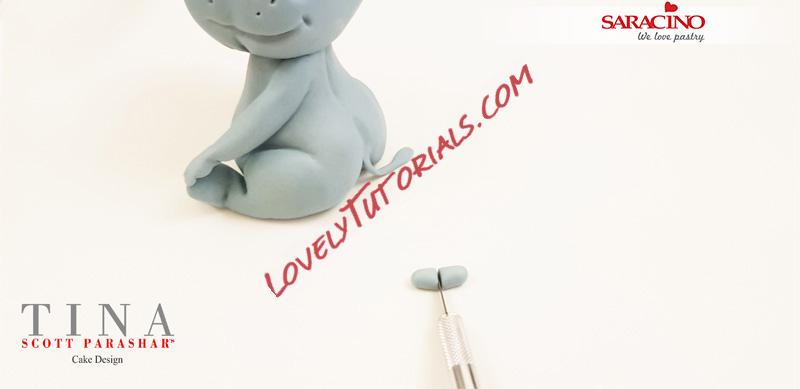 Step 25
Take a small piece of paste and cut it into two.
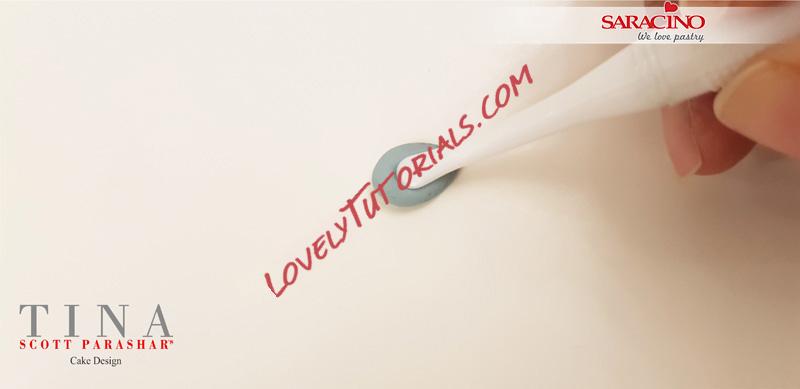 Step 26
Use your tool to shape the ears.
 Step 27
Attach the ears to the head, folding it a little at the base to shape it.
 Step 28
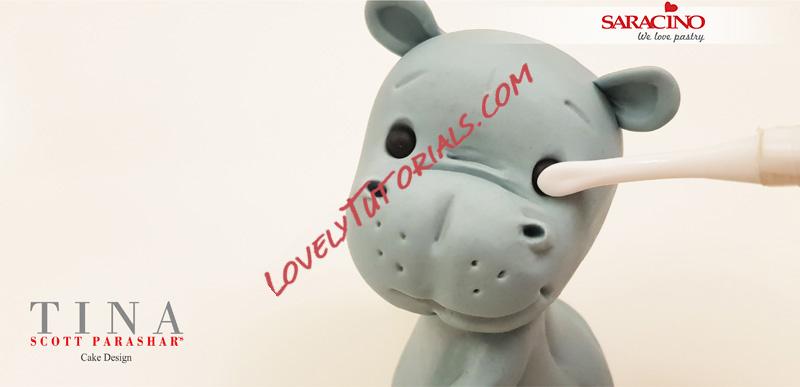
Insert two black balls of paste into the eye sockets to form the eyes.
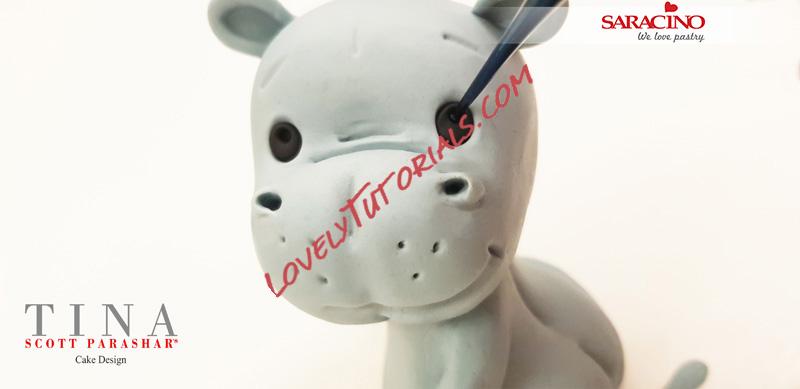 Step 29
Using your ball tool, mark two small holes for the twinkle in the eyes!
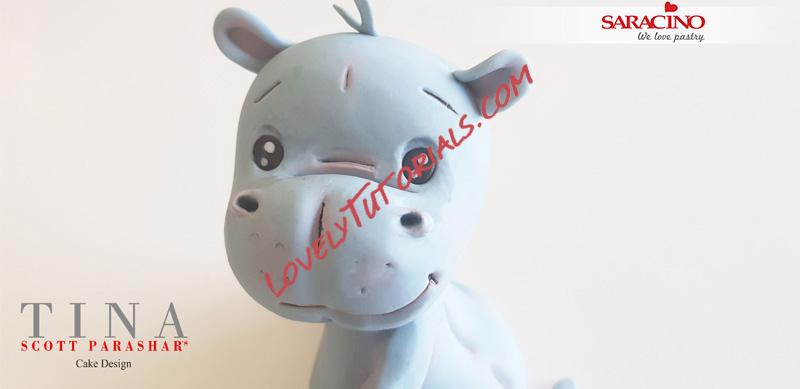
 Step 30
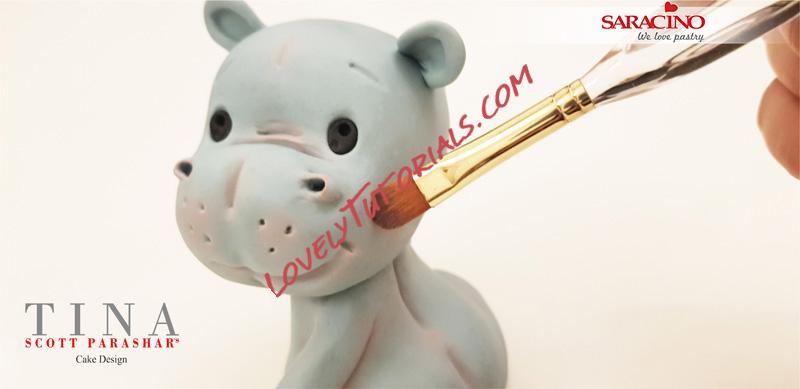
Dust the baby rhino with pink for the cheeks, ears and the other details on the face and body.
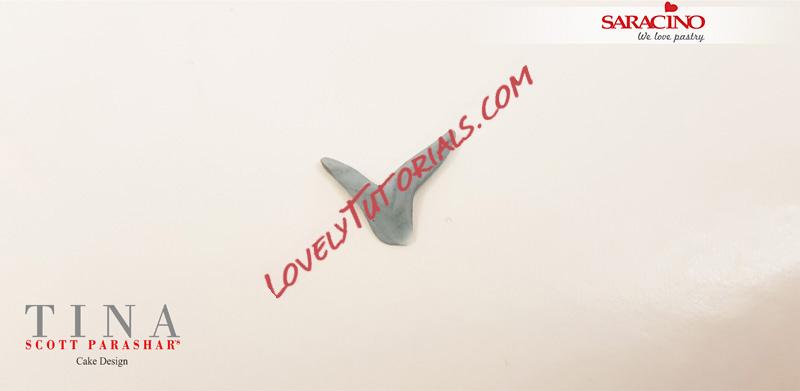 Step 31
Take a tiny piece of paste and form it into a V shape for the hair.
 Step 32
Attach the V to the head and shape it the way you would like it to sit on the baby rhino.
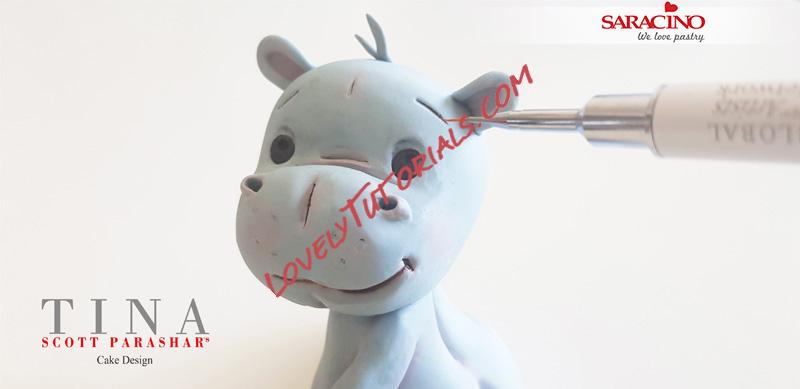 Step 33
Using a thin brush, paint the eyebrows and other details.
 Step 34
Add the twinkle to the eyes by taking two tiny white balls and filling the holes made using the tiny ball tool.
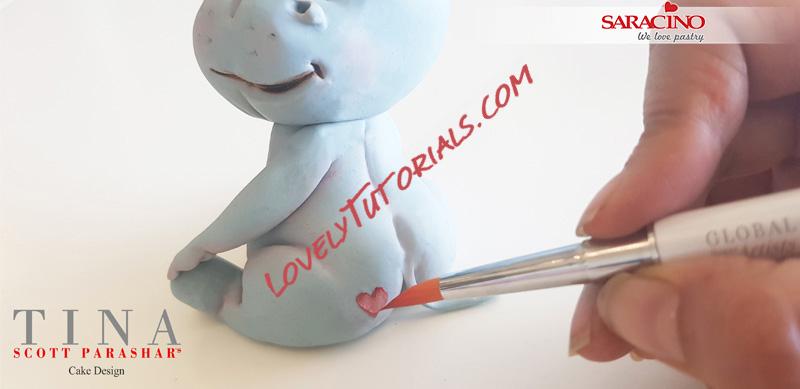 Step 35
Using red gel colour and a fine brush paint the little heart on the baby hippo’s bottom.
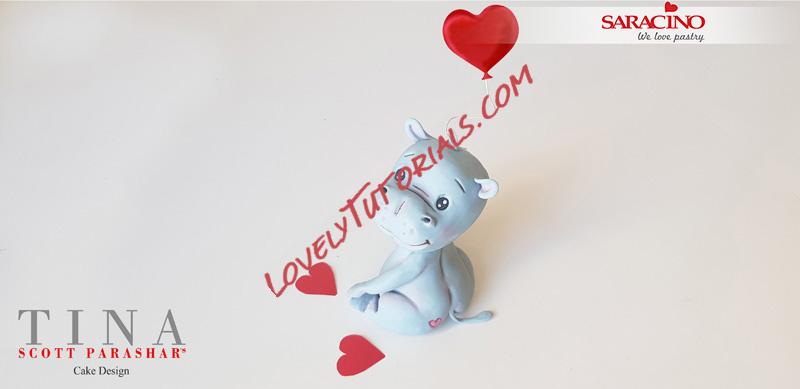 Step 36
Take a thin flower wire and two red pieces of wafer paper and cut it into two equal heart shapes. Attach a piece either side of the wire and paint the paper to give a light and shadow 3d effect. Add tiny triangle shapes at the bottom of the hearts to look like a balloon tied at the bottom. Alternatively, you could also make the balloon with modelling paste.