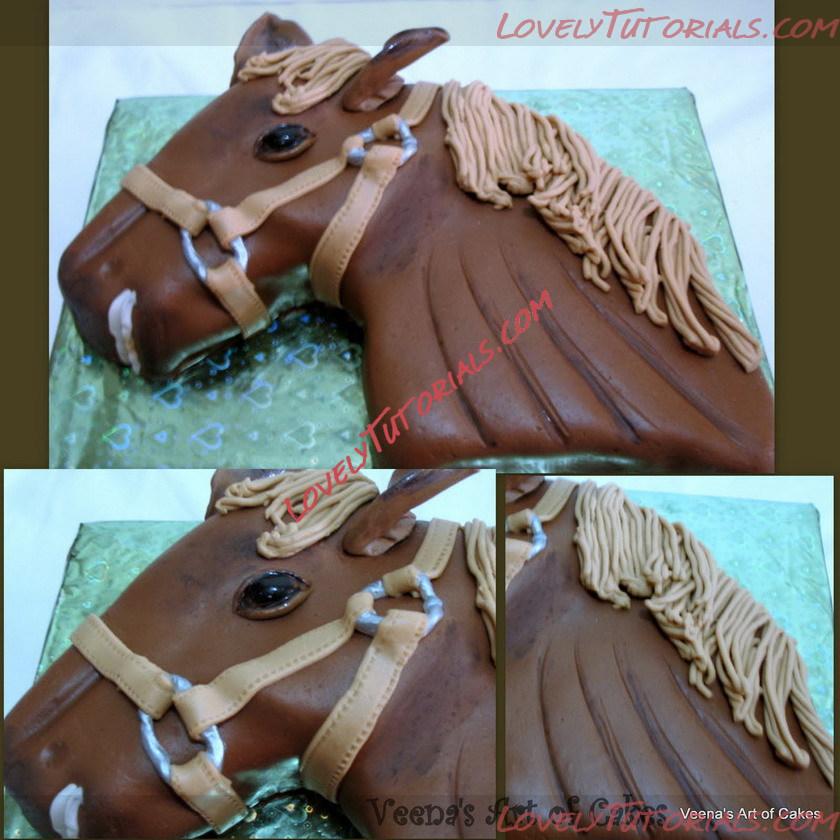
Огромная благодарность Автору Veena за Мастер-класс

First, go to the internet and find the picture of the horse you want to make. You could use any picture with the same technique. Even something other than a horse!!
Look for coloring pages and you will get a picture like this, print it in the size that you want so you trace it.
Sometimes you may need to print your picture into parts if the cake is big. For example you may print the head on one paper; the body on another and the bottom on another.
What's important is that you can align them into one whole piece wen your done carving... ( I hope that makes sense to you or else I'm just babbling off)
Here's my picture, parchment paper to trace the picture and a pair of scissors. Mine is not a big cake.
Trace the picture.
Cut it out...
Layer your cake and fill it with frosting / buttercream. Do not level the top. You can leave the top to add more definition to you cake.
Its best to freeze the cake for an hour so it's easy to carve. But since this is a fairly simple design I just froze it for about 30 minutes. Freezing the cake makes carving much easy as you cake will not fall apart.
Place the picture on the cake. Try to adjust as best you can. But sometimes you will need to trim in parts. You see here a part of my picture does not fit... don't worry you can take care of that later.
I use pins to secure the picture in place and cut around it. Hold the knife straight not at an angle or you will get uneven sides. Use an up an down motion, and be gentle.
Now start separating the parts carefully.
Now use the spare cake to add any missing parts.
Cut using your template.
Now take the parchment paper off. Your parchment paper will still be used to ensure you place the eyes and ears and other parts in the right position.
You can leave it like this, go ahead and add fondant to the cake. Or you can add more definition and character to your cake.
Using the spare cake, I added a chin, a cheek and a forehead. I cannot tell you how to do this specifically because you work on it adding and subtracting until you are satisfied.
And here is the whole cake. ...... I did do a second layer of buttercream but forgot to click that for you.
Time for fondant. Roll your fondant and place it on the cake.
Make sure you ease the fondant into the curves of the cake slowly without tearing it.
Now start adding definition. Use your fingers to smooth the fondant.
For the mane if you do not have a gum paste extruder use a clean unused garlic press and very soft fondant.
I have a gum paste extruder so I used mine with this disc. It's the second largest disc I think.
Now start adding the mane until you are satisfied.
Now for the eye, I used my brown fondant, shaped it free hand and placed it on the cake. Use your template to guide you in positioning it. Then I took black gel food coloring and highlighted the center.
For the reins, I used the lighter color fondant than the mane and the stitching tool below to add the marks.
OK, no laughing..... but I placed the ears wrong at first. Can you tell...?
I didn't realize until my husband pointed it out. I thought it looked funny so I kept adjusting the shape, wondering why they didn't look right......Oh well.!!!
I added more definition to the horse such as these lines. (what do you call them?) and I smeared some black gel color around his cheek, chin, forehead. Not necessary but does give it that masculine look.. I think!
Well here's my finished cake (with the ears placed correctly)