Огромная благодарность
Frostine за Мастер-класс
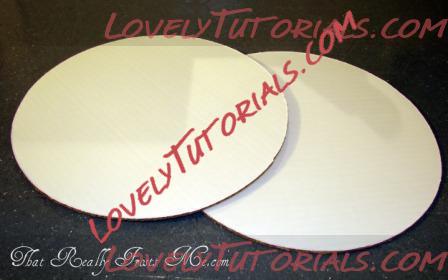
First you need some corrugated cardboard. In this case I start with some pre-cut 12" rounds. These can be purchased in several different sizes of rounds as well as rectangles and squares. For the bottom cake board
that will carry the entire weight of the cake I use at least two layers. For a three tiered cake I would use 3-4 depending on the size of the tiers. My rule of thumb is that it is better to overkill on the stability than to have the cake crash.
(Sorry about this picture. I don't know what happened to my light.)
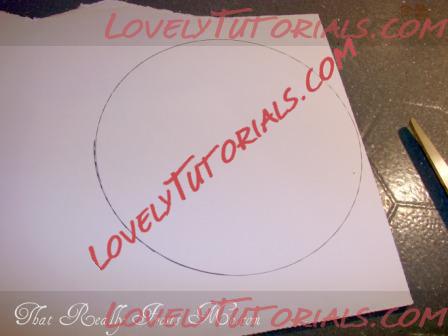
If you don't have the desired pre-cut size or shape, just trace your pan on a larger piece of cardboard and cut it out with some heavy-duty scissors. This is my 6" round for my top tier. For any tier other than the very bottom I use a single layer of cardboard.
Once you have the correct size and shape of cardboard pieces, get some elmer's glue or something similar. Put the glue between the layers on your multi-layer bottom cake board. I have used tape to hold the boards together but it showed through the contact paper in the next step.
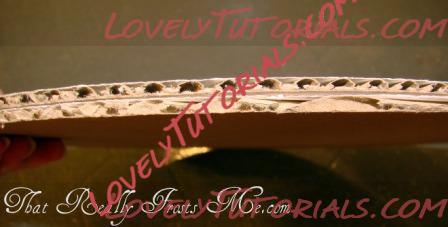
Make sure that you align the corrugation in different directions when you stack up the layers. This will make the board much stronger.
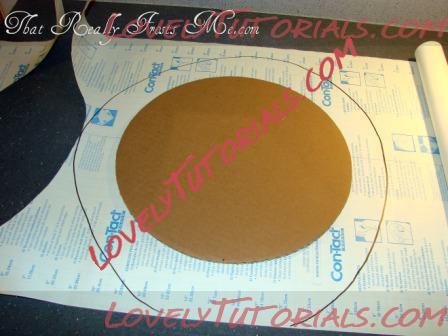
I like to cover all my cake boards in white contact paper. It makes them look clean and prevents the moisture of the cake from compromising the strength of the cardboard. You could certainly use a patterned or colored contact paper if you are going for a particular look. You could even cover your cardboard with a decorative paper and then use clear contact paper over that. Either way, you trace a large circle 2-3 inches larger than the cardboard. I just eyeball it. It doesn't have to be perfectly round. Cut this out and carefully remove the protective paper. Stick this (centered) to the white side of the cardboard. If your cardboard is not white just stick it to the best looking side.
Next, cut slits around the contact paper that extends past the cardboard. It will look like thick fringe.
Work your way around the board folding the fringe onto the back of the cardboard.
Tada! One finished cake board...for the bottom. For the boards that go between the tiers there is one more step.
I stick one more piece of contact paper on the back to completely seal in the cardboard. This step is crucial to the stability of your cake. You don't want the moisture from the lower tier to seep into the cardboard and make it floppy. That would be a recipe for disaster.
There you have it, the somewhat mundane, but important step of cake board construction.