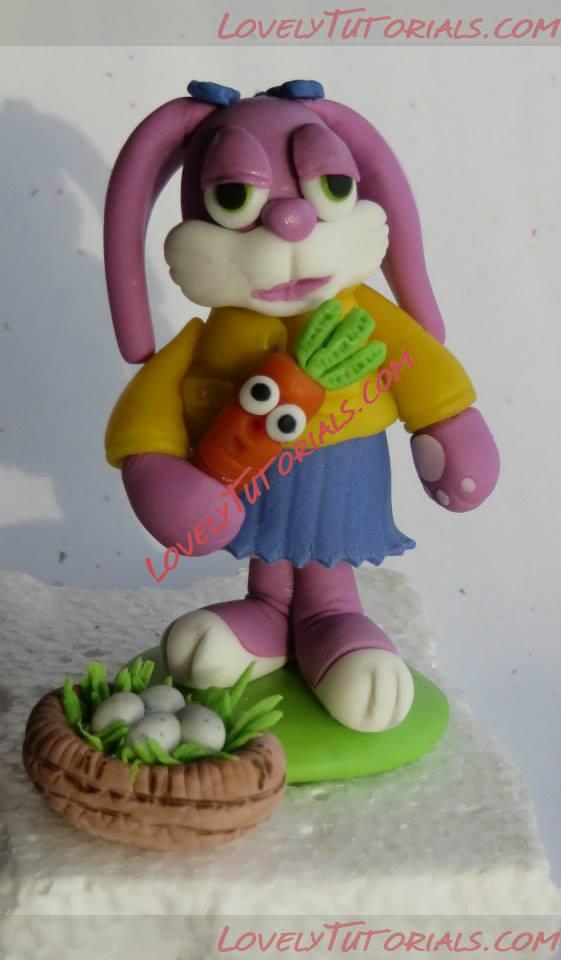
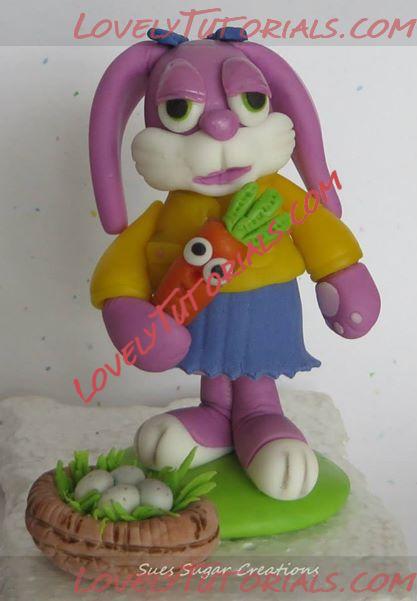
Огромная благодарность Автору Sues Sugar Creations за Мастер-класс
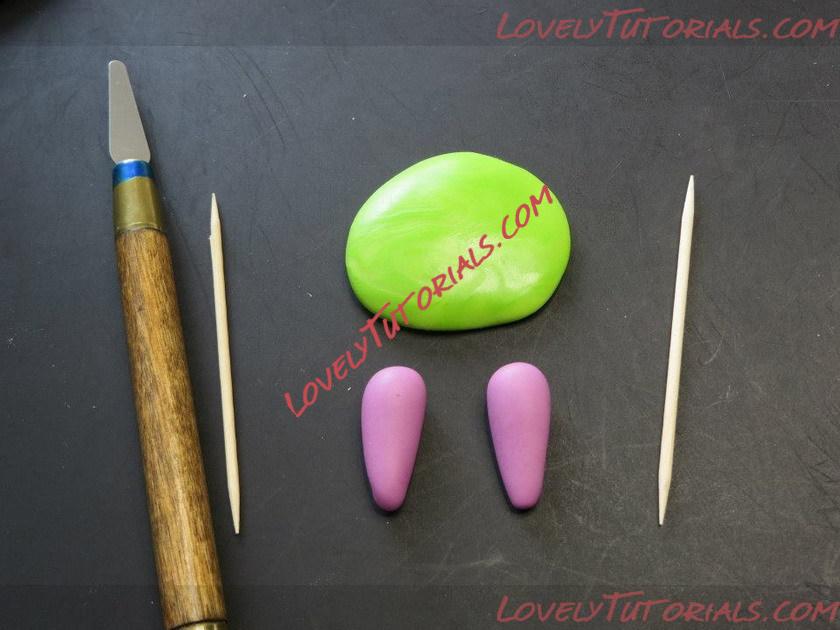
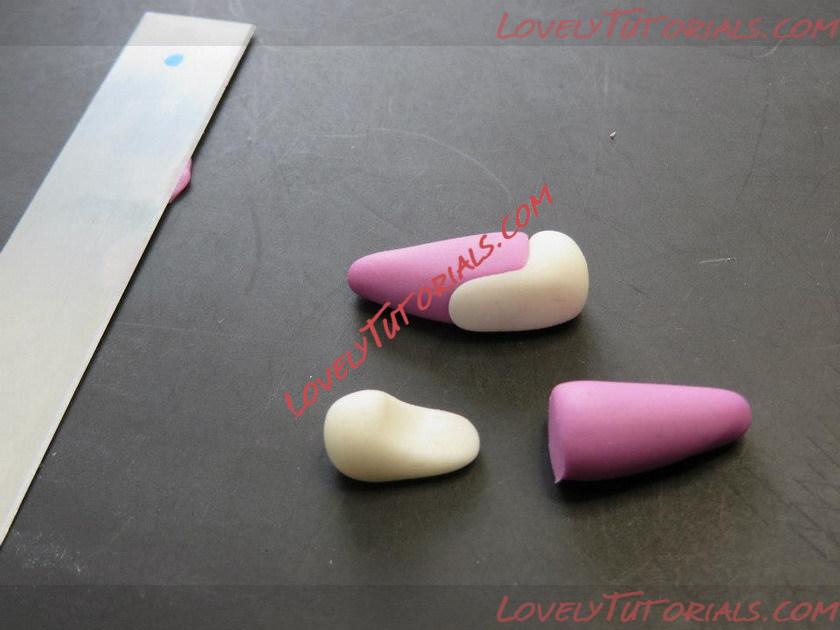
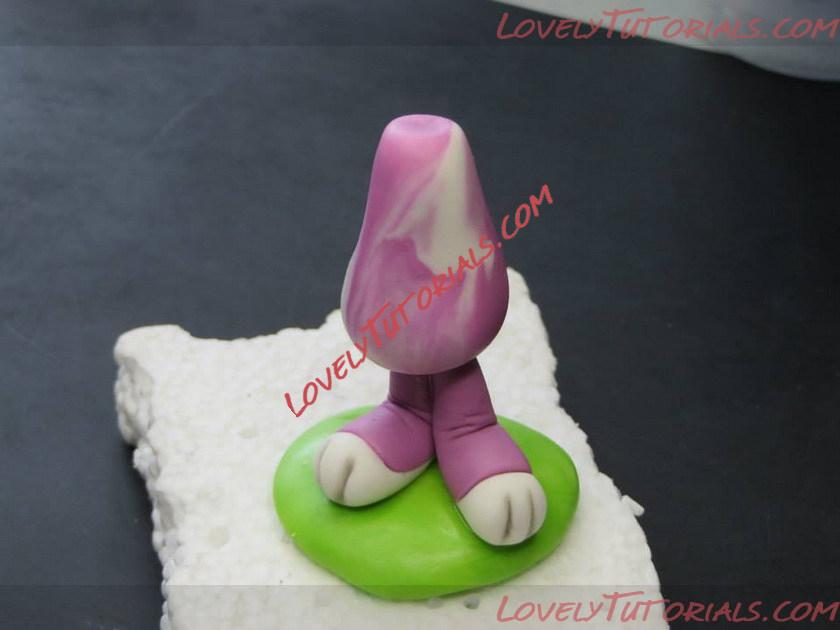
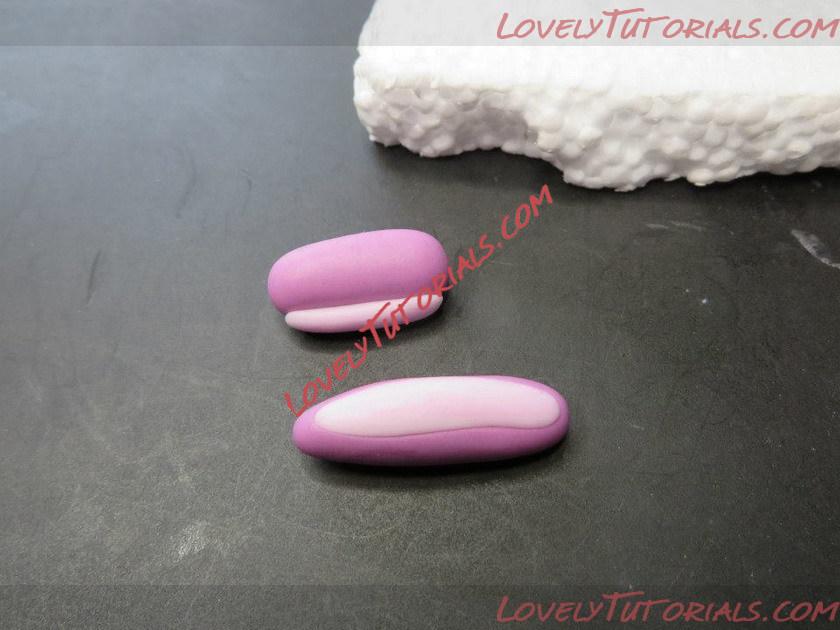
Make your base and 2 matching leg pieces
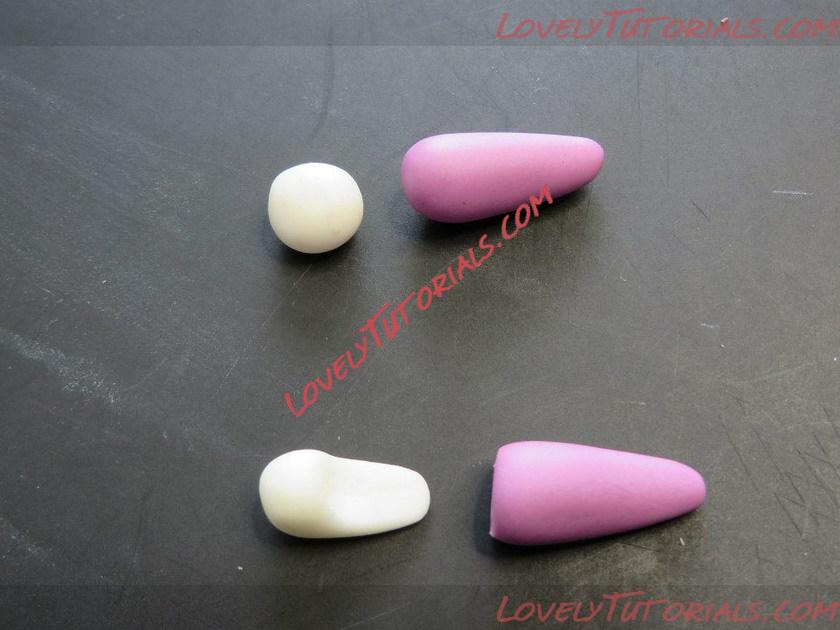
Take 2 small white balls, flatten one end. Cut the end off the pink and glue together.
The top one is finished. This is how it should look
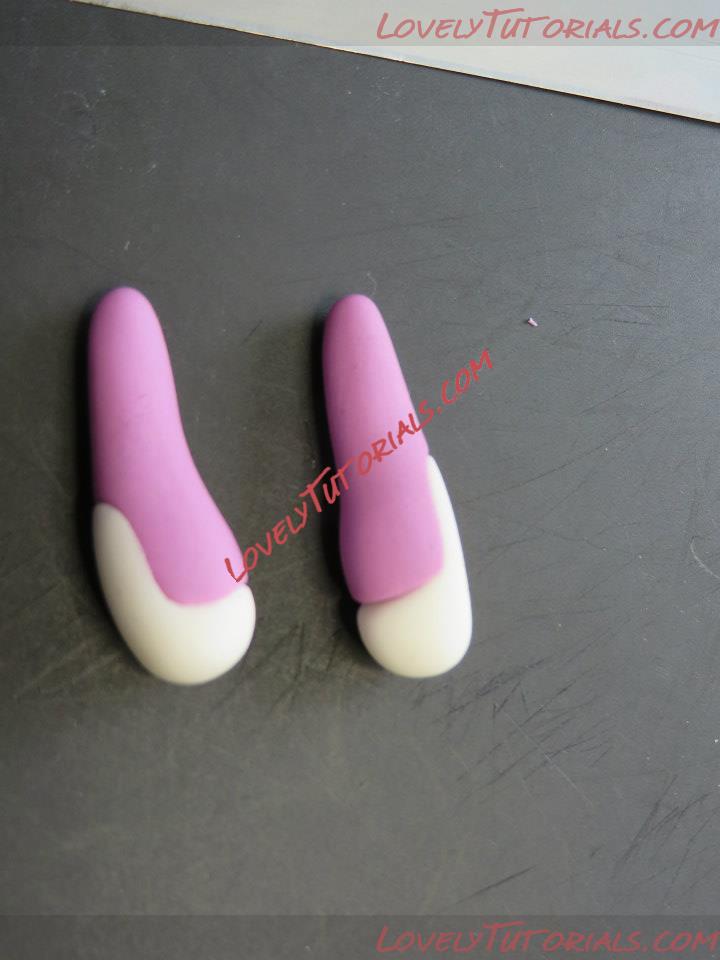
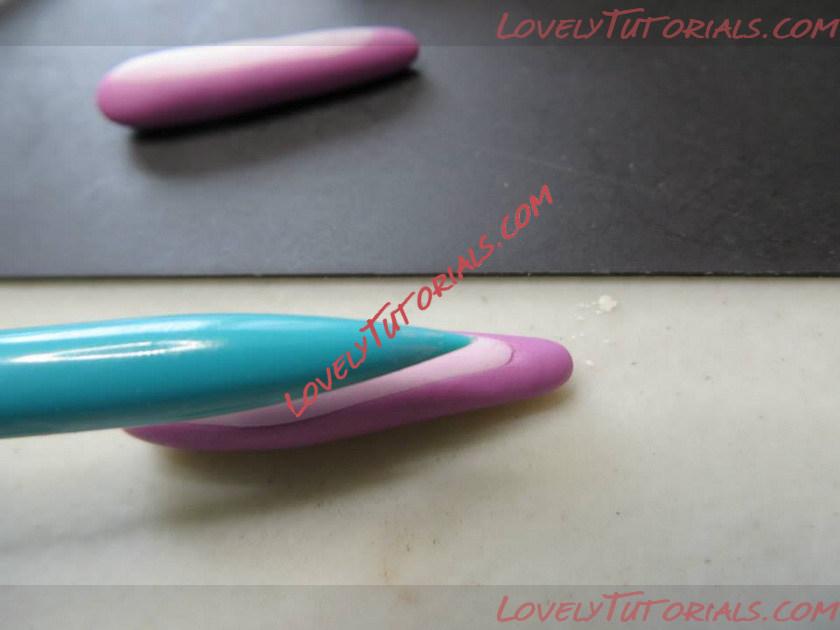
Slowly roll it in your fingers making the leg longer and thinner.
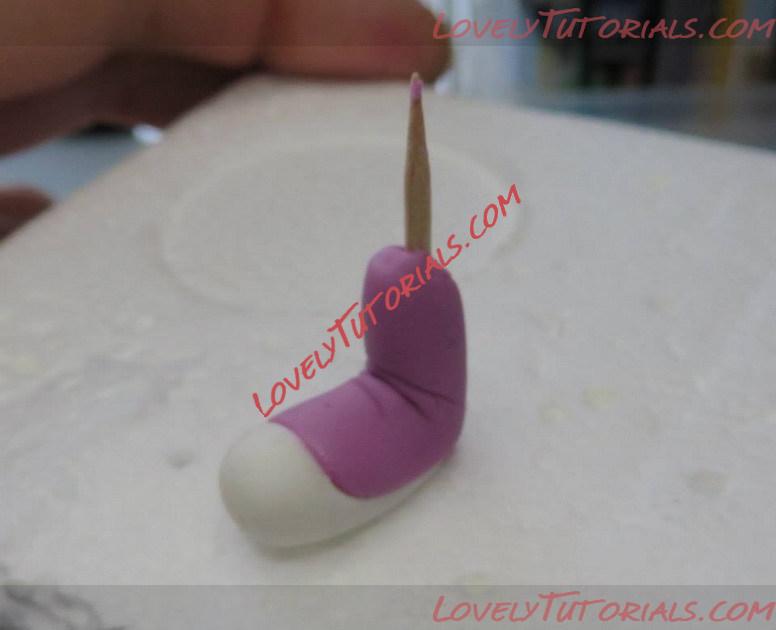
Next crease the leg and bend the leg up right where the white ends. Place the tooth pick through the center and down into your styrofoam piece.
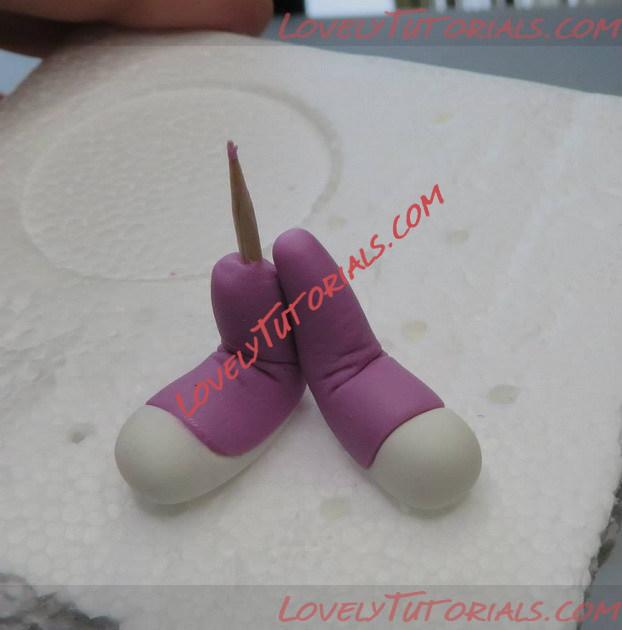
Next you take your other leg and glue it onto the other and then place on your base. Make sure your toothpick runs again through your styrofoam, that way your piece will be supported while your work on the rest.
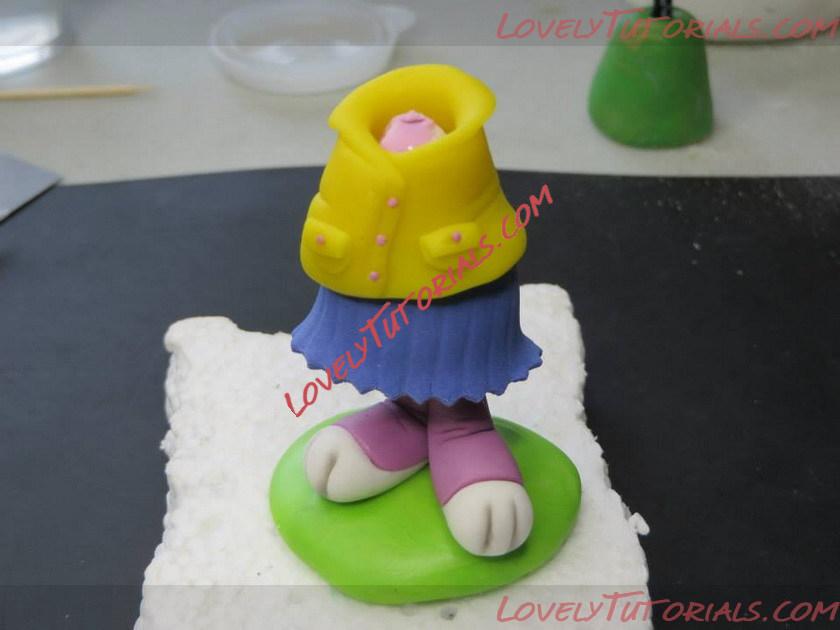
Place a small body on the tooth pick sticking out of the leg. If you don't want to dress your bunny you can skip the next few pictures.
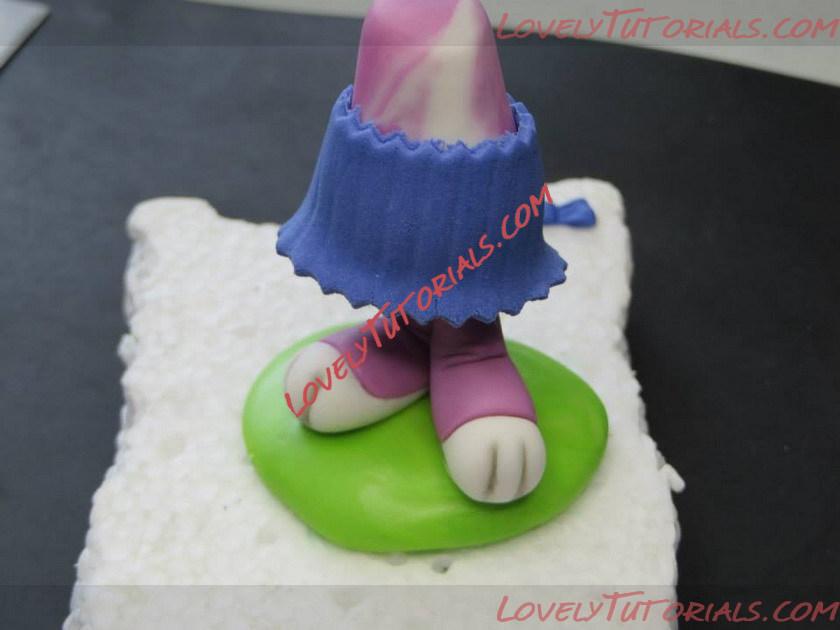
Wrap a piece of blue around the bottom and flair it out
I ran a little strip of blue over the seam to cover it and put buttons on it.
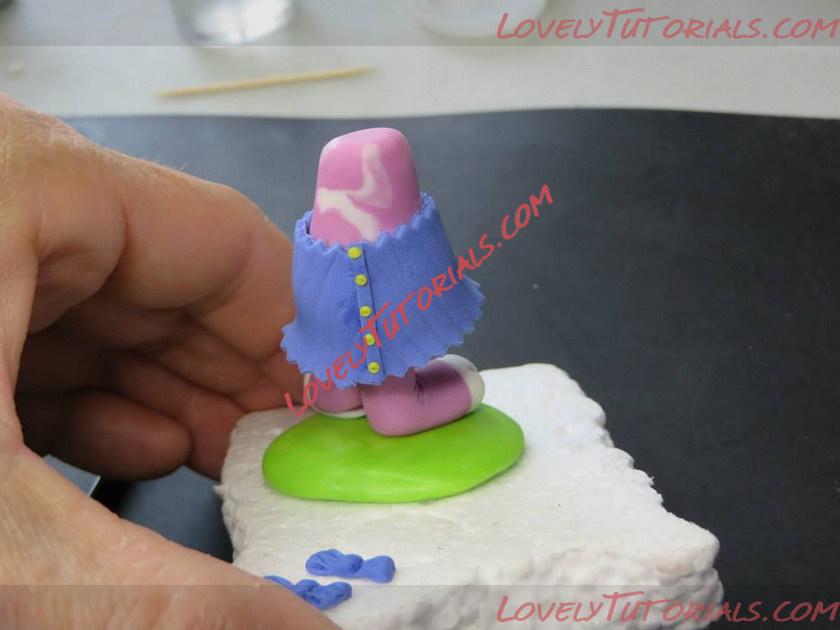
Next I rolled out a piece for the shirt.
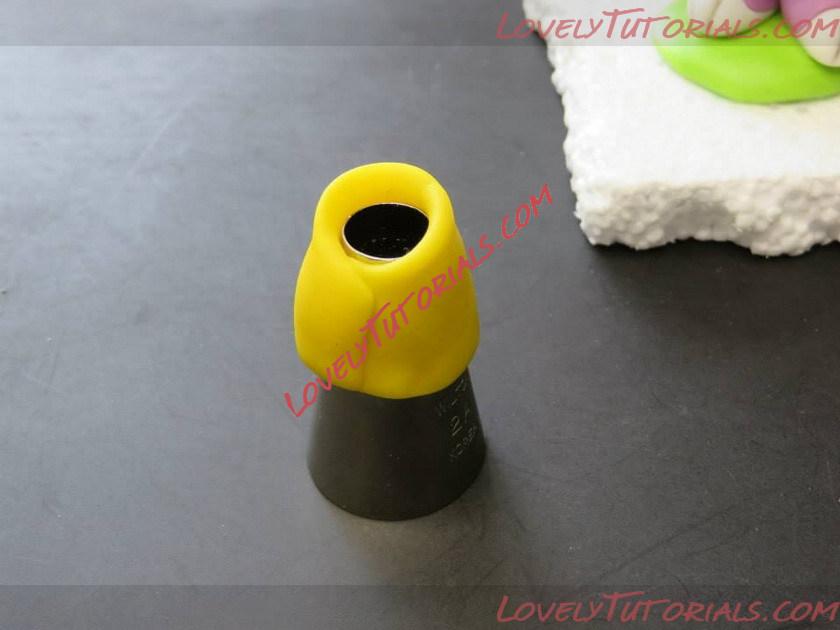
I find it easer to work on this by putting it over a greased piping tip.
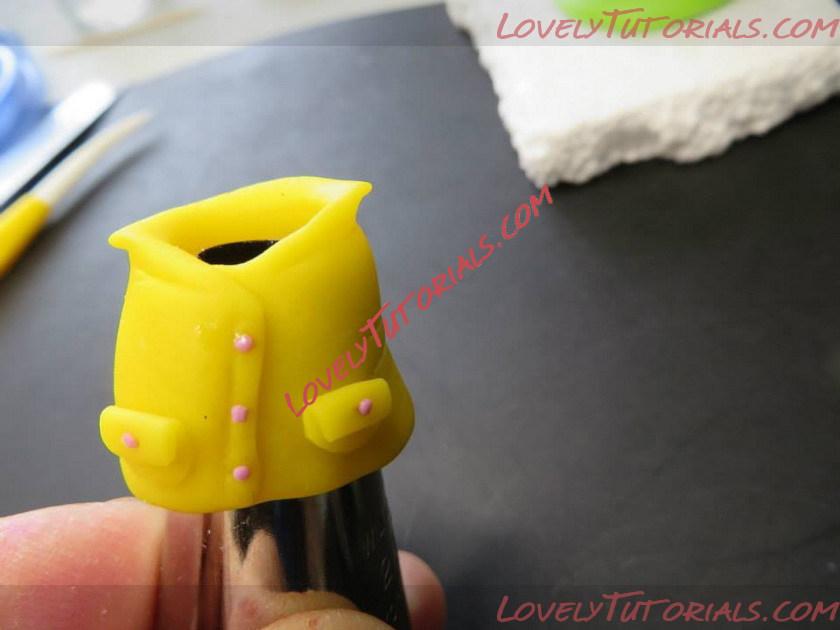
I pinched the top for the collar. I made a crease down the shirt and added buttons. Then I added two small pockets.
Slide it off and glue it onto the body.
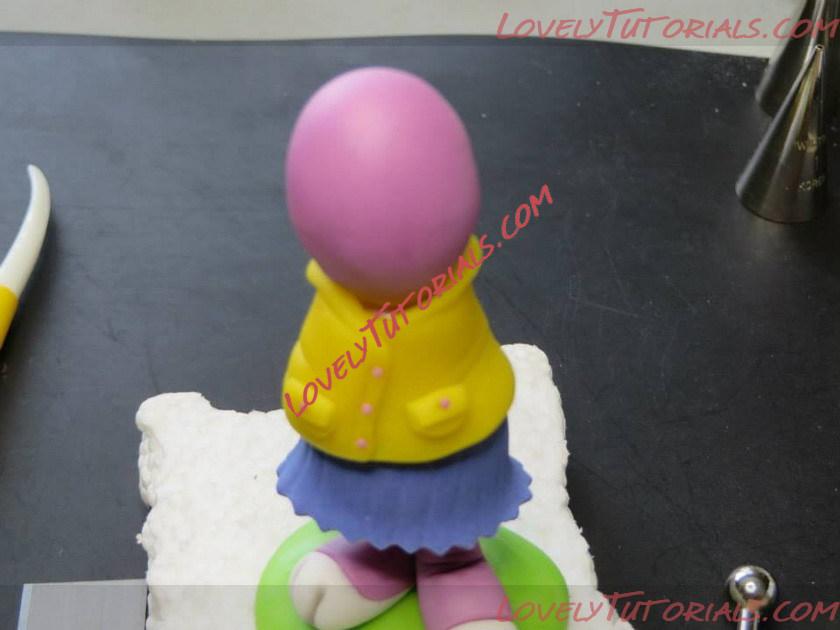
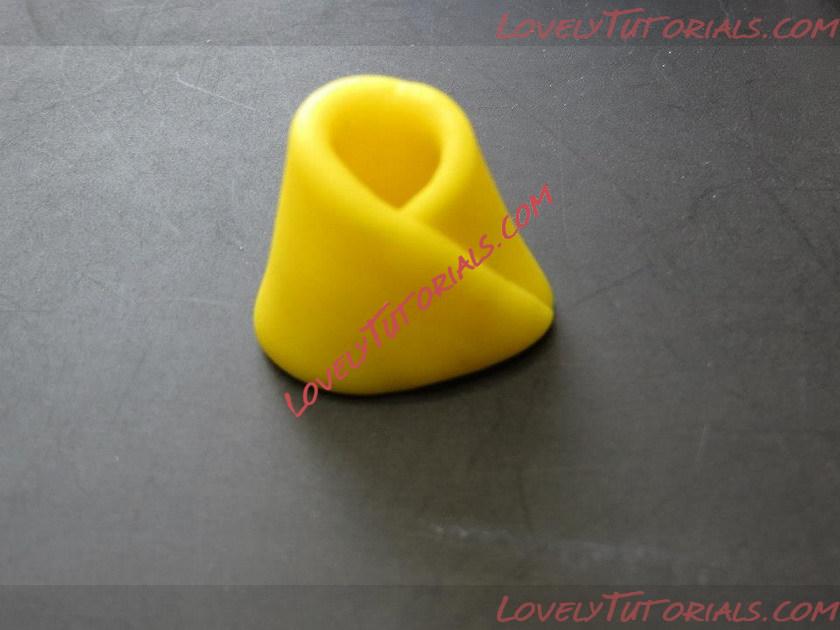
Make an egg shaped head and glue it on.
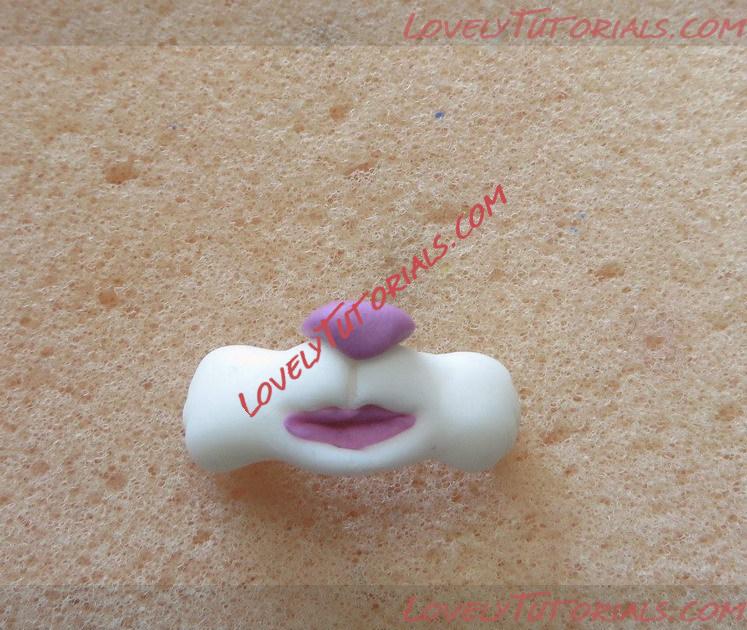
I took a small piece of white and shaped it into a hotdog. I placed it back onto the greased piping tip I used for the top ( easier to work with ) and shaped it like this. Adding pink into the mouth and a piece for the nose
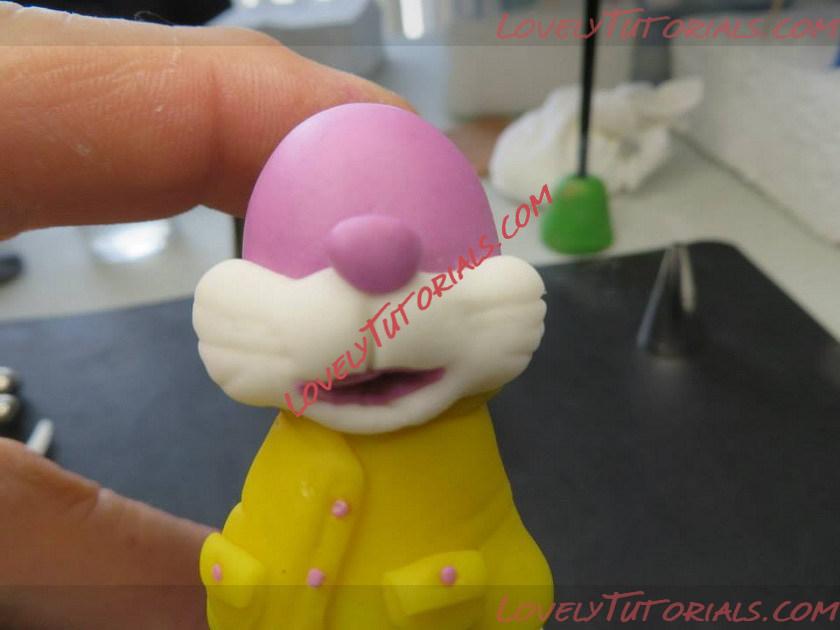
Then I glued it to the head adding a few lines on each side.
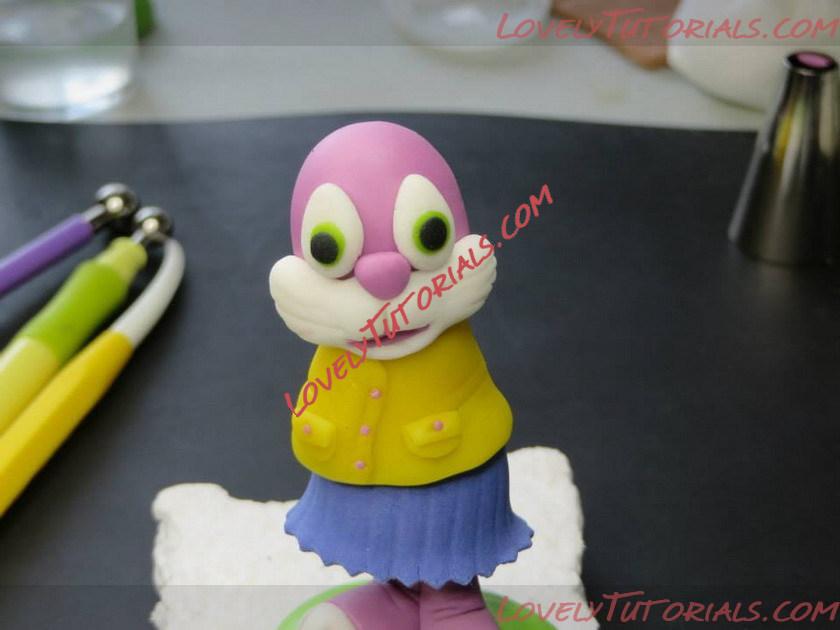
The eyes come next. White, green and a small piece of black.
I rolled out a two small pieces of pink and cut it to fit. Glue it on and creased the bottoms.
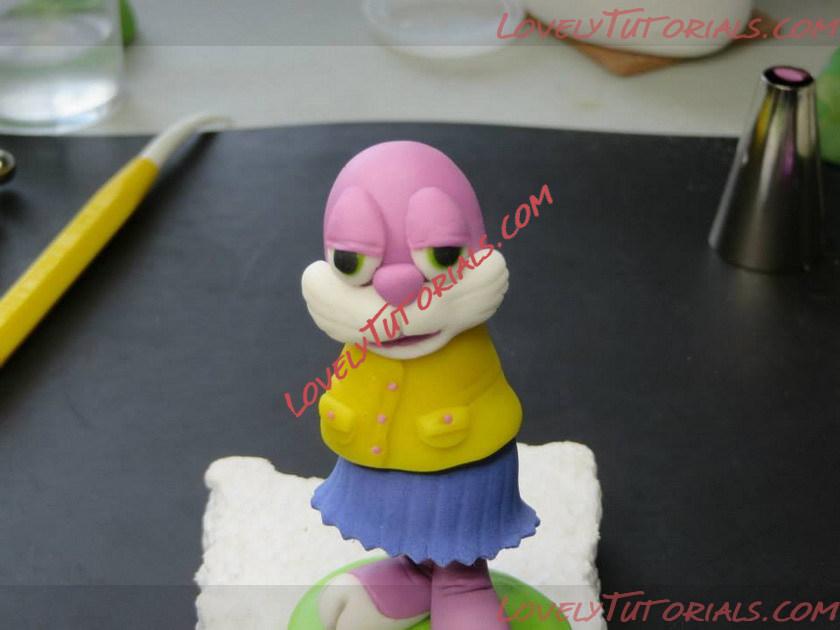
Then I take the two pieces for the ears, glue and softly roll the pieces together.
Use your cell stick to push down the centers.

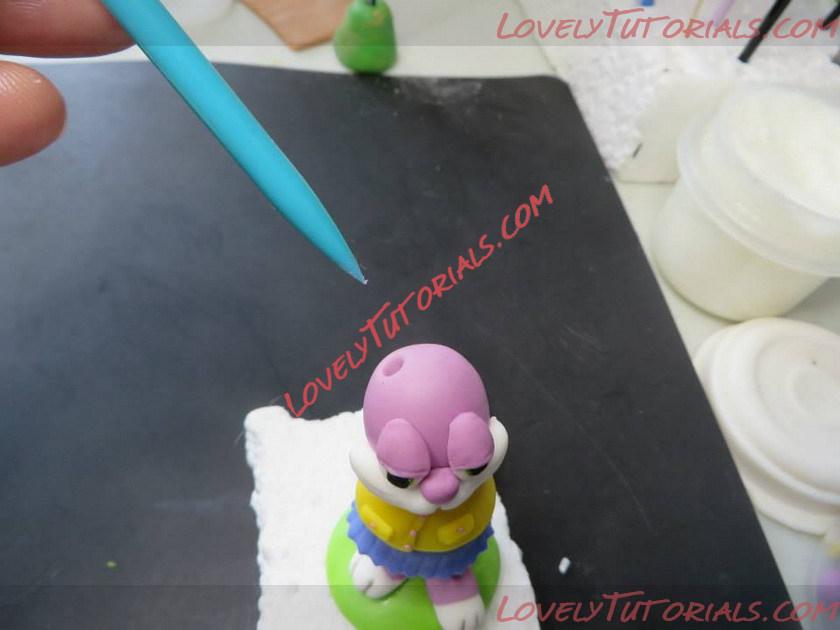
Poke holes in the head on both sides and glue your ears in. I also added bows.
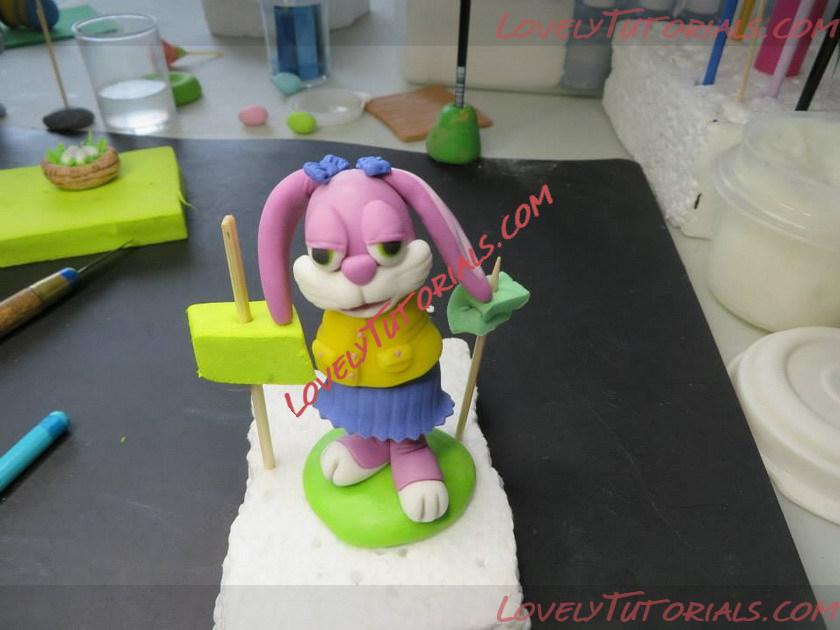
I use pieces of foam and toothpicks to hold pieces in place while they dry.

While she is drying, I make a basket of eggs and a happy carrot.