Огромная благодарность Автору Fernanda Abarca за Мастер-класс
First thing I do is sketch out what my pose is going to look like. In this case I used a small sketch I found in the “Art of Rise of the Guardians” book. These books are AMAZING tools to have. There is so much information here on the design of these characters that It makes it easier for you to understand the figure in three dimensions.
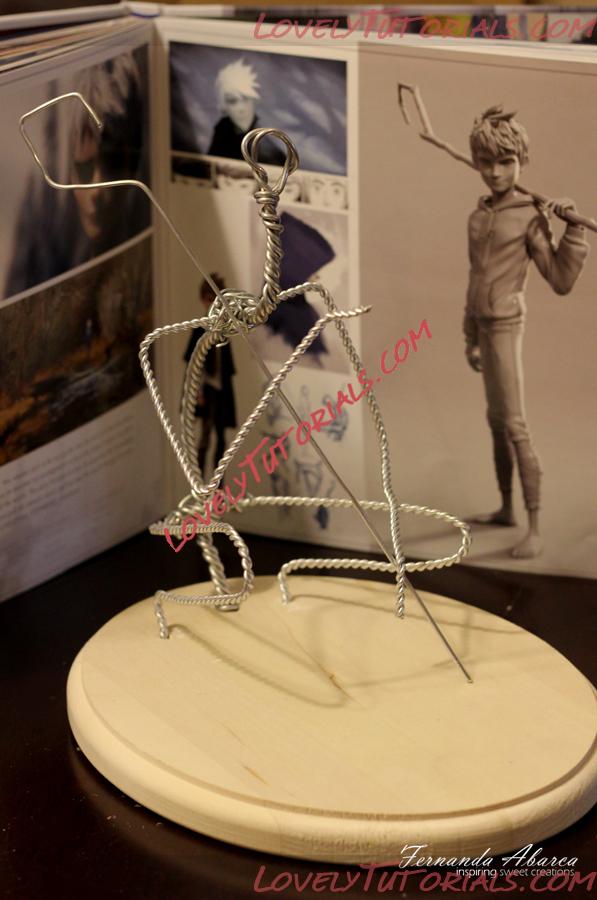
Then I build the wire sculpture.
When I first built the structure for this guy I was freaking out as the weight was NOT being supported AT ALL. So he was flipping over like crazy. So I did what any person would do and I went to work and asked a very wise and super talented sculptor Daniel Williams. Daniel helped me and told me I needed to BRAID my wires to be sure they are strong enough to support the weight of the sculpture. THANK GOD for Daniel!! While putting your structure together also make sure your character is balanced in all angles. This is after-all the foundation of your piece. If its wrong here it will look wrong later. So take the time to make this perfect.
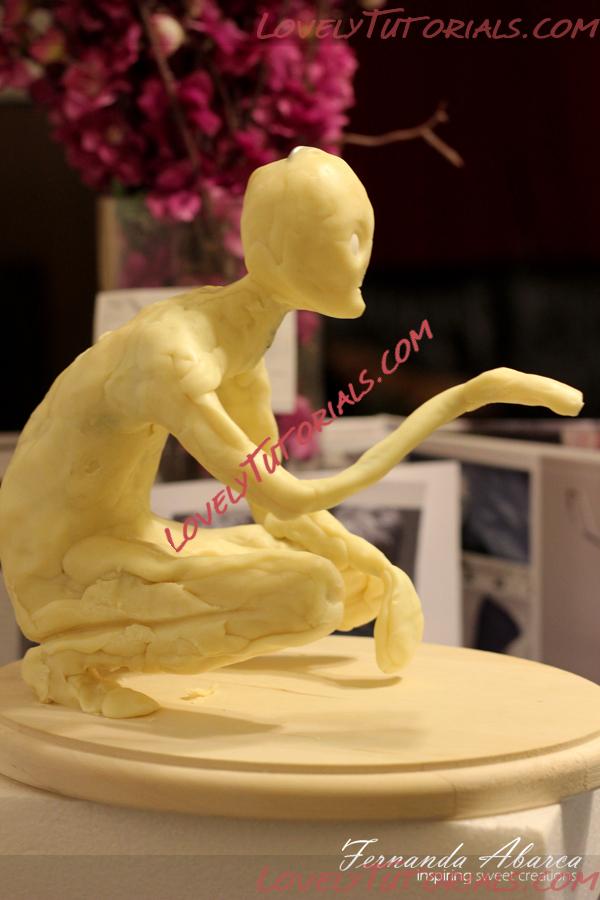
After that I started filling the sculpture with modeling chocolate.
The first recipe she shows is the one I used to try and always failed. I just don’t have her magic.. lol.. Now for my last cake “Sandy” I used this Wilton one and it was FABULOUS!!! Though I used the chips I found at my local cake shop. NOT the Wilton ones. But I’m sure it will work out just fine. If you try it, please let us know!!
Before I piled on the chocolate I did cover the wires with foil paper to add some volume so I wouldn’t have to waste so much chocolate. I forgot to take a picture of that step.
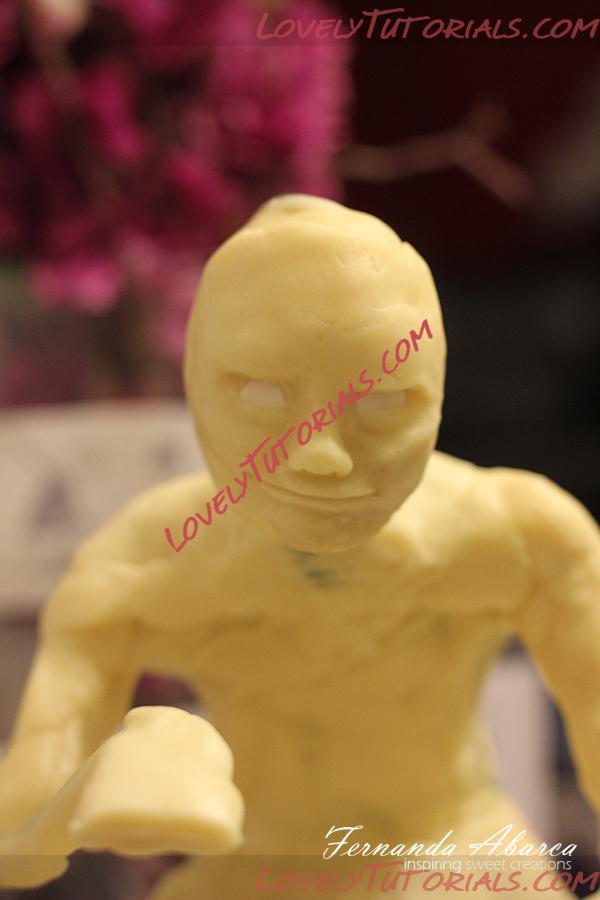
Now I start to work the face.
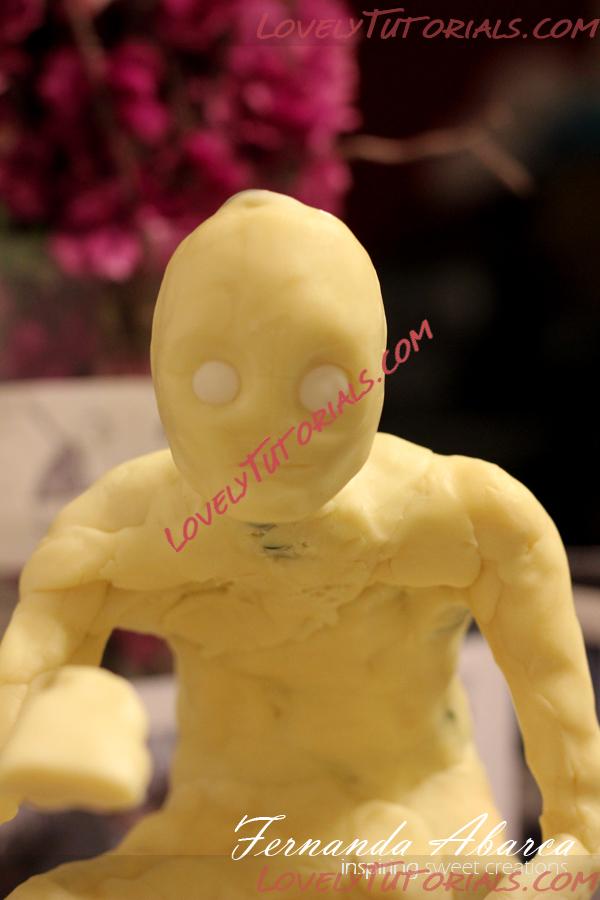
I always get the basic shape of the head then I plug in the eyes.

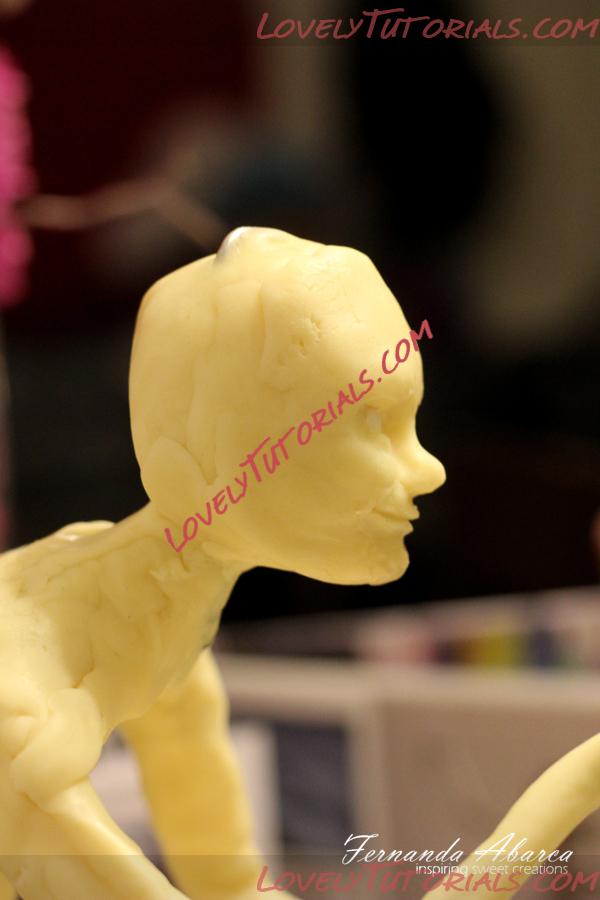
Once the eyes are in I will start to sculpt the expression.
After this part is done I will now add a thin layer of fondant to the face. I first tint the fondant so it’s the base color of the skin.
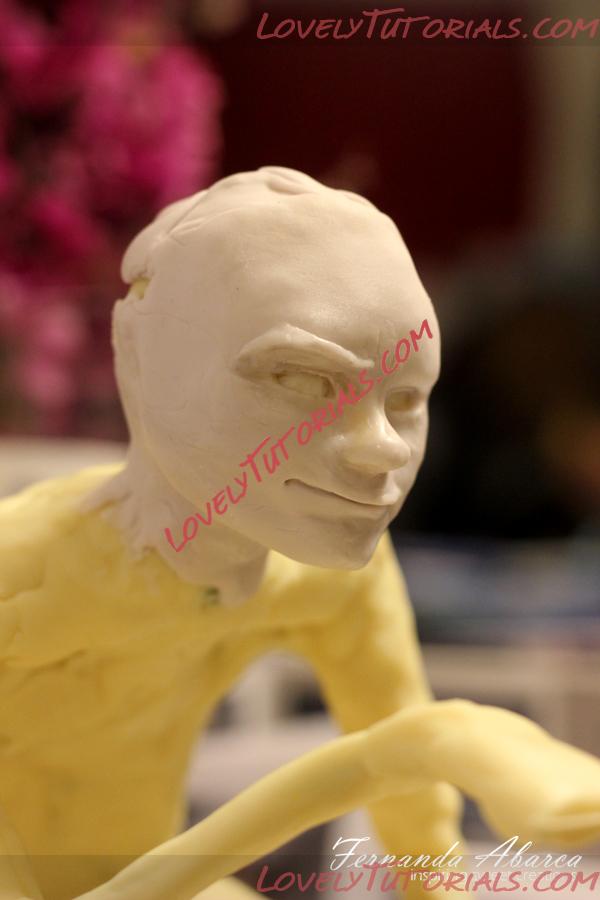
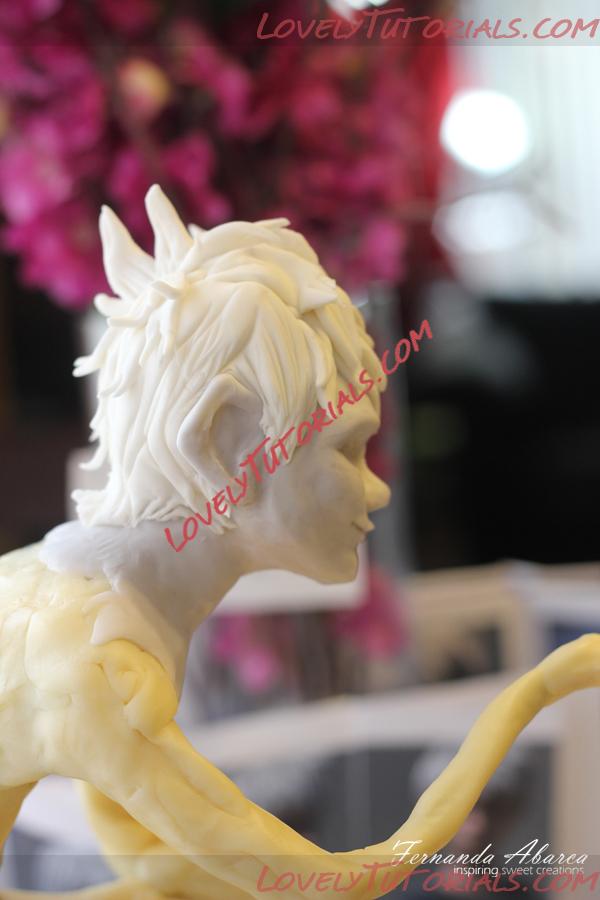
I know I’ve mentioned this before, but the reason I cover the chocolate in fondant instead of just sculpting in fondant to begin with , is because modeling chocolate is a dream to sculpt with and it doesn’t dry fast like fondant does. So I like to get the structure underneath done in modeling chocolate and then cover it with a thin layer of fondant so its easier to paint. I then start layering the details in fondant.

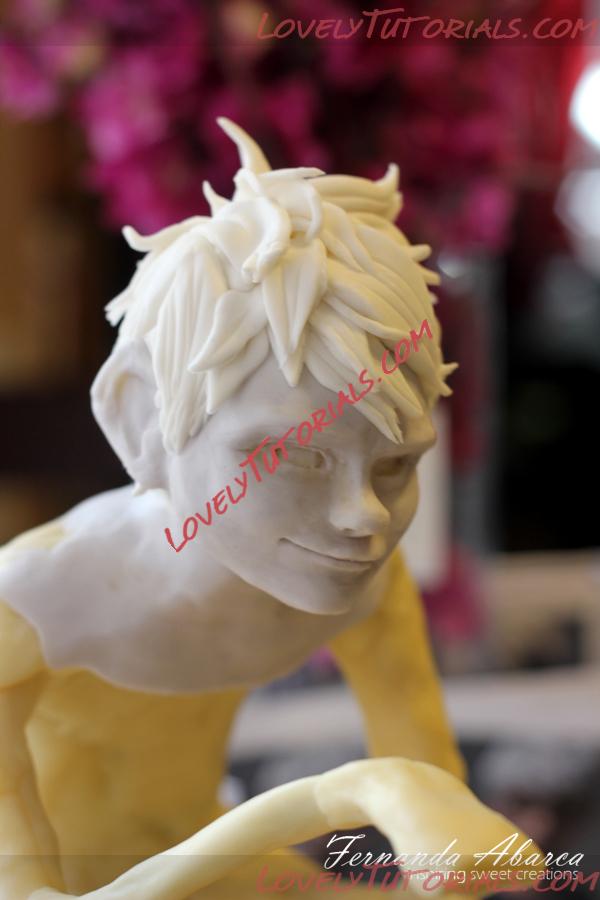
For this particular sculpture I wanted to work from top to bottom then to mid section, just because I was afraid it would be too much weight on top.. also the sweater had to hang over the pants, so that method was logical.
Now I started layering fondant and shaping his body.
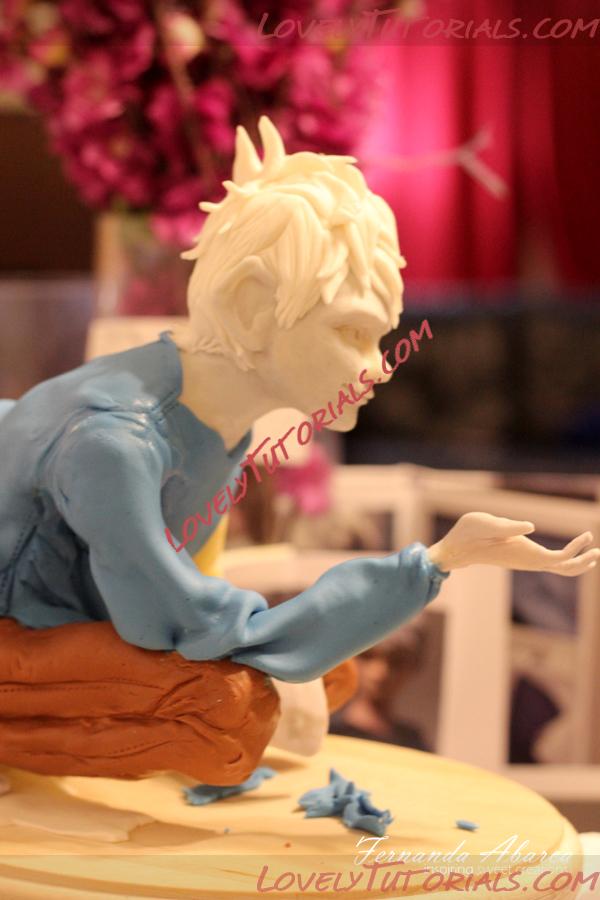
I work very messy at first ( but quickly) then I go back and clean it up, before it dries.
For his shirt I added lots more mass of fondant before draping his sweatshirt.
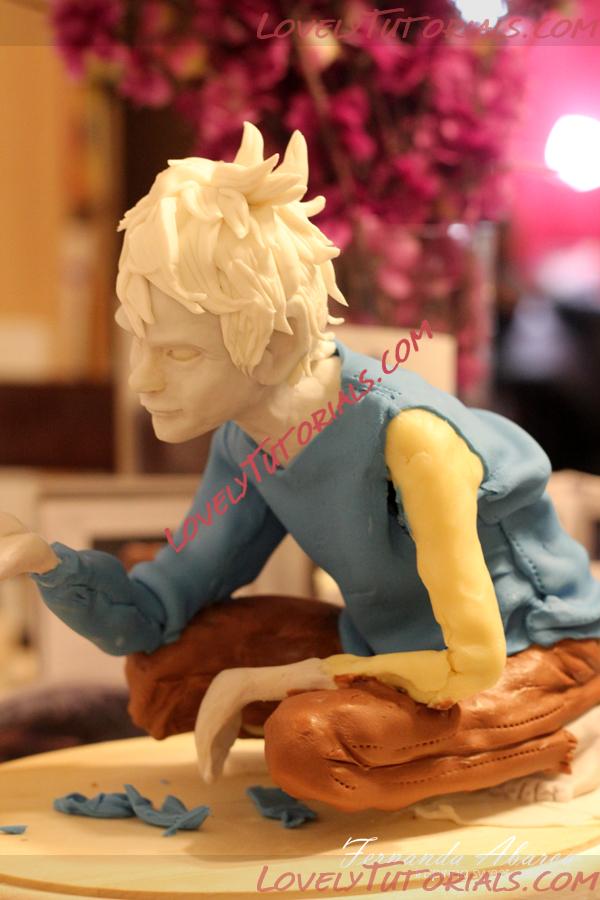
I like to work in sections piece by piece. Normally when I draw I draw the same way.. creating the gesture first (making sure its balanced and it works) then adding details in areas till the drawing comes together.
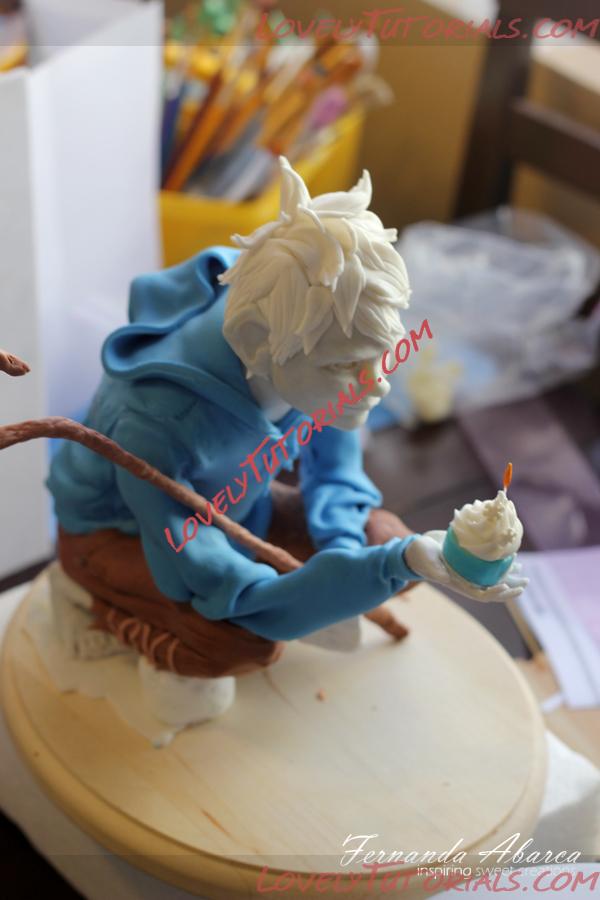
And here he is all sculpted before any painting is done. Once this part is complete IDEALLY you would want to airbrush shadows, etc, before adding painted details. But because I STILL don’t have an airbrush I did the best I could with just dust, gel color and vodka.

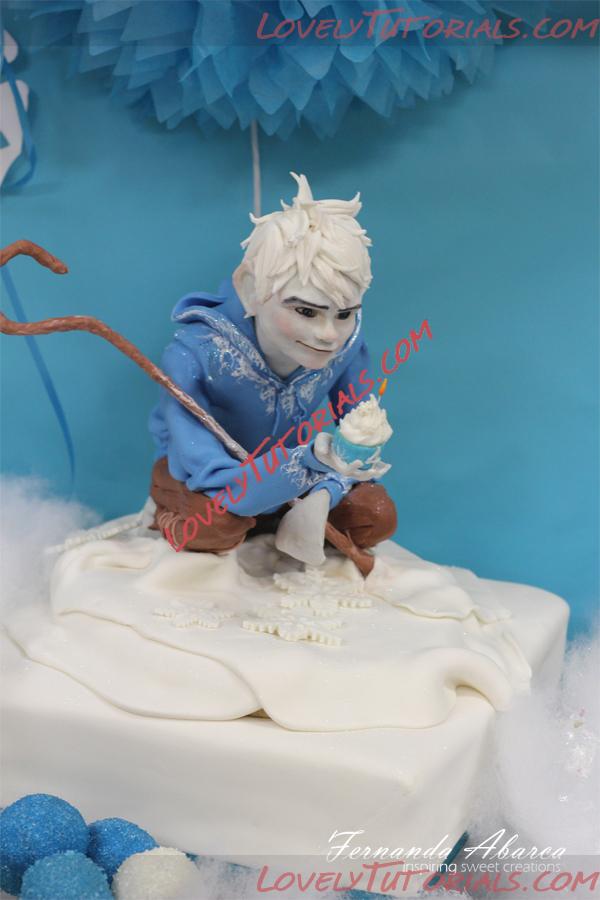


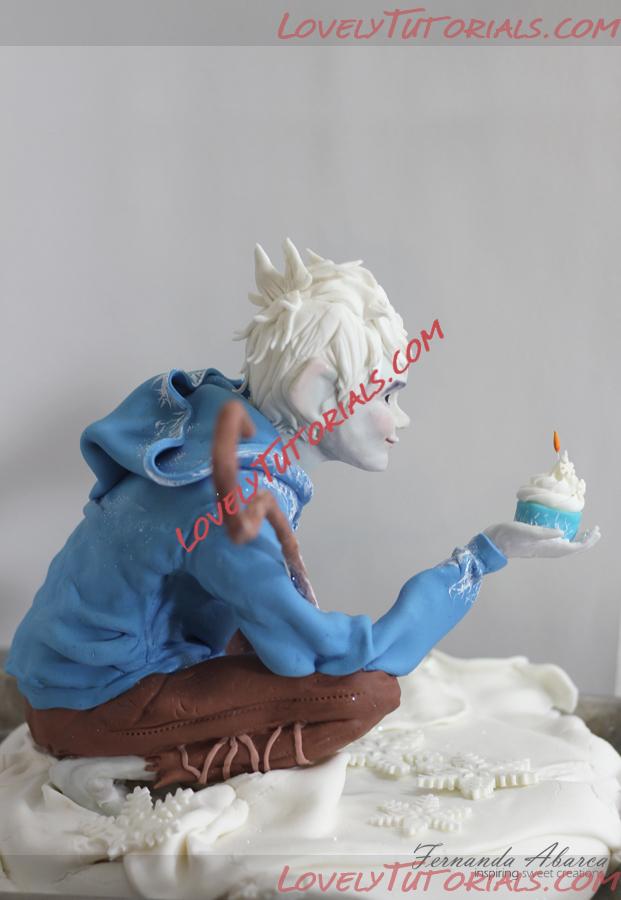
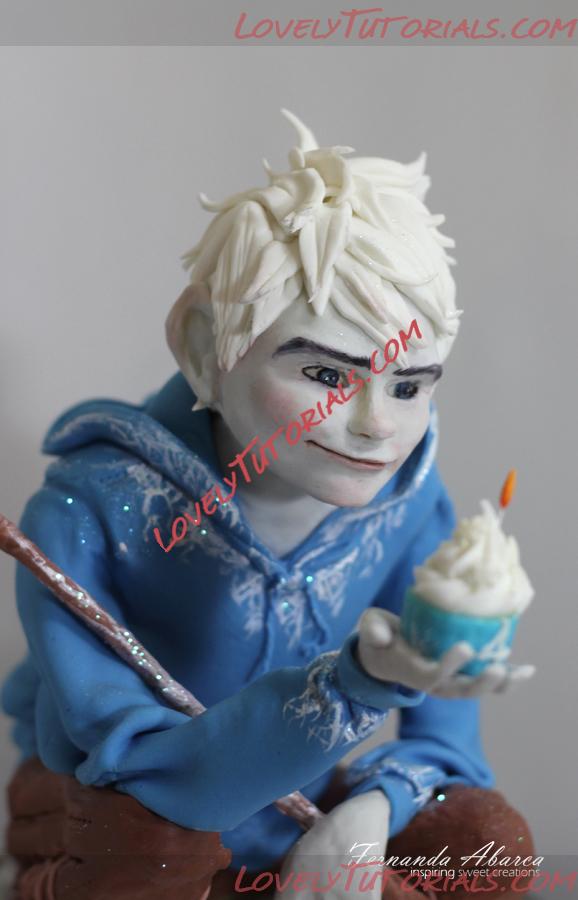
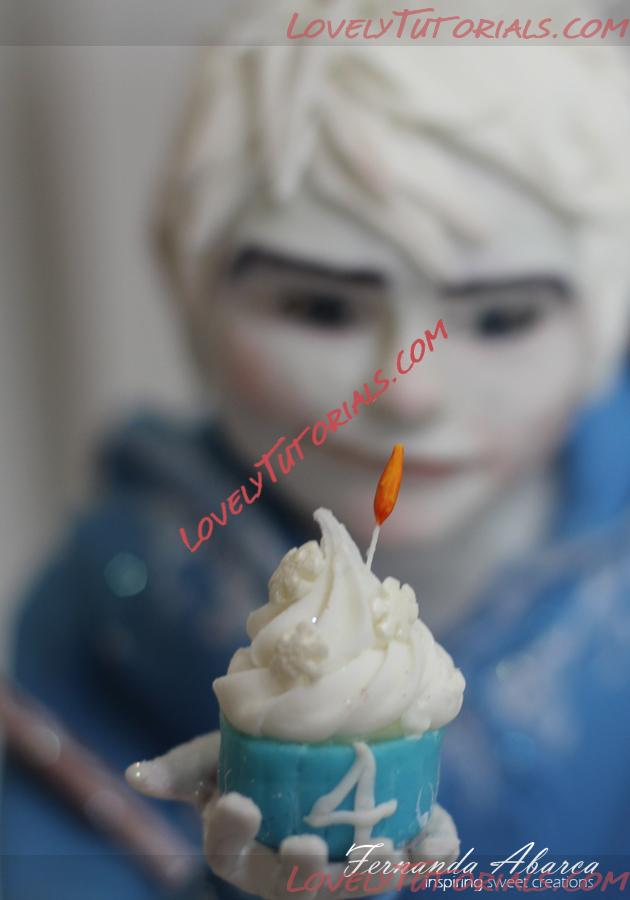 And here is the final cake.


