Огромная благодарность Joly Diaz за Мастер-класс
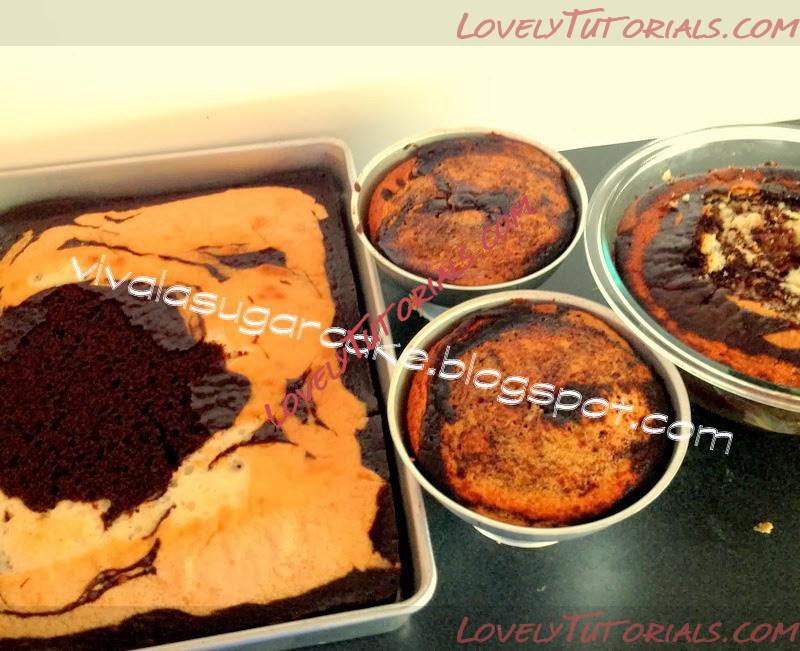
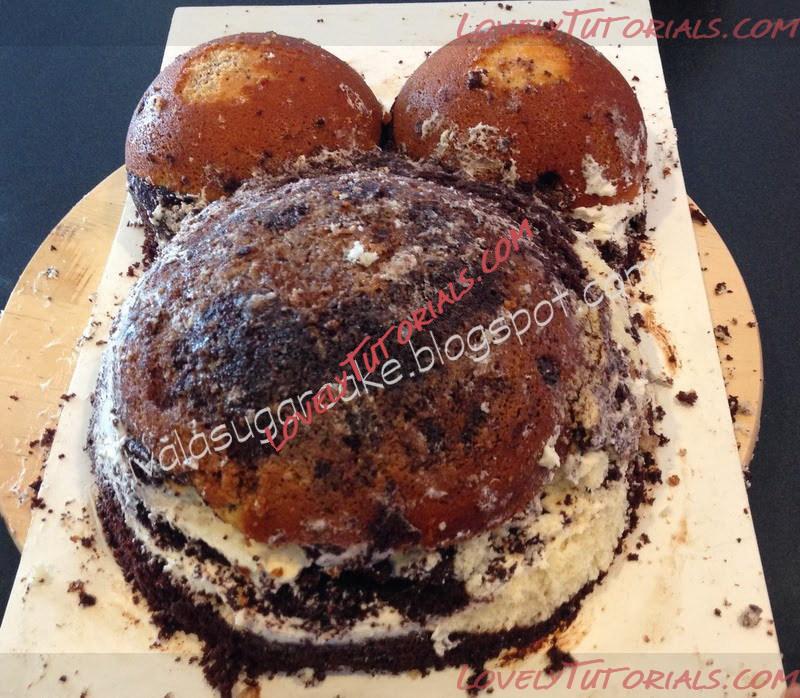
I used 4 different cake's sizes and shapes: 1 sheet cake pan 11"x15"x2" (28cmx38cmx5cm), 2 half balls from the Wilton's ball pan, 1 cake baked from a Pyrex's bowl ( or any bowl that can be used to bake)
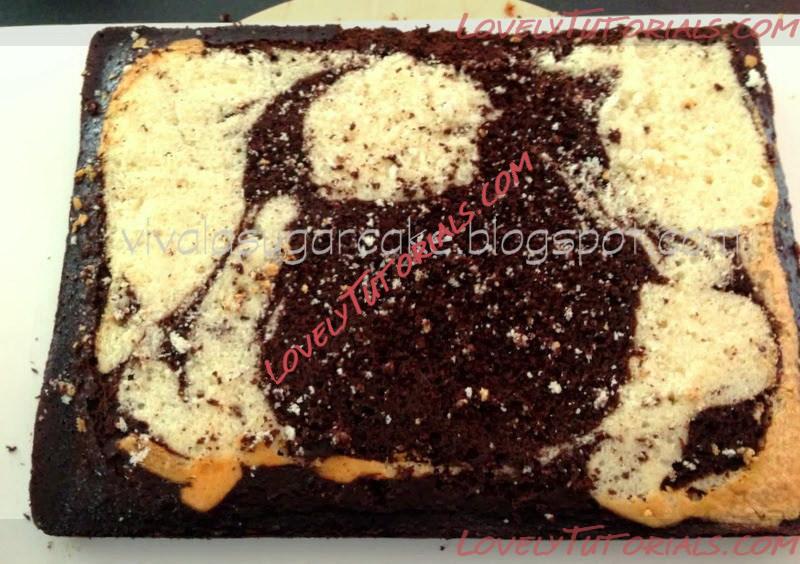
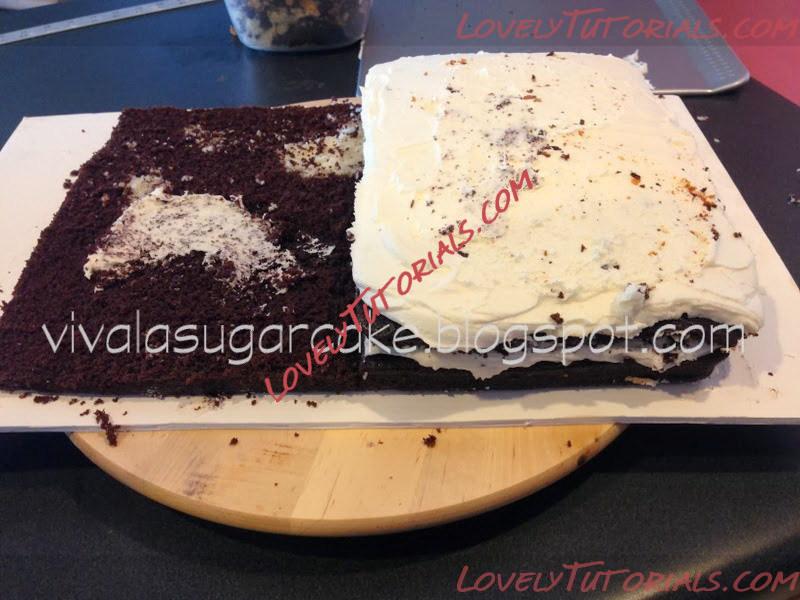
Place the sheet cake on a Foam core board. Torte the sheet cake in half, reserve one part.
The Topper half from the sheet cake (the one topper sheet you torte and reserved) has to be cut in half, put your filling and cake layers on only half part of the sheet cake
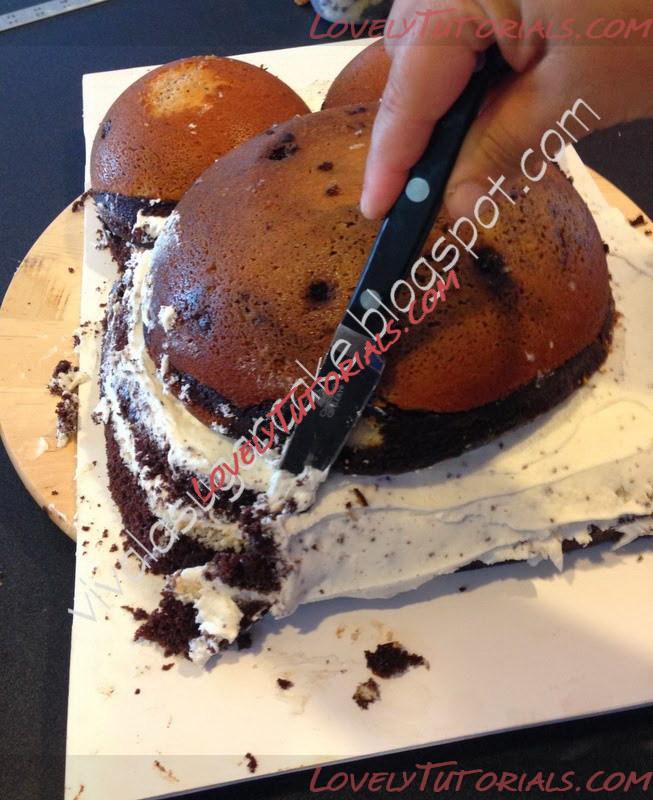
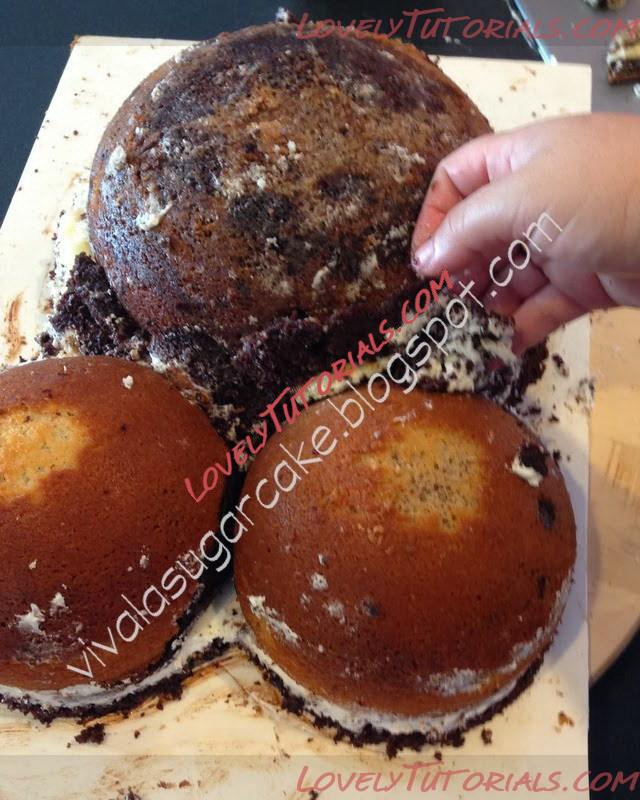
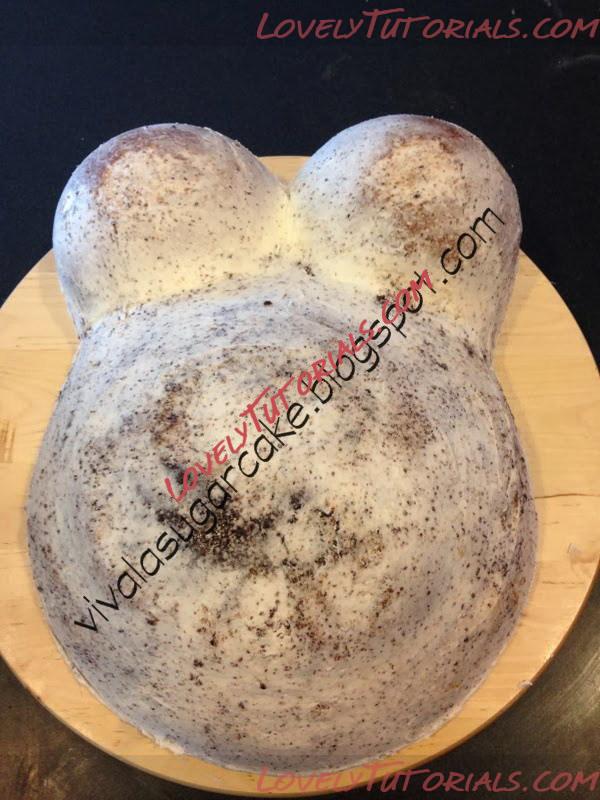
Place the 2 ball halves on the side is lower on your sheet cake, that part will be the breasts.
And now the half ball you got from the pyrex's bowl shape (which will be the tummy)
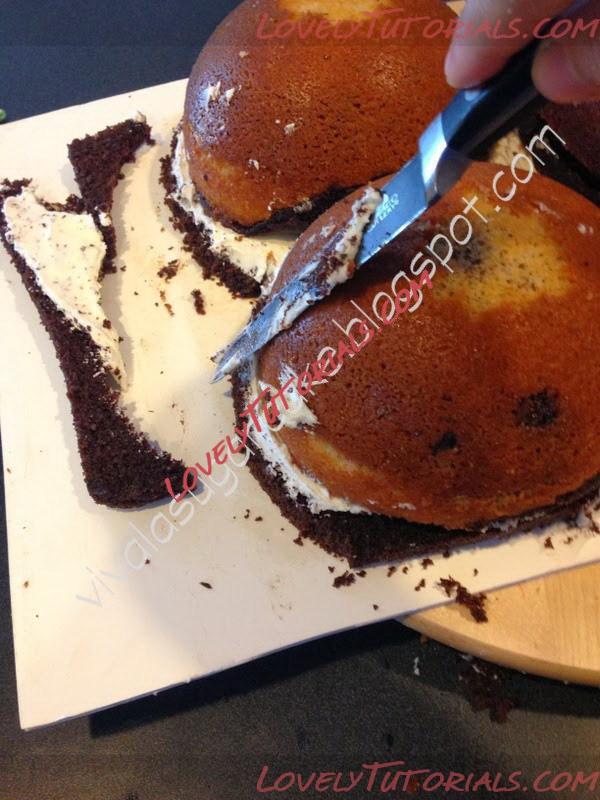
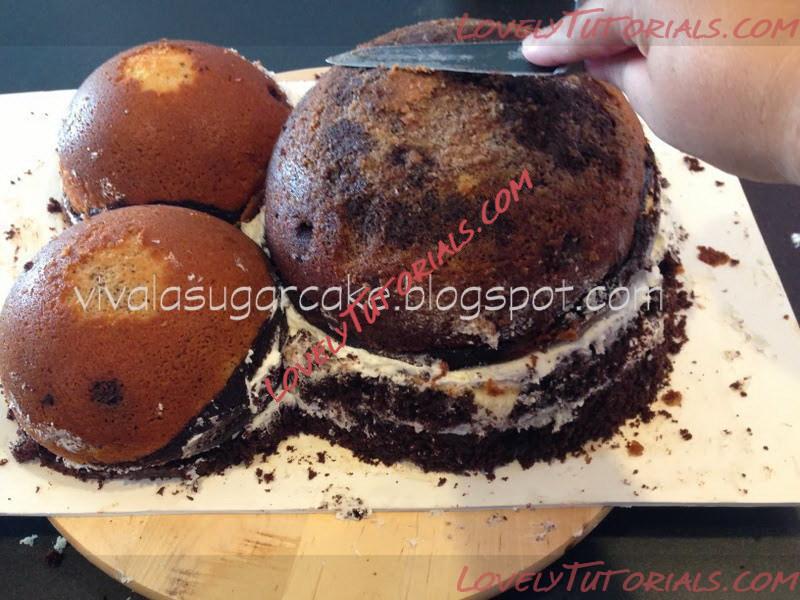
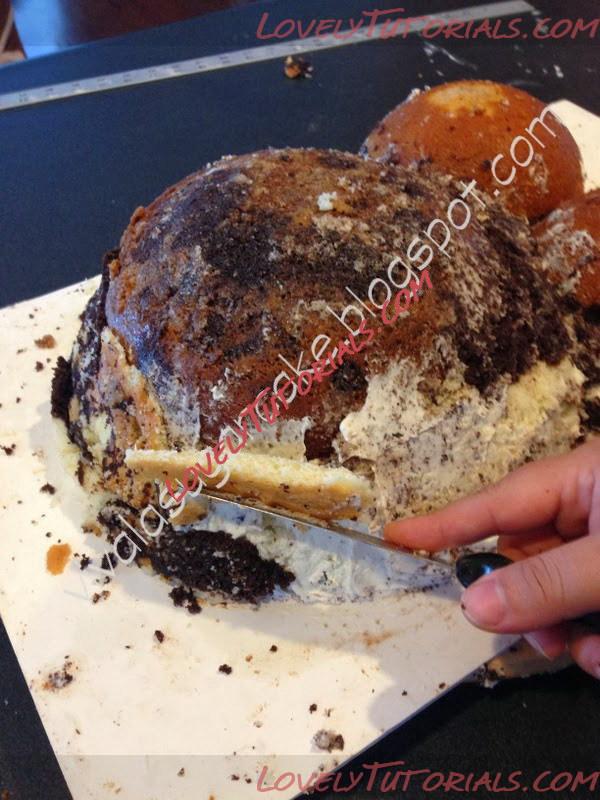
Be prepared for a messy table!!! ATTENTION: DO NOT THROW AWAY ANY SINGLE CRUMB You will need to carve all around the cake with a nice and small, easy to handle knife. The knife should cut cake on a 45 degree angle so the bottom part is larger than topper part of the cake.
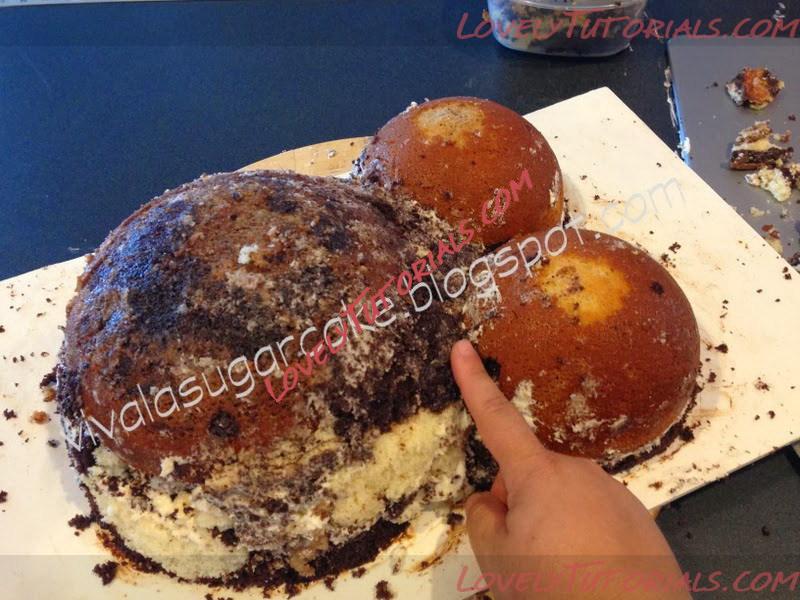
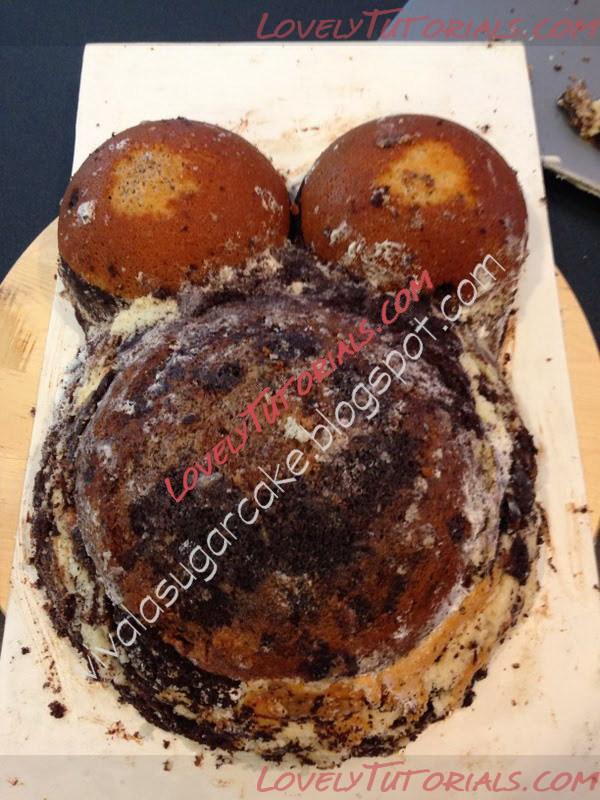
using the pieces you already carved and the reserved, you now can start to fill up spaces so the tummy will be more natural shaped and actually make it look like a real tummy. A mommy anatomy is curved and flows in harmony. A great idea is to have pictures of actual mommy's belly. When ever you are sculpting something, you should use pictures as reference, specially if you are not sure how a pregnant tummy looks like.
I shape it as much as I can remember my own pregnant belly (mine was actually larger, LOL)
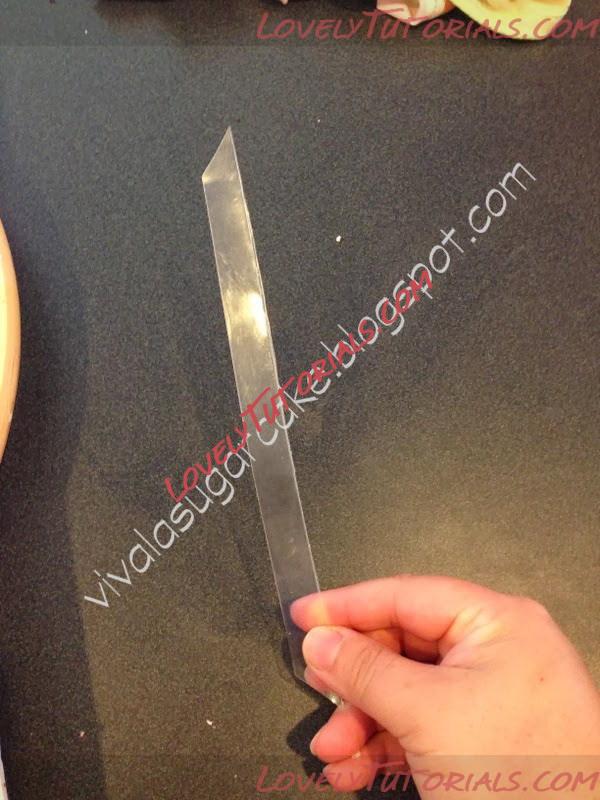
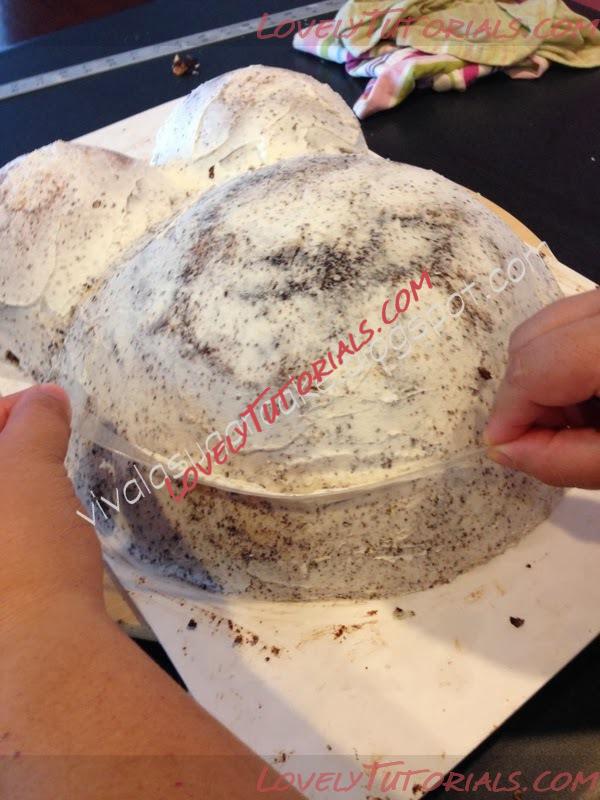
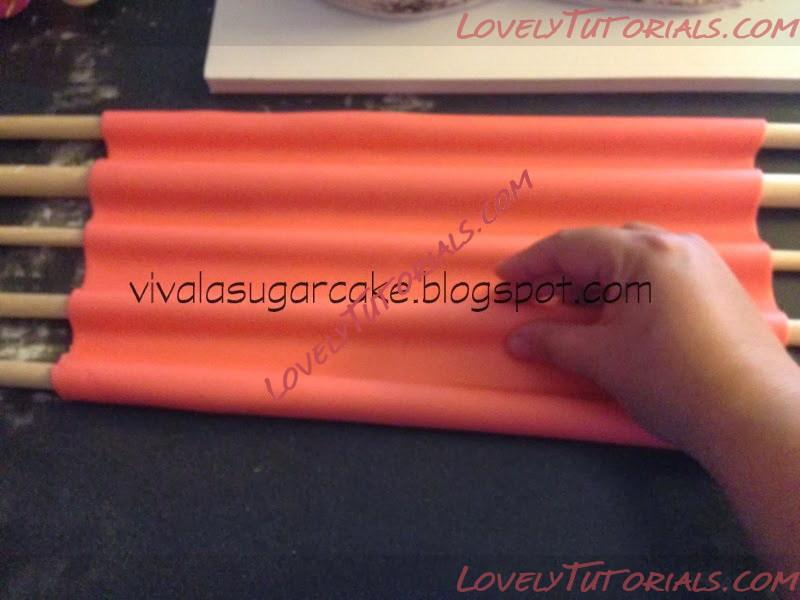
The most important tool whenever you are covering a rounded shape cake: a long piece of plastic!!! this tool can come from: stencil sheet, X-RAY sheet, or in my case I cut a long piece from a plastic toy box.
Cover the cake in butter cream, and using your super advance technology tool LOL, drag the butter cream and smooth it. Once you Smooth all the cake, you will need to cut all around the board. I might probably wasting some board, but this boards tent to get totally dirty since the surface is not washable. If you are using any washable board, then skip this part.
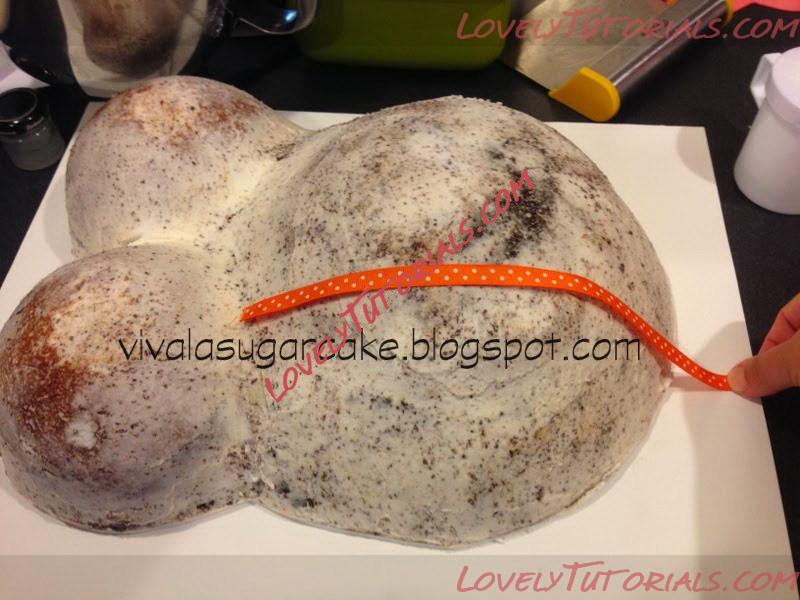
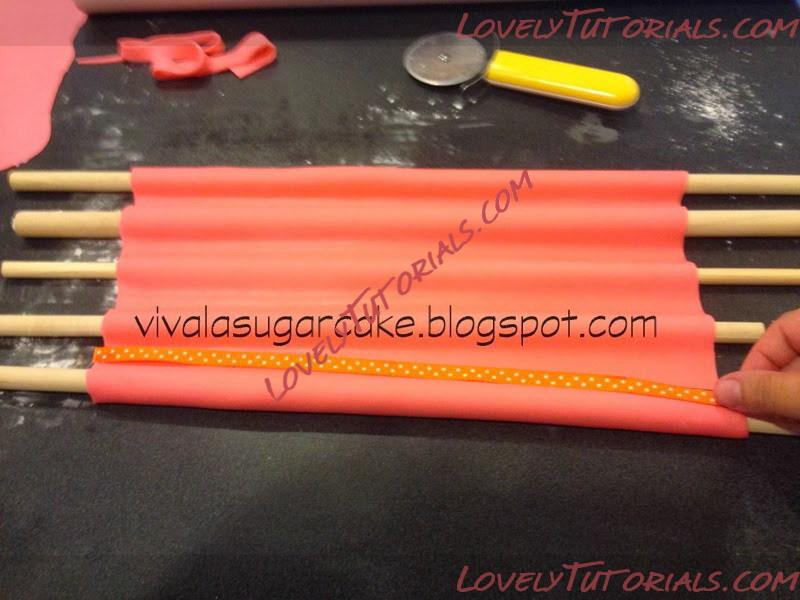
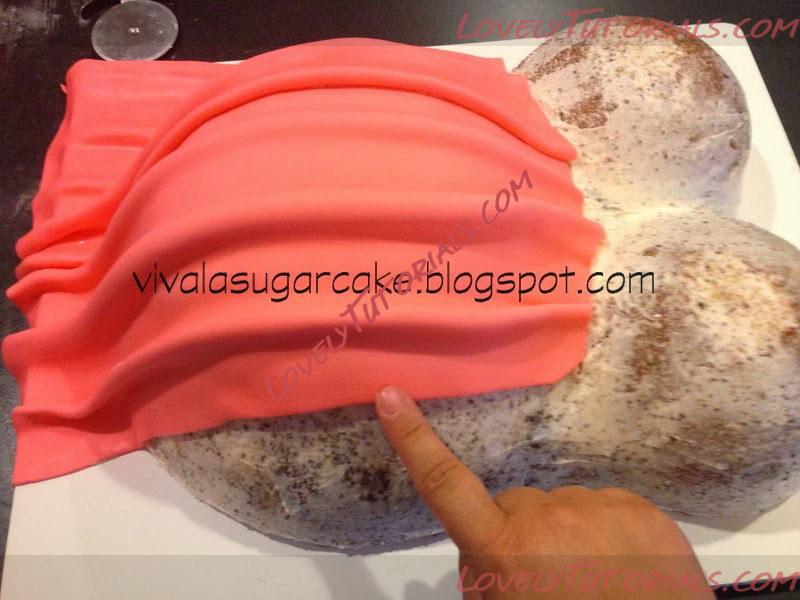
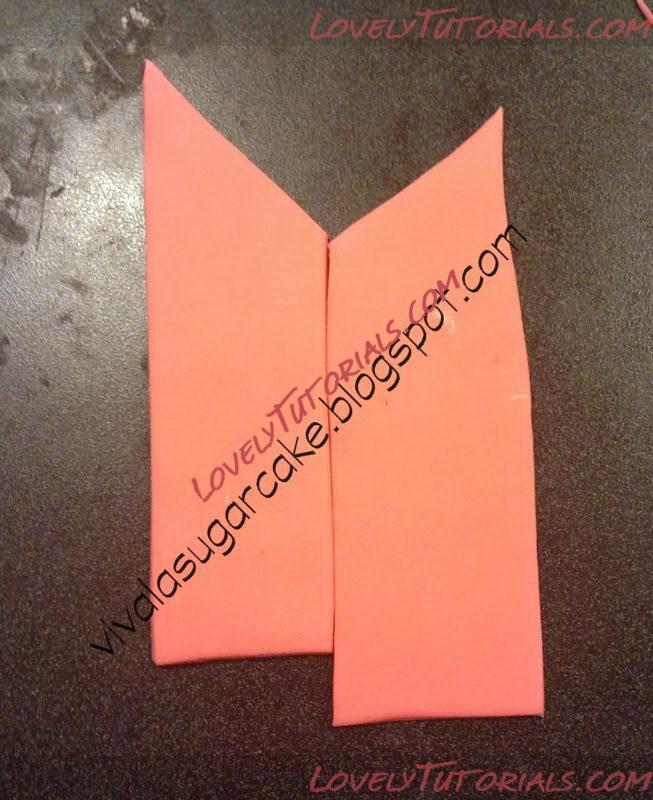
Measure the tummy. Since the idea is to cover the cake as is wearing a dress, and we want to produce sort like pleads. It is really difficult to make just one piece to cover all tummy with out messing all pleats. So here the idea is to make 3 strips and handle them easily. Roll the fondant, I used Wilton's, and make 3 strip long enough to cover the longitude of the tummy. The 3 of them will cover the entire belly, once they are all put together. Place some dowels in different sizes (these will be the pleats ) let sit and dry a bit (so the pleat stays)
Start placing the first strip on the very side of the cake, and then the rest. I would suggest you to use as many strips as you need, if you feel more confident using smaller strips, then make them less wider and add more of them until you cover the entire tummy
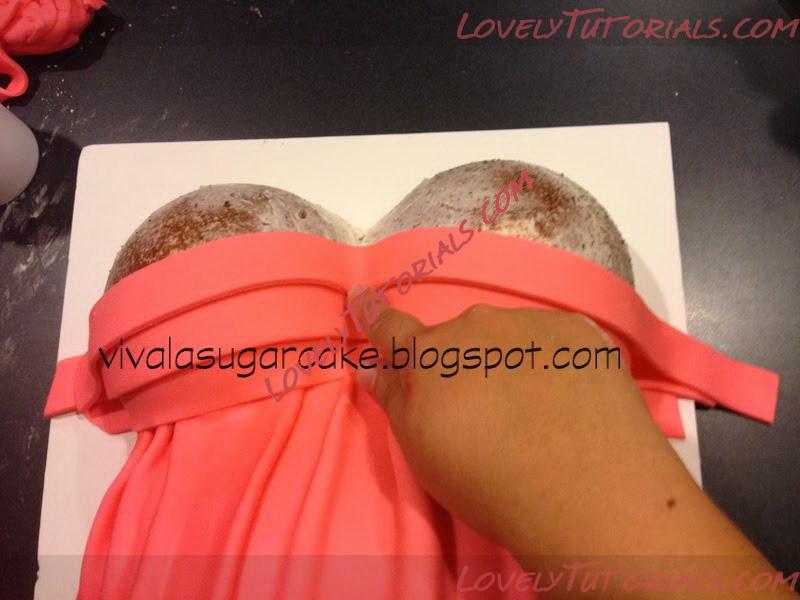
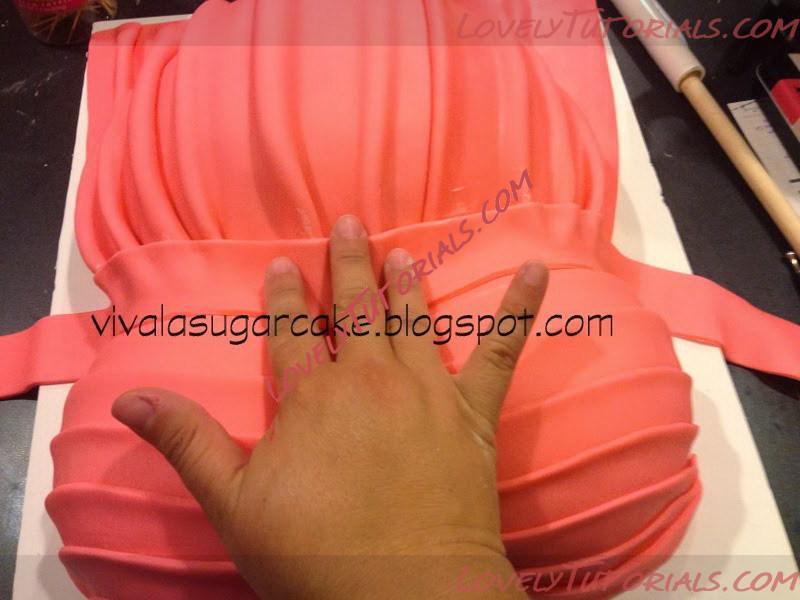
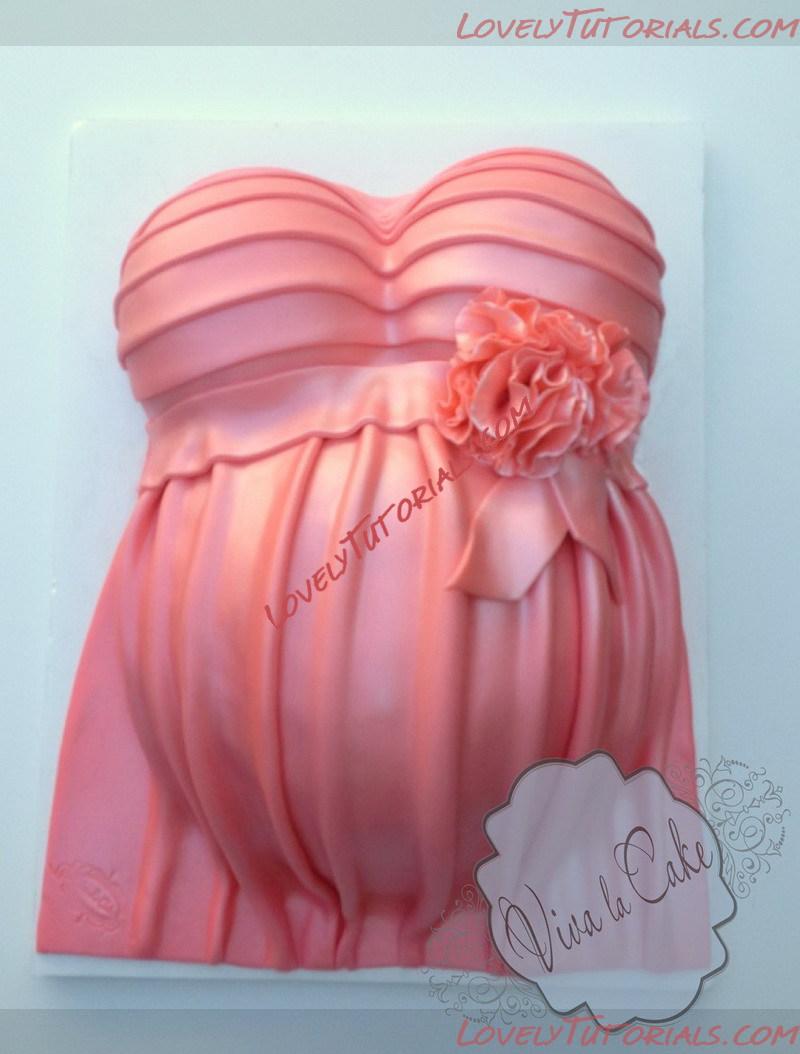
Cut same size strips ( I use my ruler as reference) enough of them to cover the bust part, once is all covered, place on strip where the dress pleats and the breast strips meet. I like to cover all and not show any skin, but that is my wish, you can work a bit more and include some skin for the cleavage.
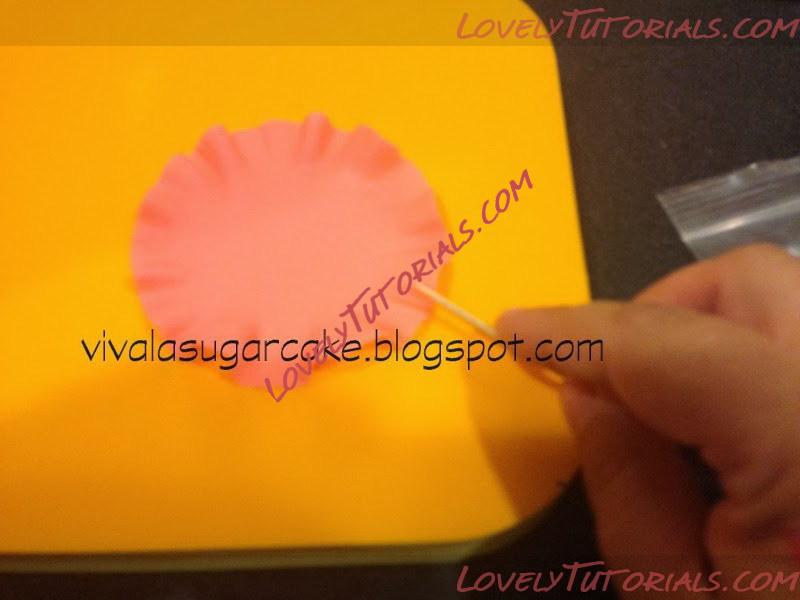
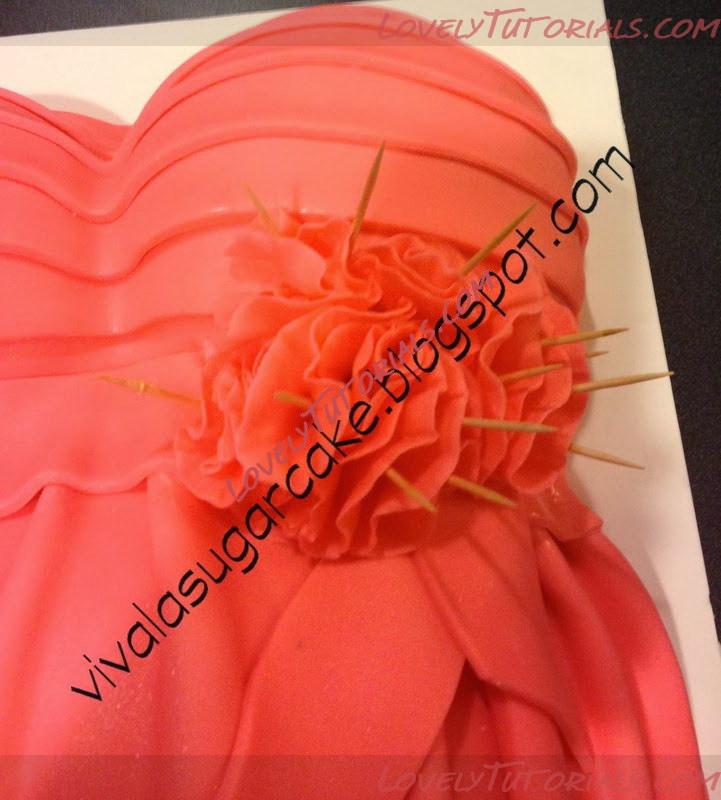
Make some circles and ruffled the edges. Or you can just change this embellishment by simply using a flower or bow
I finish cake with some shimmering using airbrush.