Огромная благодарность Kris Galicia Brown за Мастер-класс
 What are the basics of coating cake pops?
Learn how to dip cake pops like a seasoned pro in a few easy steps. It’s important to know what the coating is and how it behaves, then how to thin it and finally, dip into it!
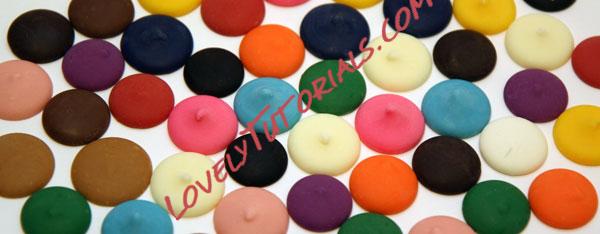
Cake pops are coated with candy coating, which is very similar to tempered chocolate but melts at a higher degree. Candy coating has many different nicknames and sold in many different brands depending on your location. It’s commonly called candy melts, chocolate bark or just “chocolate”- when referring to cake pop making. Brands like Mercken’s, Clasen, Make n’ Mold and Wilton offer a rainbow of colors to choose from. They look like little colored discs called wafers and are typically sold in 12-16 ounce bags.
 What is the best way to melt candy wafers?
You will need the following items:
What is the best way to melt candy wafers?
You will need the following items:
- Candy Wafers
- Bowl
- Stirrer
- Microwave
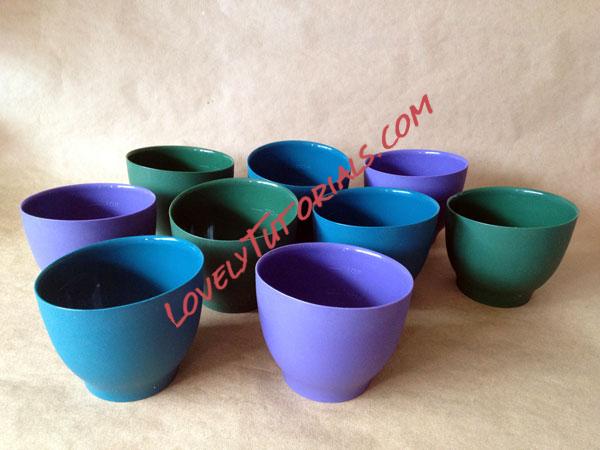
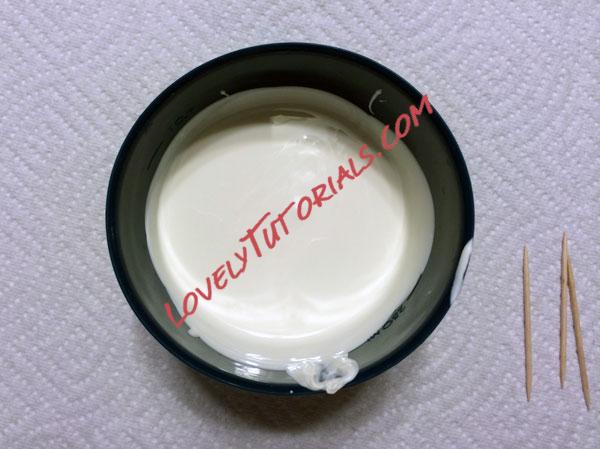
Candy wafers are easy to melt. You don’t need a double boiler, just a small microwavable plastic or silicone bowl that holds a one cup capacity, like the ones pictured below, should do the trick. The deeper the container, the better.
You’ll also need a microwave and a small spoon or some kind of stirrer. A melting pot is also okay to use. However, it is very important to keep a close eye on the pot and stir frequently to avoid scorching the candy coating.
 Step 1:
Fill the bowl with candy wafers. Microwave for 1 minute at 50% power, then stir. Even if it doesn’t look like anything has happened, stir to move the wafers around to avoid scorching them.
Step 2:
Microwave for 30 seconds at 50% power and stir again. Continue microwaving at 30 second intervals at 50% power until the wafers have completely melted. Add more wafers to fill the bowl, if you wish, but don’t forget to stir at every 30 second interval!
Step 3:
Candy coating should always rest about 5 minutes after heating and before dipping cake pops to avoid cracks. The closer to room temperature both the coating and cake pops are, the better.
 What can be used to thin candy coating?
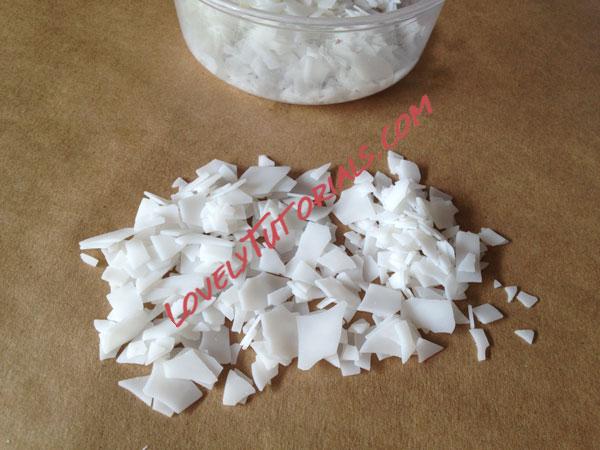
The paramount crystals pictured above are the best thing to add to candy coating to thin it out into a nice and loose fluid consistency, perfect for cake pop dipping. Paramount crystals are made from the same combination of oils contained in candy wafers. This is the only product that will not alter the integrity of the coating.
Always keep in mind that most colors and brands melt differently, creating a variety of different consistencies. Add a tablespoon of paramount crystals at a time to the candy coating and stir until the paramount crystals melt completely. Add more and stir well each time until the consistency feels similar to stirring a can of paint.
 What is the best method for dipping cake pops?
You will need the following items:
What is the best method for dipping cake pops?
You will need the following items:
- Lollipop sticks
- Cake balls
- Melted candy coating
- Toothpicks
- Cake pop stand or styrofoam block
 Step 1:
Before adding sticks to the cake balls, make sure they are slightly chilled. It’s best to let them hill in the refrigerator for about 10 minutes after rolling/shaping.
Step 2:
Once chilled, you can add sticks to the cake balls. Use the candy coating as the glue to stick the two together, which will help prevent the ball sliding down the stick later.
Note: For simplicity, I’ll just refer to the “dough” as cake balls even though they could be in many different shapes other than a sphere.
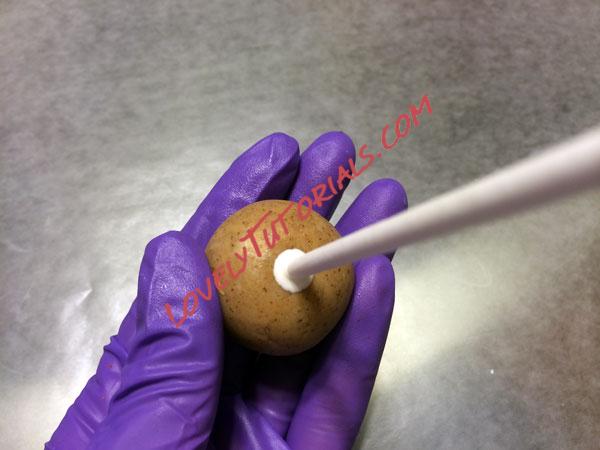
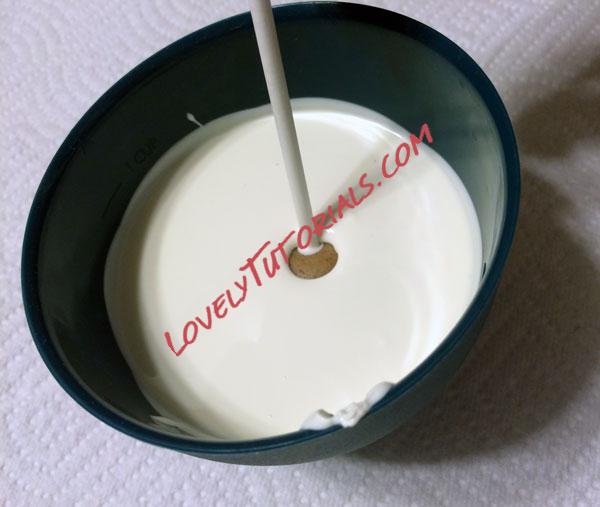
Step 3:
Dip about ⅓ inch of the lollipop stick in candy coating and then insert it into a cake ball until it’s about halfway into the ball. Do this for all of the cake balls. On warmer days or in warm commercial kitchens, you may need to stick it in the fridge for a minute or two to help it set.
 Step 4:
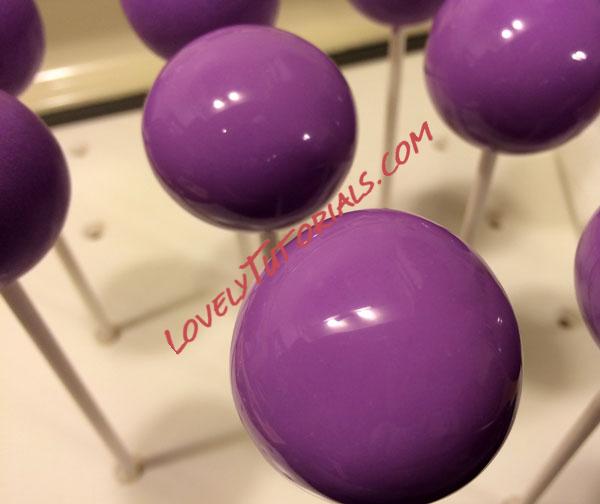
Now you’re ready to dip! Hold the cake pop upside down and dunk, in one motion, into the candy coating until you see the coating cover the entire ball and meet the stick. Then lift up to remove from the coating. Let the excess coating drip back into the bowl using an up and down motion with your arm. Turn it right side up. Using your fingers on the stick, rotate the cake pop at an angle. This helps the coating even itself out.
Step 5:
Use a toothpick to help guide any excess coating off the cake pop near the stick if needed. You can also use a toothpick to puncture any noticeable air bubbles in the coating. Stick in the stand or Styrofoam block. Now, let it dry and harden completely.
Step 6:
Repeat the process until all cake pops have been coated.

These are the basic steps to dipping cake pops and achieving a nice, even and smooth coating.


